Getting out of Haddonfield as a Civilian means beating Michael Myers to an exit before he turns you into another point on his board. There is no single best route. Each one depends on what you find and where Michael is, so the fastest escape is the one you can finish soonest with the tools already in hand.
Quick answer: You can leave through the Police Wagon, a Storm Cellar, the Sedan, or an Outer Gate. Every exit holds only three survivors, and that count includes any residents you bring along.
The four Civilian escape routes and what they require
Exit locations, barrier types, and item spawns are randomized every match, so read the objectives shown on your HUD rather than assuming one fixed setup. Here is what each route costs before it opens.
| Escape route | What you need | Minigame |
|---|---|---|
| Police Wagon | Fill roughly two and a half shields by calling the police | No minigame at the wagon |
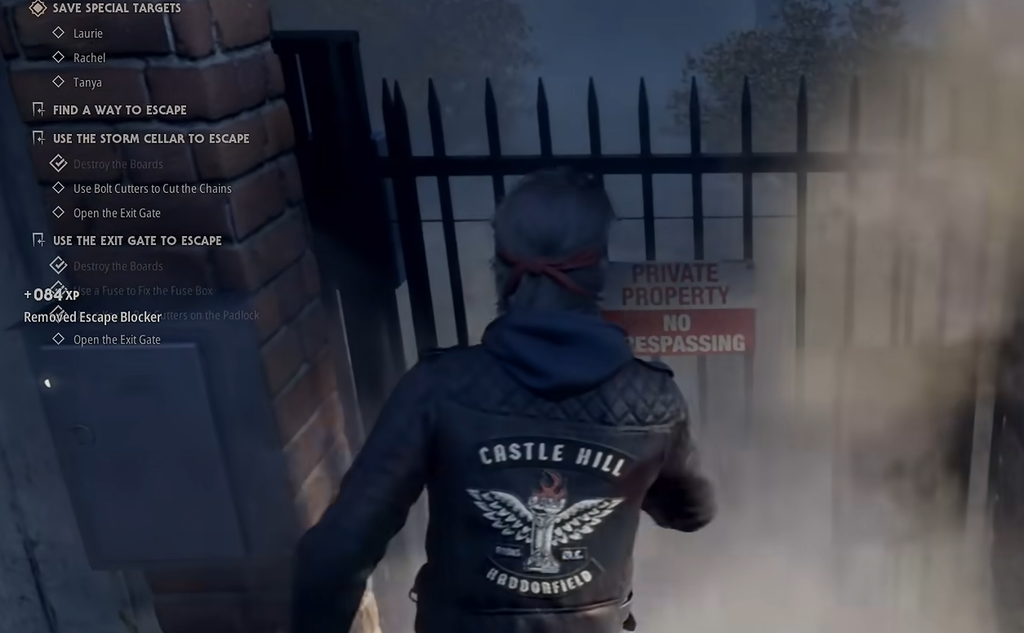
| Storm Cellar | Clear the barrier, then Bolt Cutters or a Padlock Key | Final minigame to open the doors |
| Sedan (car) | Fuel, a Repair Kit, and a Sedan Key | Minigame to complete the escape |
| Outer Gate | A fuse to power the gate open | Barrier clearing similar to cellars |
Police Wagon: the easiest exit to reach
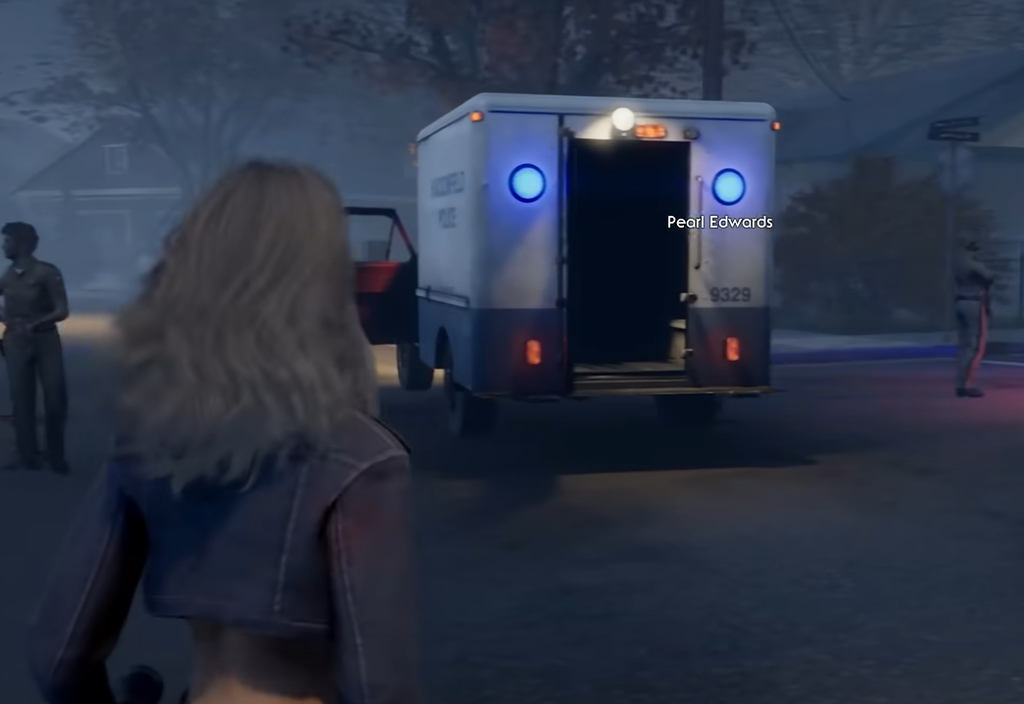
The Wagon appears once you have filled about two and a half shields, which you build by calling the police. You can make those calls yourself from a telephone, but the call involves a minigame you can fail, so a botched attempt sets you back. Residents can make the calls instead, and they cannot fail them, which makes them the faster option. The more calls that go out, the sooner help arrives.
When the meter is full, a police wagon drives into the map carrying two armed officers. You reach the escape by running to the back of it, with no minigame needed to board. That makes it a real problem for Michael, since the officers guard the area and the exit is simple to reach. Because it lands late in the match, you can use the window to wait for other survivors before you leave.
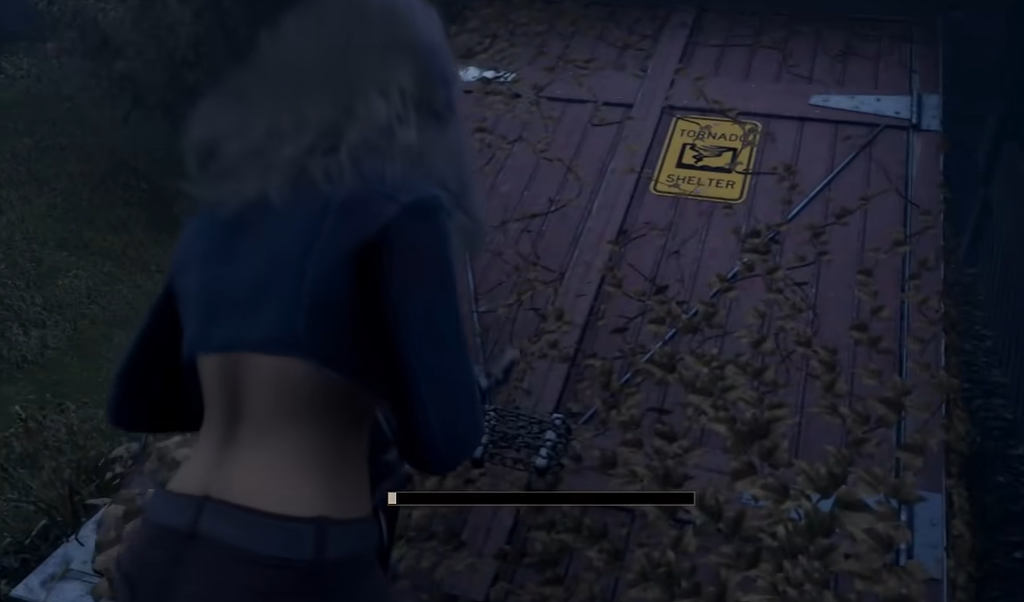
Storm Cellar: clear the barrier, then unlock
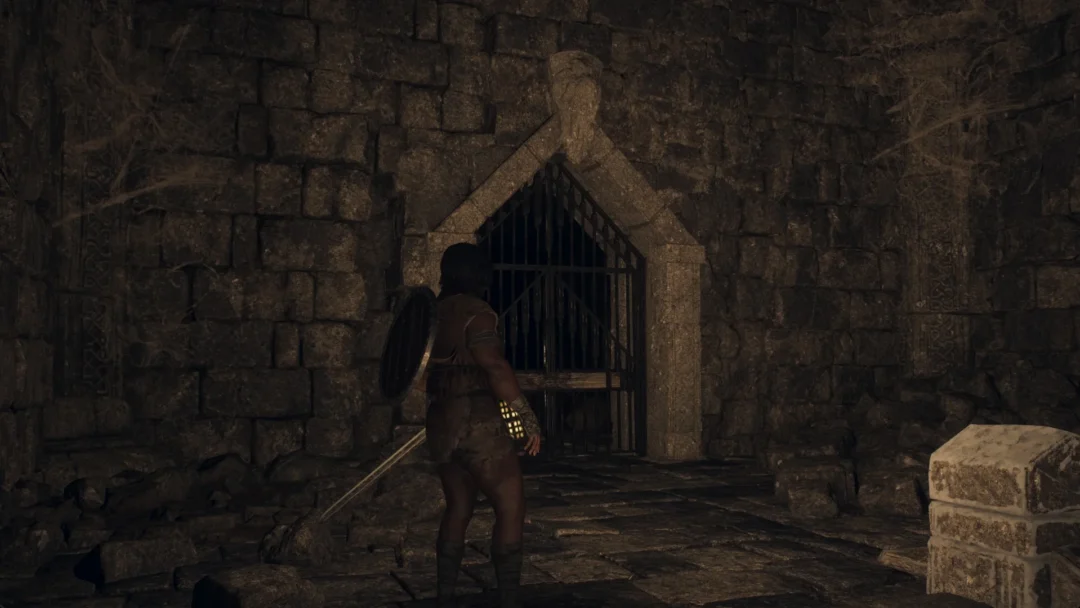
Storm Cellars sit at random spots, often along the sides or backs of houses, and look like a covered basement entrance. Once you spot one it stays pinged on your map. Some lobbies have none nearby; others have two close together.
Note: opening the cellar takes time and skill checks, so Michael arriving mid-interaction can erase all the work of finding the right tool. If a teammate is opening one, that is the moment for someone else to stop looting and defend them.
Sedan: three separate jobs, not one find
The car is one of the trickier exits to locate. Look for the Sedan with its hood already propped open. Finding it only starts the route, because it needs three different items, and each one solves a separate job that the others cannot cover.
- Fuel: used at the back of the car, and it tends to spawn outside.
- Repair Kit: used on the hood to fix the engine. Repair Kits often turn up in small drawers inside houses.
- Sedan Key: used to start the car, also commonly found in house drawers.
With the engine repaired, tank filled, and key in hand, drive to the marked spot on the map and clear the escape minigame to get out. A repaired engine does not fill the tank, and keys do not make up for missing gas, so check which line the HUD still lists as unfinished instead of grabbing more “car stuff.” Finding a second Repair Kit after the engine is done moves nothing forward.
Handle the car carefully. If you crash it, or if Michael uses his Blackout ability, the engine fries and you have to repair it again with a fresh Repair Kit.
Outer Gate: the rare fuse route
Outer Gates line the edges of the map and use the same kind of blockages as Storm Cellars. The difference is the key item. You need a fuse to open one, and the fuse spawn rate is very low, so plan around this being the least reliable exit. If a fuse does appear, take it to a gate on the map’s outer edge to power it open and leave.
The three-survivor limit changes your plan
Every escape point can carry only three survivors, and that cap counts any NPC residents you decide to save. One open exit will not clear a whole neighborhood, so you cannot rely on a single route if you want to rescue everyone. Factor the limit in before you commit, and expect to open more than one way out across a full match.
Because of that cap, an escape is only worth leading a resident toward once it is actually open. A convinced resident with nowhere to go is just another moving responsibility, while a resident plus an open exit is a real rescue. Once a route is discovered, item value stops being general and becomes specific: carry the piece the HUD still needs, and drop the search for gear that fits no current exit.

When to stay and when to switch routes
A half-finished route can still become the worse choice. If your car engine is repaired but the gas and key are both missing and Michael keeps returning to the vehicle, an alternate exit whose tool is already in a teammate’s inventory can jump from backup to best plan. The time you sank into the first route is gone either way, so compare what each option costs from this moment forward, not what you have already spent.
Recheck the plan whenever a new exit is found, a required item shows up, or Michael starts repeatedly controlling an objective area. Riding out the entire night until it ends is also possible, but it is a high-risk choice best left to confident players. Once an exit is open, leave, unless you know exactly who you are going back for and the route that gets them out.