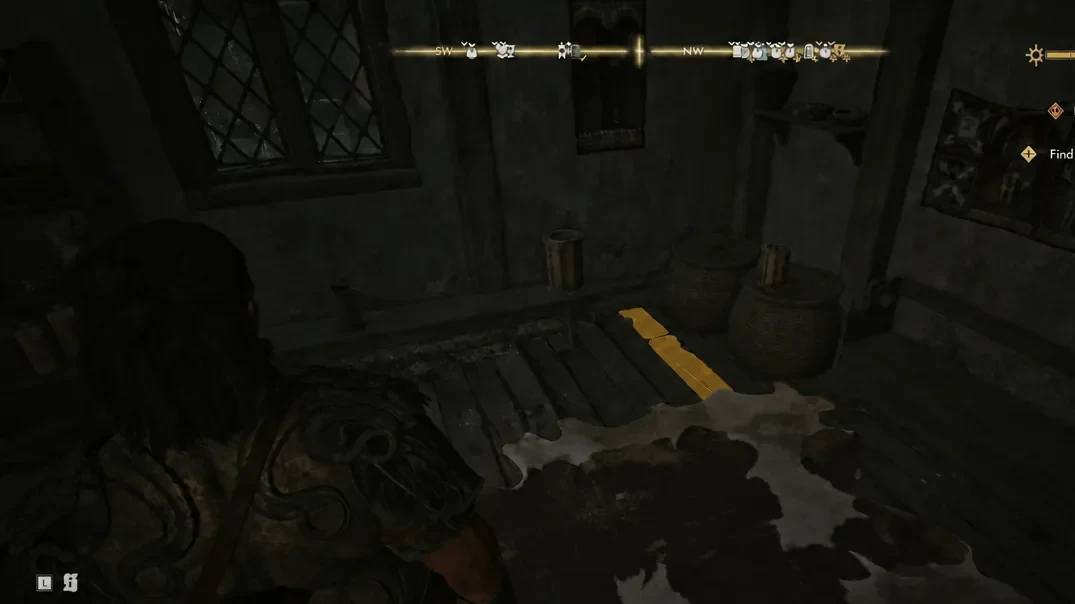
Tiny Dancer is a short side quest in Svartrau City that ends with a stash of silver hidden under the floor of a merchant’s upstairs room. The tricky part is not the treasure itself, but getting to the second floor without the merchant stopping you, and knowing that the cache only becomes visible once you switch to Focus Mode.
Quick answer: After freeing Sanzhana from her cage, open the door to the adjacent upstairs room, activate Focus Mode, and interact with the loose floorboard highlighted in yellow next to the bed. Looting it ends the quest immediately.
Tiny Dancer quest location in Svartrau City
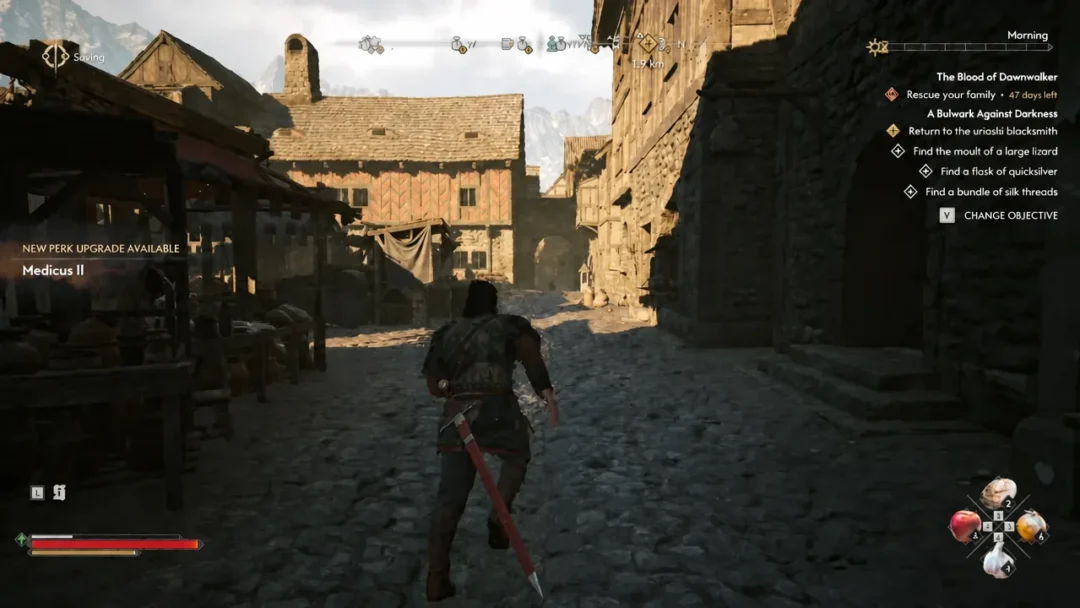
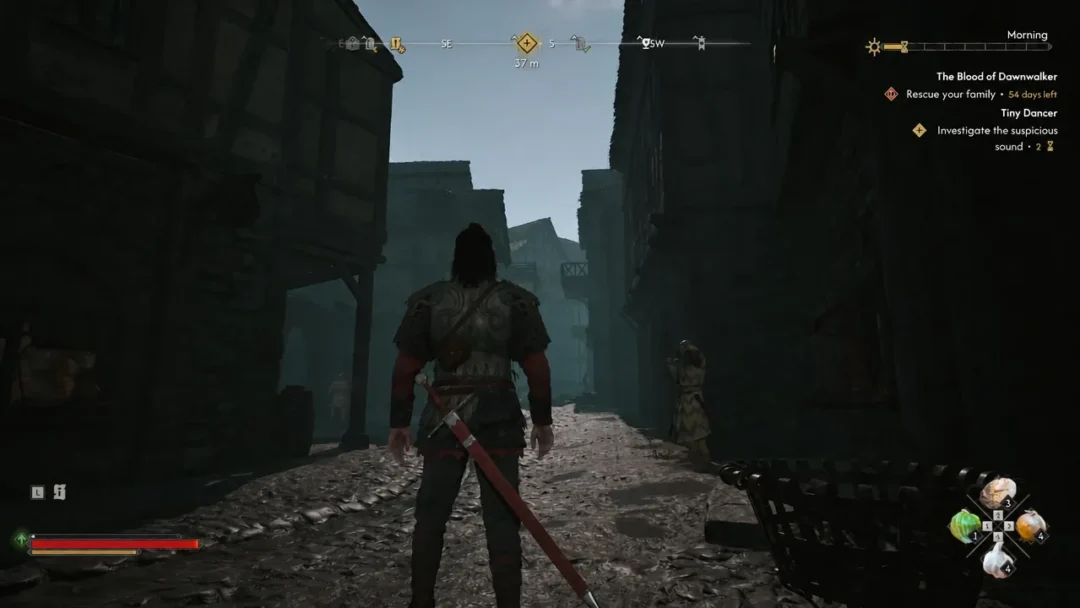
The quest triggers at the merchant shop standing in front of the Curious House, on the southern side of Altenmarkt in Svartrau City. Walking past the locked wooden door is enough to make Coen hear a strange sound coming from inside, which places the Tiny Dancer marker on your map. You can start it during the day or at night, and the time of day decides how you get upstairs.
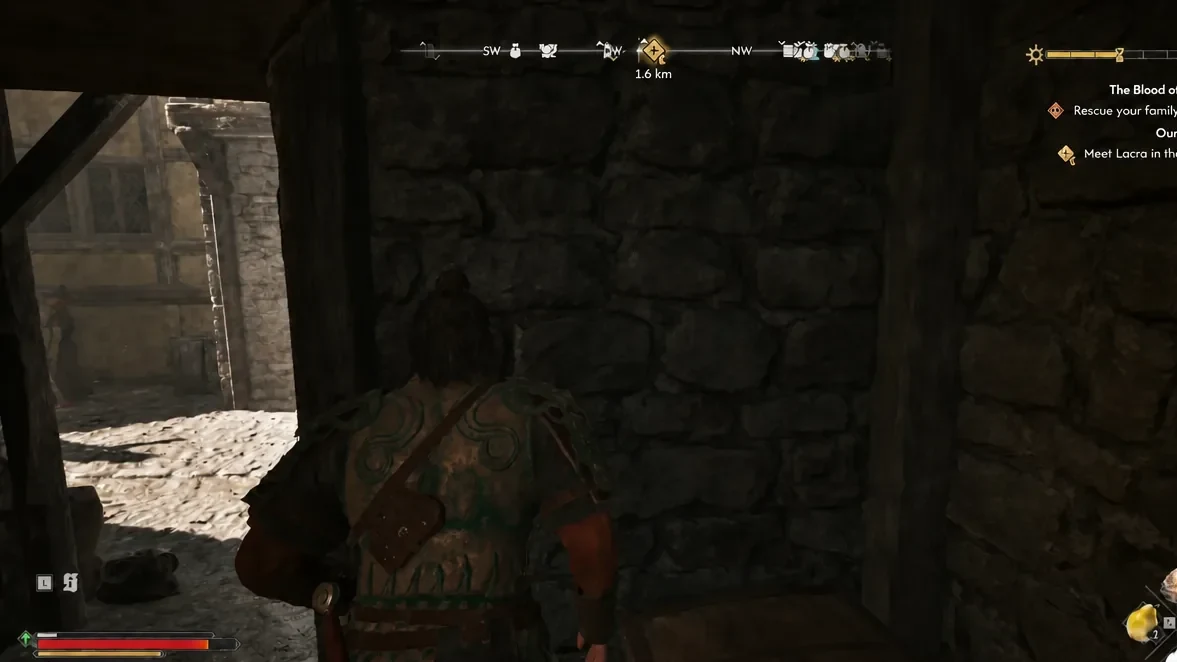
How to reach the second floor (day and night routes)
The stairs behind the shop are locked, so you either take the key off the merchant’s floor or bypass the building entirely from the roofs. The two approaches differ mainly in whether a fight happens before or after you free the fairy.
| Route | What it involves |
|---|---|
| Daytime | Talk to the merchant, then fight him. Find the letter near the barrels and pull the key out of the lute to unlock the stairs. |
| Nighttime | Use ShadowStep or the grapple point to climb to the rear balcony and enter the upper floor directly, without alerting the merchant. |
Daytime route
Nighttime route
Free Sanzhana from the cage
The caged fairy sits in the room on the left at the top of the stairs. If you climbed in from the balcony, you land in that room straight away. Grab the cage key from the table beside her and open the cage. Freeing her costs 2x Time Segments, so factor that into your remaining days before the rescue deadline.
A short cutscene follows. Sanzhana thanks you and tells you about silver hidden beneath the floorboards in the next room over, which is what turns the quest into a treasure hunt.
Find the hidden treasure with Focus Mode
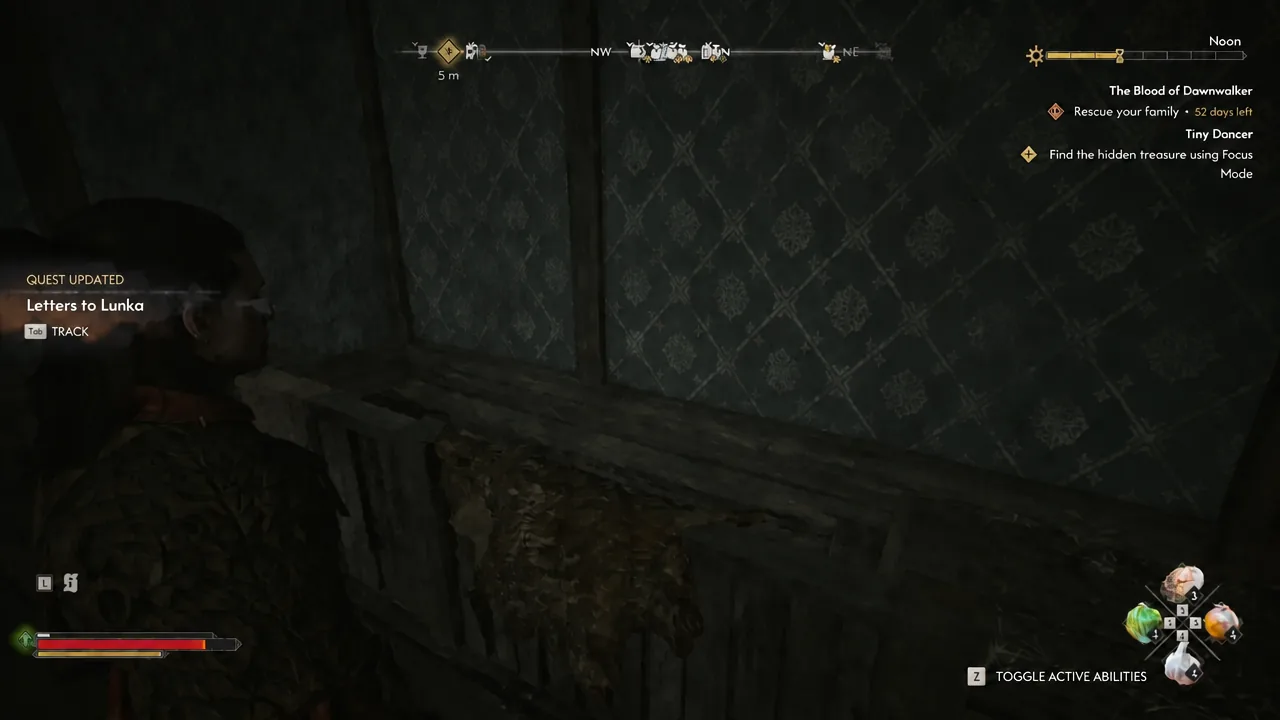
You will see the QUEST ENDED banner for Tiny Dancer, and a Quest Updated notification for Letters to Lunka appears alongside it. If neither shows up, the floorboard has not been looted yet.
Tiny Dancer treasure rewards
Silver is the one guaranteed part of the haul. The armor and crafting items rolled into the stash are randomized, so a lucky pull can hand you legendary armor, while a normal run gives superior or mastercrafted pieces.
| Reward | Details |
|---|---|
| Silver Brooch | The guaranteed silver item from the floorboard cache |
| Denarius | Currency bundled with the stash |
| Minor Fortitude Paste | Consumable |
| Beast’s Bone Brew | Consumable |
| Armor and crafting items | Randomized; can roll legendary, otherwise superior or mastercrafted |
Do not leave without checking the rest of the room. The chest near the floorboard has held a Diamond Breastplate, Golden Tableware and a crafting recipe, and there are apples on the table worth grabbing on the way out.
Skipping the treasure and sparing the merchant
You are not forced to take the silver. Free Sanzhana, ignore the second room and walk out of the house, and Tiny Dancer still ends, but the only reward is the quest completion XP. That is the one way to leave the merchant alive at night, since entering the treasure room always puts you in a fight with him.
Note: killing the merchant carries no story penalty. It is a roleplay choice rather than something that changes how the campaign plays out.
Letters to Lunka follow-up
Once Sanzhana is out of the cage, head back to the burrow and speak with Sanzhani Tsarina. She rewards you for rescuing her sister by sending another letter to Lunka, which pushes the Letters to Lunka chain forward. Helping the other Sanzhanas across Vale Sangora through Pearly and Precious, Come Hither and Burrow Sorrow adds more letters to the same chain.
The same Focus Mode trick works on other stashes
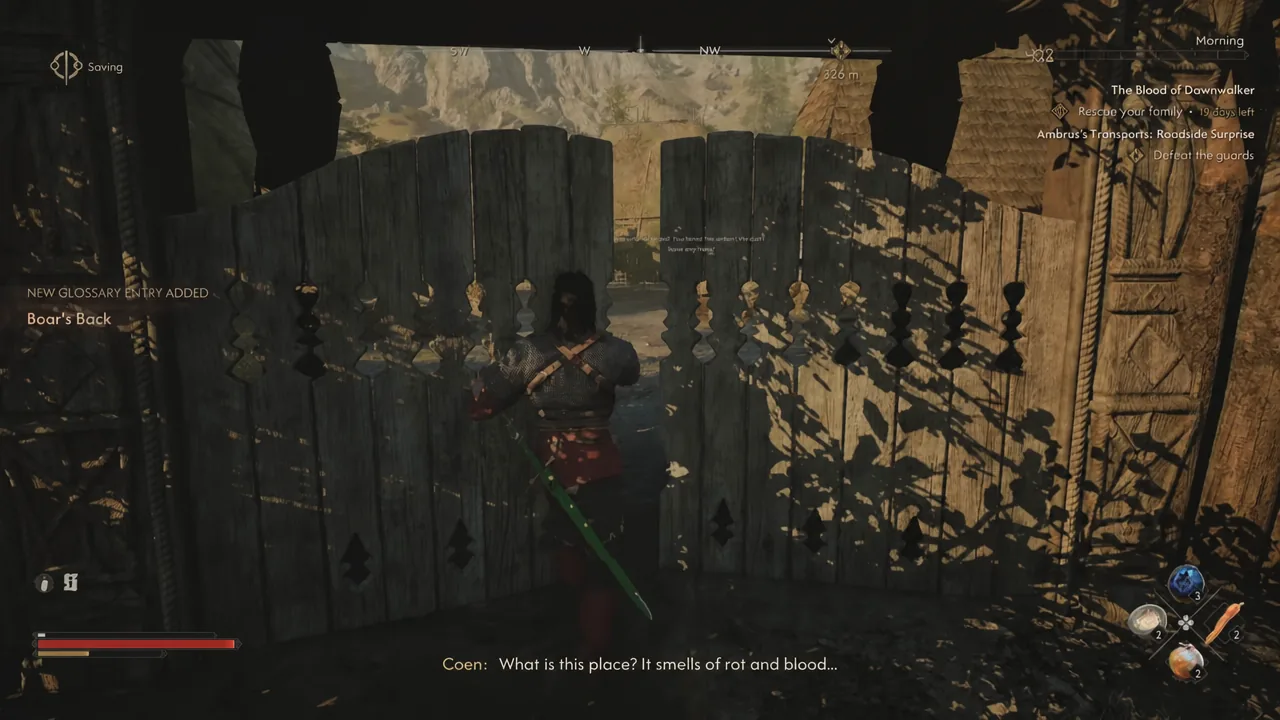
Buried caches elsewhere in Vale Sangora use the same highlighted-interaction rule, so scanning a room or patch of ground is always worth doing before you move on. At the fort in Briar Sloughs, for instance, clearing the courtyard and picking up the Brass Key opens the barracks where the Chief Jailer is waiting.
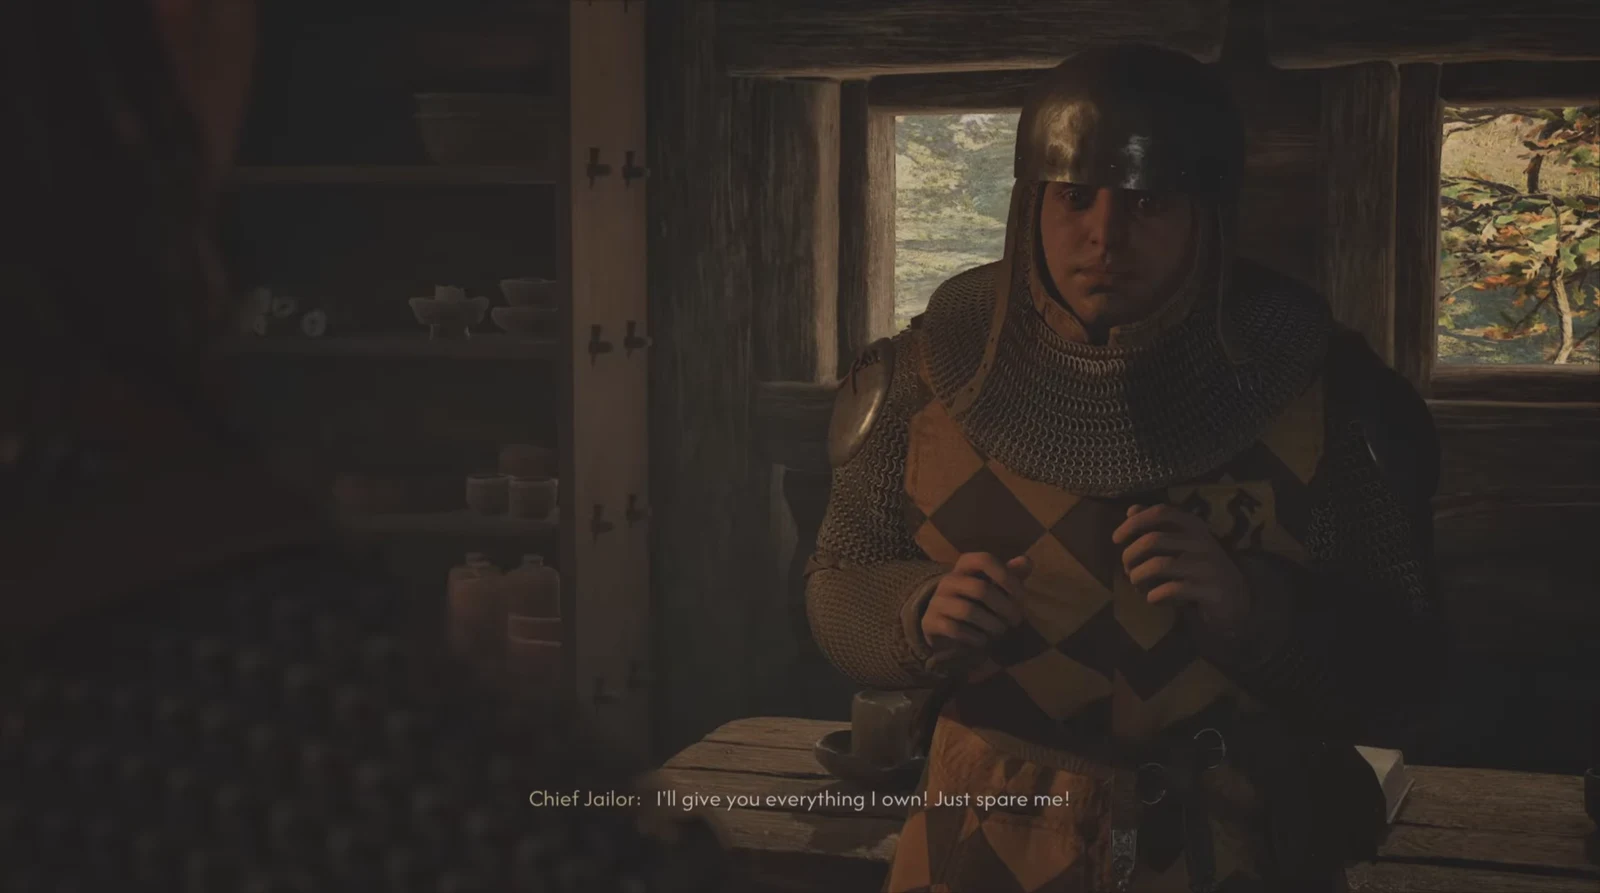
Pressing him during Ambrus’s Dungeons: Evil and Conscience hands over a hidden stash map pointing to a fallen tree just outside the compound. The box wedged into its roots holds a Letter from Bakir, an Amulet of Endurance, the Recipe for Minor Keen Eye Potion and 60 Denarius.
For Tiny Dancer specifically, the night route is the cleaner option if you want to keep the fighting to a minimum and still walk away with the silver, since the balcony entrance skips the shop floor entirely and puts you one door away from the floorboard.