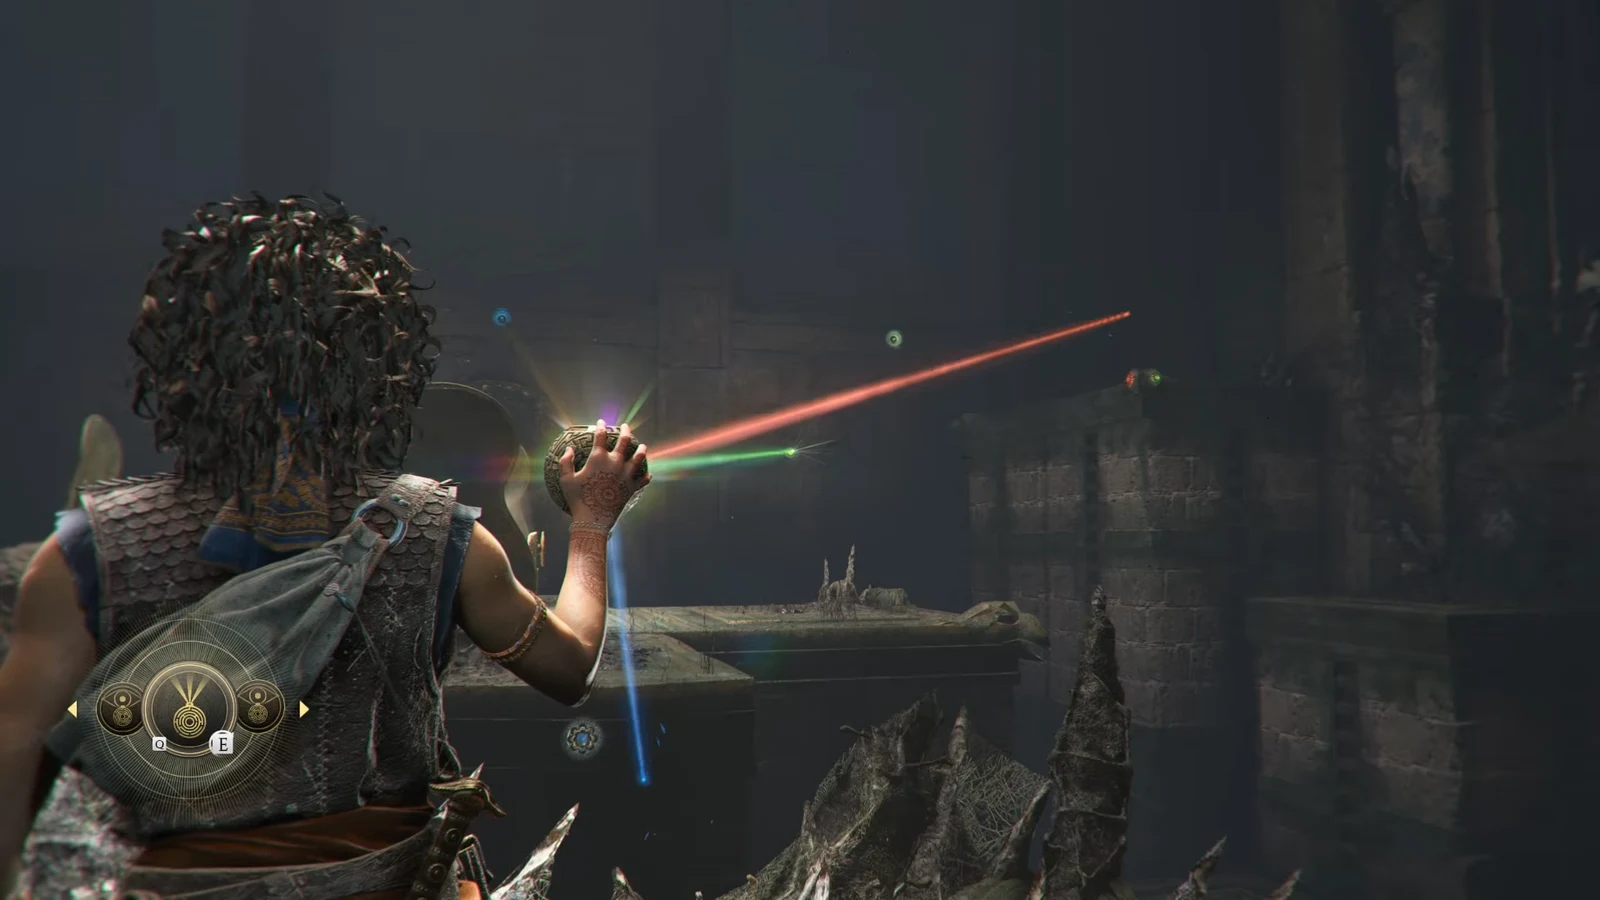
Chapter V: Desolation It Wrought drops Sophia and Leni into the Second Trial, and almost every locked door inside it works the same way. You stand on a marked floor plate, split the Sphere’s light into red, green, and blue beams, and rotate each beam until it touches the gem of the matching color. The statues flanking each door hide those gems in awkward places, which is where most players stall.
Quick answer: Stand on the lit flower plate, hold R1/RB to project the three beams, tap D-pad left/right to select a color, and rotate with Circle/B until red, green, and blue each land on their matching gem. First statue door: red on the left statue’s helmet, green in the middle, blue on the right statue’s hand. Second statue door: green at the top, blue at the bottom, red on the right statue’s eye.
Light Splitting controls and where you can use them
The ability comes from the pedestal in the first room of the Trial’s entrance. Placing the Sphere there upgrades it, and from that point the orb throws three separate colored beams instead of one. The beams only appear while you are standing on a floor dial marked with a flower symbol, and those dials also tell you where the game expects you to solve each puzzle from. If nothing projects, you are on the wrong tile.
| Action | PlayStation | Xbox |
|---|---|---|
| Project the light beams | Hold R1 | Hold RB |
| Switch between the three colors | D-pad left / right | D-pad left / right |
| Rotate the selected beam | Circle (or Square) | B (or X) |
| Swap to the path-reveal mode | D-pad right | D-pad right |
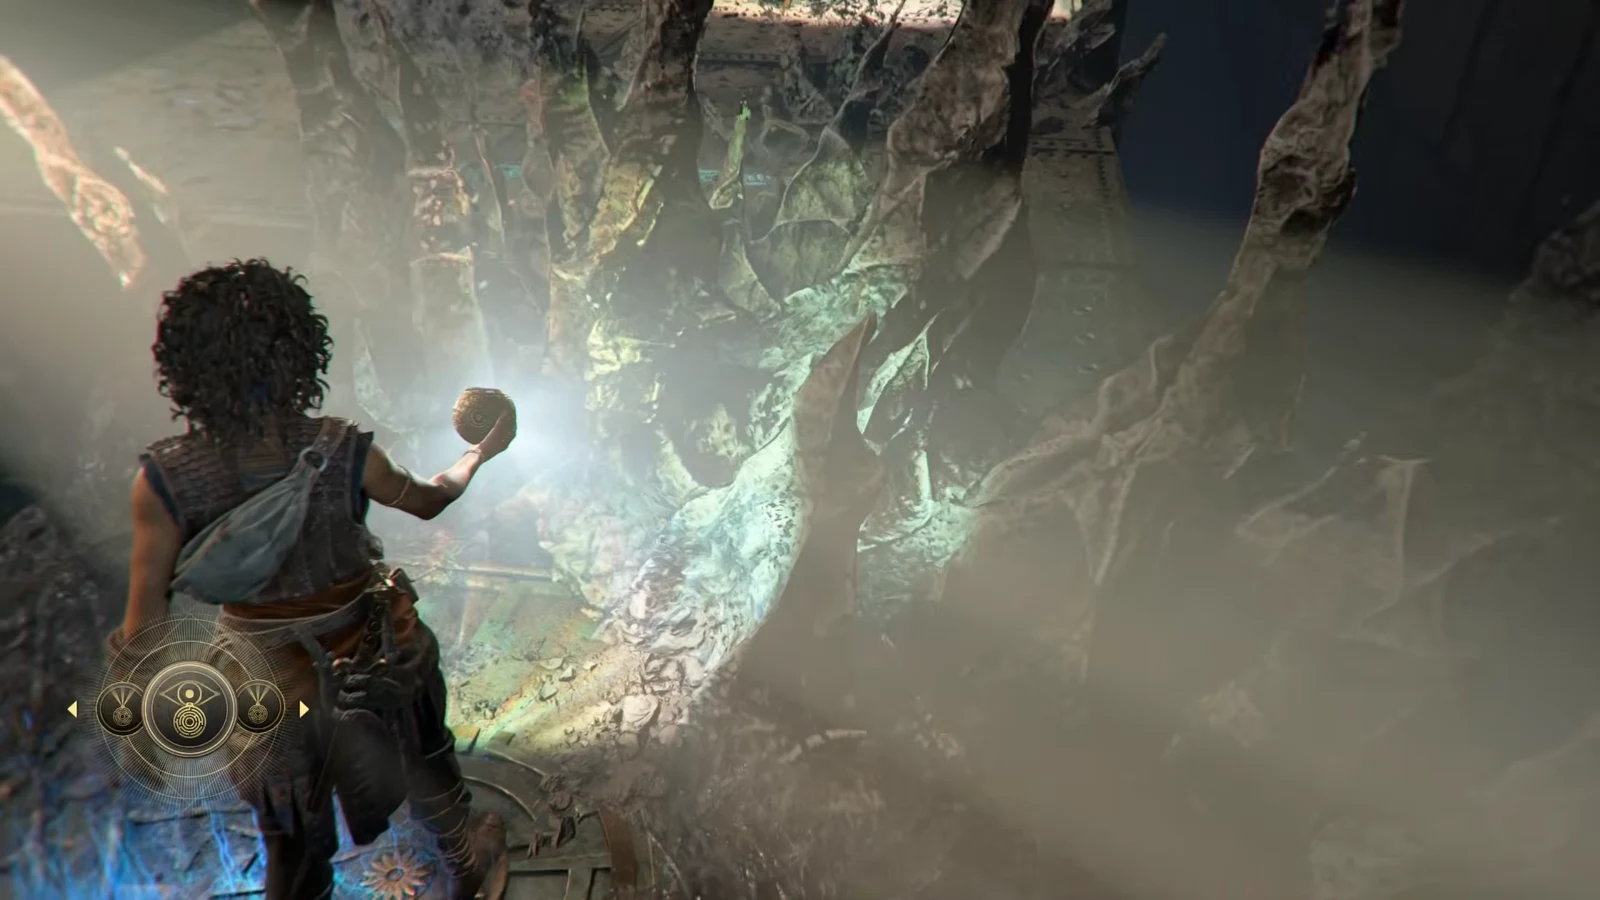
The same orb clears the petrified ash piles scattered around these rooms. Sweeping a beam across a dust mound often uncovers a crank, a mirror, or a gem you need, so clear the room before you start aligning anything.
Statue door beam targets (all three doors)
The three statue doors sit along the same route in Sub-Chapter 3, The Four Symbols, on the path taken while hunting the second symbol. Each one uses the identical setup with a different gem layout. The trap on the second door is that several blue gems are visible at once, and only one of them counts.
| Door | Beam | Target |
|---|---|---|
| First statue door | Red | Left statue’s helmet |
| First statue door | Green | Middle of the door |
| First statue door | Blue | Right statue’s hand |
| Second statue door | Green | Top |
| Second statue door | Blue | Bottom |
| Second statue door | Red | Right statue’s eye |
| Third statue door | Red, green, blue | The rightmost gems below the door |
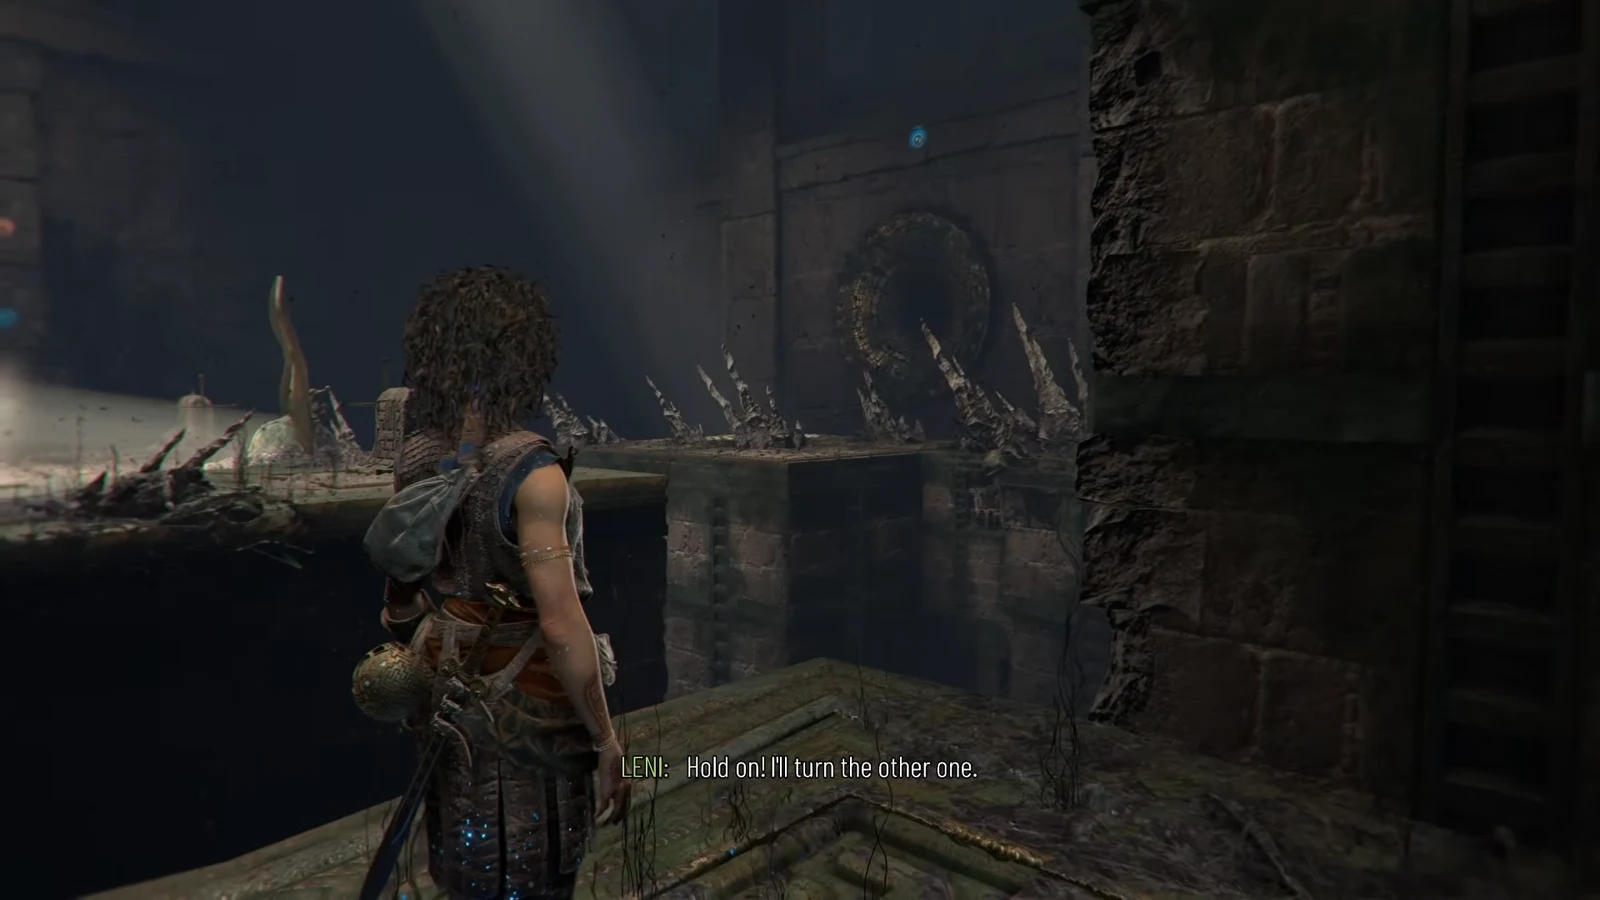
After the first door opens, the corridor beyond has a spike trap running through the middle of the walkway, so time the jumps rather than sprinting. At the end of that corridor, swing a beam to the left to burn away the petrified ash blocking the route to the second door.
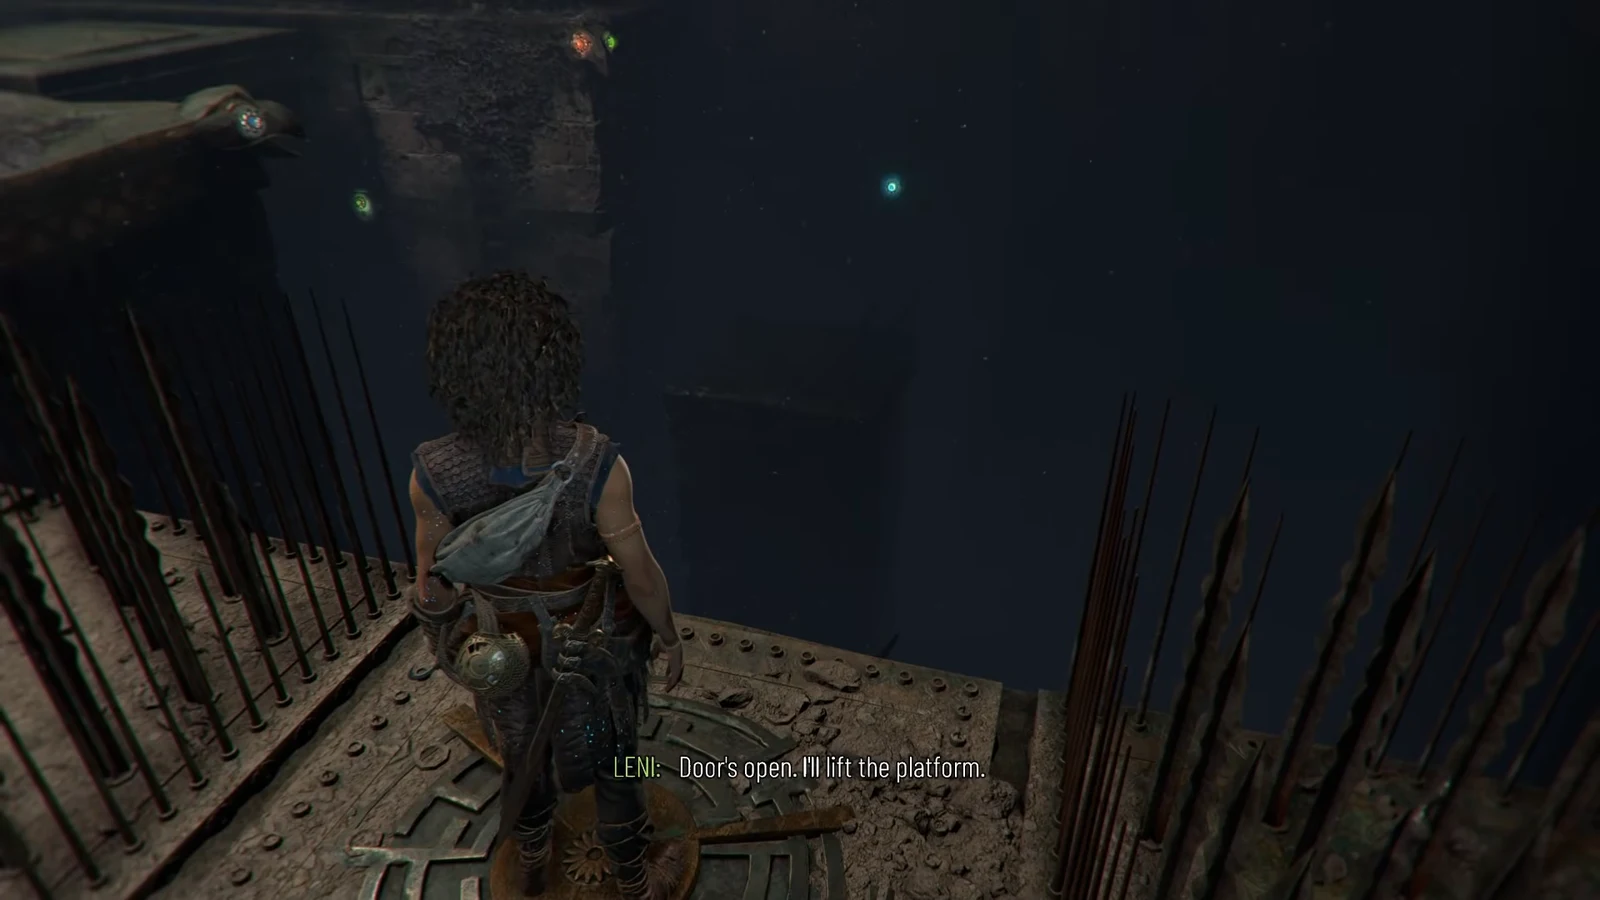
Third statue door: cranks, platforms, and the spike floor
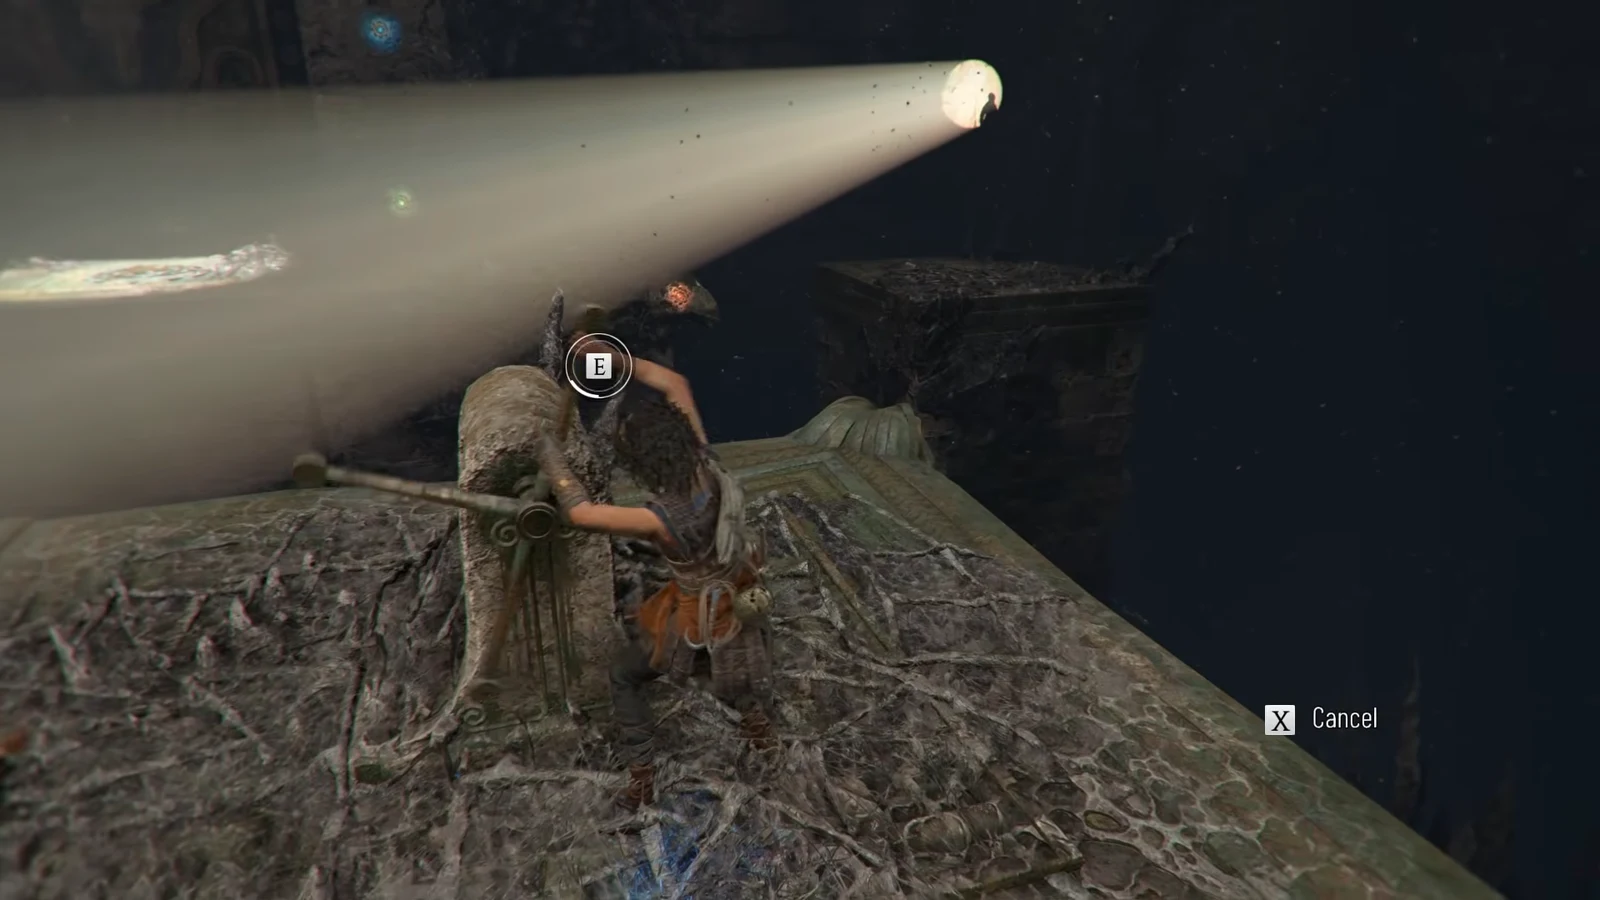
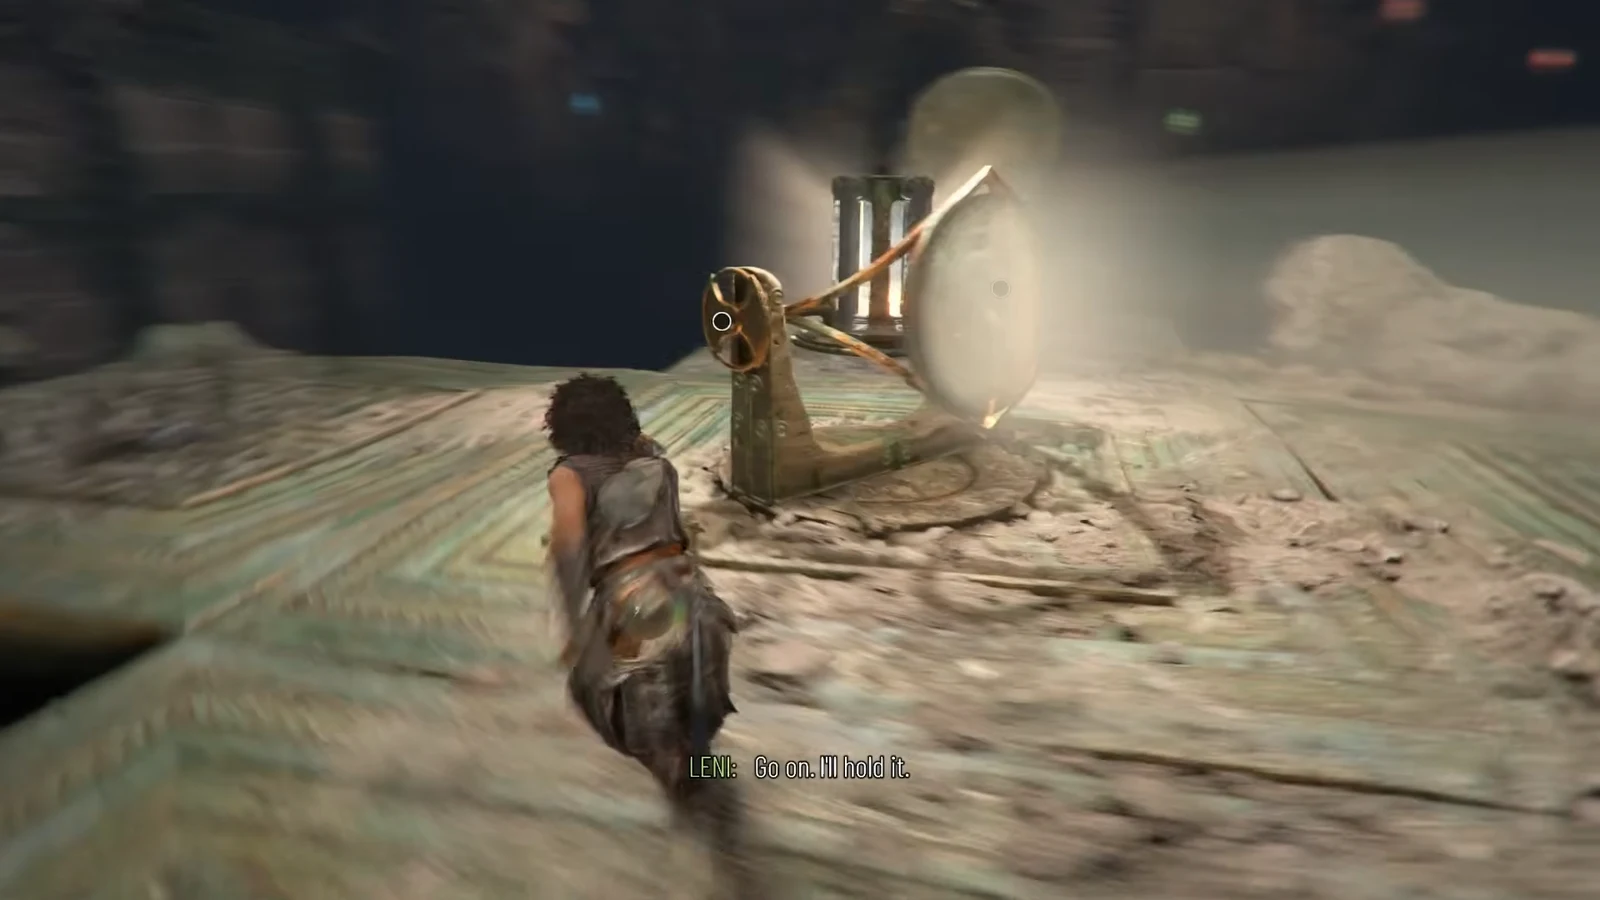
The last room is the long one. It combines everything the Trial has taught you, and it needs Leni holding cranks while you move, so nothing here can be rushed. Work through it in this order.
How to confirm the alignment worked
A gem locks in the moment the correct beam touches it, and the mechanism only responds once all three are held at the same time. Correct doors grind open and reveal the path beyond; correct wall gems raise or shift platforms immediately. If the beams are on target but nothing moves, one color is sitting on a gem of a different color, or a beam is clipping a wall on the way over.
Common reasons the puzzle will not trigger
- Standing off the flower-marked floor dial, which stops the beams from projecting at all.
- Picking the wrong blue gem at the second statue door, where several are visible from the plate.
- Leaving petrified ash in place, so a gem, mirror, or crank stays hidden.
- Moving before Leni finishes turning her crank, which drops the platform you were about to use.
- Walking the spike floor without the path-reveal mode active. The blue line is the only safe route and stepping off it kills Sophia.
Once the third statue door is behind you, the route continues toward the second symbol, which you carry back to the pedestal room and slot in front of the matching path. The same light-splitting rules apply to the mirror room and the optional bull pillar later in the chapter, so the muscle memory you build here carries straight through the rest of the Second Trial.