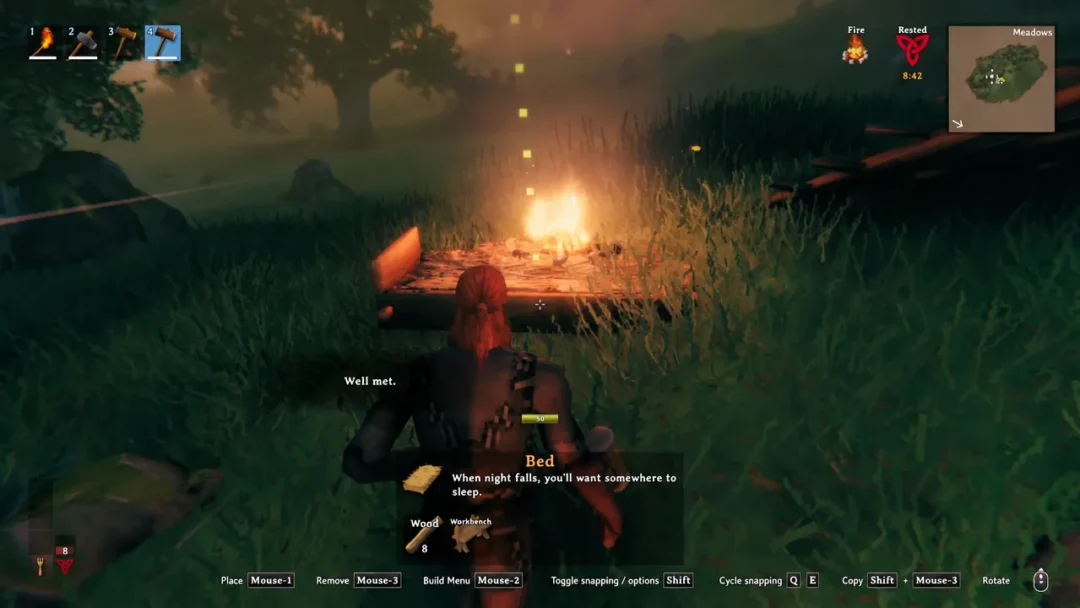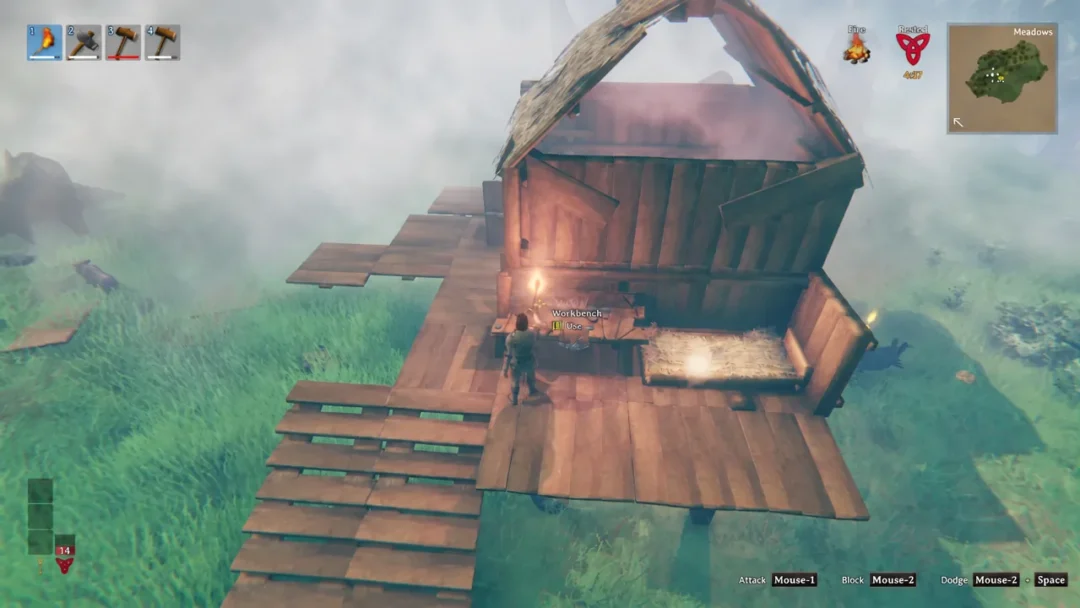
Terrain in Valheim is not decoration. Uneven ground breaks floor placement, wastes building pieces, and leaves gaps under walls, so most bases start with a few minutes of digging and flattening before a single beam goes down. The hoe handles almost all of that work, with a pickaxe filling the one gap it can’t.
Quick answer: Craft a hoe with 5 Wood and 2 Stone at a sheltered Workbench, then left-click to level ground to the height of your feet. Right-click opens the menu, where Raise Ground lifts terrain for 2 Stone per click while you stand near a Workbench. To dig down more than a small amount, swap to a pickaxe.
Crafting the hoe: Workbench requirements and materials
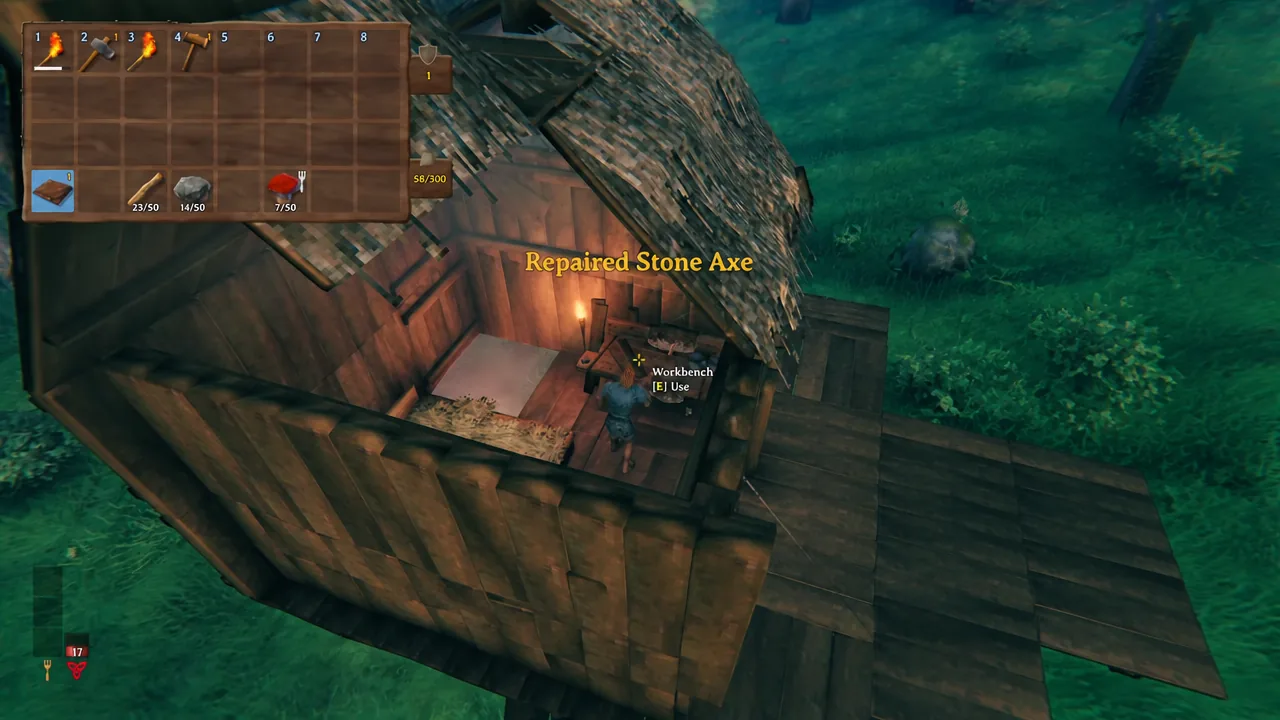
The hoe is a Workbench recipe, and the Workbench itself only works when it has a roof over it. If the bench shows as inactive, put walls or a roof piece above it before opening the crafting tab. It’s a two-handed tool weighing 2.0, so it takes the place of your weapon while equipped.
| Quality | Materials | Durability | Workbench level |
|---|---|---|---|
| 1 (craft) | 5 Wood, 2 Stone | 200 | 1 |
| 2 (upgrade) | 1 Wood, 1 Stone | 400 | 2 |
| 3 (upgrade) | 2 Wood, 2 Stone | 600 | 3 |
Repairing costs nothing, so upgrading is mostly about how often you want to walk back to a bench mid-project. A quality 3 hoe triples the durability pool of a fresh one.
Leveling ground: Your feet set the target height
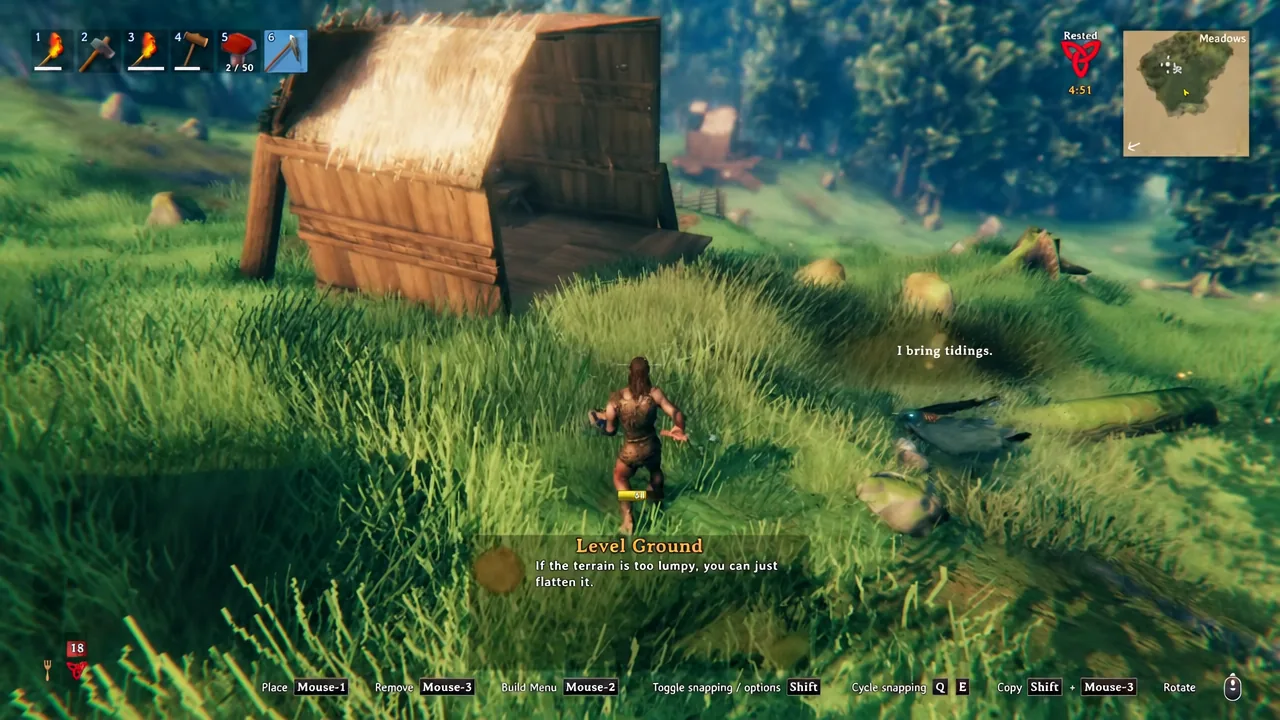
Equip the hoe and left-click with the default Level Ground mode selected. The yellow circle on the ground is the area of effect, and everything inside it is pulled toward the height your character is standing at. Terrain higher than you comes down; terrain lower than you comes up. Each swing drains stamina, so flattening a large plot is done in bursts.
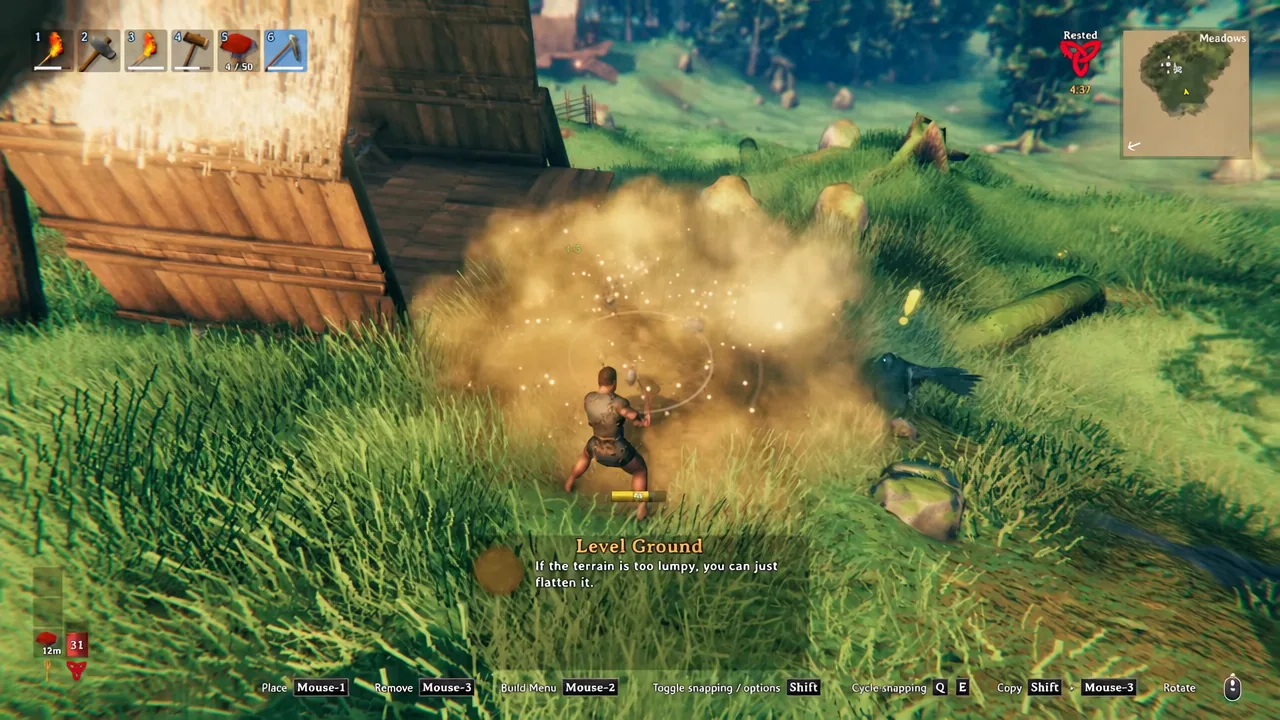
Because the reference point is your position, the reliable method is to pick the exact height you want your floor at, stand there, and clear as much of the surrounding circle as you can reach without moving. Then step to another spot already at that same height and repeat. Walking uphill mid-job and continuing to click is how people end up with a stepped, terraced mess.
Holding shift while you click changes the reference. Instead of using your feet, the hoe locks onto the height of the terrain you’re aiming at, which is useful for matching an existing flat patch you can’t comfortably stand on.
Raise Ground: Stone cost and Workbench range
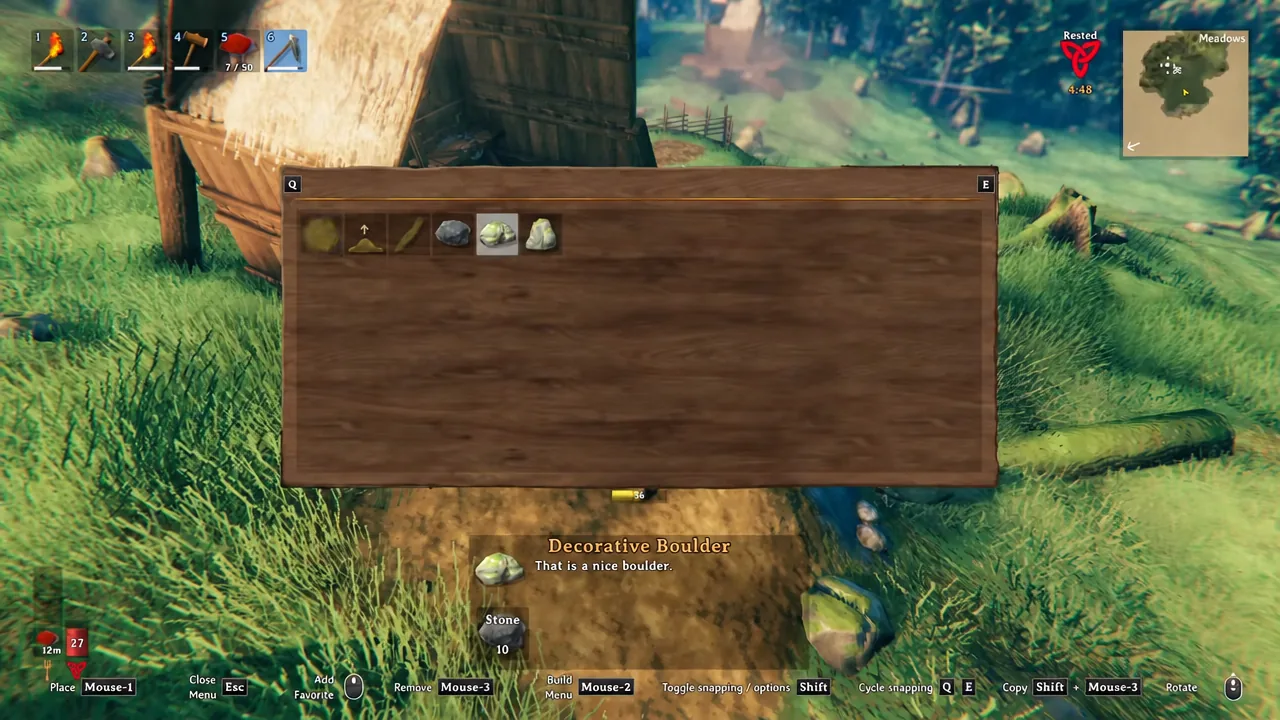
Right-click (Mouse-2) opens the hoe’s build menu, the same style of radial selection the hammer uses. Raise Ground sits alongside Level Ground, Pathen, and the decorative options.
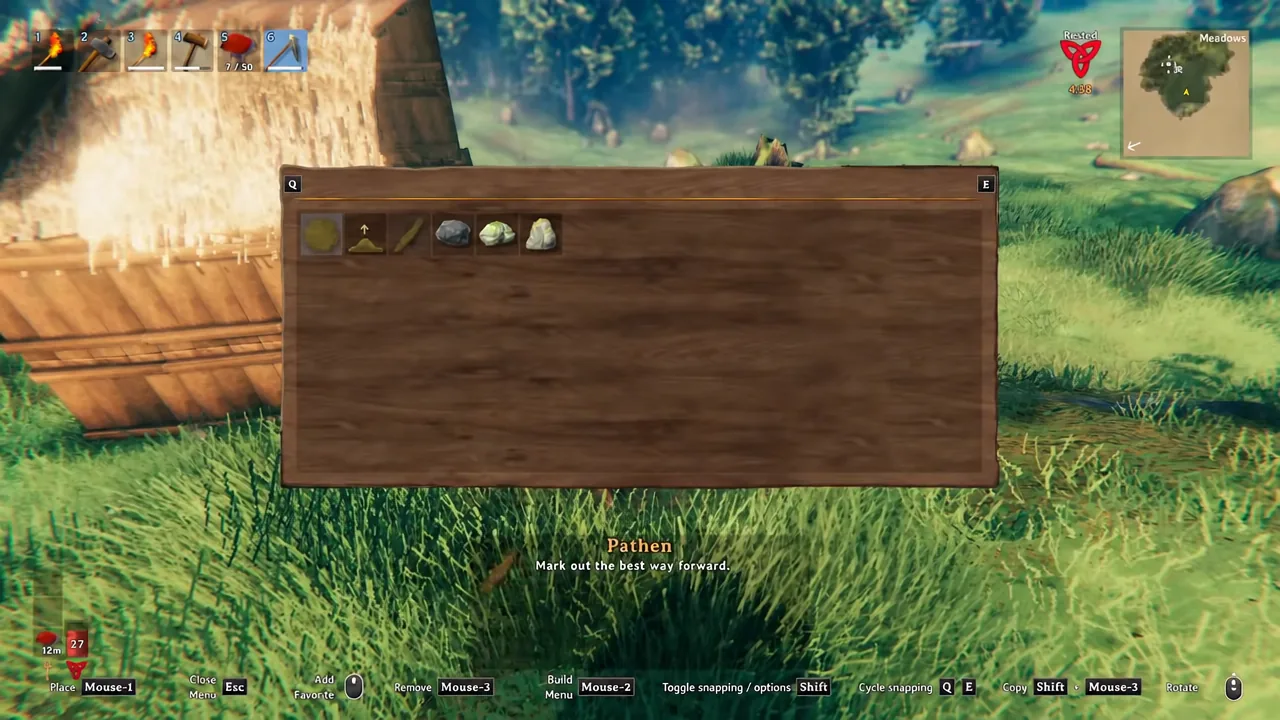
Raise Ground fills holes and builds up elevated platforms, and it has two requirements the leveling mode doesn’t. Every click spends 2 Stone, and you need to be inside a Workbench’s build radius, marked by the white dotted boundary. Away from a bench, the option simply won’t fire.
One trick saves a lot of stone at cliff edges. Rather than raising from the bottom of a drop and working upward one layer at a time, aim at the top lip of the slope and raise there. The lifted section pulls the ground beneath it up with it, so far fewer clicks are needed to close the gap.
Raised earth also has a structural use. Building pieces attached to a pillar of raised terrain each count as a foundation and show blue on the hammer’s integrity colouring, which lets stone structures climb far higher than they could from a flat base.
Lowering ground: Why you need a pickaxe
The hoe can pull terrain down, but only slightly, and only when leveling toward a lower standing position. For real digging you want a pickaxe, starting with the Antler Pickaxe, which is the first tool in the game capable of removing meaningful amounts of earth.
There is a hard floor on how far down you can go. Terrain is stored as a height map rather than voxels, and each spot can only be lowered a set distance from the height it had when the world generated. Total raising and lowering is capped at roughly 15 to 20 units around that original mesh height, and that height varies across the map, so a mound that stops responding may sit next to ground that digs another few metres without complaint. Nothing you do will push past that limit at a given spot.
Note: Since true tunnels aren’t supported, lowering terrain is the only way to fake sunken or underground rooms, and the depth cap sets how deep those can go.
Fixing spots that refuse to level
A common failure looks like this. You stand on your foundation line, swing at an obvious mound, dirt particles fly, and the terrain does not move at all. That’s the height cap for that patch, not a bug, and repeating the swing from other angles won’t change it. Fix it by combining tools instead.
If a patch still resists after a pickaxe tap and a re-level, you have hit the depth or height limit for that terrain. Rocks buried under the surface can also block progress, and a pickaxe clears those too. Otherwise, build up rather than down, or shape the structure around the bump.
Pathen and Decorative Boulder in the hoe menu
Two more entries in the hoe menu change how ground looks rather than how high it sits. Pathen strips grass and lays a dirt track, described in-game as marking out the best way forward, and Paved Road gives a harder surface for the same purpose. Neither alters terrain height.
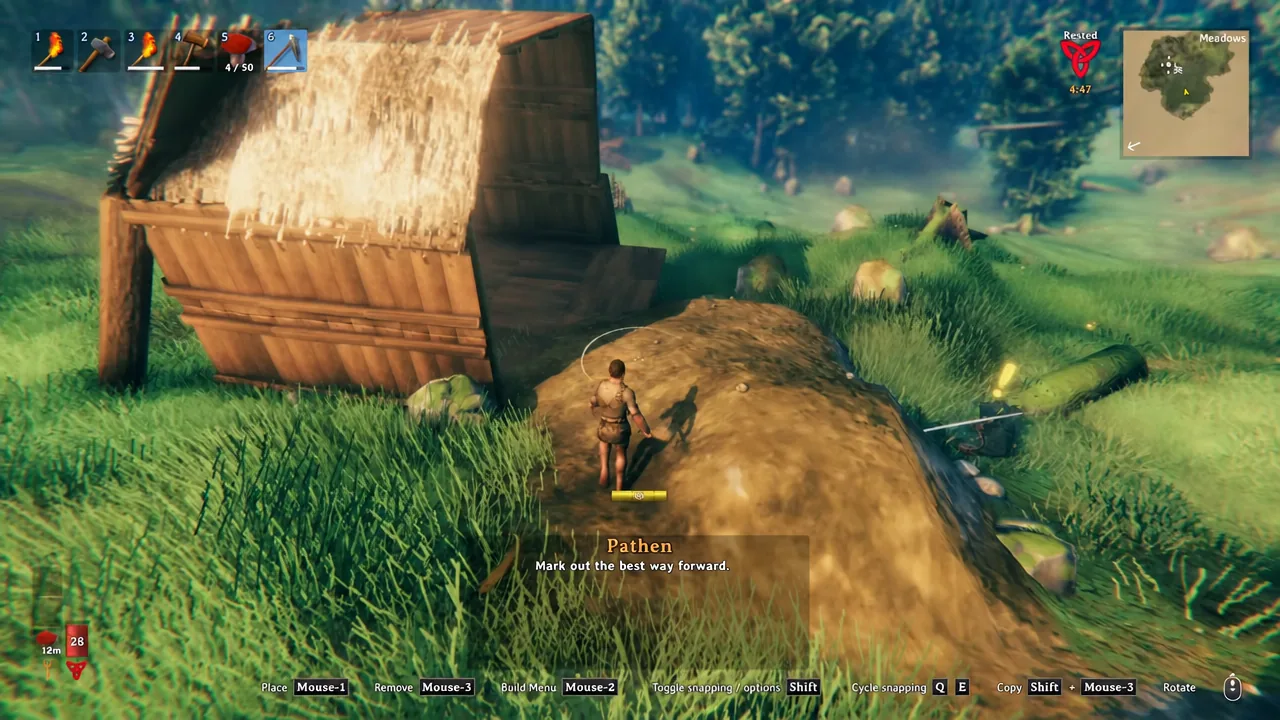
Decorative Boulder places an ornamental rock formation for 10 Stone. It’s cosmetic, and it’s the only hoe option that spends stone on something other than terrain height.
Clearing ground cover with the hoe won’t wipe out berry bushes, so you can tidy a path through a patch without losing the harvest.
Terrain walls as base defence
Raised earth has one advantage over wood and stone walls. Enemies can’t break through it or dig under it, so a ring of raised terrain around a base functions as a barrier that never needs repairing. The cost is 2 Stone per click plus stamina, which makes it cheap compared to keeping a stake wall standing through raids.
Bring more stone than you think you need before starting a large earthworks project. Between raising, correcting stuck patches, and re-leveling afterwards, the total spend adds up fast, and running dry halfway through means a long walk back to the Black Forest or a mountain slope for more.