Every axe, sword, shield, and piece of armour in Valheim wears down with use, and a tool at zero durability stops working entirely. Crafting a replacement is the expensive answer. Repairing is the free one, and it takes about three seconds once you know where the button hides.
Quick answer: Stand at a sheltered workbench with the damaged gear in your inventory, press E to open it, then click the small hammer icon to the left of the crafting list once per item until it greys out. No materials are consumed.
What you need before you can repair anything
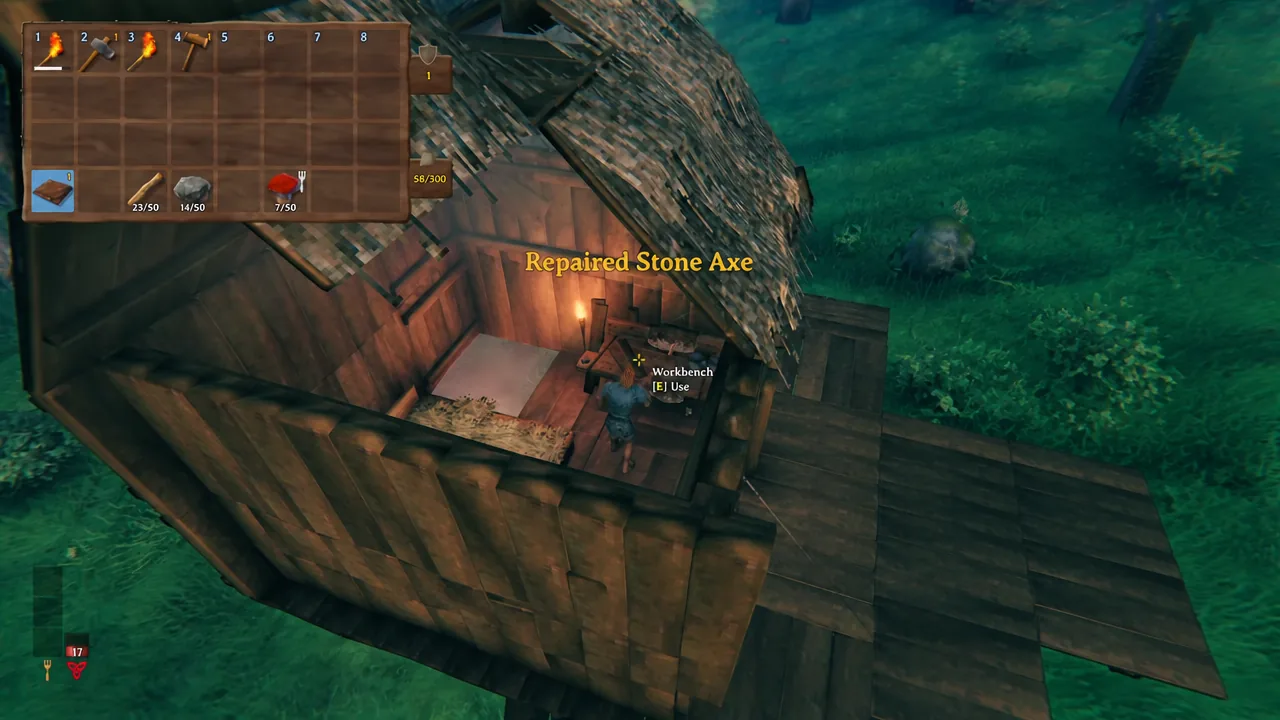
The workbench is the entry-level repair station, and building one costs a hammer plus ten wood. Placing it is only half the job. A workbench will not open its crafting menu unless it is covered, so it needs a roof overhead and enough walls around it to count as sheltered. A bare bench dropped in open Meadows will refuse to work.
The other requirement is matching the station to the item. Gear is repaired at the same crafting station that produced it, so a stone axe or a wooden shield goes back to the workbench, while bronze and iron equipment made at a forge has to be repaired at a forge. Keeping both stations under one roof at your main base saves a lot of running around.
| What you’re fixing | Where it happens |
|---|---|
| Tools, weapons, and armour crafted at a workbench | Sheltered workbench, hammer icon in the crafting menu |
| Gear crafted at a forge | Forge, same hammer icon |
| Walls, roofs, and other built structures | Hammer equipped in hand, near a workbench |
| Carts and boats | Hammer equipped in hand, near a workbench |
How to repair tools, weapons, and armour
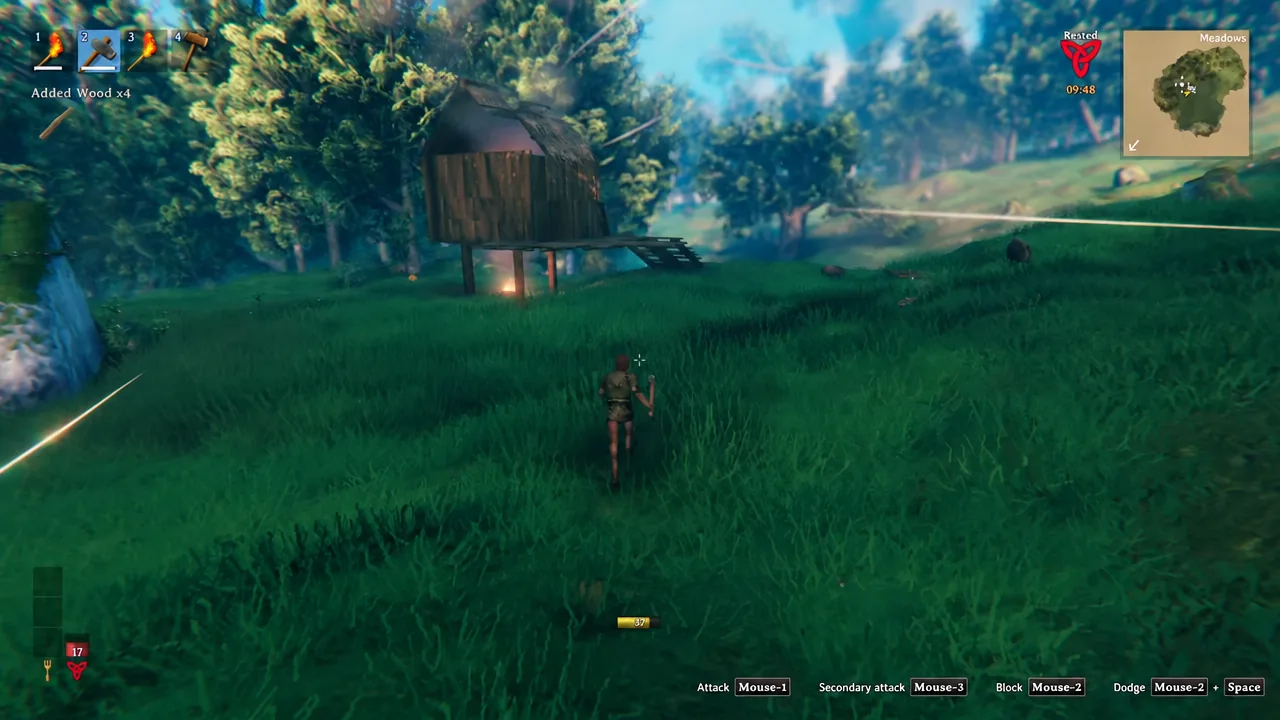
E by default, when the “Workbench [E] Use” prompt appears. This opens the crafting menu with its CRAFT and UPGRADE tabs.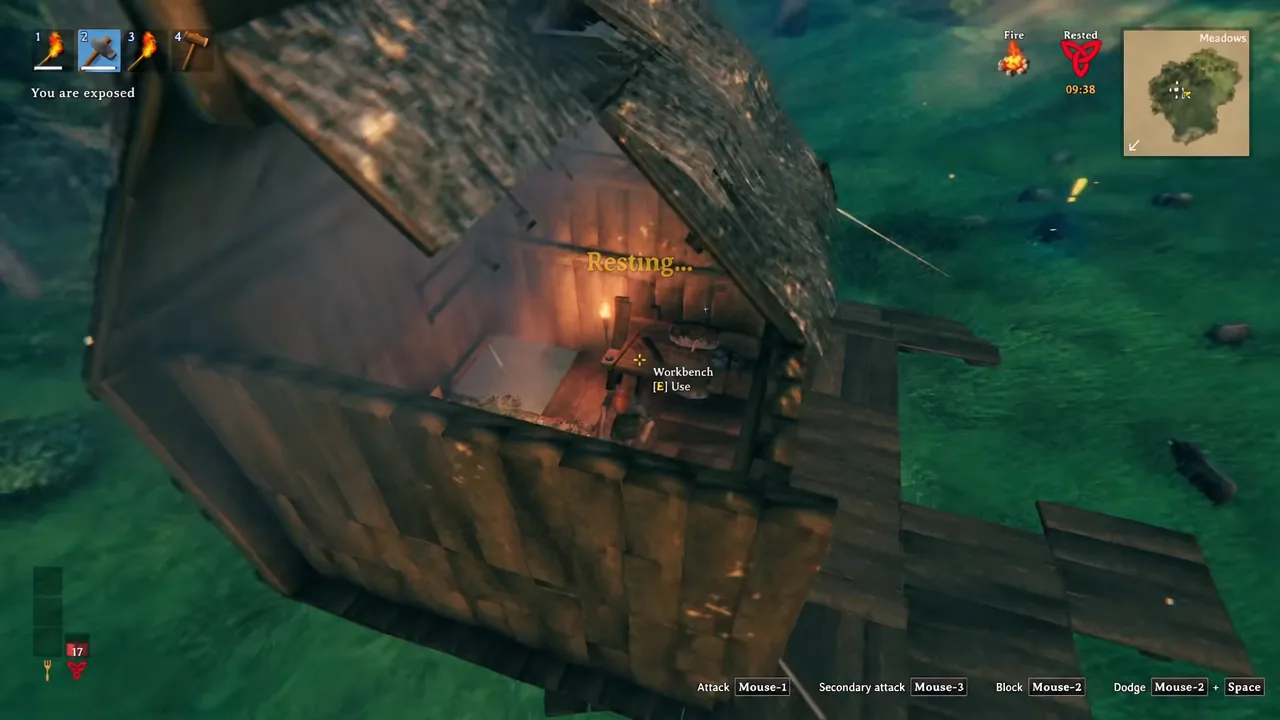
Note: repairing is completely free. No wood, no metal, no coins. There is no reason to leave a scratched-up axe unrepaired before an expedition.
How to confirm the repair worked
Each successful click prints a message naming the item, such as “Repaired Stone Axe.” Hover over that item afterwards and its tooltip should read Durability: 100% (100/100), with the bar under the icon restored to full length. Once the hammer icon is greyed out, everything repairable in your inventory is already at full strength.
Why the repair option isn’t showing up
There are only a handful of reasons the hammer icon refuses to do anything.
- The workbench is not sheltered. Add a roof over it and enough cover around the sides, then interact again.
- The item was made at a different station. Bronze and iron gear needs a forge, not a workbench.
- The gear is in a chest rather than on your character. Move it into your inventory first.
- Nothing is actually damaged. A greyed-out hammer means there is nothing left to fix.
Repairing buildings, carts, and boats
Structures use a different method entirely. Equip your hammer and hold it out, then point at any piece you have built to see its current health. Hitting the damaged piece with the hammer restores it to full. The same trick works on carts and boats, and in every case you need to be standing within range of a workbench for it to register.
One useful side effect of having a workbench placed at all is that monsters stop spawning inside its radius, so your base doubles as a safe spot to sort through gear.
The habit worth building is repairing the moment you get home rather than the moment before you leave, because a pickaxe that snaps halfway through an iron run in the Swamp is a long walk wasted. Carrying a spare axe or pickaxe covers you when something does break in the field, and since repairs cost nothing, there is no penalty for topping up your whole kit after every trip.