St. Mihai’s Silver Sword ends up as one of the hardest-hitting weapons in The Blood of Dawnwalker, but the game never hands it over in one piece. The Forge It Anew quest chain splits the blade into three Sword Shards scattered across Vale Sangora, keeps the hilt locked behind a separate quest in Svartrau, and then asks you to survive a wave fight before the weapon reaches its final form.
Quick answer: Grab the three Sword Shards from the Do Not Disturb, Executive Order, and Hostile Takeover objectives, pick up the Broken Sword of St. Mihai from the A Monk and a Saint quest, hand everything to the Uriashi Blacksmith beside the Uriashi Hermitage Shrine in the Briar Sloughs, then complete the altar ritual roughly 200 meters northwest of her camp to receive the Imbued Sword of St. Mihai.
Forge It Anew requirements and time segment costs
Nothing about the forge works until all four quest items sit in your inventory at once. Each shard pickup also burns three time segments, so the full chain is expensive in a game built around a ticking clock.
| Requirement | Where it comes from | Cost |
|---|---|---|
| Sword Shard 1 | Forge It Anew: Do Not Disturb | 3 time segments |
| Sword Shard 2 | Forge It Anew: Executive Order | 3 time segments |
| Sword Shard 3 | Forge It Anew: Hostile Takeover | 3 time segments |
| Broken Sword of St. Mihai (hilt) | A Monk and a Saint, in Svartrau | Quest reward |
| Final ritual | Cave northwest of the Uriashi Hermitage | 3 time segments |
You can stumble into the first cave long before the chain is meant to be finished. The later stages are tuned for a stronger Coen, and the enemies guarding the last shard hit noticeably harder than the wildlife you fight around Laslea.
How to trigger the Forge It Anew quest
Two things put Forge It Anew in your journal. Walking into any of the three kobold caves works, because each one holds a crude wall painting of the valley that marks the remaining sites on your world map. The other route runs through A Monk and a Saint, where you defeat St. Mihai and read the note inside his coffin, which tells you the blade was broken apart.

Note: If the objectives never appear, don’t go hunting for a missing shard. Confirm the coffin note was read, or inspect the painting in the cave you’re standing in.
All 3 Sword Shard locations in Vale Sangora
| Sub-quest | Region and landmark | Where the shard sits |
|---|---|---|
| Do Not Disturb | Northern Maragir Wealds, near the Upper Maragir Wealds Shrine and east of Mert’s Mill | At the shrine by the broken cross at the back of the cave |
| Executive Order | Cave east of Tantari Woods, northeast of the Birch Woodlet Shrine; shard moved to a Xanthe camp near the Drunken Bear Inn | Inside the main tent, on a barrel to the right of the entrance |
| Hostile Takeover | Northern Rockfalls near Shrike’s Crag, reached from the Giant’s Pawns Shrine | In the nest at the rear, after Munch-Munch dies |
Sword Shard 1: Do Not Disturb in the Maragir Wealds
Start at the abandoned camp in northern Maragir and sweep it with Focus Mode. You’ll turn up Florin’s Orders Note and a hand symbol painted on the rock next to it, plus a trail that leads uphill to a narrow cave mouth. Inside, corpses with torn throats hint at what has been living there.

Clear the kobolds nesting in the chamber, then interact with the shrine beside the broken cross at the rear to claim the shard. Before leaving, inspect the wall painting that maps the other two sites.
Sword Shard 2: Executive Order and the Xanthe camp
The cave east of Tantari Woods, southeast of the Crossroads Inn where Anca first appears, has already been emptied. Xanthe’s soldiers killed the kobolds and took the shard with them. Loot the bodies and read the note to get the camp marked on your map, roughly 900 meters away toward the Drunken Bear Inn.
The camp holds several guards, and a straight fight is punishing if this is your first run-in with Xanthe’s troops. Scouting from a higher vantage point first is worth the minute it costs.

If you’d rather skip the brawl, hit one soldier along the northern edge and pull the group up the slope. Wild boar in the area often join in and keep the guards busy. Sprint wide around the swamps to drop aggro, then head straight into the main tent and take the Sword Shard from the barrel on the right, along with the Letter from Xanthe.
There’s a prisoner held in the camp as well. Talking to him opens a choice about what to do with him before you leave.

Sword Shard 3: Hostile Takeover and the Munch-Munch fight
Fast travel to the Giant’s Pawns Shrine in the forest north of the Rockfalls, near Shrike’s Crag. Two Ravenous Bears patrol the woods here. Deal with them, then follow the path north and swing west to the cave, ducking under the low entrance to get inside.
The kobolds that lived here are already dead, killed by Munch-Munch, a Wrongs-variant miniboss. Its claw swipes and breath attack both apply poison, so block and dodge rather than trading hits, and use Dirty Trick, which it is vulnerable to.

With Munch-Munch down, loot the shrine in the nest at the back for the final shard. Coen will point out that the blade is now whole but still has no hilt.
Broken Sword of St. Mihai: where to get the hilt
The hilt is a separate item called the Broken Sword of St. Mihai, and it drops from the A Monk and a Saint quest in Svartrau. That quest is long on its own and ends with you inside the crypt beneath the Svartrau cathedral, face to face with what is left of the saint. Without it, the blacksmith turns you away no matter how many shards you carry.
Reforging the blade at the Uriashi Blacksmith
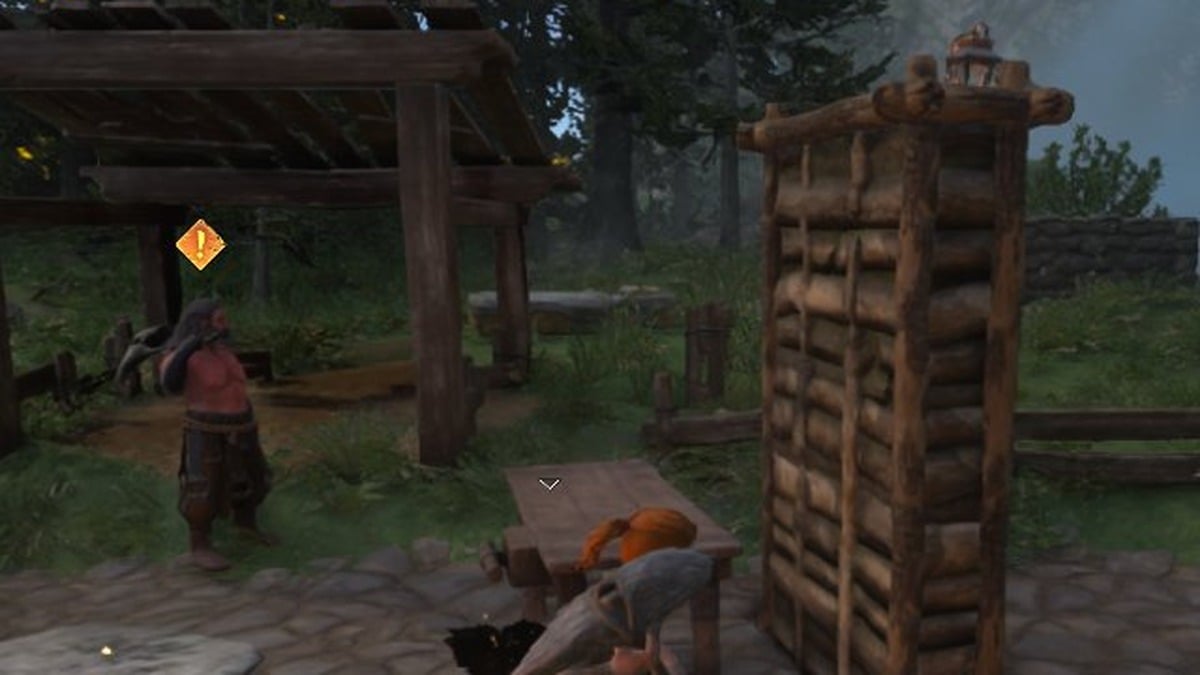
Only one smith in Vale Sangora can work silver like this, and she lives alone at the Uriashi Hermitage in the far corner of the Briar Sloughs, well northwest of Mert’s Mill through the woods. Forge It Anew marks her position on your map once you hold a shard.
Tip: Make a manual save before the final turn-in if you’re tracking missable gear elsewhere in the same run.
Completing the ritual for the Imbued Sword of St. Mihai
The blacksmith marks a new point about 200 meters northwest of the hermitage, further out toward the map’s edge. The entrance there is sealed behind thick red vines, which you cut apart with your sword.
Inside is a cavern full of dryad-like undead. Push through to the innermost chamber, inspect the altar, and start the ritual when you’re ready, which costs three time segments. That summons the Echoing Anger, a boss that calls in three waves of undead. It is one of the longest fights in the game, and the Restored Sword makes it considerably shorter.
Clear every wave, finish the ritual, and a short cutscene plays. The weapon becomes the Imbued Sword of St. Mihai, and the Arbiter’s Blade trophy and achievement unlock at the same moment. If neither happens, an enemy from a wave is still alive somewhere in the chamber.
Imbued Sword of St. Mihai stats
| Property | Effect |
|---|---|
| Rarity | Legendary |
| Swordmastery | Reduced ability cooldown |
| Critical hits | Increased crit chance and crit damage |
| Damage type | Extra damage against supernatural enemies |
| Weapon art | Hits a wide area |
If the Uriashi Blacksmith won’t reforge the sword
There are only two common reasons the forge step stalls. Either the hilt is still missing, in which case she asks you to return with it, or the game build is out of date. Hotfix 1.0.2 lists a fix for Uriashi holy-sword crafting specifically, so install it before assuming the quest is broken and rolling back to an older save.
Once the imbued blade is in hand, the natural follow-up is the Arbiter Armor set from A Bulwark Against Darkness, which pairs with the sword for the eventual run at Brencis and his court of boyars.