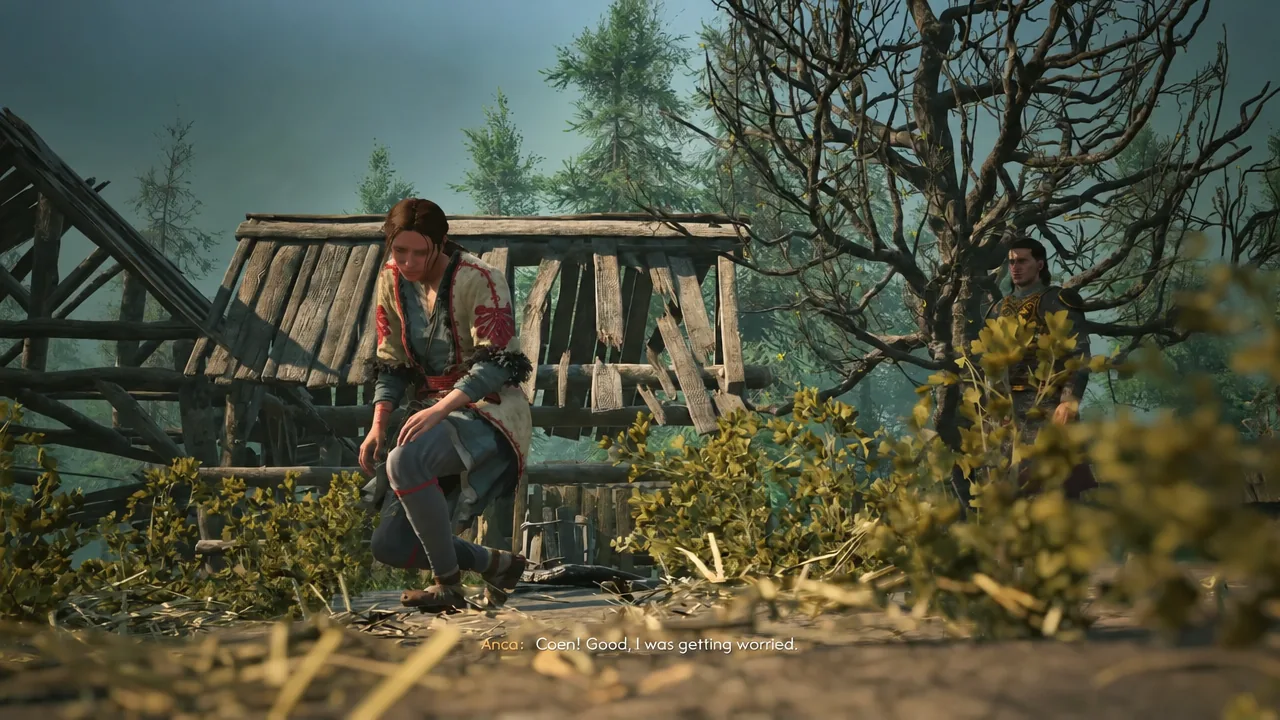
Anca, the herbalist from Coen’s home village of Laslea Glen, has the longest companion chain in The Blood of Dawnwalker. It starts during the prologue, runs through a plague-choked convent full of undead nuns, and ends in a ruined chamber where Coen bleeds himself to open the Font of Life. Several of the decisions along the way are permanent, and two of them decide whether her romance scene ever plays.
Quick answer: Stay for Latin practice during Withering Away, then clear Echoes of Silenced Bells, Between the Words, Where Old Devils Lie and Stronger Than Achilles in order. Let Anca keep Leonica’s notes, offer yourself as the blood sacrifice at the idol, and choose “Go ahead. Make what you will with it.” when she asks about the Font.
Anca quest order and how each one opens
The chain is strictly sequential. You cannot skip ahead, and a couple of entries need in-game time to pass before they appear on the map.
| Quest | How it becomes available |
|---|---|
| Page-Turner | Stay with Anca when it starts raining during the prologue quest Withering Away. Costs 2 Time Segments. |
| Echoes of Silenced Bells | Unlocks after the prologue closes with Smoke and Ashes, as long as Anca is still alive. |
| Between the Words | Follows the convent quest, when you sit down to read the recovered books together. |
| Most Precious Thing | Tied to the relic hunt inside St. Tyna’s Convent. |
| Where Old Devils Lie | Appears a day or two after Between the Words ends. |
| Stronger Than Achilles | Starts once the Font’s location is worked out. |
| A Bulwark Against Darkness | The follow-up quest that leads toward the Arbiter armor. |
Note: never speak to Anca while you are in vampire form with low health. Coen can feed on her, and killing her removes the entire chain from your playthrough.
Page-Turner: the prologue Latin session
Go to Anca’s Hut during Withering Away to buy the herbs for Esme. She is not inside, so check around the right-hand corner of the building by the river. After the purchase it begins to rain and she offers to practise Latin. Picking “Gladly – I’ve missed it too” costs 2 Time Segments and starts Page-Turner; “I really have to go” costs 1 and skips it.
Ask to read the book with the red cover for the earliest flirt line, then follow with “I enjoy the company more than the books.” This scene builds the earliest goodwill, but the romance can still be completed if the prologue is tight on time and you head straight home with the medicine. The choices that genuinely decide the ending all come later.
Echoes of Silenced Bells: clearing a safe route to the library
Meet Anca at the old inn in Svartrau City. She explains that St. Tyna’s Convent, the place that expelled her after she found its secret library, is now buried in plague fog. Follow the trail through the woods; a burning camp along the way holds a badly mutilated corpse belonging to one of Brencis’s men, which is worth investigating.
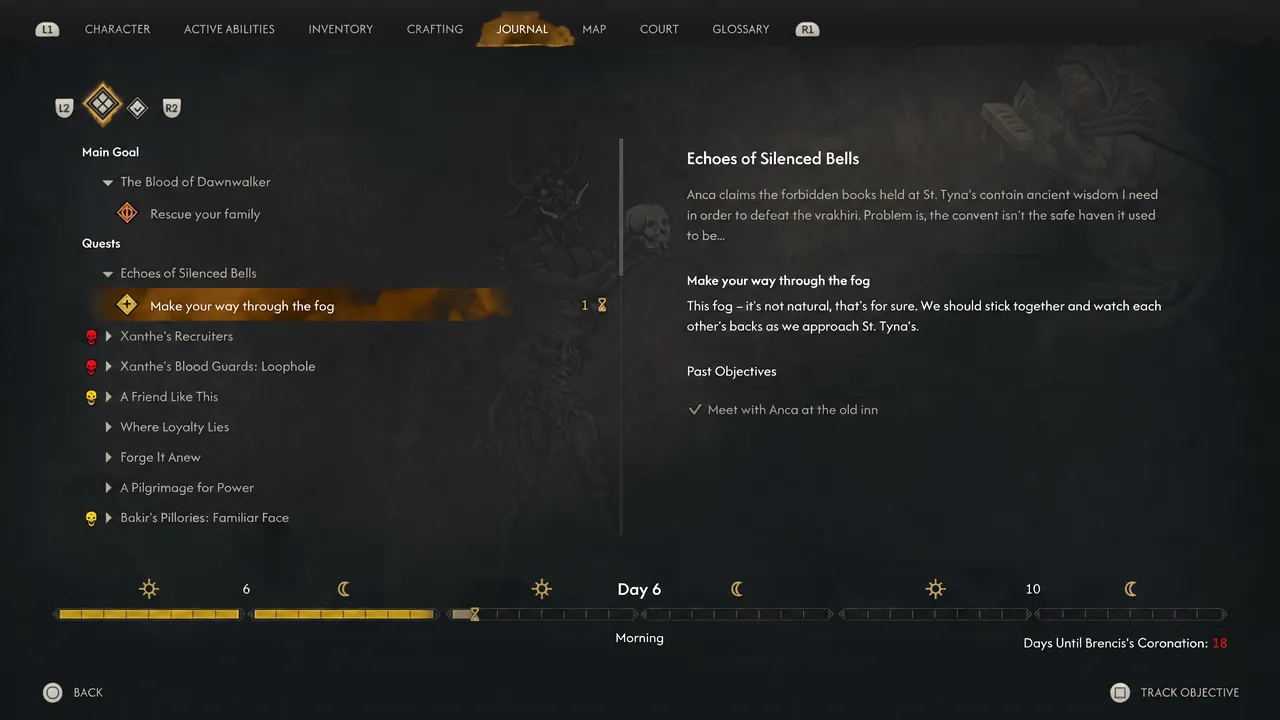
At the gates you will hear singing from inside. The nun who greets you is undead. Kill her, inspect the body — she fought someone before she died — and get indoors when the corpse twitches back to life. Anca sets up in the prioress’s study while you find her a safe path across the courtyard.
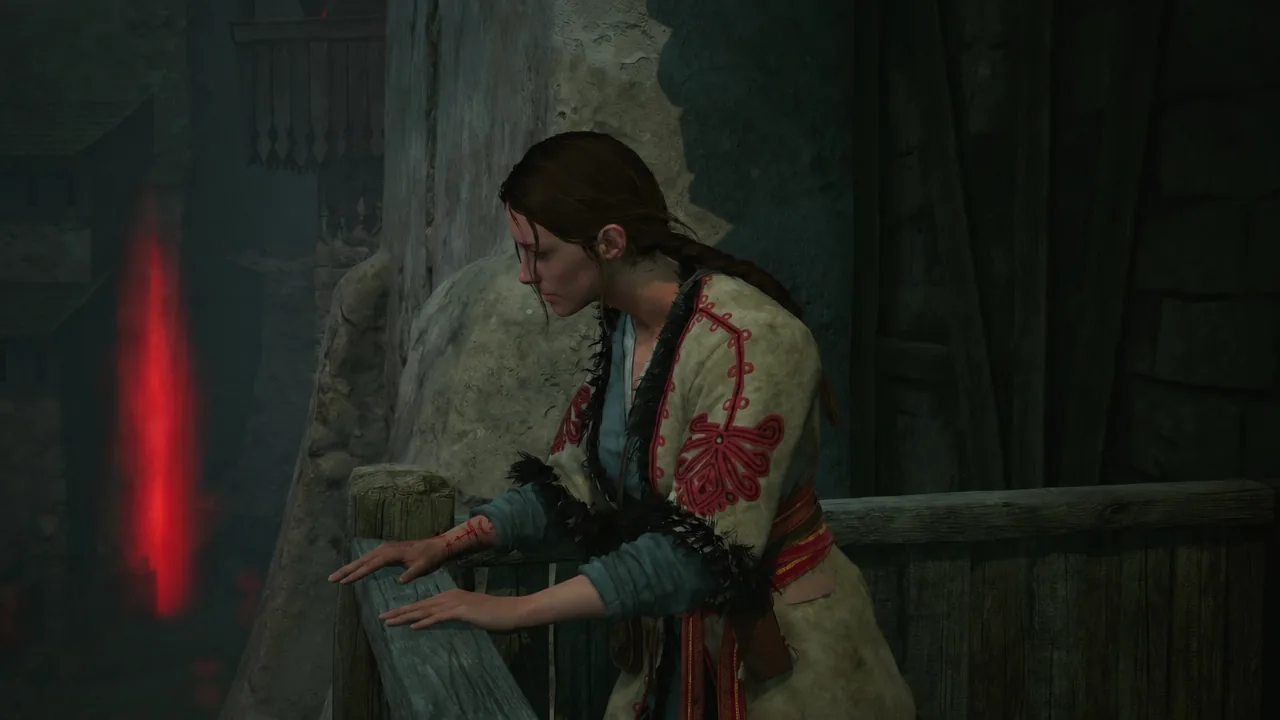
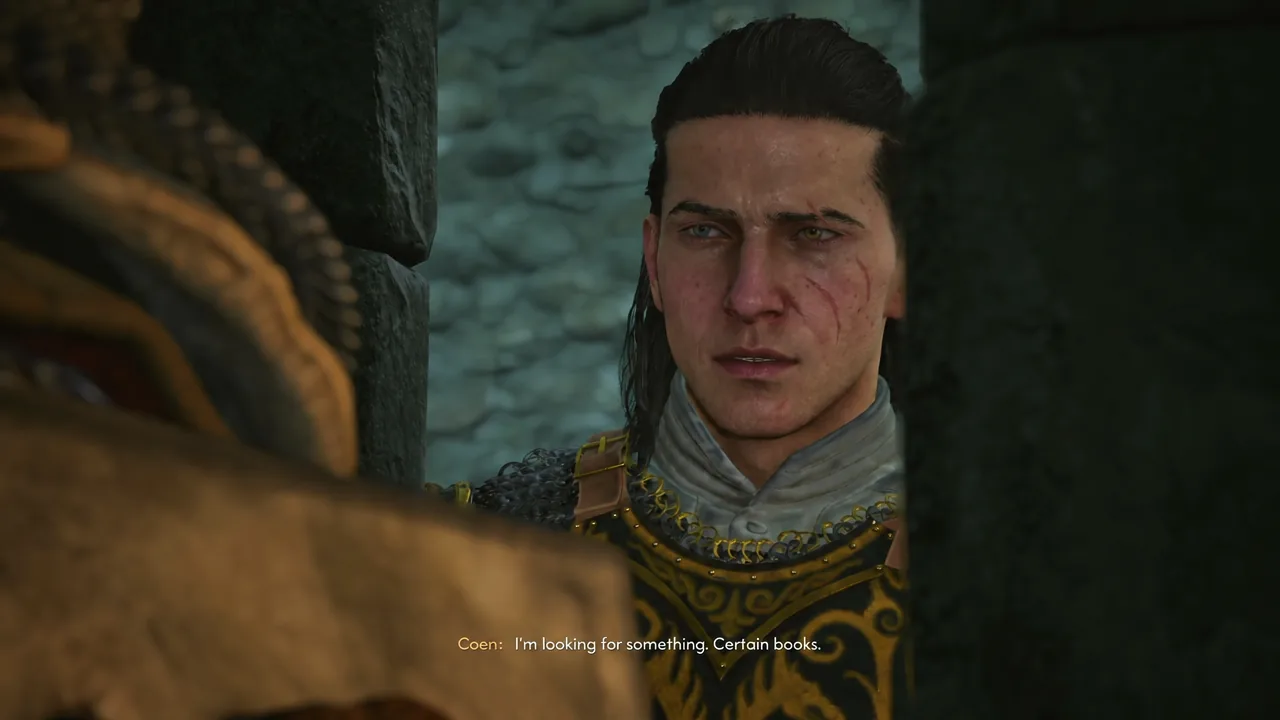
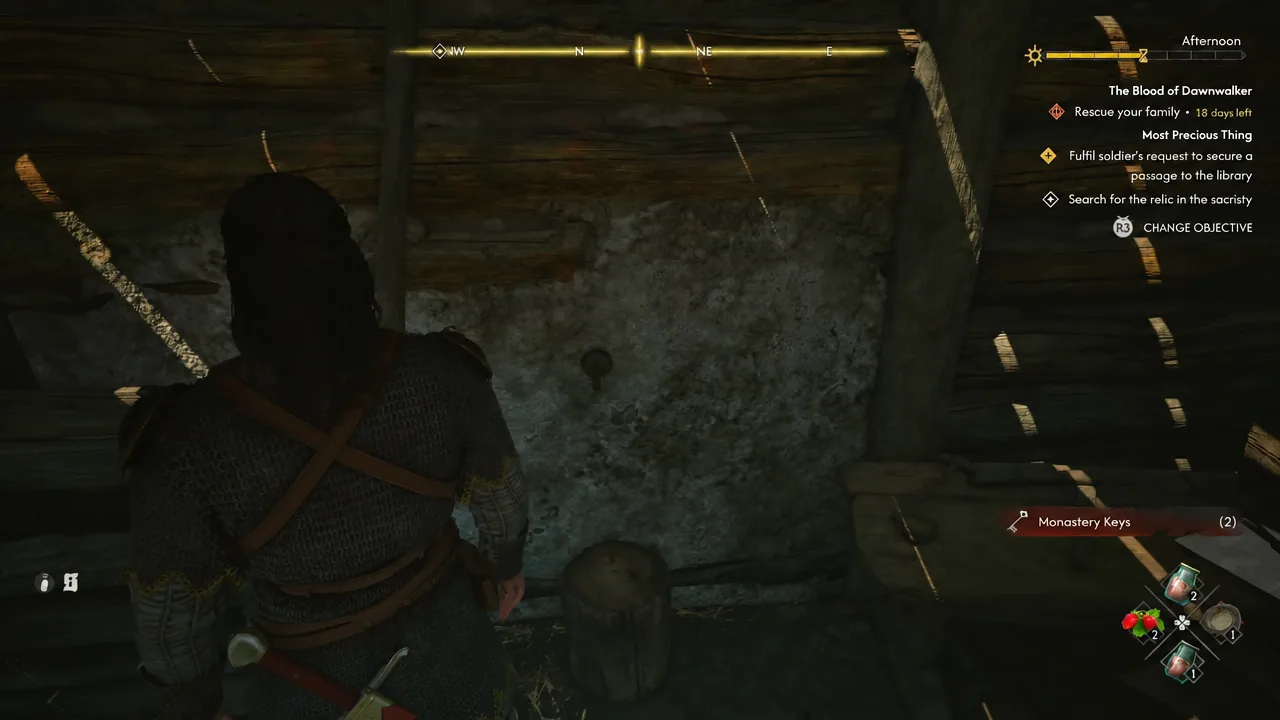
Searching the chapel first costs a Time Segment and is optional. Inside you can compel the soul of a dead nun using a rosary or a prayerbook as a catalyst, and she confirms the relic was moved to the sacristy. Also check the passage between the infirmary and the library for St. Tyna’s shinbone next to a corpse; it matters in a later quest and is easy to walk past.
Bell tower signals and the four routes to the library
The dormitory holds a document called “Campana Loquitur, Vel Introductio Pro Novitiis” explaining the convent’s bell code. Even in undeath the nuns obey it. You do not have to memorise the numbers — at the rope you simply pick which signal to ring.
| Signal | Where the nuns go |
|---|---|
| 3 tolls | The chapel, which empties the courtyard |
| 4 tolls | The infirmary, where Brencis’s soldiers are holed up |
| 5 tolls | The dormitory, which does not reliably clear Anca’s path |
The tower stands on the east side of the courtyard, right of the church entrance. By day, open it with the Monastery Keys and climb the stairs; at night Coen can climb the rooftops instead. From there you have four ways to finish the objective.
| Approach | Result |
|---|---|
| Ring three tolls only | Courtyard clears and Anca gets a direct route. You keep the relic. |
| Hand the relic to the officer | The soldiers honour the deal and open the upper infirmary passage, but the epic amulet is gone for good. |
| Hand it over, then say you changed your mind | They open the infirmary and attack. Kill them, loot the bodies, keep the relic. |
| Hand it over, ring four tolls, then three | The nuns storm the infirmary and kill the soldiers. Loot them undisturbed, keep the relic, and the courtyard is clear as well. |
Finishing every optional objective in this quest costs eight Time Segments; sticking to the essential steps costs six. Once the route is safe, return to the study, take Anca to the library and strip every bookshelf, book pile and container — several skill manuals are hidden here. Push aside the shelf she stands in front of to reveal a passage down to the catacombs.
Leonica and the notes decision
Follow the open passage north-west. The nuns down here stay dead once killed, unlike the ones in the courtyard. Past a table covered in witchcraft symbols and bloody notes, a large double door costs one Time Segment to open and triggers the fight with Leonica.
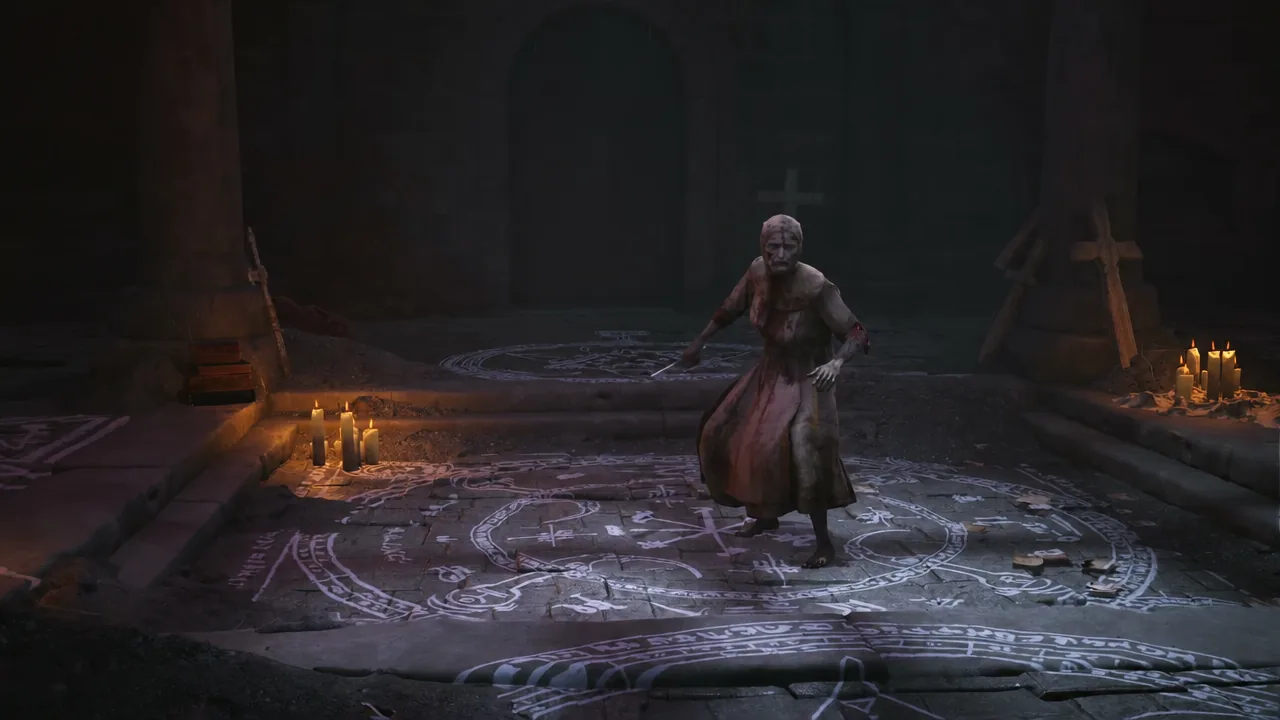
She mixes fast knife work with sorcery. Her knife strikes can be blocked or parried, but the close-range area attack marked with a skull icon cannot — dodge backwards. Sidestep the Voracious Swarm and her long-range projectile volleys, and expect her to teleport around the room between phases.
Afterwards, Anca wants to finish the spell Leonica was attempting in order to save her fellow nuns. Say “Pity we couldn’t do more for her” when the fight ends, and during the ritual choose “This won’t end well” followed by “There, take them.” Do not throw the notes into the fire. Burning them is allowed, but handing them over is what leaves Anca satisfied.
Between the Words: brew the tea before you read
Before you settle in with the books, prepare a warm drink for her. Nobody has looked after Anca in a long time, and the gesture opens the strongest dialogue branch in the quest. Take “It’s my pleasure” when she thanks you, then “There are better sources of joy than herbal brews.”
After the reading session, “Always? What do you mean?” leads into “Your feelings toward me – it’s more than just faith,” which is the first direct statement of interest on Coen’s side.
Where Old Devils Lie: solving the Font of Life riddle
Return to Anca and ask what she found. She translates passages about the Font of Life and a monk’s riddle left by Enolf. The answer is a mountain pond that reflects the sky, well away from Svartrau City. Once Coen names it, the lake is marked and you travel upstream together, fighting off wild beasts on the climb.
Thank her for her help and ask what she sees you as. She will acknowledge the bond and steer the conversation back to the job, which is normal. The flirt lines worth taking are “Who knows what else I have in store for you,” “Nice to see you smile” and “I’m enjoying your company, too.” When you sit by the lake, “Something troubling you?” followed by “I care about you, you know” keeps the thread alive.
Stronger Than Achilles: the blood sacrifice and the Font choice
The ruins above the pond hold undead guardians, including a dog, and end at the sealed chamber of the Font. Use Focus Mode on the murals and runes to learn what the ritual demands: a bare-chested sacrifice, marked with blood. Investigate the idol as well before you act.
You then decide who puts a hand into the statue. Offer yourself. Coen strips his armour, Anca paints the runes on his chest and back, and the choices that follow are “Better me than you,” “Alright… Wish me luck,” and [keep still] while she works. Feeding the idol your blood opens the chamber doors.
Inside, Anca admits she came here hoping to rid herself of her magical scars. This is the decisive moment. Take “You were hoping to use the Font yourself,” “I would, too, in your place,” “I’d do anything for you” and “I love you,” then hand her the Font with “Go ahead. Make what you will with it.” Drinking from it yourself does not block the romance outright, but it leaves Anca hesitant about the relationship afterwards and closes off the best version of her arc.
Talk to Anca to leave. Completing the quest awards the Sins of the Past trophy.
Confirming the romance back at the inn
Return to the inn after Stronger Than Achilles and bring up what you said in the ruins. “I meant what I said” or “I beg to differ” both push the conversation forward, followed by “Screw decency, I want you, too.” After the kiss, “Not sure I got that. One more time?” or “Leave me hungry for more” closes the scene. If the romance has landed, the cutscene plays here — there is no ambiguity about whether it worked.
| Mistake | Effect |
|---|---|
| Talking to Anca in vampire form at low health | Coen can feed on and kill her, ending every quest in the chain |
| Burning Leonica’s notes | Anca is noticeably less happy with the outcome |
| Letting Anca take the blood sacrifice | Loses the “Better me than you” branch |
| Drinking from the Font yourself | Anca becomes hesitant about the relationship later |
| Never confessing in the ruins | The inn conversation has nothing to build on |
With that done, A Bulwark Against Darkness opens as the last entry in Anca’s chain and points toward the Arbiter armor, so keep her questline in mind even after the romance resolves.