
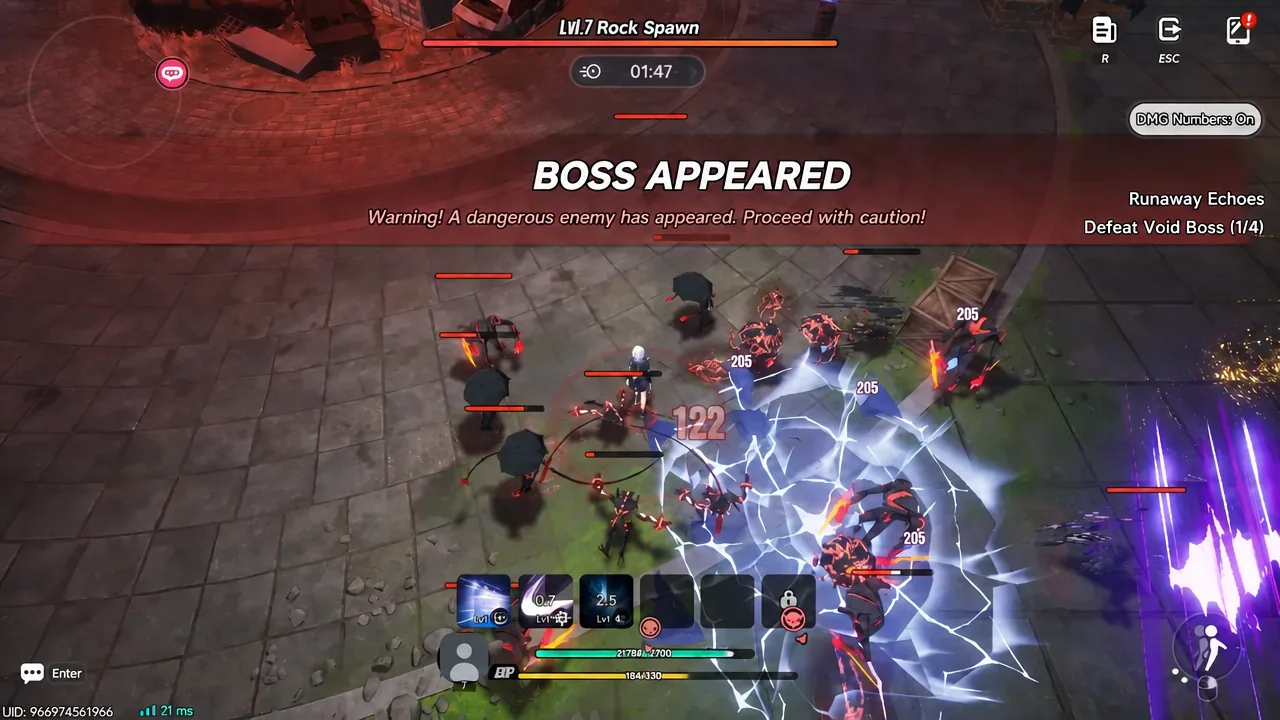
Runaway Echoes drops your character into an Anomalous Realm and buries them in monsters. Your basic skills fire on their own, so the entire mode comes down to two things: where you stand, and which upgrade cards you take when you level. It is live in Neverness to Everness through September 30, 05:59 (UTC+8), and it splits into two halves — a set of timed Simulation Drill stages, and Saga of Infinity, an endless survival run with no ceiling.
Quick answer: Every Simulation Drill is cleared by killing a set number of Echo Bosses before the clock runs out — one boss in 120 seconds for Drill I, scaling up to six bosses in 420 seconds for Drill VI. An Echo Boss spawns roughly every 60 seconds, so the timer always produces enough targets. You just need the damage to finish them.
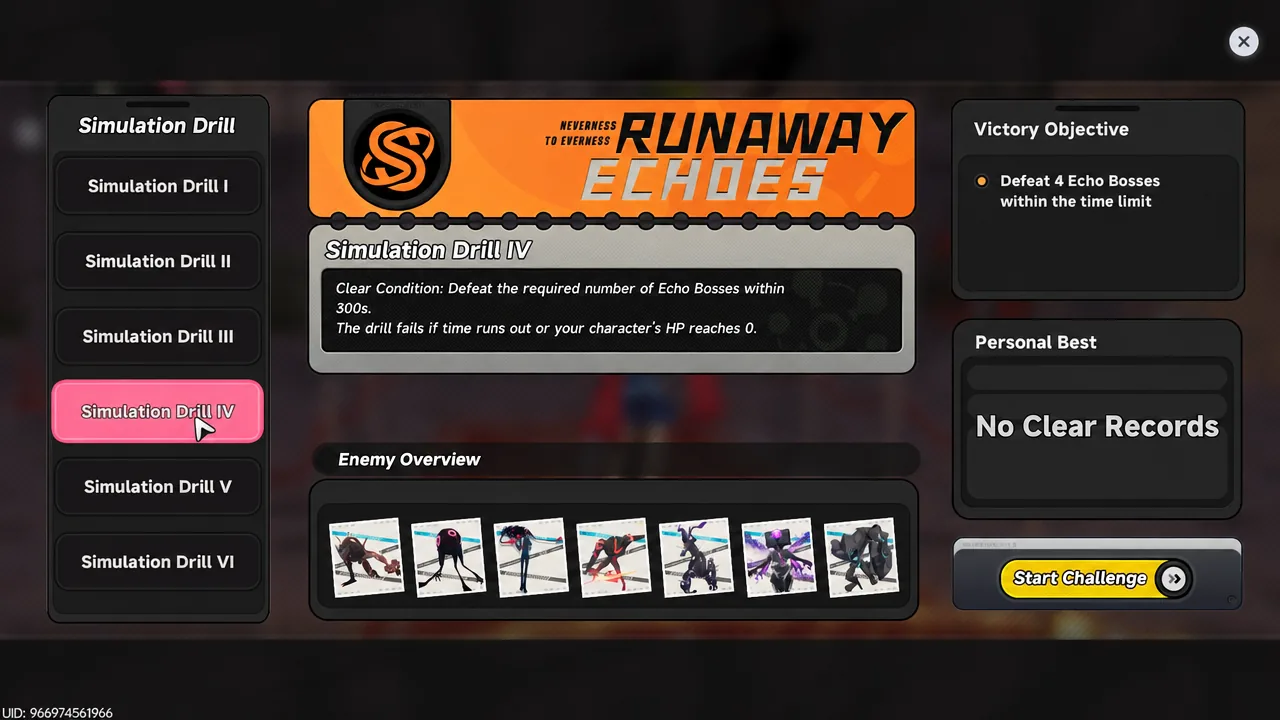
Simulation Drill clear conditions (I through VI)
Each drill hands you a longer timer and asks for one more Echo Boss than the stage before it. Nothing else changes about the win condition — surviving is not enough, and neither is a huge trash-mob kill count.
| Stage | Time limit | Echo Bosses required |
|---|---|---|
| Simulation Drill I | 120s | 1 |
| Simulation Drill II | 180s | 2 |
| Simulation Drill III | 240s | 3 |
| Simulation Drill IV | 300s | 4 |
| Simulation Drill V | 360s | 5 |
| Simulation Drill VI | 420s | 6 |
Pick a stage from the event menu, read the clear condition on the right-hand panel, then hit Start Challenge. You can replay any drill you have already beaten.
The 60-second Echo Boss rhythm
A boss arrives about once a minute, announced by a BOSS APPEARED banner and a warning that a dangerous enemy has entered the field. Early stages throw Rock Spawn at you at Lv.4, then Lv.7, Lv.10 and Lv.13. Push deeper into a long run and the level goes up by three each time, with Mammon taking over some of the slots — Lv.16 Mammon, Lv.19 Rock Spawn, Lv.22 Mammon, and onward past Lv.37.
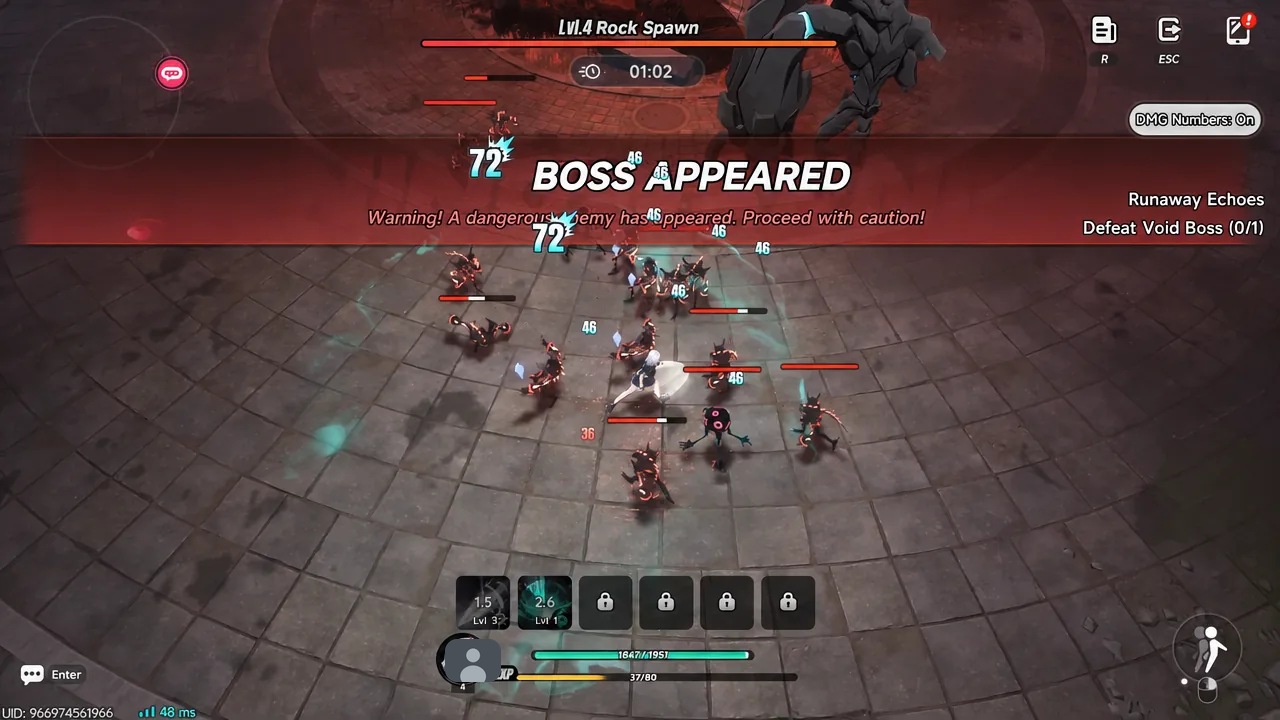
Bosses are also the biggest EXP drop in the mode, which makes them the engine of the whole run rather than an interruption. Killing one fast gives you extra levels, extra levels give you extra cards, and extra cards make the next boss easier. Fall behind that loop and a drill stalls out well before the timer does.
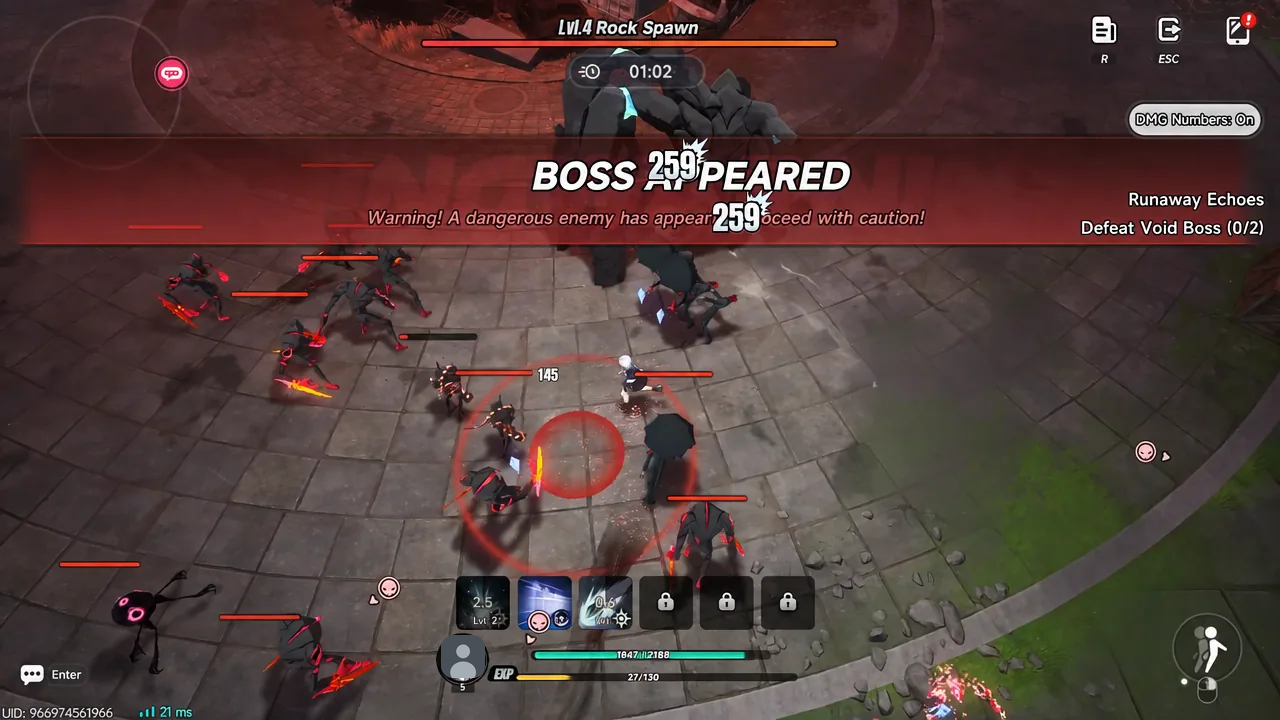
Boss attacks telegraph as red circles on the ground. You can walk out of nearly all of them without any movement speed passives, so treat dodge as a repositioning tool rather than a panic button.
Leveling and card picks inside a run
Dead monsters drop EXP orbs. Walk over them to fill the bar at the bottom of the screen, and every level-up pauses the fight to offer three cards. Your in-run level caps at 180, and enemy strength scales with it, so leveling faster does not make the run trivially easy — it just keeps you ahead of the curve. Leveling also restores most of your health, which is why taking a few hits is survivable as long as you are not boxed in.
| Card type | What it does |
|---|---|
| Skill | Adds a new active attack such as Blast Radius, Echo Cascade, Starpiercer Volley or Cyclone Howl |
| Upgrade | Raises base stats like Attack, CRIT and DEF |
| Relic / special function | Widens skill range, cuts cooldowns and boosts the damage of what you already have |
Open with area-of-effect skills. Early waves are weak but numerous, and a single-target pick slows your EXP intake at exactly the moment you need it most. After that, abilities cap at level 15, so once your core skills are climbing there is more value in Relic and passive cards that scale range and damage than in stuffing more actives into the bar.
Elements matter too. Sticking to one or two makes your passive multipliers stack instead of splitting across five different damage types, and Sixfold Synergies unlocked through the Talent Tree pay out heavily for builds that commit.
The offer itself is not pure luck. You can lock a card you are building toward, remove one you will never take, and reroll the set outright. Removing dead cards early is the underused option — every removal thins the pool and raises the quality of every draw that follows.
Tip: Destructible objects appear periodically and drop healing items. Leave them standing until you actually need them, especially before your build picks up any passive recovery.
Positioning rules that decide the run
You cannot walk through enemies. They physically block you, and a wall of them against the edge of the arena is how most runs end. Keep drawing the horde toward the middle of the stage — hugging the border also zooms the camera in, which hides incoming spawns until they are already on top of you.
Because skills auto-target, your only real inputs are movement and card selection. Carve a lane through the pack, orbit the boss, and let the auto-attacks do the rest.
Talent Tree: The progress that carries between runs
Cards vanish when a run ends. Talent Points do not. Every run pays out Talent Point items regardless of how far you got, and those buy permanent nodes in the Talent Tree that apply to every attempt afterwards.
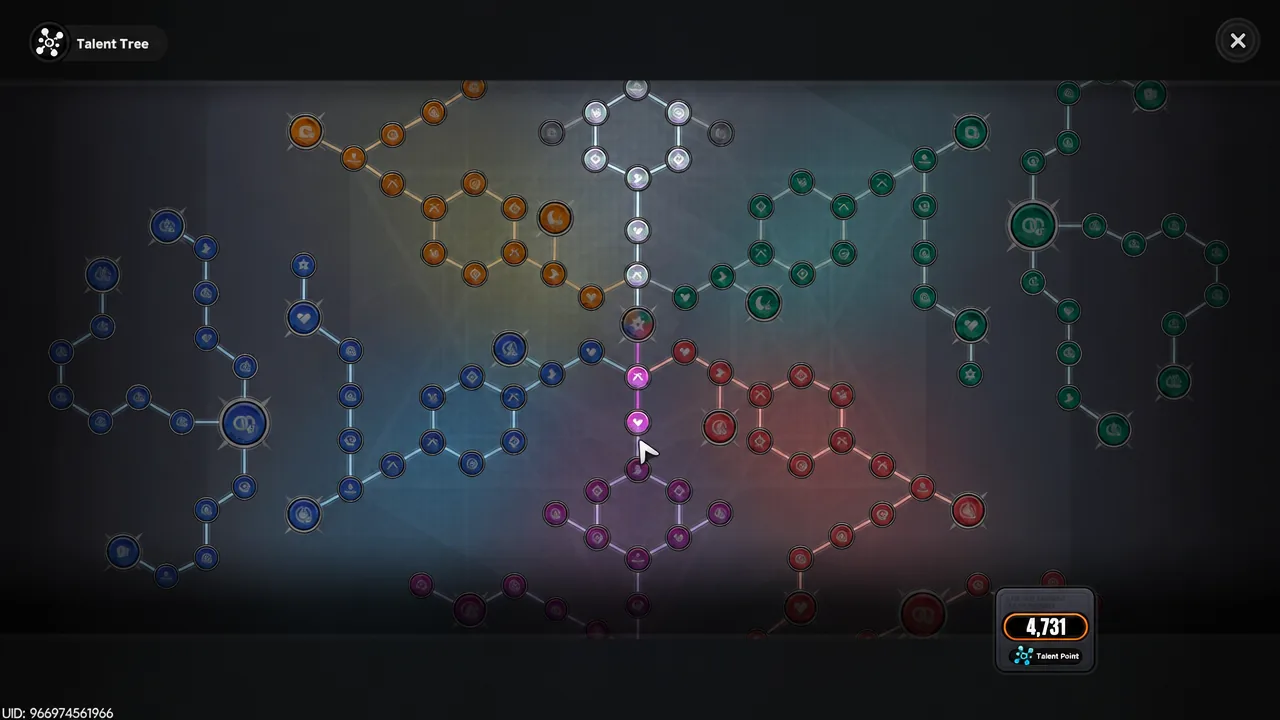
Nodes branch across paths including the Anima-Lakshana Path and the Psyche-Incantation Path, and cover the obvious stat and utility upgrades — Keen Edge I, Swiftshade I, Enhanced Recovery I, Healing Cycle I, Refresh Overdrive I, Chain Dash I, Hard Lock I and more. Spend after every run rather than banking points, since the next attempt starts stronger for it.
This is why finishing a bad run beats restarting one. A messy clear still banks points; abandoning banks nothing. If a drill is beating you in week one, more completed runs is a more reliable fix than better play.
Saga of Infinity endless mode
Saga of Infinity strips out the timer and the boss quota. Waves keep coming, enemies keep scaling with your level, and the run ends when you die — the screen flips to FAILED and logs your survival time and total kills. There is no clear condition, so it exists purely for pushing survival thresholds and testing builds that need a long runway.
If your Talent Tree is still thin, run Simulation Drills first. Guaranteed completions are the fastest way to build the permanent bonuses that make long endless attempts viable.
Runaway Echoes rewards and objectives
Rewards sit behind one-off objectives rather than a repeatable grind, and they are claimed from the Quest Rewards menu inside the event screen. Clearing each drill pays the same core bundle, with the third item alternating.
| Objective | Reward |
|---|---|
| Clear Simulation Drill I, III or V | Annulith x40, Fons x30,000, Elite Hunter Guide x10 |
| Clear Simulation Drill II, IV or VI | Annulith x40, Fons x30,000, Chaotic Dye x10 |
| Defeat 200 enemies in a match | Annulith x30, Fons x30,000, Chaotic Dye x10 |
| Defeat 500 enemies in a match | Annulith x30, Floe Cinema Ticket x1, Chaotic Dye x8 |
| Defeat 900 enemies in a match | Fabricated Dice x1, Expansion Core x15, Beetle Coin x80,000 |
| Defeat 3 / 6 / 10 / 15 Echo Bosses in a match | Annulith x30 plus Elite Hunter Guide, Chaotic Dye or a Floe Cinema Ticket |
| Defeat 30 Echo Bosses in a match | Fabricated Dice x1, Expansion Core x15, Beetle Coin x80,000 |
| Survive 300s in Saga of Infinity | Fabricated Dice x1, Elite Hunter Guide x8, Beetle Coin x80,000 |
| Survive 600s in Saga of Infinity | Fabricated Dice x1, Chaotic Dye x8, Beetle Coin x80,000 |
| Survive 1,500s in Saga of Infinity | Unbroken Echo title, Expansion Core x10, Heterogeneous Unit x20 |
| Spend 2,000 Talent Points | Annulith x30, Elite Hunter Guide, Beetle Coin |
The Unbroken Echo title is the headline prize, and 1,500 seconds of endless survival is a long way past what an unspent Talent Tree will support. Treat it as a late-event goal.
How to confirm a drill actually cleared
A successful drill ends on a SUCCESS screen headed Challenge Complete, listing your survival time and total kills before you return to the main interface. If you see FAILED instead, the run ended without meeting the Echo Boss quota inside the time limit. Any pending objective payouts then show up in the Quest Rewards list, and unclaimed rewards sit there until you collect them.
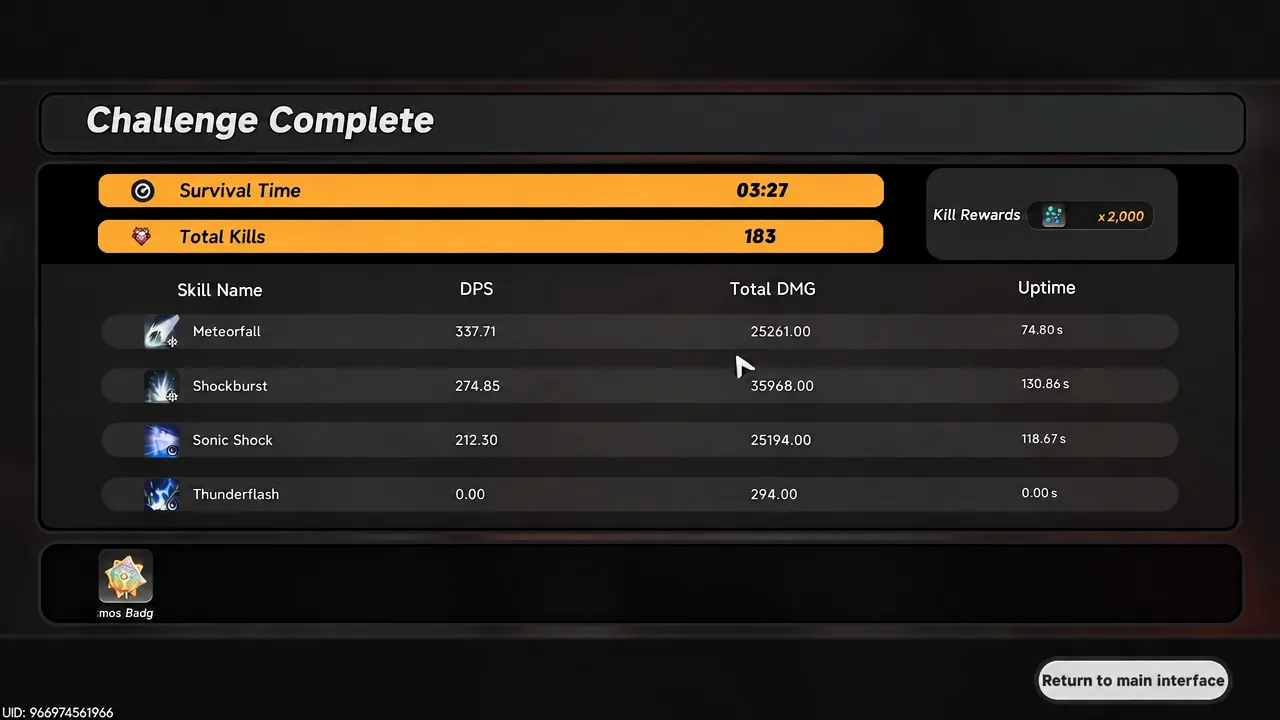
For a sense of pacing, a cleanly built run tends to finish comfortably inside the limit rather than scraping it — Drill II can land around 2:14 with roughly 210 kills, Drill III near 3:58, and Drill V around 5:39 with close to 400 kills. If you are consistently hitting the buzzer instead, the fix is usually more Talent Tree nodes, not a different card order.
Runaway Echoes closes on September 30 at 05:59 (UTC+8), which leaves plenty of room to work through all six drills and chip away at the endless survival thresholds. The most efficient approach is unglamorous: clear the drills in order, spend every Talent Point the moment you earn it, and save your serious Saga of Infinity attempts for when the tree has done most of the heavy lifting for you.


