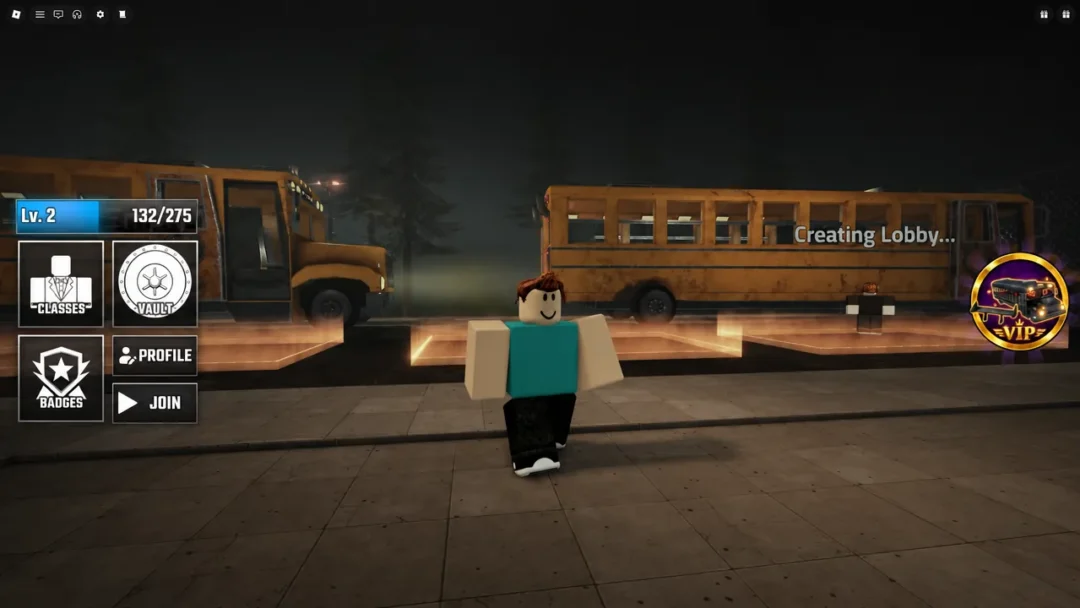
A solo run in Last Stop [Beta] fails for one of two reasons: the bus runs dry, or the final boss arrives while you are holding a melee weapon and no bullets. Everything else — the houses you skip, the coal you leave on the floor, the zombies you walk past — exists to protect those two resources. The route below treats the whole run as a fuel-and-revolver problem.
Quick answer: Skip ordinary houses, sell only Rare/Epic/Legendary loot at terminals, craft a spare Basic Wheel early, and reach the last terminal with a Revolver, an attachment, and a full stock of Medium Ammo — then kill Fred with headshots from range.
What to keep and what to leave behind
Inventory space is the real currency early on. Every slot filled with a low-rarity pickup is a slot that cannot hold a statue, trophy, or shield worth real money at a terminal. Loot fast, grab the high-rarity items, and get back on the bus.
| Item | Do this | Reason |
|---|---|---|
| Rare, Epic, Legendary loot | Keep | Sells for the cash that funds fuel, ammo, and upgrades |
| Revolver | Keep, never sell | The weapon that ends the final fight |
| Medium Ammo | Keep and stockpile | Matches the Revolver |
| Iron Sword | Equip, drop the Shovel | Bigger hitbox, carries the whole run |
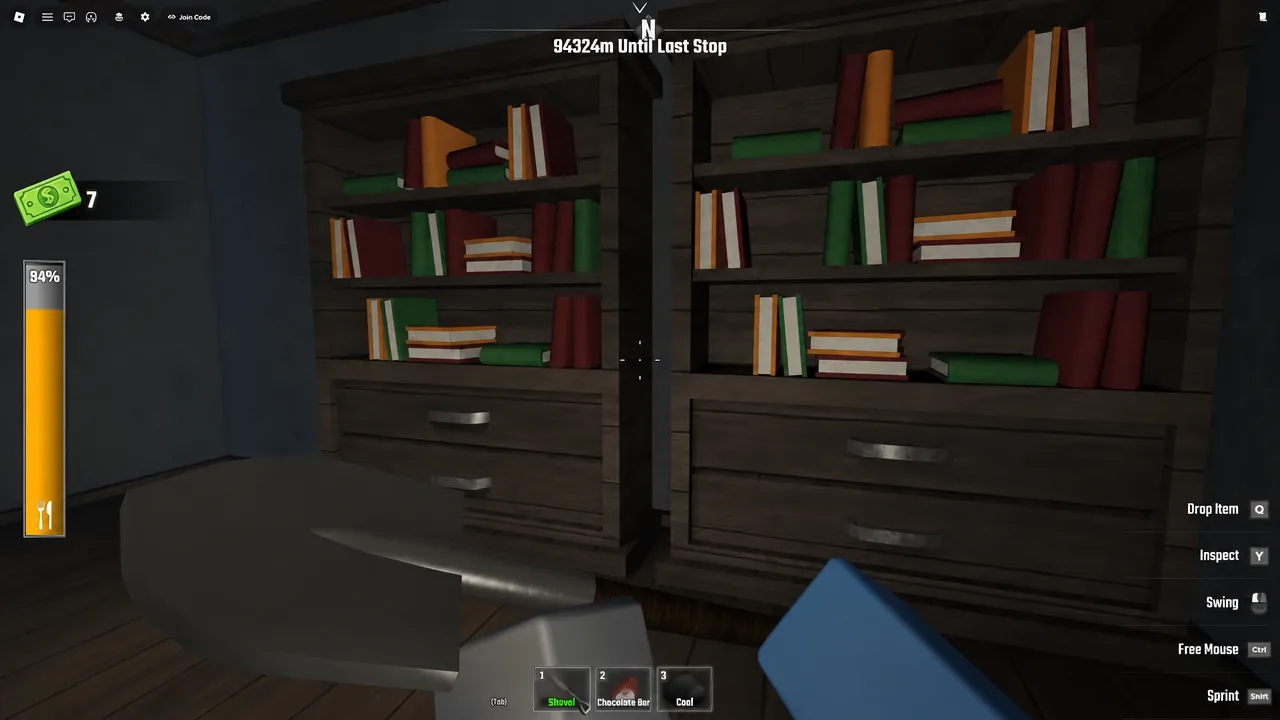
| Coal | Leave it | Minimal fuel value for the space it eats |
| Food | Eat on the spot | Houses refill it; carrying it wastes slots |
| Bandages, rope, junk | Leave it | Health regenerates on its own quickly |
Fighting is optional in the first looting section. Only swing at zombies standing between you and a door. Anything else is time your fuel gauge is paying for.
Bus prep: fuel and a spare Basic Wheel
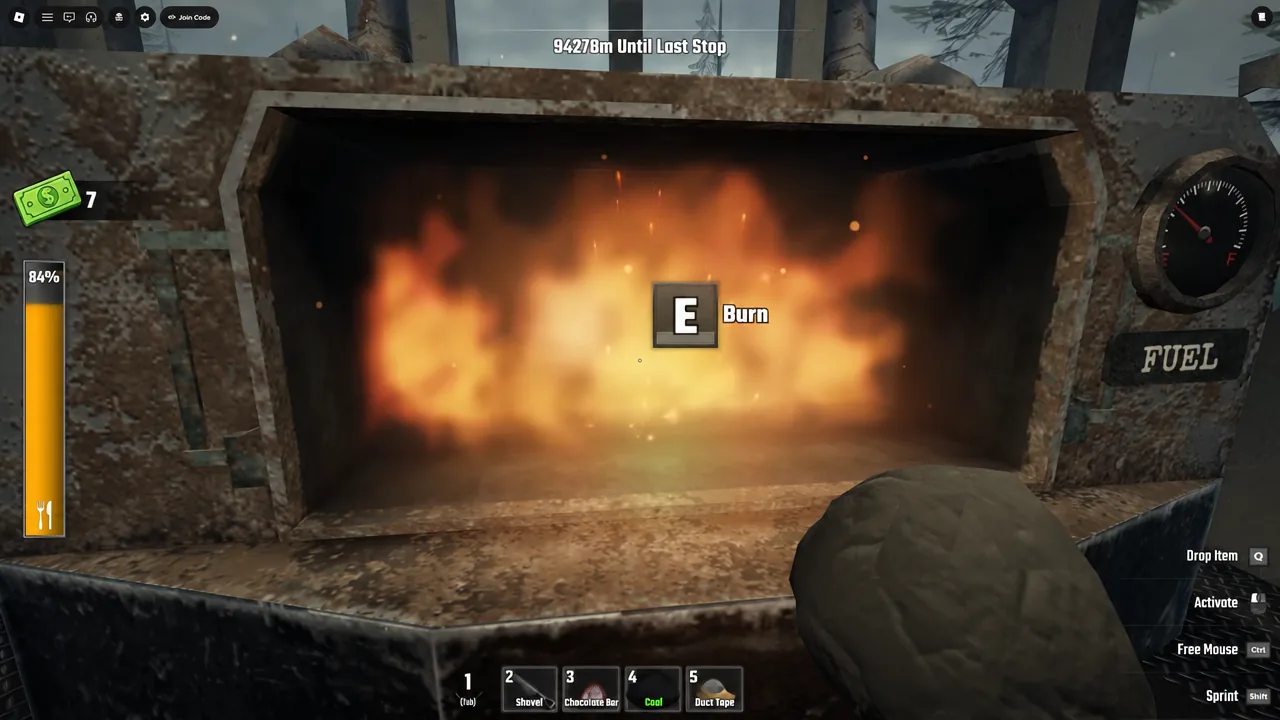
Refuelling is faster than most players realise. Instead of holding the interact key on a Gas Can, open your inventory and drop the can straight into the furnace. The tank fills and the slot clears in one motion.
At the Craft Workbench, ignore the walls, windows, chests, and grills for a speed run. Build a Basic Wheel and store it on the bus. Tires start leaking on late-game roads, and a spare turns a run-ending problem into a ten-second swap.
One small time saver on the road: you can jump onto the front hood of the bus and drop straight into the driver seat instead of walking around to the door.
Melee combat: hitbox range and choke points
Melee weapons in Last Stop reach further than they look. Hold the attack button down rather than clicking, and let the swing connect before a zombie is on top of you. Standing at the edge of that range is the difference between clearing a group and getting cornered.
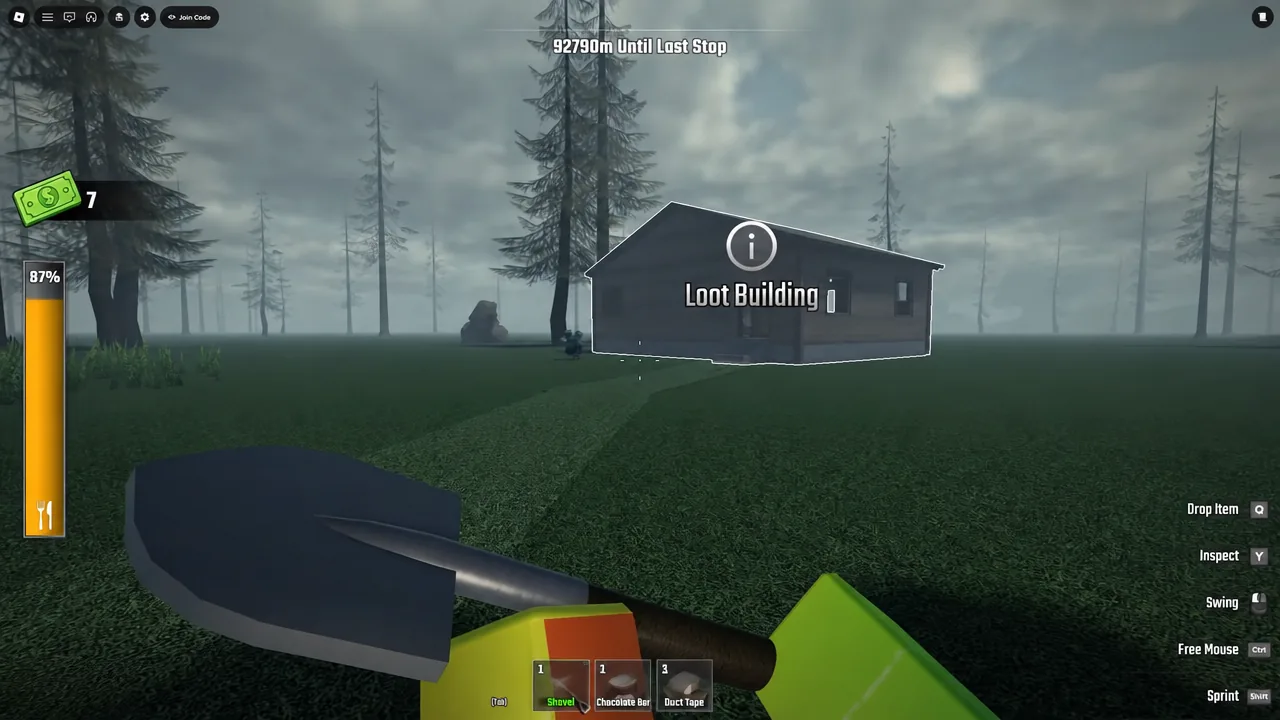
The second half of the technique is geometry. Doorways, tunnels, and house walls bunch zombies into a single cluster, so one swing hits several of them and only one or two can reach you. The wooden barn walls work the same way, letting you strike through the gaps in the slats while the horde piles up outside.
You can also fight from the bus. Park so the zombies walk into the vehicle’s attack hitbox and they take damage without you stepping outside.
Note: if your health is low mid-wave, back off and leave a few enemies alive. Regeneration is fast enough that waiting beats trading hits.
Checkpoint routine (all three)
Checkpoints are mandatory and they follow the same pattern every time. The one rule that trips people up: the checkpoint does not register until every enemy in the area is dead. A single survivor left in a corner will keep you from continuing.
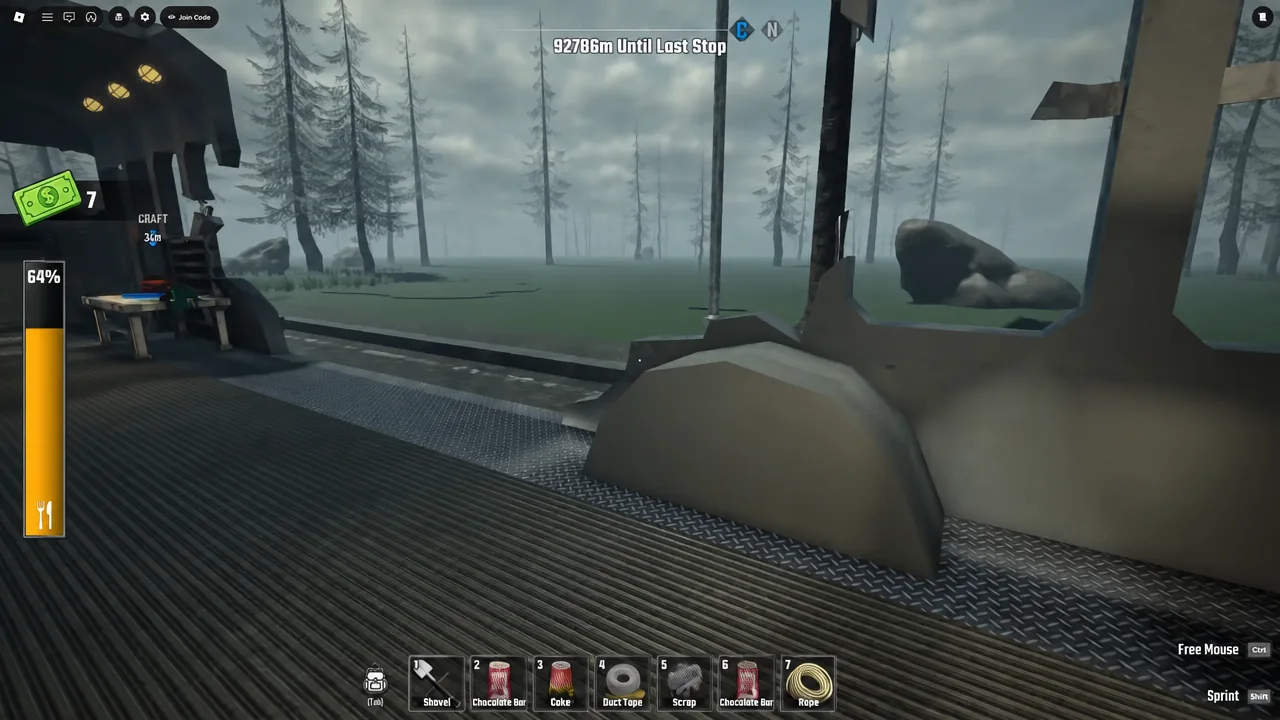
Between checkpoints, drive past ordinary houses. Special locations — the barn, campsites, marked buildings — hold the trophies and shields that actually move your terminal balance, and the barn also feeds into Detective Jack Hollow’s quest line.
The third checkpoint and the bridge waves
Approaching the third checkpoint, take the route toward the house on the right and use its walls exactly as you used the barn. If a Vampire grabs you on the way, spam the input shown on screen to break free.
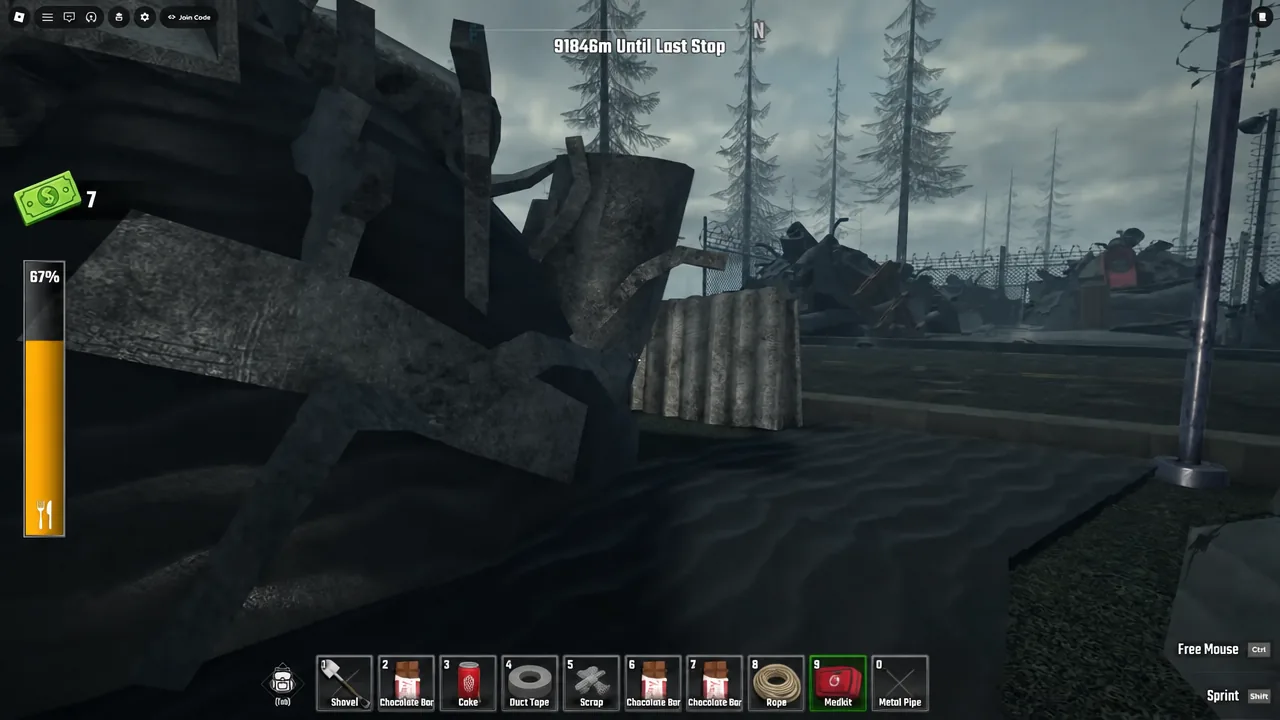
Building the bridge here triggers five extra waves. Do not fight them in the open. Retreat into the same house, let the zombies gather along the wall, and keep swinging through the opening. When the waves end, take the key, free the NPC, and loot before driving on.
Terminal spending order before the final area
Terminals are where a solo run is won or lost. Sell your checkpoint haul on the conveyor, then spend in a fixed order so you do not end up fuel-rich and bullet-poor.
| Priority | Purchase | Note |
|---|---|---|
| 1 | Gas Cans | Only enough to reach the final area — surplus fuel also lets you skip minor stops |
| 2 | Medium Ammo | Reserve cash for this before anything optional |
| 3 | Revolver attachment | A suppressor-class upgrade raises damage output for the boss |
| 4 | Armor | Highest rarity you can still afford |
Before that last terminal, check your tires. If one is leaking, swap in the Basic Wheel you crafted at the start rather than limping toward the finish.
Beating Fred at the Last Stop
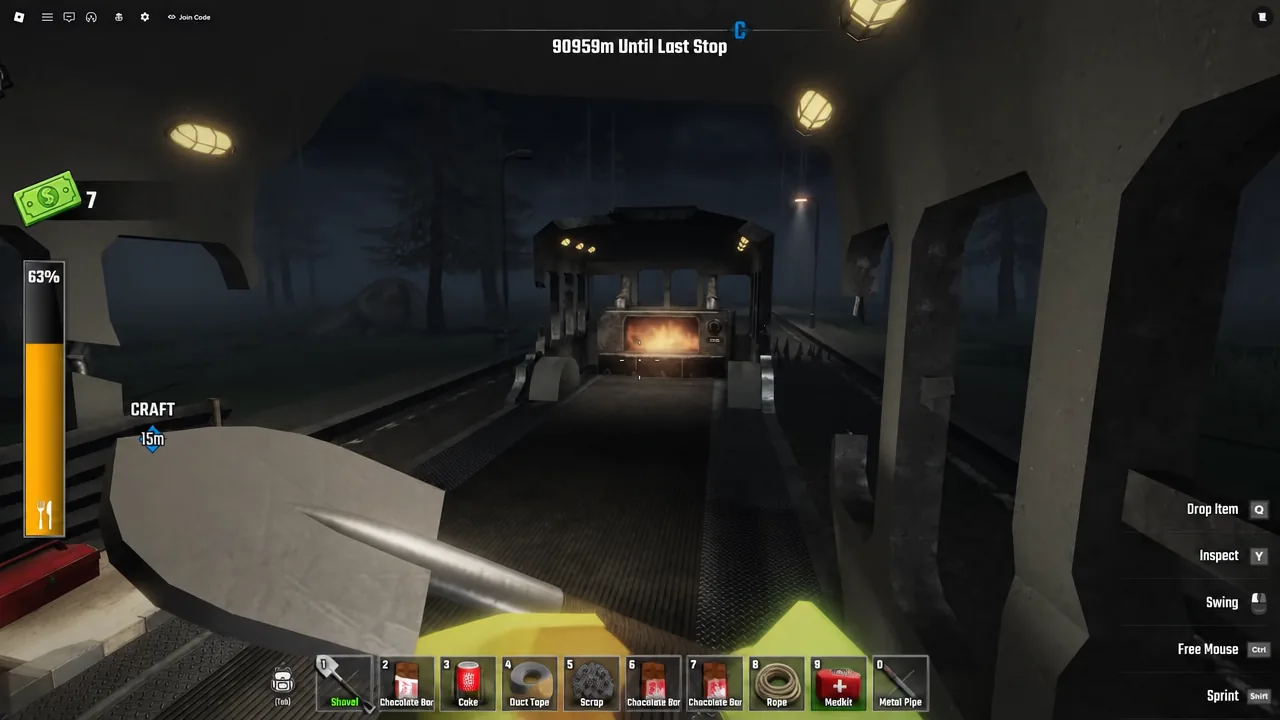
At the final terminal, talk to Fred. A cutscene plays and he transforms into the boss. From that point the fight is purely a ranged one — melee has no place here.
Keep your distance, hold the Revolver, and aim for the head. Headshots do noticeably more damage and shorten the fight, which matters because your ammo pool is finite. Keep moving enough to avoid his attacks, but do not sprint around so much that your aim never settles.
When Fred goes down, the victory screen appears and the solo run is complete. If you would rather not kill him, the alternate outcome requires reaching him with the cure potion and finishing the ride without landing the killing blow — a different objective entirely, and one that rules out the headshot approach above.
Why solo runs usually fail
Three mistakes account for most losses. Looting every building fills the inventory with junk and burns the fuel that should be carrying you forward. Selling the Revolver for a quick payout leaves nothing that works at range when Fred appears. And ignoring the bus — no spare wheel, no fuel margin — strands runs that were otherwise going fine.
Play the whole route as a supply chain instead of a series of fights, and the game becomes considerably shorter. Grab the free Ticket codes in Settings before you start if you have not already, then get on the bus and drive past the houses.