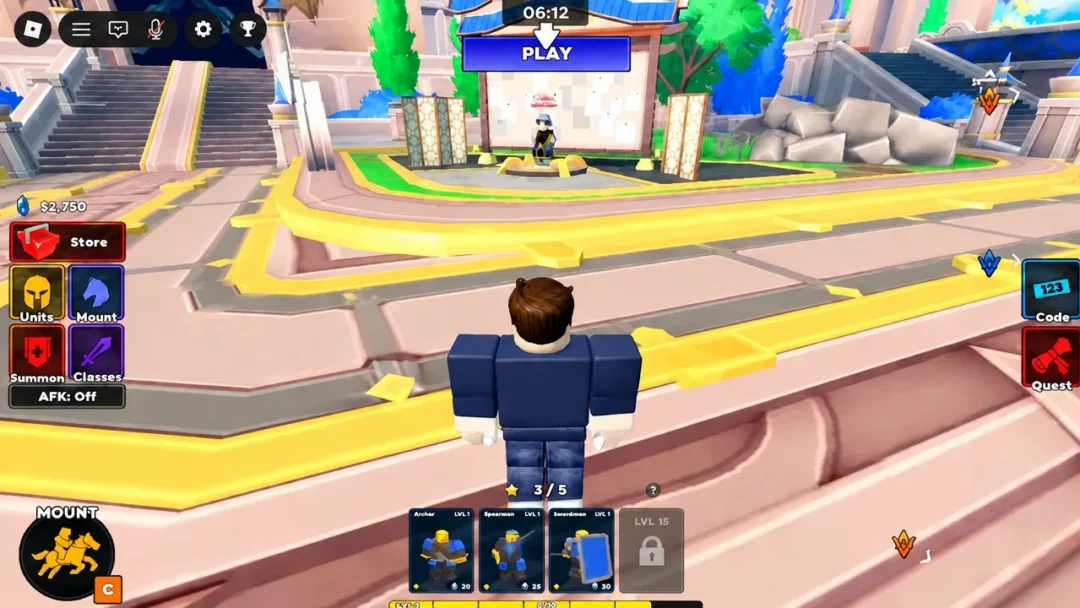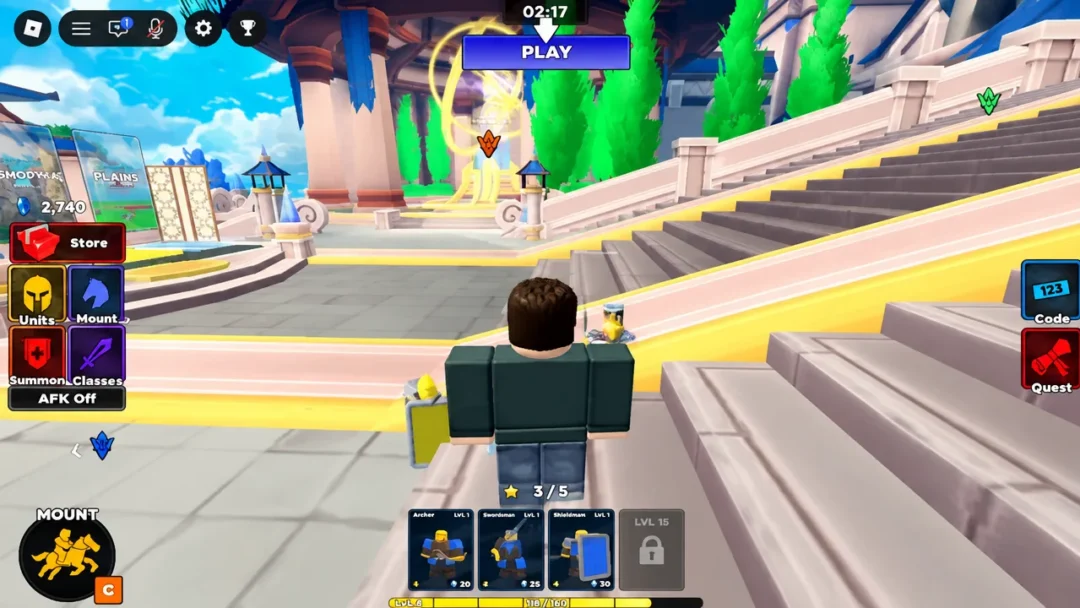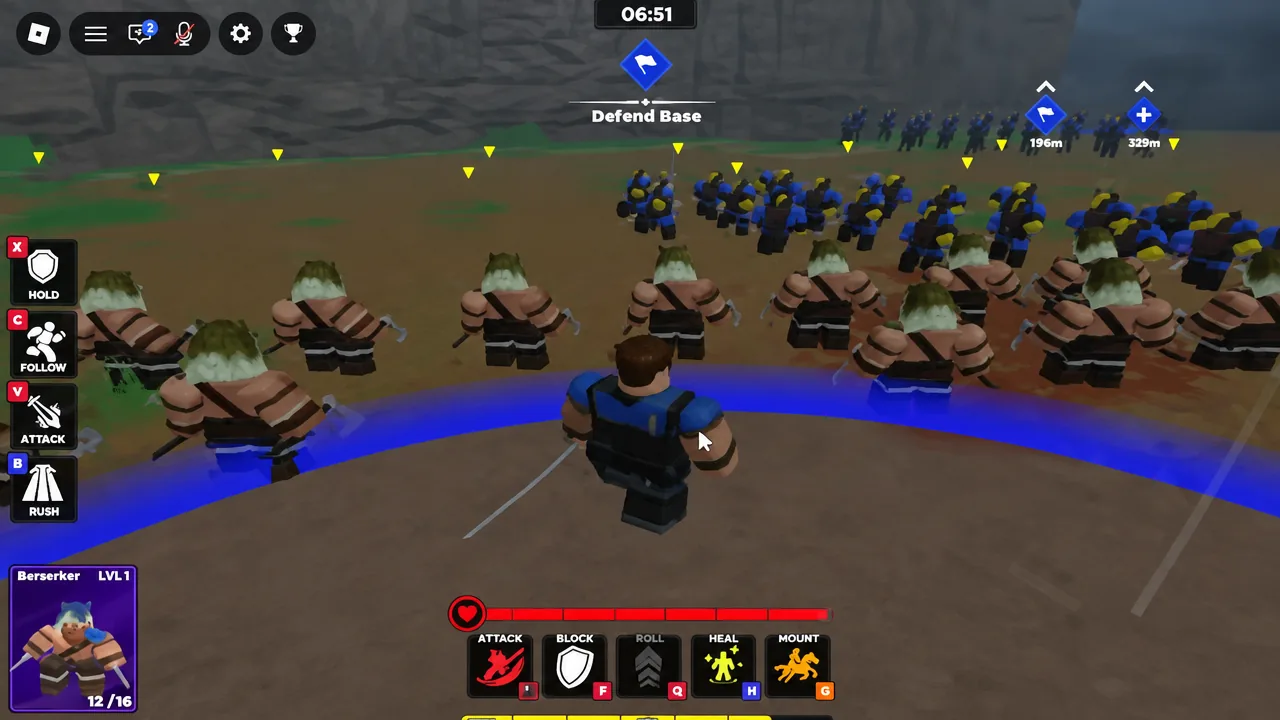
Every round in Command An Army starts by handing your team one of two jobs. You are either the ATTACKER, pushing through a chain of objectives, or the DEFENDER, stopping that push before it reaches your base. Your class, your four equipped troops, and the orders you give them all serve that one assignment, and kills count for nothing on their own.
Quick answer: As the attacker, keep your squad on Follow (press C), take Capture Point A, then Capture Point B, then reach the Capture Base. As the defender, set troops to Hold on the routes leading into each point and stop the attackers before the base falls. A win pays out roughly 75 Gems.
Attacker and defender objectives in a Command An Army round
Matches are small, team-versus-team fights on 12-player servers, and the win condition runs entirely through objectives. The attacking side works down a fixed chain of points. The defending side only has to make the clock and the terrain do the work.
| Role | What you have to do |
|---|---|
| ATTACKER | Move onto Capture Point A, secure Capture Point B, then push to the Capture Base |
| DEFENDER | Hold the approaches to each point and stop the push before the base is taken |
| Both | Field up to four troops, capped by your Star Limit, plus your own class character |
Your class choice — Assassin, Sword & Shield, or Hammer — changes only how your own character fights. It has no effect on what your troops do. Hammer hits hardest but moves slowly, Assassin is fast with strong single-target damage, and Sword & Shield sits in between. You can pay Gems to switch between matches, so the pick is not permanent.
Cannons are placed on the map and can be fired at a defended point before you commit troops to it. That is the cheapest way to thin out a dug-in line.
The four squadron commands and what they actually do
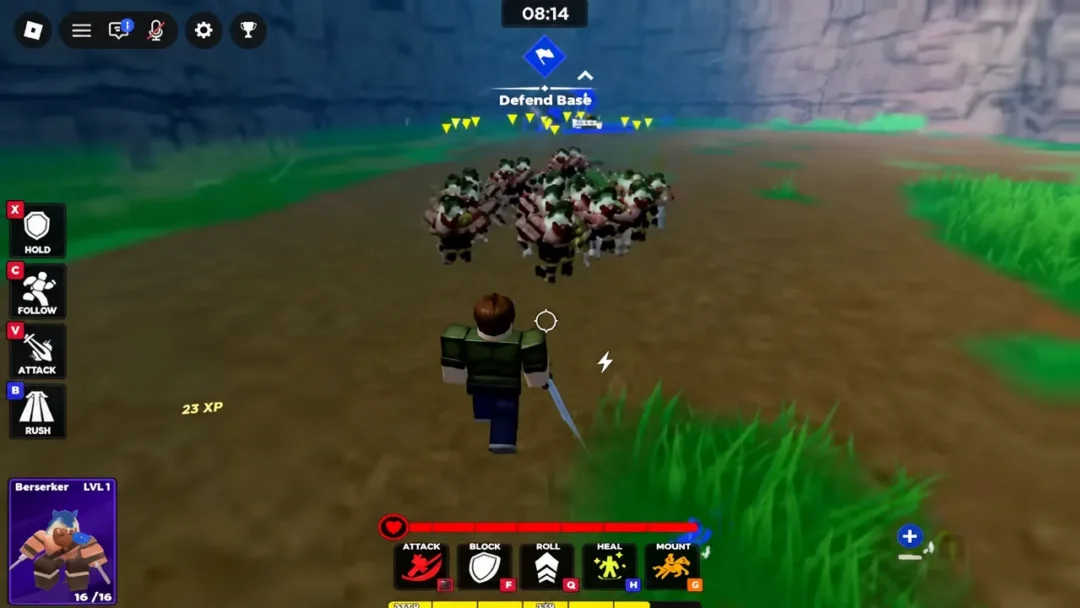
Every troop you bring answers the same four orders, and the tutorial walks you through all of them. Learn Hold first — the tutorial tests it directly, and it is the order that keeps a defense from unravelling.
| Command | Effect | When to use it |
|---|---|---|
Follow (C) | Troops trail your character as you move | Crossing open ground, gathering the army, walking onto a cleared point |
| Hold | Troops stay on a fixed spot and defend it | Sitting on a captured point or blocking a corridor |
| Attack | Troops engage a target you designate | A committed fight against a specific enemy group |
| Rush | Troops charge forward aggressively | Chasing a retreating enemy before they regroup |
Press R to mount a horse and cross the map faster. Mounts matter more than they look, because reaching a capture point ahead of the enemy, or riding back to your own line after a fight, is often what decides the round. Ability keys sit alongside them — Heal is bound to H and restores nearby allied troops, and Block is on F.
How to defend a base and hold a capture point
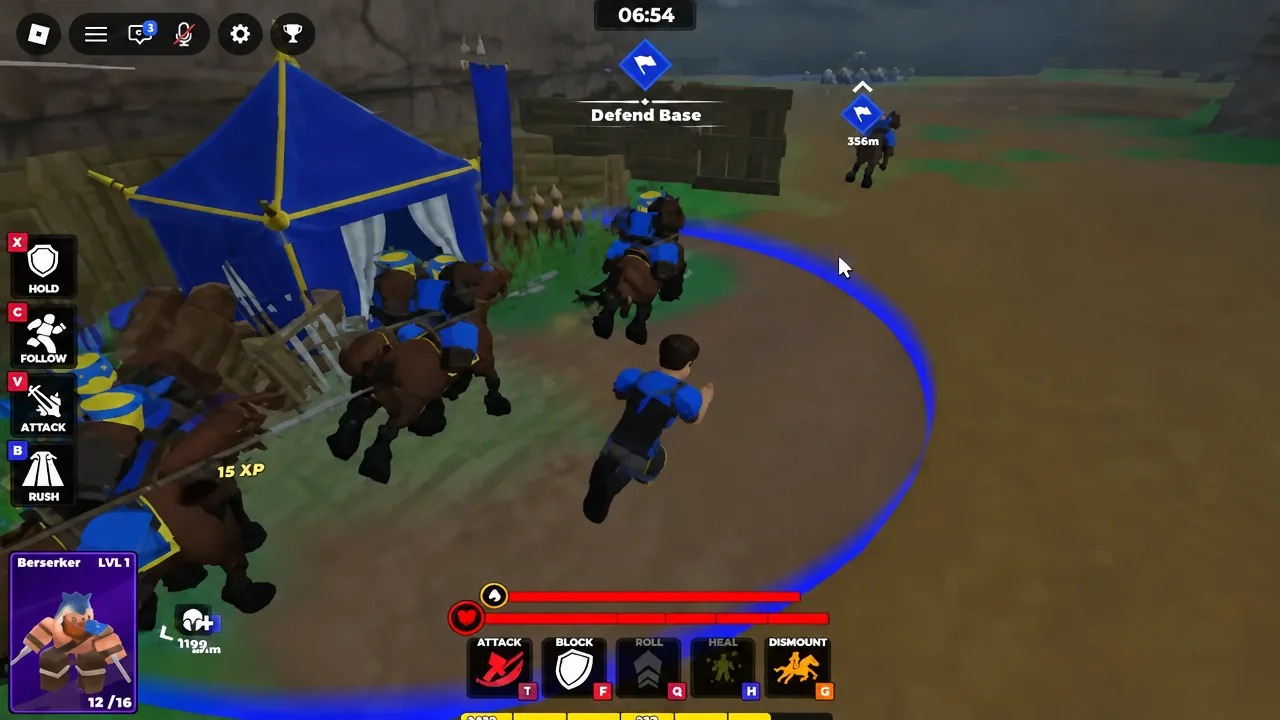
Tip: do not chase attackers across the map. Every step you take away from the objective is ground the next wave gets for free.
How to attack and capture points as the attacker
C so the whole squad follows you, and travel to the objective as one body instead of letting units trickle in.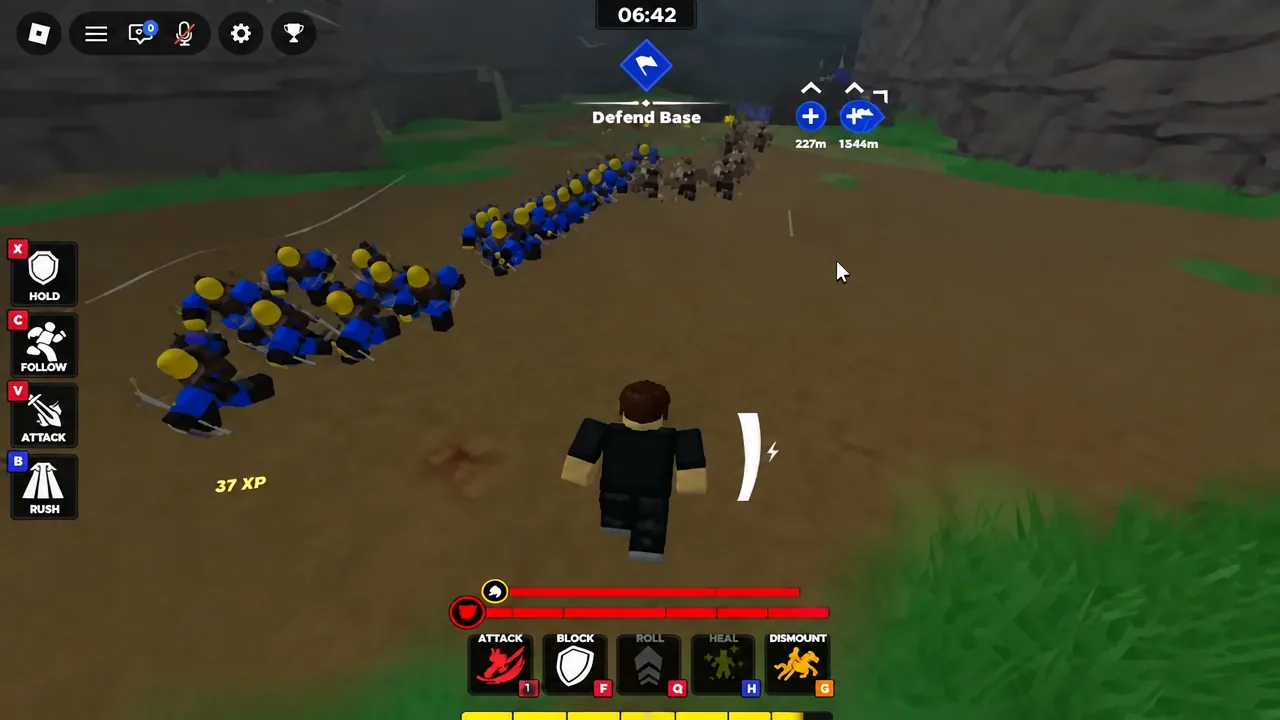
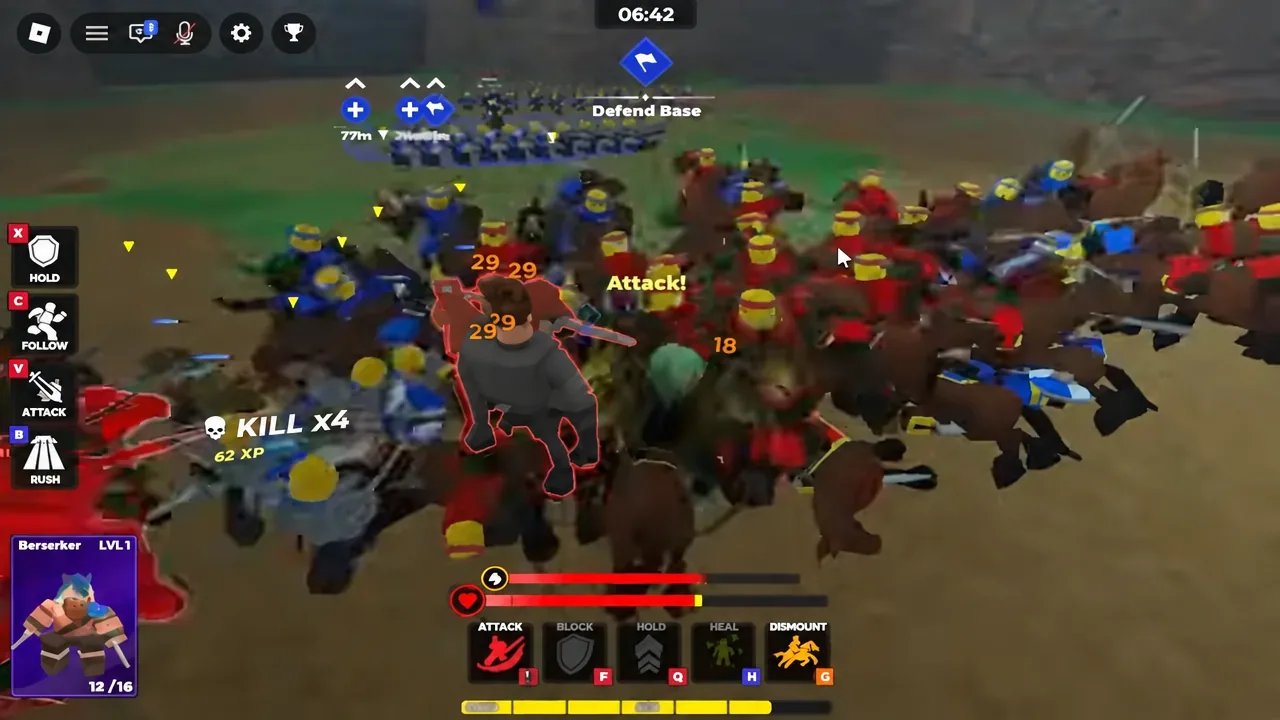
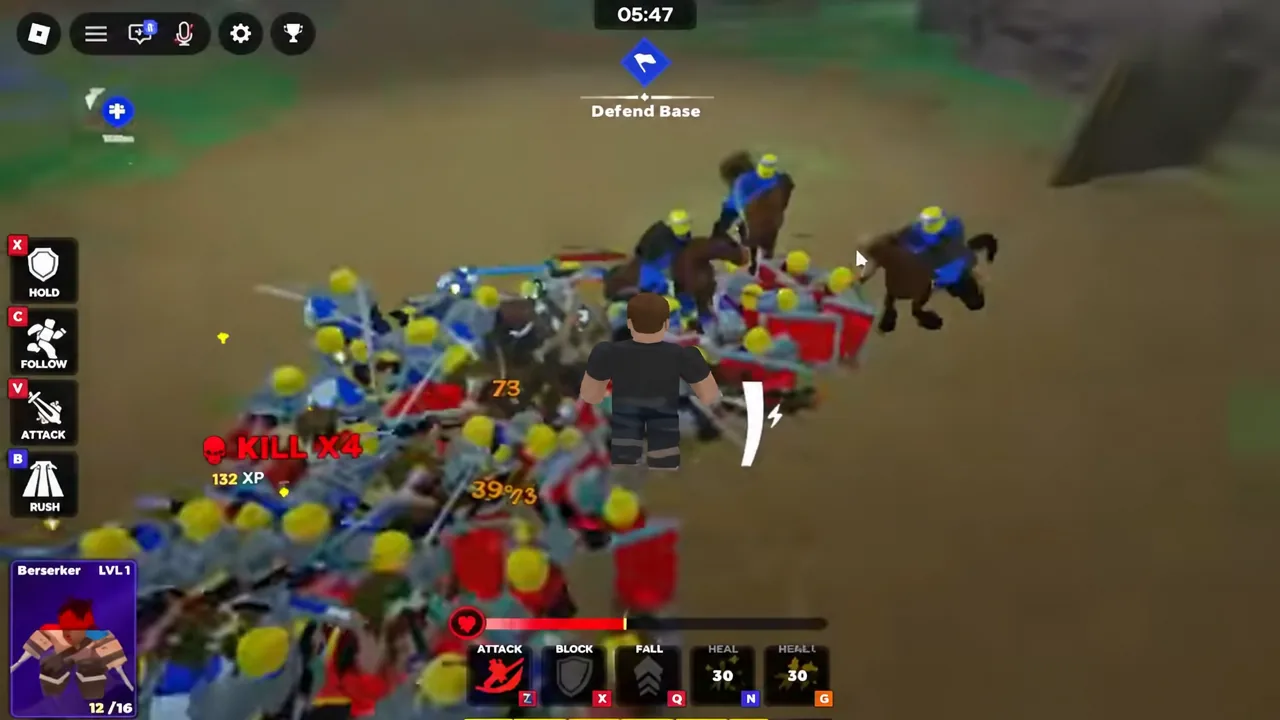
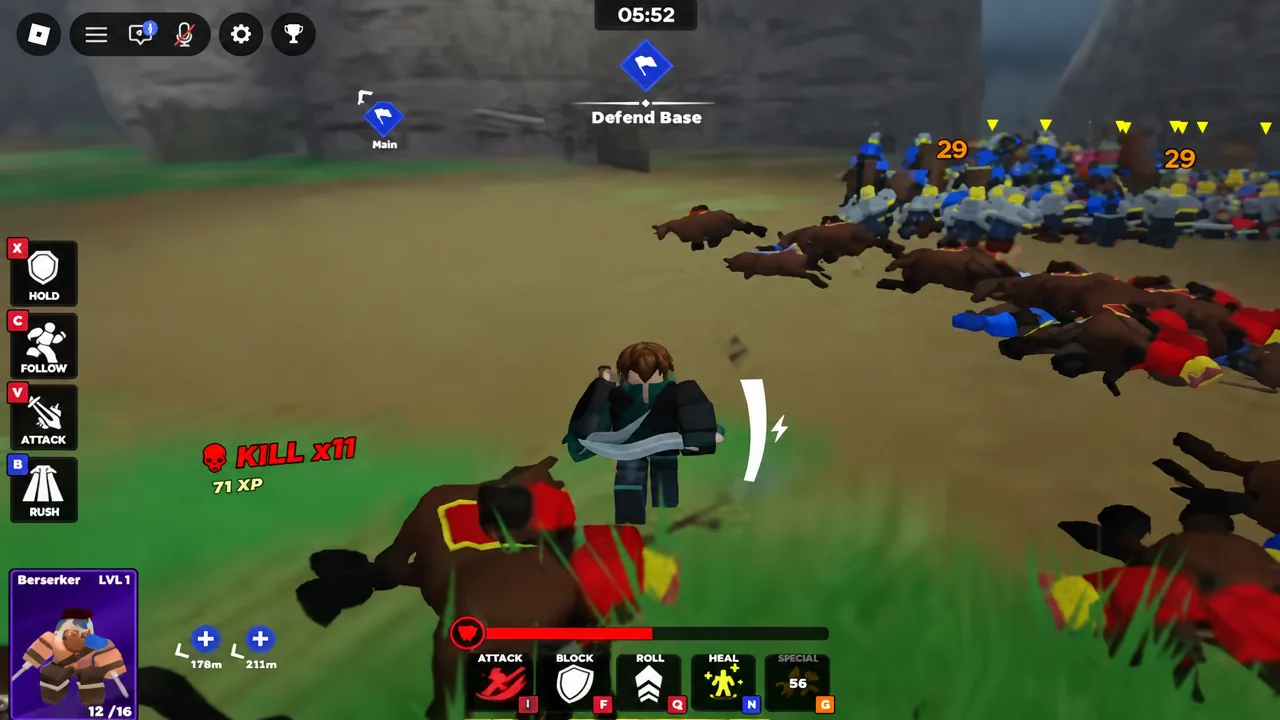
Formations and unit matchups that decide the fight
Troops can be set into formations as well as given orders, and the formation should match the job. A Triangle concentrates a charge on a single spot and suits fast cavalry. A Shield Wall lines shield bearers up to blunt an incoming push and pairs naturally with Hold. The turtle-style approach — shields forward, ranged troops tucked behind — is the standard way to lock down a point.
| Unit type | Job | Loses to |
|---|---|---|
| Sword and Shield | General-purpose frontline | Being outnumbered or flanked |
| Shieldmen | Absorb pressure, hold narrow ground | Attacks from behind the line |
| Spear units | Anti-cavalry, punish charges | Ranged fire while they stand still |
| Ranged units | Damage from behind the frontline | Anything that reaches melee range |
| Cavalry | Flanking, chasing, fast repositioning | Charging into a prepared spear line |
Star rating shows rarity, not battlefield value. A lower-star troop that has been upgraded and ascended can outperform a freshly summoned four-star unit, so judge a troop by how long it survives and how quickly it clears a point. Your Star Limit caps the combined star total you can field at once and rises as your account levels, which is why early loadouts lean on starter troops like Mercenary, Shieldman, Spearman, and Archer.
How to confirm a capture, and why pushes fail
You know a capture went through when the objective banner switches to the next point in the chain — A gives way to B, and B gives way to the Capture Base. The round ends the moment attackers reach the base, or when defenders keep them off it. Winning pays out around 75 Gems, which feed summons and upgrades.
| What went wrong | Why the objective did not flip |
|---|---|
| Troops arrived in pieces | Defenders killed each group separately before the point was contested |
| Charged the shield front | A prepared line with ranged support grinds a direct push down |
| Captured, then left | The point was retaken as soon as the army moved on |
| Chased retreating enemies | The army walked away from the objective it was supposed to take |
| Everything committed at once | No reserve left to answer a second route or a counterattack |
If the commands themselves are the problem, run the tutorial again. It covers Follow, Hold, Attack, and Rush, along with spawning units, destroying gates, and capturing an objective, and it hands out starter troops on completion.
The habit that carries across both roles is switching mindset the instant the objective changes. An attacking formation that has just taken a point needs to become a defensive one before the next wave arrives, and a defense that has broken an enemy push should regroup and move forward together rather than piece by piece.