

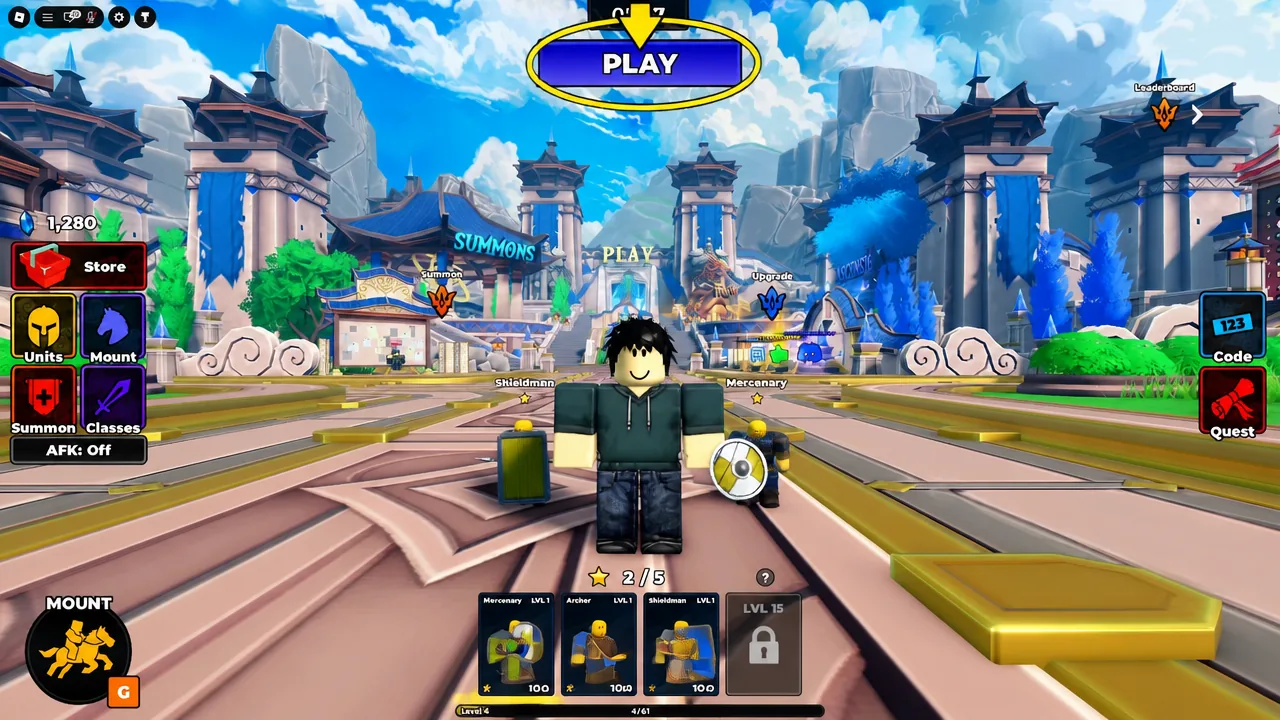
Command An Army drops you into a medieval siege where you personally fight alongside a squad of soldiers you recruited, upgraded, and ordered around the field. Every match splits into Attackers, who push forward and capture objectives, and Defenders, who hold territory and supply points. Your loadout of up to four units decides whether you break a line or bounce off it.
Quick answer: Redeem WAR, RELEASE, CONQUEST, BUGFIX, D0ggy103, 10KGoal, and LEBALANCE for free currency, then spend it on Standard Banner summons and Ascension so your four-unit loadout mixes one Shieldman for blocking, one Spearman for reach, one ranged unit, and one Scout Rider for flanking.
Working Command An Army codes and how to redeem them
Codes pay out currency you can put straight into summons. They are case-sensitive, so type them exactly as written, and clear any stray spaces at the start or end of the field before claiming.
| Code | Reward |
|---|---|
| 10KGoal | 250 Gems |
| D0ggy103 | 500 Gems |
| CONQUEST | 250 Gems |
| WAR | 500 Gems |
| RELEASE | 500 Gems |
| BUGFIX | 250 Gems |
| LEBALANCE | 150 Gems |
Note: an old rebalance-themed string that circulated early on fails with the “Code does not exist” message. The live version of that reward is LEBALANCE. New codes usually arrive with updates and bug fixes, and the developer announces them through the official Discord server and the Fight, Fight, Fight! Roblox community.
Unit types and what each role does on the field
Six categories cover everything you can field. Sword & Shield units form the frontline and screen for everyone behind them. Shieldman is the heavy defensive body. Spear units punish cavalry with reach. Ranged units chip from distance. Cavalry moves fast and hits from angles. Specials sit outside the normal progression and only come from summoning.
The stat lines make the trade-offs obvious. A Level 1 Shieldman carries roughly triple the health of a Mercenary and a block value of 90 against the Mercenary’s 25, but its damage per second sits at 6.8 compared to 11.4. Spearmen and Scout Riders share a 15 range value and a 35 rush damage figure, which is where their charge value comes from.
| Unit (Lvl 1) | HP | DMG / DPS | Block | Range |
|---|---|---|---|---|
| Mercenary | 201 | 11 / 11.4 | 25 | 6 |
| Shieldman | 676 | 16.1 / 6.8 | 90 | 6 |
| Spearman | 179 | 11.2 / 11.1 | 10 | 15 |
| Scout Rider | 235 | 11.1 / 11.1 | 10 | 15 |
Because you only get four loadout slots, stacking one role leaves an obvious hole. A Shieldman anchors the push, a Spearman covers you against riders, an Archer applies pressure while the line grinds, and a Scout Rider gives you something that can reach the enemy backline.
Classes: What you personally bring into the fight
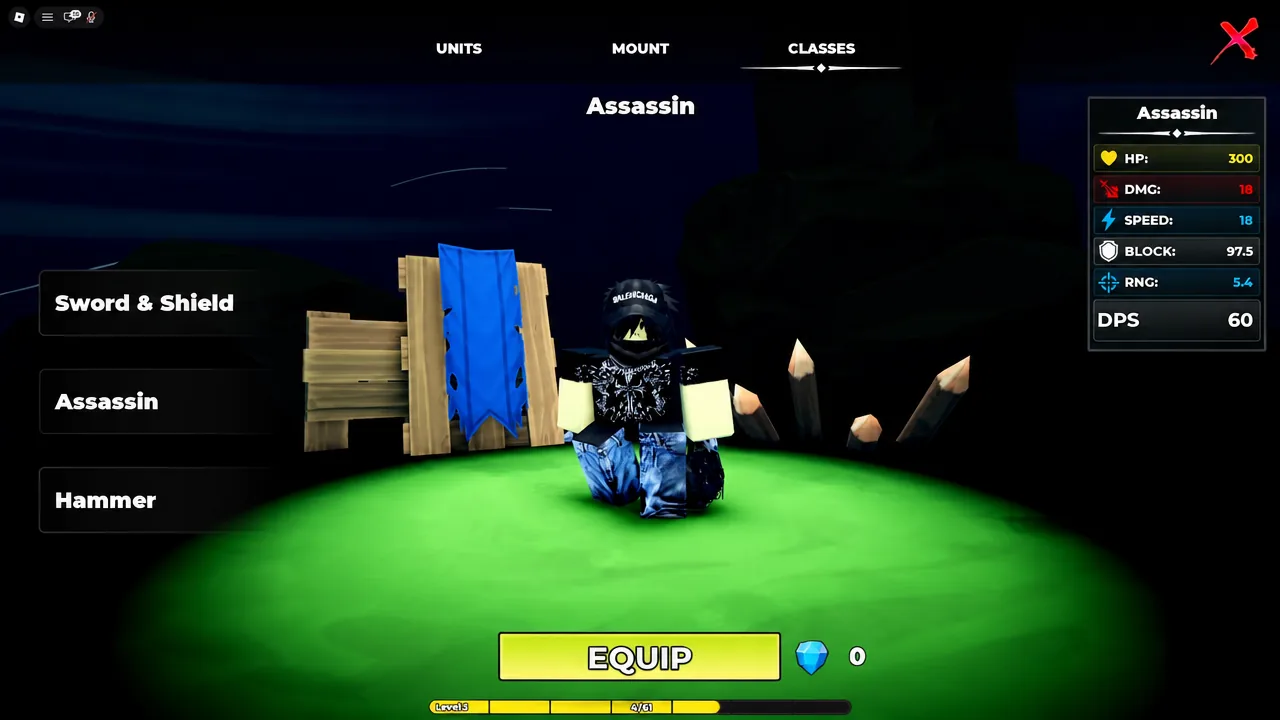
Your own character runs a class separate from your troops. Sword & Shield, Assassin, and Hammer are the options in the Classes menu, and each changes the weapon your avatar swings during a match. The Assassin is the standout for pressure work, with 300 HP, 18 damage, 18 speed, a 97.5 block value, and a 60 DPS figure at a short 5.4 range.
That damage output is why Assassin pairs so well with a flanking plan. You are not meant to trade in the middle of a shield wall with it. You are meant to reach the archers.
Summoning: Standard Banner odds and costs
New troops come from the Summons area in the lobby. A single spin costs 50 Coins and a ten-pull costs 500 Coins, with Gem-priced ten-pulls also available. The Standard Banner is heavily weighted toward the four common infantry types plus the Scout Rider, so most of your pulls will be duplicates you feed into Ascension.
| Unit | Odds |
|---|---|
| Scout Rider | 20% |
| Archer | 17.8% |
| Mercenary | 17.8% |
| Shieldman | 17.8% |
| Spearman | 17.8% |
| Samurai | 4% |
| Crossbowman | 4% |
| Spartan | 1% |
| Gladiator | 0.15% |
| Centurion | 0.15% |
| Berserker | 0.08% |
| Imperial Guard | 0.08% |
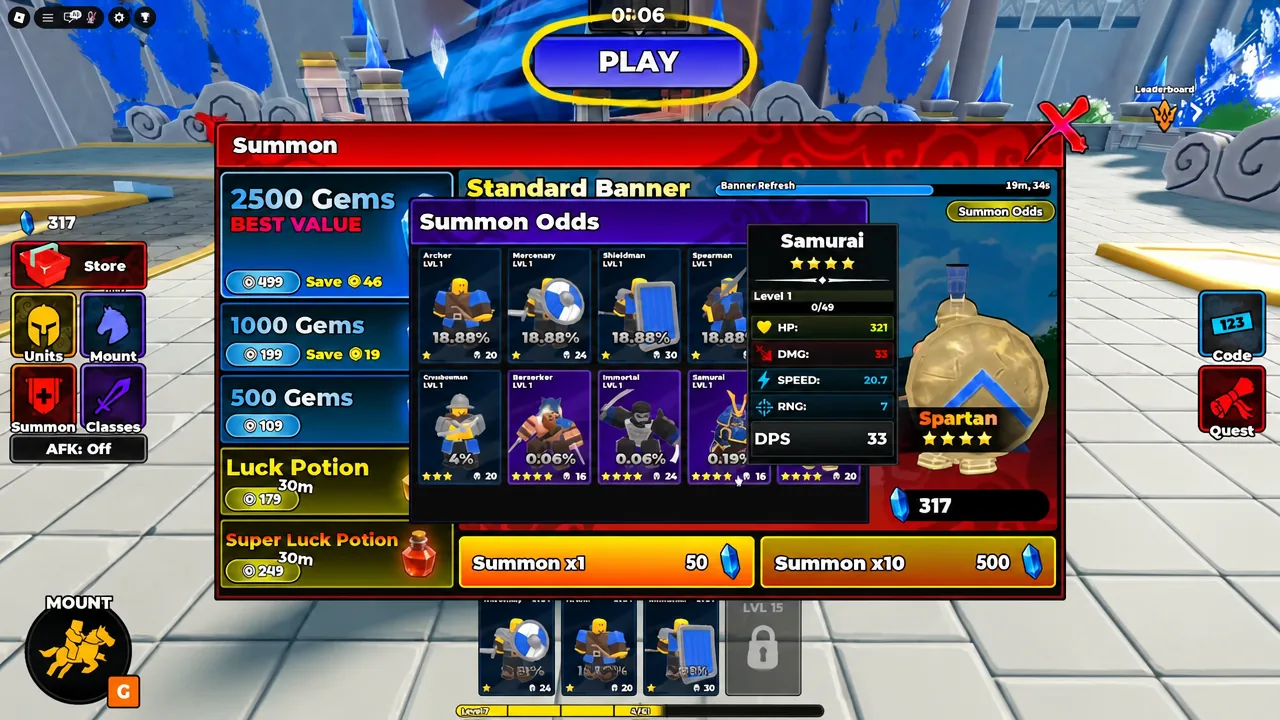
The rarest names on that list are the ones worth chasing. Berserker and Imperial Guard sit at 0.08 percent each, while Gladiator and Centurion sit at 0.15 percent. Spartan at 1 percent is the most realistic high-value pull. Luck Potions and Super Luck Potions sold in the Store run for 30 minutes each if you want to bank a session of pulls behind one.
Ascension and unit evolution paths
Duplicates are not waste. The Ascension portal in the lobby merges two copies of the same unit at the same level into a stronger single version, so two Level 1 Archers become an Archer Ascension 1.
Separately from Ascension, common troops follow fixed evolution routes. Specials such as Spartan or Berserker do not use these lines at all and only arrive through summoning.
| Base unit | Evolution path |
|---|---|
| Mercenary | Squire → Knight |
| Shieldman | Sentinel → Imperial Wall |
| Spearman | Pikeman |
| Archer | Longbowman |
| Scout Rider | Cavalryman → Lancer |
Daily quests and mounts
Daily quests are the steady Gem income that keeps summoning going between code drops. You can open them from the quest menu or talk to Edward, the quest-giver NPC standing in the lobby.
| Quest | Objective | Reward |
|---|---|---|
| Frontlines | Kill 25 enemy troops | 125 XP, 50 Gems |
| Commander’s Orders | Deploy 5 units | 100 XP, 50 Gems |
| Claiming Ground | Capture 3 objectives | 150 XP, 65 Gems |
| Ranged Superiority | Kill 10 enemies with ranged troops | 100 XP, 50 Gems |
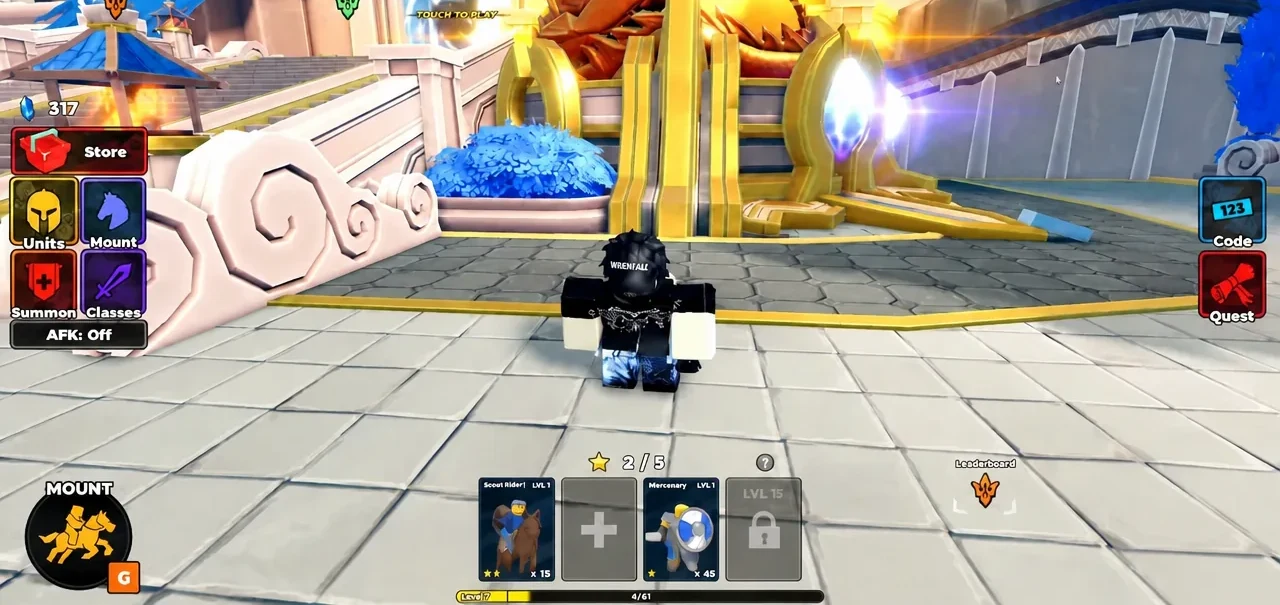
Mounts are cosmetic. The horse skin pool covers Bay, Black, Brown, Chestnut, and Dune at 17.8 percent each, White at 10 percent, and Bronze at 1 percent. Your mount is what carries you across open ground fast enough to reach an unguarded flank before the enemy line reforms.
Best strategy: Flanking, the turtle, and unit commands
Head-on charges into a formed defensive line are the fastest way to lose your squad. Ranged troops sitting behind that line have almost no block value and fold quickly once something reaches them, which makes them the correct target for a mounted push around the side.
Ride wide of the main engagement, come in behind the enemy formation, and cut into the archers while your own frontline holds their attention. This works because your teammates are absorbing the contact you would otherwise be taking.
Defenders have the mirror answer. The turtle formation packs shield-bearing units tightly together with shields raised, blocking incoming attacks and making a frontal push extremely expensive. Shieldmen with a 90 block value are built for exactly this, which is why a defensive loadout should include at least one.
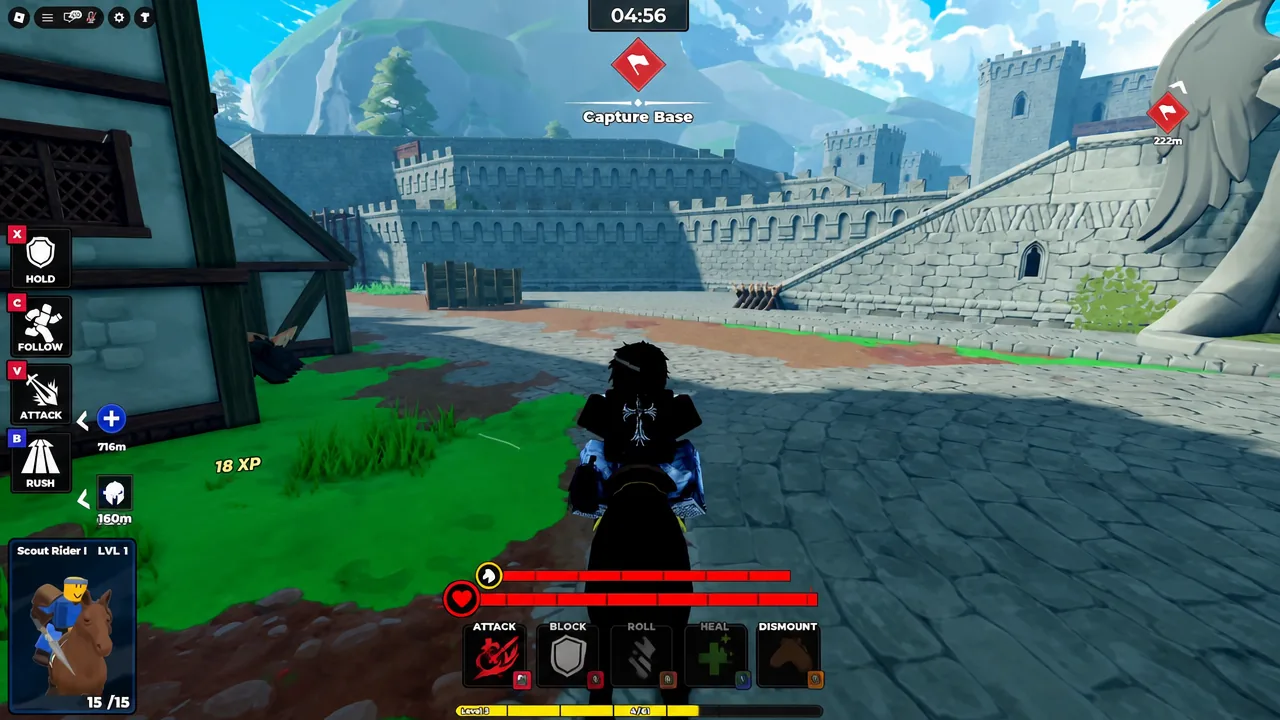
You direct all of this with four commands: FOLLOW keeps troops with you, HOLD pins them to a position, ATTACK sends them at a target, and RUSH commits them forward. Setting HOLD on a captured point instead of dragging everyone toward the next fight is usually the difference between keeping an objective and immediately handing it back.
Capture progress shows on the coloured bars at the top of the screen, and objective markers give you a live distance readout so you know how far the next base is. Watch both before committing your squad, because sprinting your units across an open courtyard into an intact defensive line rarely ends with the point flipping.
Codes rotate quickly and no expired list exists yet, so claiming everything currently active is the cheapest possible start. Spend that on Standard Banner ten-pulls, feed the inevitable duplicate Shieldmen and Archers into Ascension rather than deleting them, and build a four-slot loadout that can both hold a line and reach behind one.





