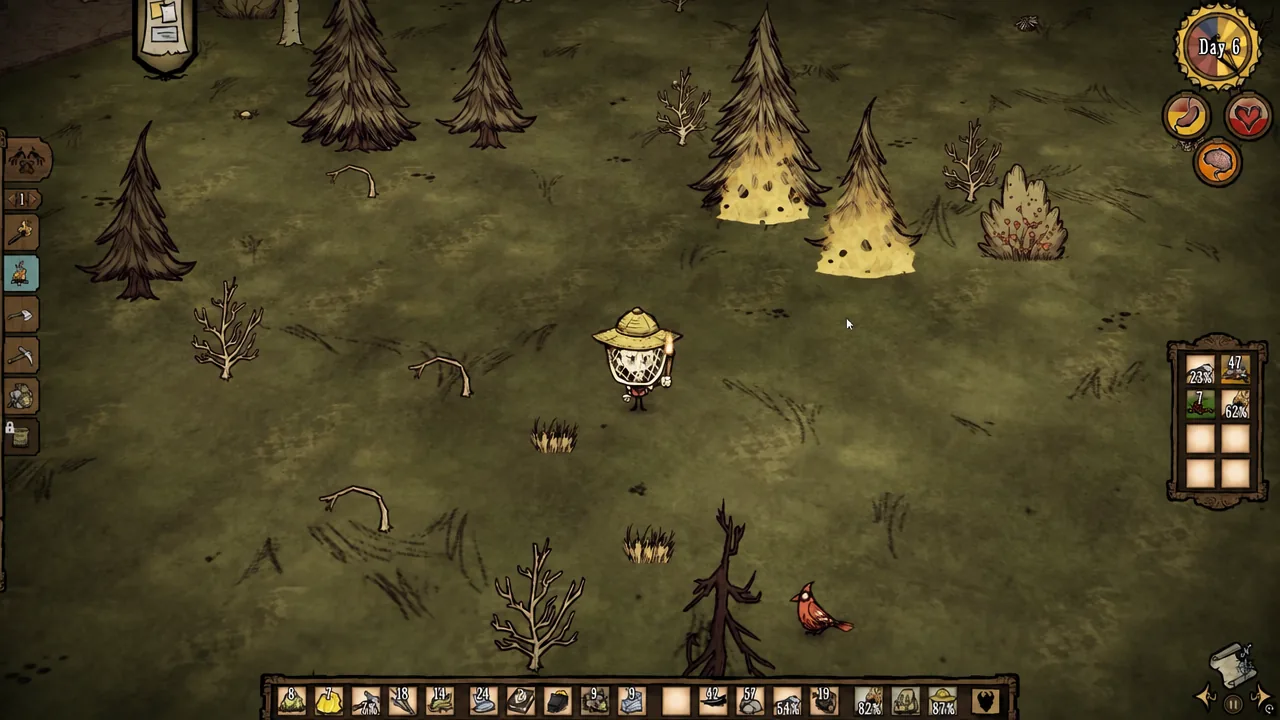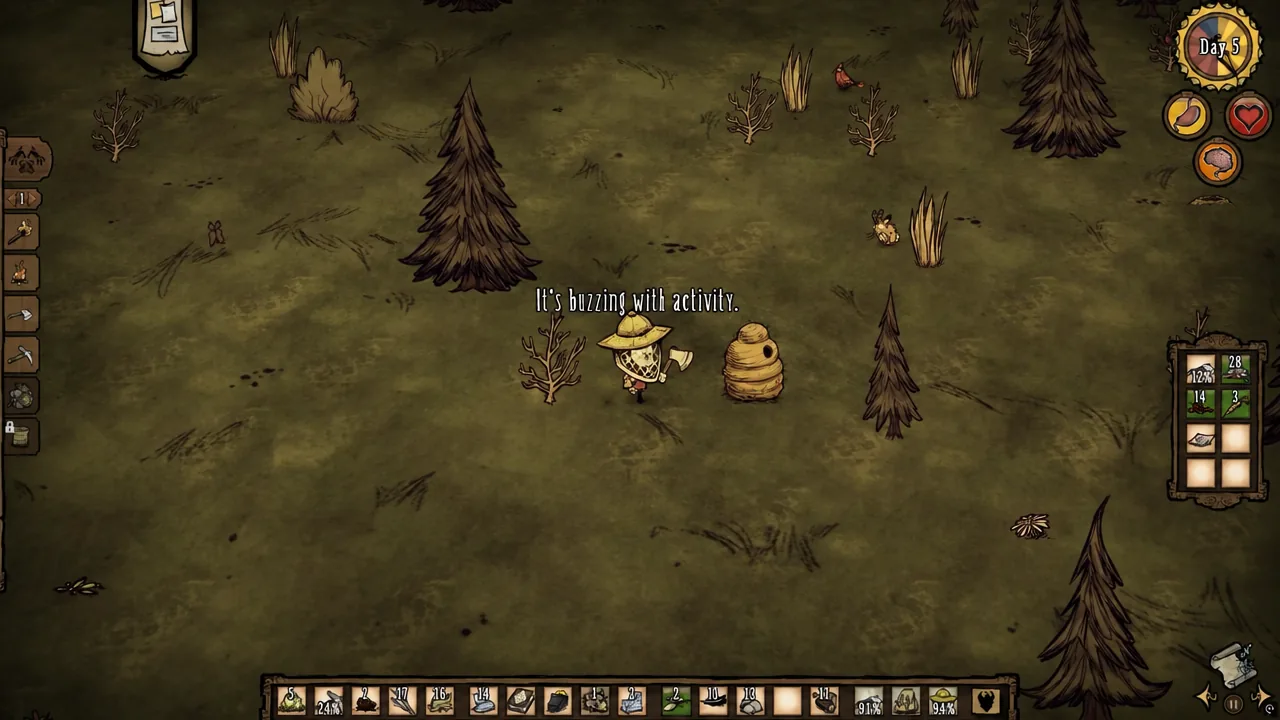
Stingers come off bees, and nothing else in the early game gives them up as reliably. A single Bee or Killer Bee drops one on death 83.3% of the time, which makes a beehive one of the most predictable resource nodes on the map once you know how to bait it.
Quick answer: Walk to a beehive, hit a nearby Bee with any weapon or tool until it dies, and pick up the Stinger it drops. Hitting the hive itself spawns more bees, so you can repeat this without hunting the map for stragglers.
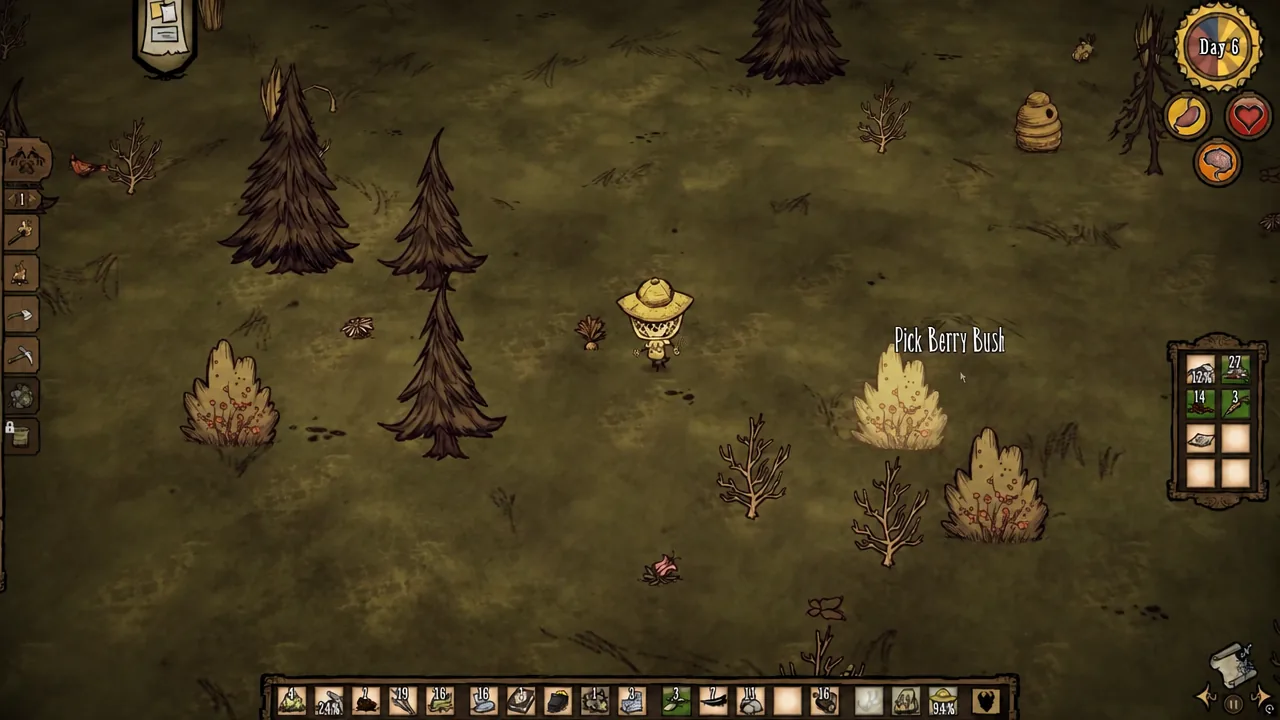
Find a beehive on your map
Beehives are generated randomly during world creation, so there is no fixed location to memorize. Once you have walked past one, it stays marked on your map, and that marker is what you should be navigating back to whenever you need stingers.
Open the map to check what you have already uncovered. The game auto-pauses on the map screen in single-player worlds, so you can take your time reading the icons and planning a route.
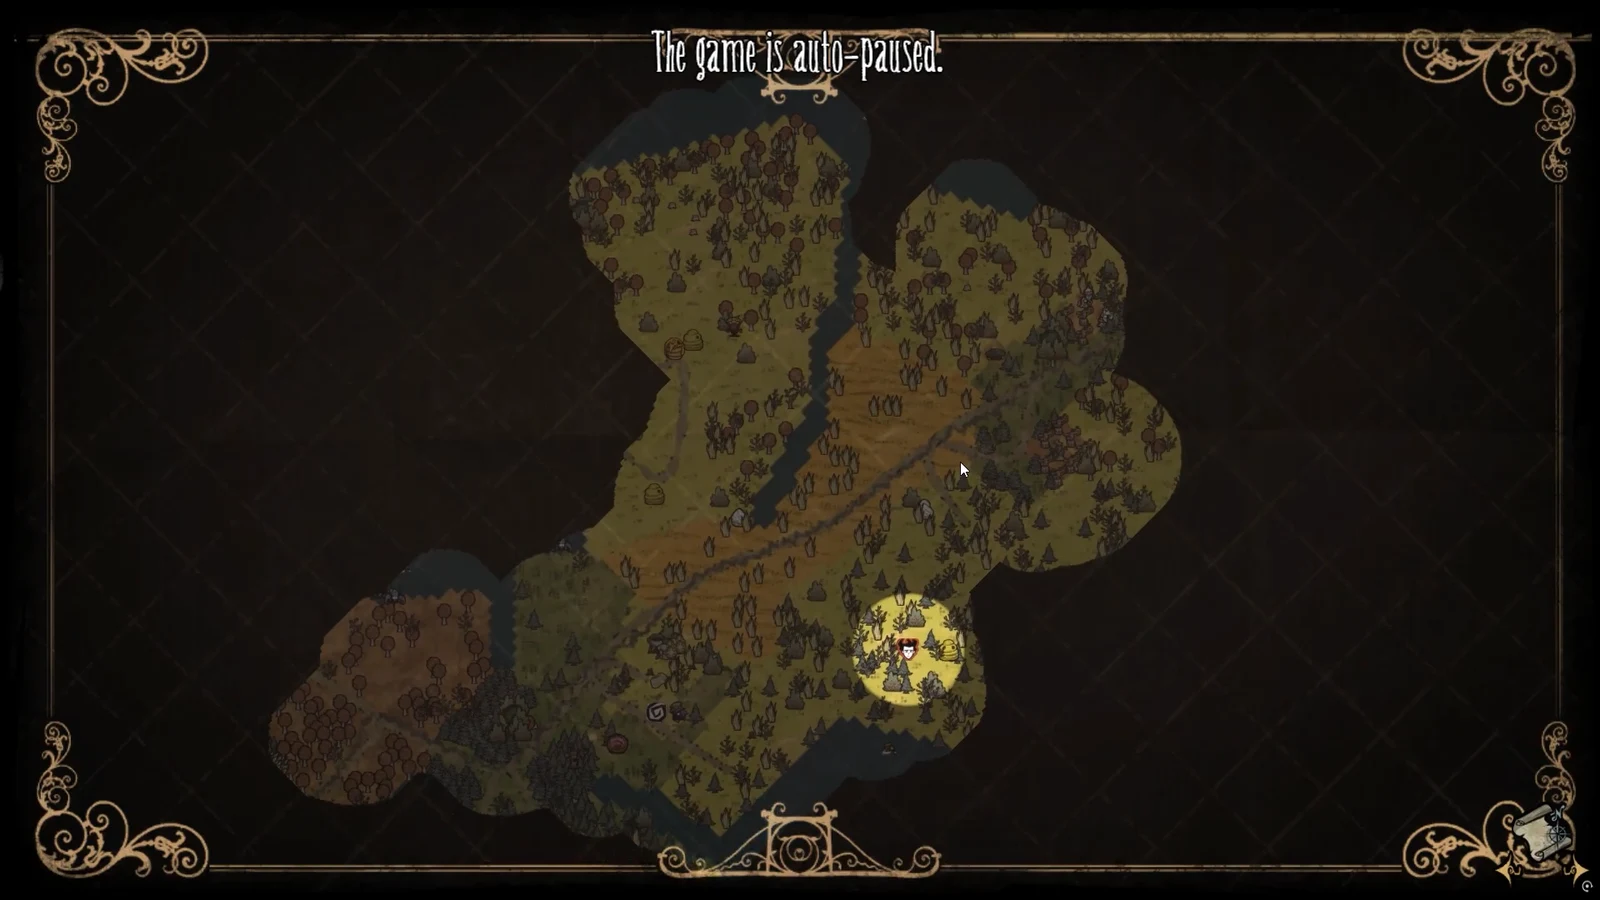
If nothing useful is marked yet, explore outward in daylight. Hives sit out in the open, and you will usually hear and see loose bees circling before the hive itself comes into view.
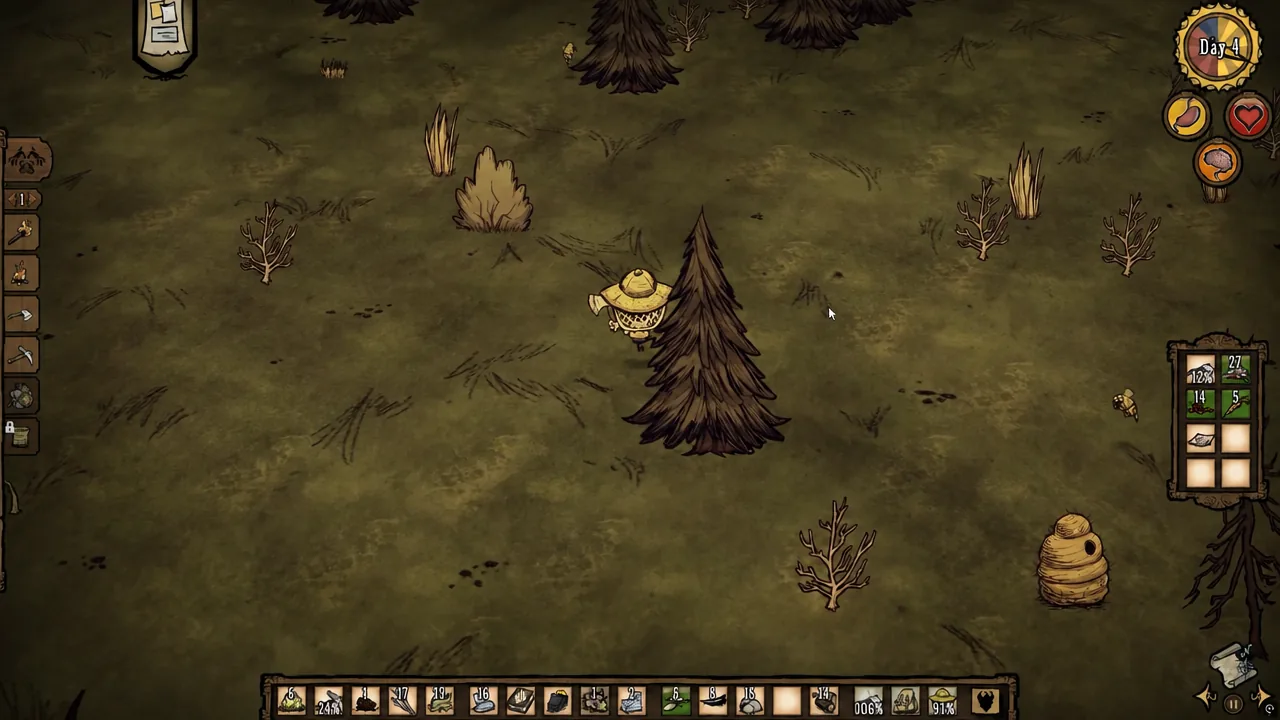
Kill a bee and pick up the Stinger
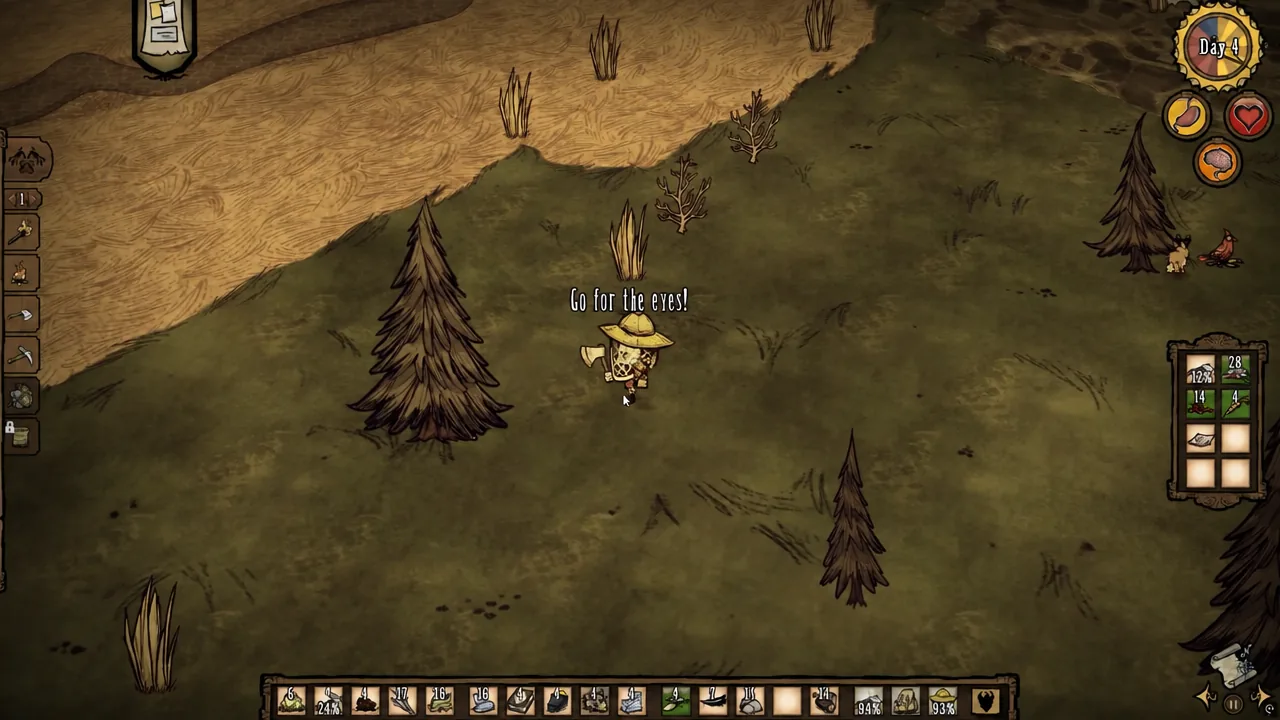
Note: the moment you or any mob attacks a bee, the rest of that hive emerges as Killer Bees and every bee in range targets the attacker. That is fine when you want a stream of kills, and dangerous when you are low on health or wearing no armor.
Farm stingers faster by hitting the hive
Waiting for wild bees to wander past is slow. Striking the beehive directly forces it to release more bees at you, turning one structure into a repeatable spawner instead of a one-off encounter.
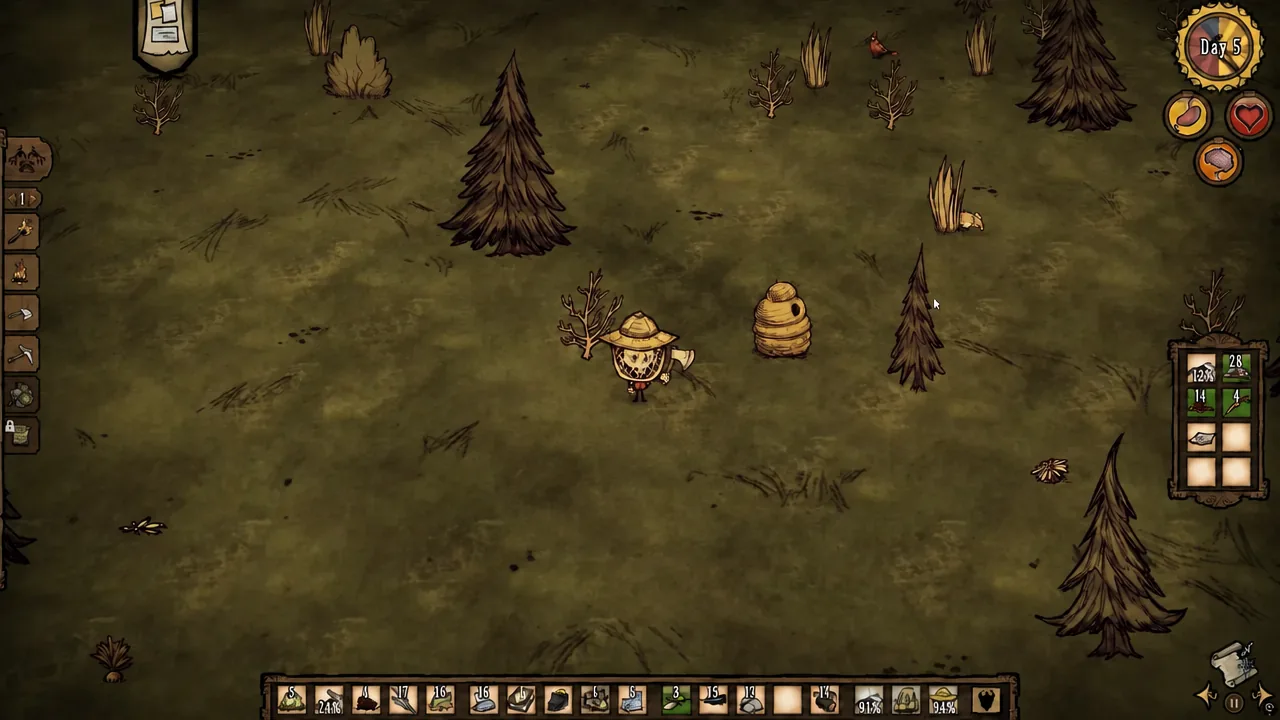
Two safer variations are worth keeping in mind. You can catch bees with a Bug Net and then murder them from your inventory, which produces the same drop without a fight. You can also let another mob do the killing for you and simply collect what falls on the ground.
A Bee Box behaves the same way as a wild hive here. Attack any of its bees and the rest come out as Killer Bees aimed at whoever swung first, so keep that in mind before farming next to your base.
Every Stinger source and drop rate
| Source | Drop | Notes |
|---|---|---|
| Bee | 83.3% | Standard hive bee, the main supply |
| Killer Bee | 83.3% | What hive bees become once provoked |
| Bee Queen | ×1 guaranteed | Boss drop |
| Grumble Bee | 1% | Spawned during the Bee Queen fight |
| Tumbleweed | 1% (×3) | Harvested while rolling |
What stingers are used for in Don’t Starve Together
Knowing the recipes tells you how many stingers a trip actually needs. Boat repairs and darts eat them one at a time, while Dock Kits and Wickerbottom’s book demand a proper stack.
| Recipe | Cost | Requirement |
|---|---|---|
| Sleep Dart | 1 Stinger, 2 Cut Reeds, 1 Jet Feather | Science Machine |
| Booster Shot | 1 Stinger, 2 Nitre, 8 Rot | Alchemy Engine |
| Boat Patch | 1 Stinger, 2 Logs | — |
| Dock Kit (×4) | 2 Stingers, 4 Boards, 1 Cut Stone, 1 Palmcone Scale | Rare blueprint |
| Stupefying Lure | 1 Stinger, 1 Cookie Cutter Shell | Fishing blueprint |
| Nightshade Nostrum | 1 Stinger, 3 Mourning Glory | Wendy only |
| Bramble Trap | 1 Stinger, 1 Living Log | Wormwood only |
| Bramble Husk | 4 Stingers, 2 Living Logs | Wormwood only |
| Shattering Rounds (20 Stinger Zingers) | 2 Stingers | Walter only |
| Apicultural Notes | 8 Stingers, 2 Papyrus, 4 Honey | Wickerbottom, Bookcase |
| Sewing Machine Kit | 1 Stinger, 1 Gold Nugget, 2 Silk | Beefalo Shrine, Year of the Beefalo event |
Storing and clearing spare stingers
Stingers dropped on the ground try to merge into a single stack, so a pile near your chest area stays tidy rather than littering the ground with individual items. Each stack holds up to 40.
If you end up with far more than you can spend, they can be set on fire and turned into Ashes. That is a reasonable way to clear surplus once your dart and boat supplies are already topped up.
Once a hive is marked on your map, treat it as a standing supply point. A short detour with a decent weapon and a Bug Net covers most of a season’s worth of darts, patches, and repair material without any real risk.