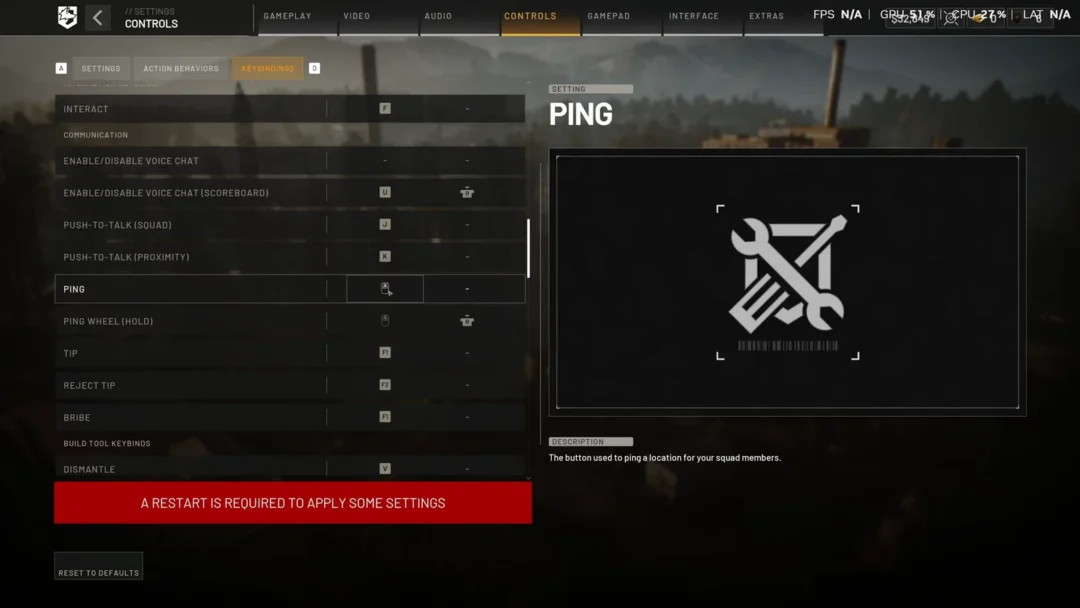
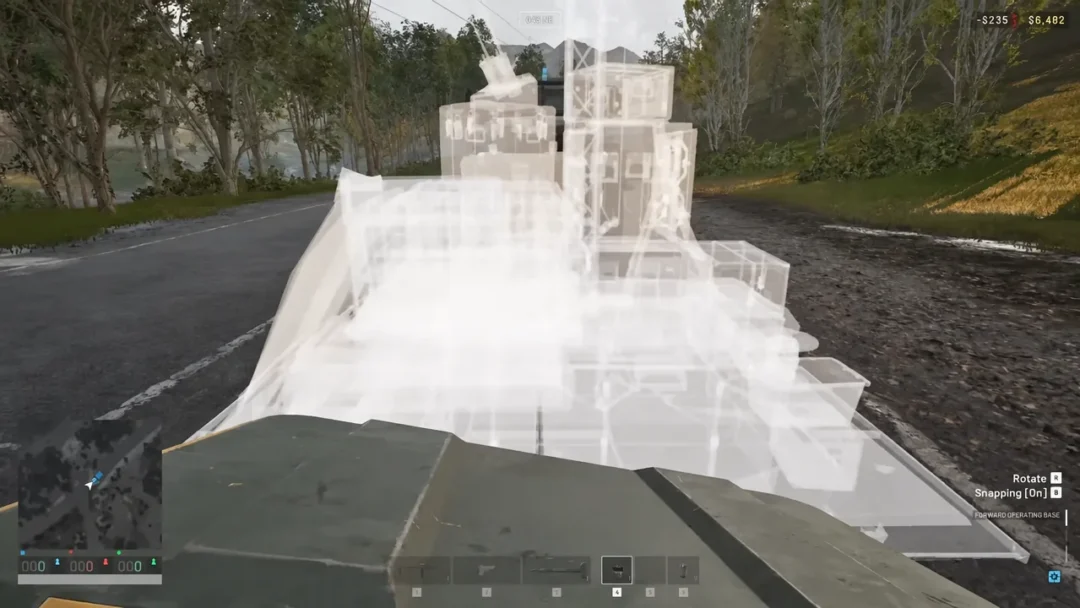
A single builder in WARDOGS can put an enemy tower position under sustained indirect fire without a squad, a spotter, or a second pair of hands. The setup is unglamorous. Buy the right kit, drive it somewhere the enemy is not looking, wall yourself in, and start dropping 81mm shells on structures that cost the other team far more than your ammunition does.
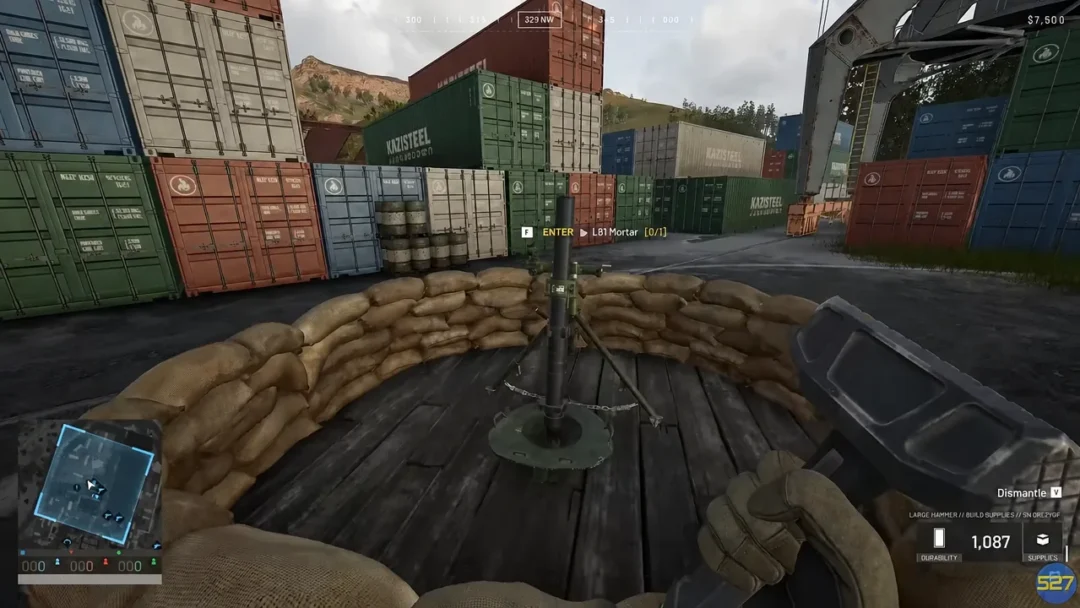
Quick answer: Place a FOB within 600m of the target, ring it with interlocking HESCO using a Large Hammer, build an L81 Mortar inside, and fire using the azimuth and elevation from your map marks. One well-supplied tube can destroy multiple enemy mortars, a drill rig, and incoming spawn vehicles before anyone finds you.
What to buy before you leave spawn
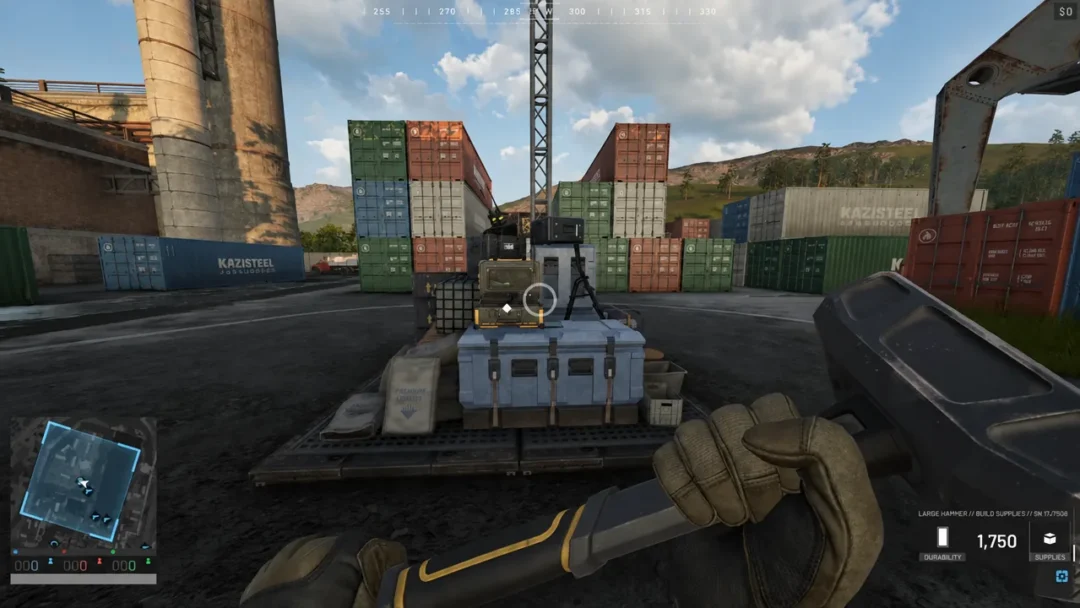
Everything for a solo mortar position comes from the Equipment Vendor and the vehicle vendor. The FOB is the expensive part of the run, but it arrives partly stocked, which matters when you are hauling supplies alone.
| Item | Why you need it |
|---|---|
| Forward Operating Base | $2,500, arrives with 1,250 build supplies inside. Required for HESCO, doors, and the mortar itself. Cannot be moved once placed. |
| Large Hammer | Builds every structure and builds fastest. A Medium Hammer cannot place everything you want here. |
| Build Supply Pallet | 1,800 supplies for $400. A truck carries two, a helicopter one. |
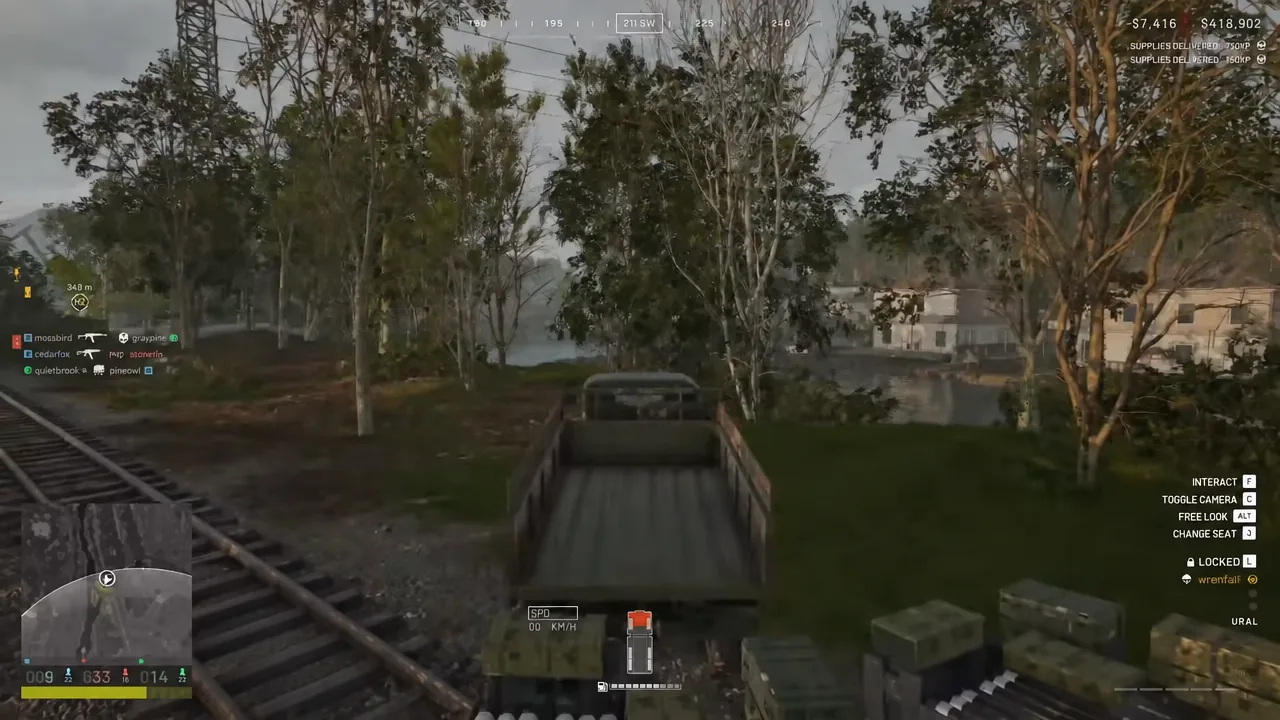
| Ural truck | Carries the FOB, the pallets, and the ammo crates in one trip. |
| Ammo supplies | Mortar rounds draw on the FOB’s ammunition stock, so bring pallets of it. |
Load the truck at the vendor before you drive out. The ammo prompt on the vehicle lets you top off supply pallets while you are still parked in a safe area, and a second trip back for shells is usually a death sentence once the mortar has been firing.
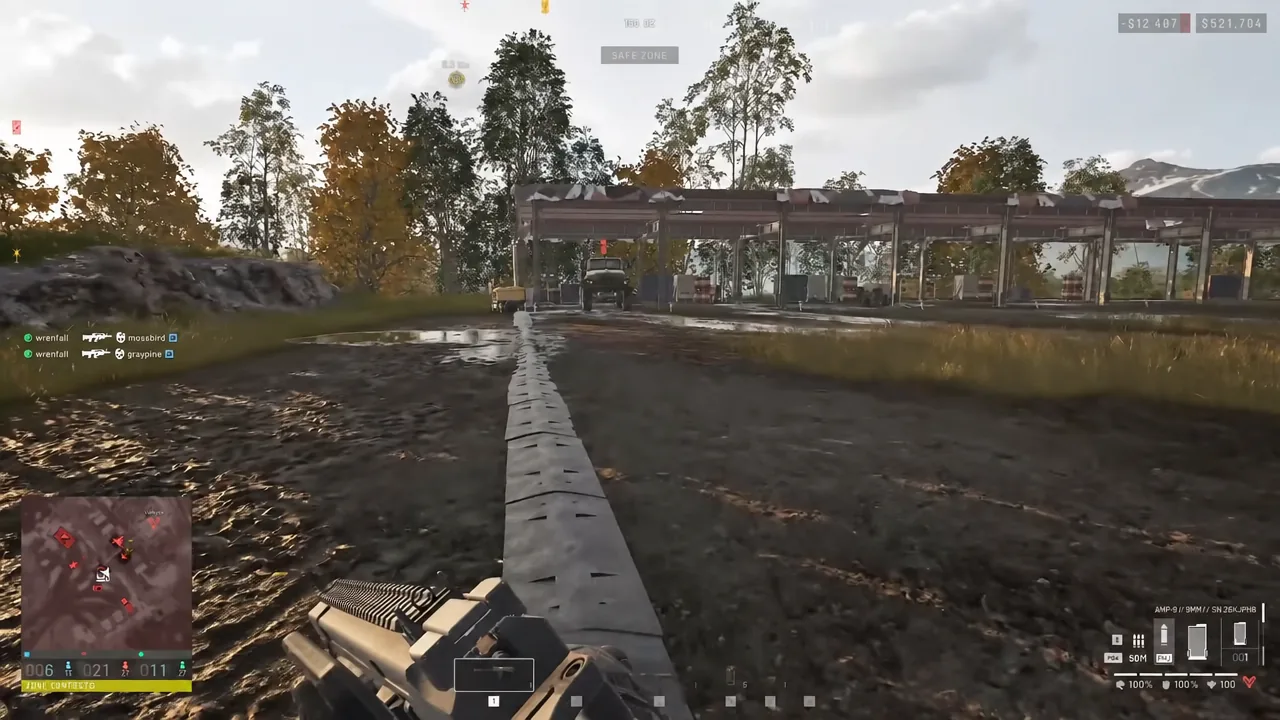
Picking a firing site inside 600m
The L81 Mortar covers roughly 50m out to 700m, so plan your drive around a spot that sits comfortably inside that band. Around 600m from the target keeps you in range with margin for the enemy shifting their structures without forcing you to relocate the whole base.
The near limit matters as much as the far one. Past the elevation that throws a shell furthest, more elevation lands rounds shorter, so there is a dead circle about 50m wide around the tube that cannot be hit at all. If a target ends up inside that circle, the only fix is a new position.
Terrain features that hide a vehicle are worth the detour. Tucking the Ural off a rail line or behind a rise means one enemy recon pass over the road does not reveal the whole operation. Read the map for coordinates before you commit, not after the FOB is down.
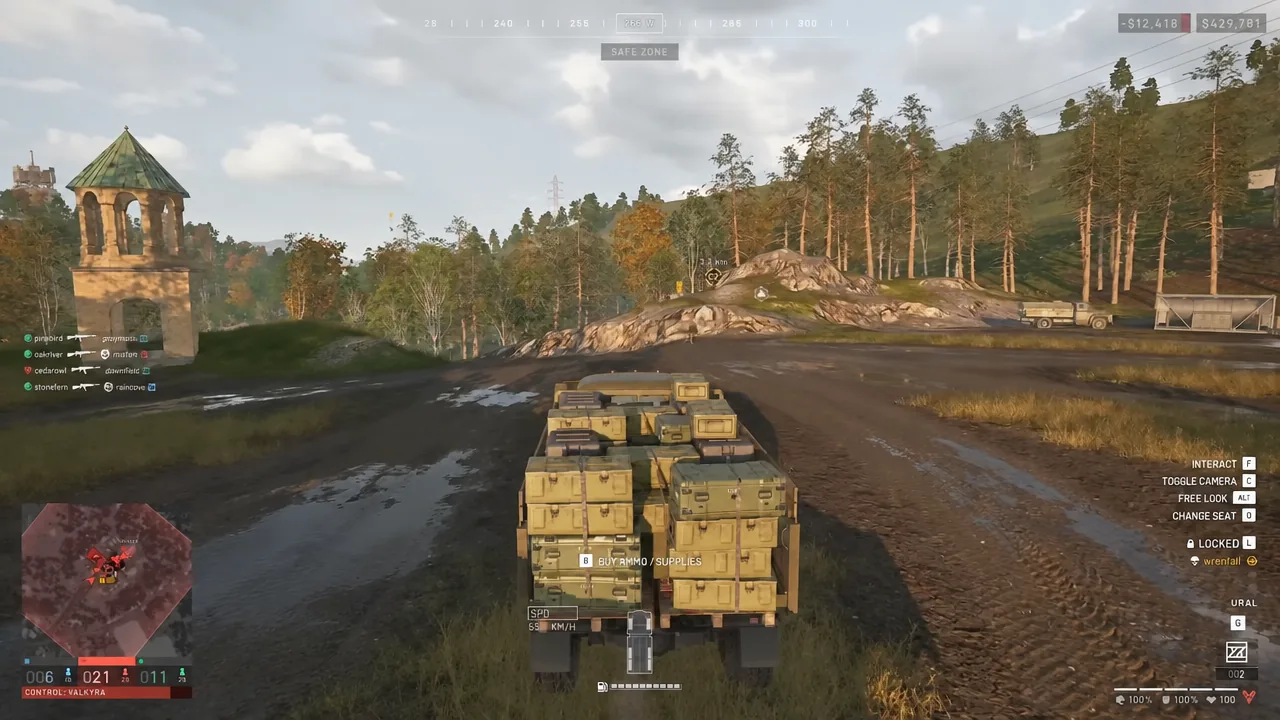
Building the enclosure and the L81 Mortar
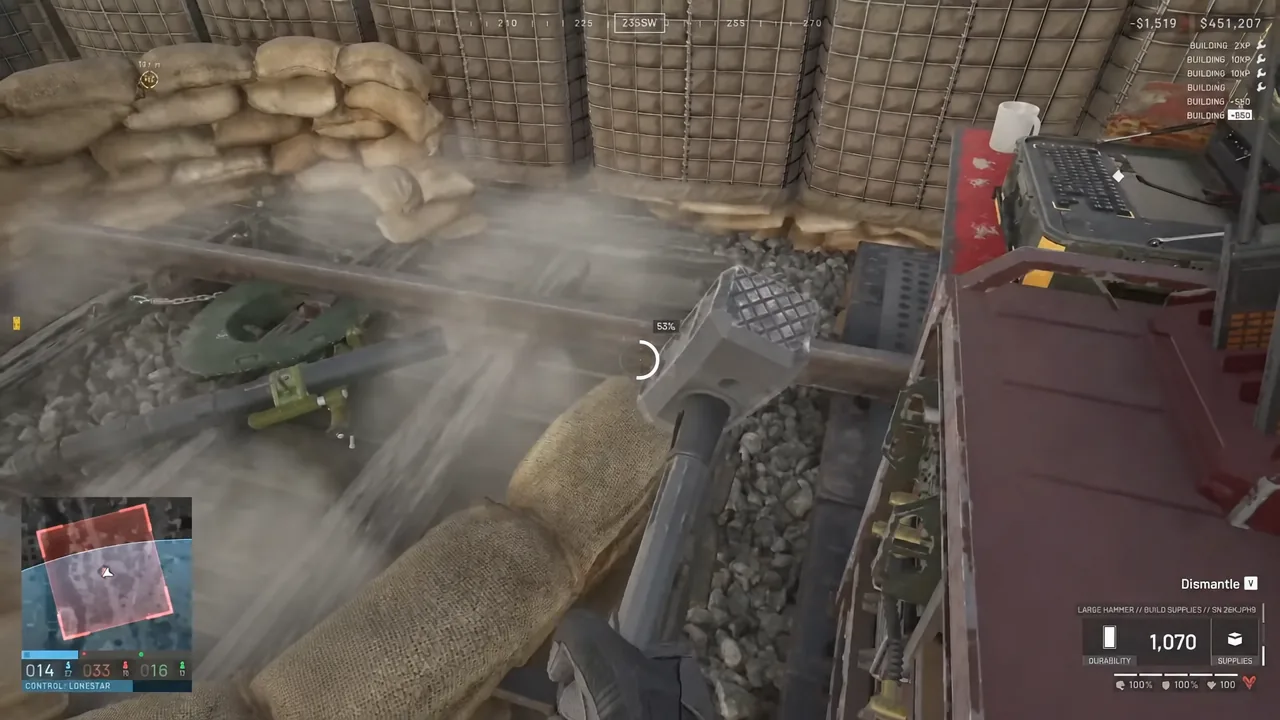
Hitting the yellow X markers on a structure speeds construction up considerably. On a full wall run that is the difference between finishing before the first enemy patrol arrives and being caught mid-build with a half-height barrier.
Setting azimuth and elevation without a spotter
Azimuth is a compass bearing with 0° at north, 90° east, 180° south, and 270° west. Traverse the tube to that bearing first, then set elevation. The mortar is a steep-arc weapon only, so there is one solution per target rather than a choice between a flat and a high shot.
The mils on the sight are the gun’s own scale, not NATO mils, and the L81’s numbers do not transfer to the SPH-2. The sight also steps in whole mils, so matching the range figure the sight displays is the more reliable way to dial in than trying to eyeball a fractional elevation.
Note: Height difference between your position and the target changes where a shell lands, and the sight only reads flat-ground range. If the target sits noticeably above or below you, expect your first round to miss long or short and correct from the impact.
Working solo, the projectile camera does the spotter’s job. Fire one round, watch it down, and correct direction and distance from the impact before committing more shells. Reading the map for coordinates rather than estimating from the horizon keeps the first correction small.
What one mortar can actually destroy
The L81’s shell does 120 damage over a 10m blast radius and reloads in 6.5 seconds, four times faster than the SPH-2’s 27-second cycle. That reload speed is the whole reason a solo tube is worth building. You can walk rounds onto a point and follow up before defenders reposition.
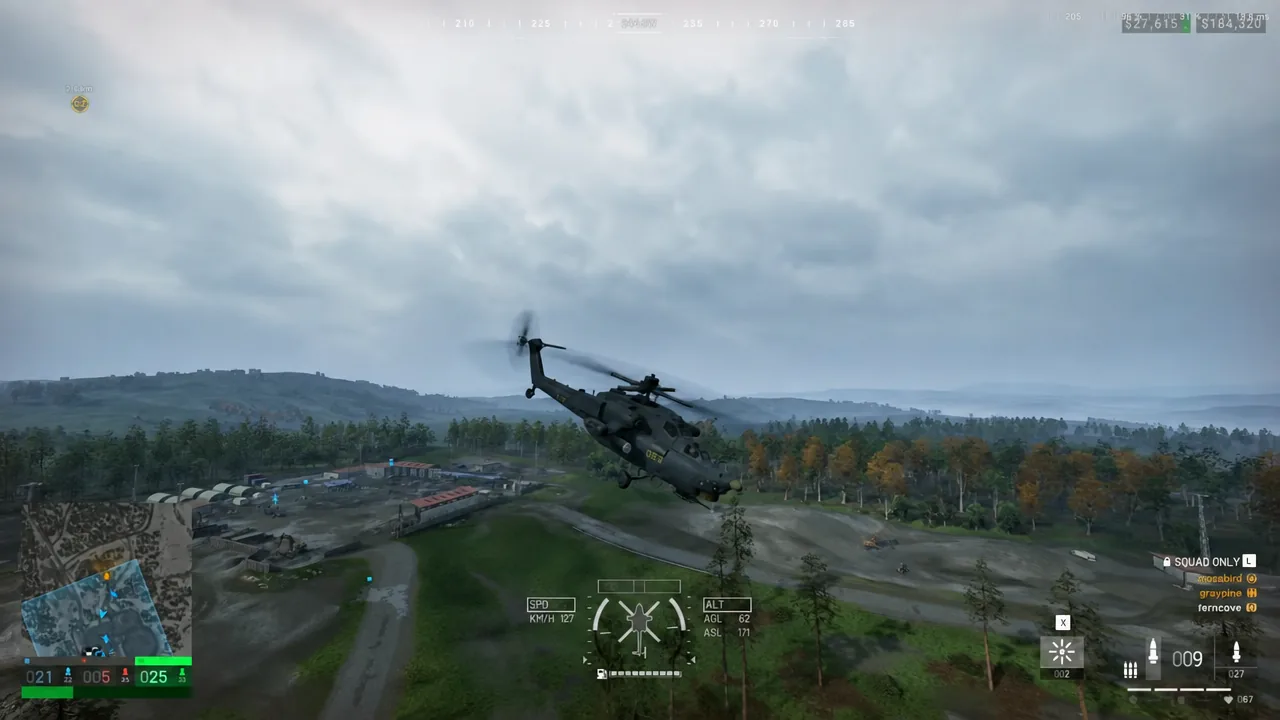
The high-value targets are the other team’s own investments. Enemy mortars, Stingrays, anti-air structures, and the drill rig that pulls the Hot Zone toward a base are all fixed, expensive, and unable to move when they start taking fire. A drill rig alone costs 1,351 build supplies, a Talon 601, and a CIWS 901.
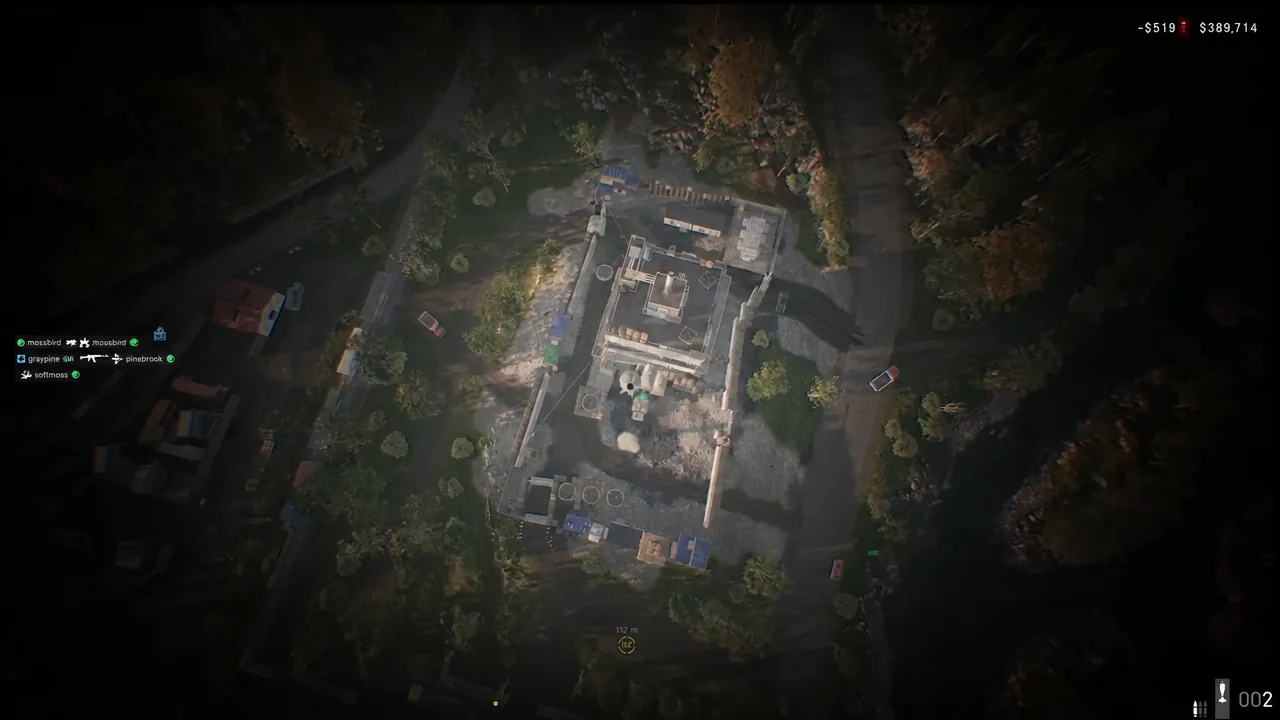
| Target | Why it is worth the shells |
|---|---|
| Enemy mortars | Removes counter-battery fire and the tube shelling your team’s push. |
| Drill Rig | 1,351 supplies and fuel invested; destroying it stops the Hot Zone pull. |
| Stingray / Talon / CIWS | High-cost weapon systems that cannot relocate. |
| Spawn vehicles | Damaging or destroying one cuts the enemy’s forward respawn. |
Rapid-firing works, but switch to the shell camera between rounds so you are correcting from impact telemetry rather than guessing. A run against a defended tower can realistically account for six enemy mortars and a drill rig on a single ammunition load, plus the cash the kills and destroyed assets pay out.
Confirming hits and knowing when the base is spent
You will know a shell connected from the on-screen destroyed alerts. Buildables and vehicles each register their own notification, and artillery kills are credited separately, so the running tally tells you whether you are still hitting structures or just cratering ground.
Two things end a solo position. The first is the enemy replacing what you destroyed. If new mortars and anti-mortar structures appear on a different side of the tower, expect counter-battery fire to be inbound and put the remaining shells on those before anything else.
The second is a sniper. Sealed walls protect you from indirect fire and infantry pushes, but the moment you step outside the enclosure to dismantle a segment, resupply, or reposition, you are exposed. That is where most solo mortar runs actually end, not to counter-battery.
Mortar ammunition is tied to the FOB’s ammunition stock, so a solo builder is never separated from logistics. When the stock runs dry, the choice is a resupply run that leaves your position empty or dismantling and moving on. Neither is free, which is why the first ammunition load should be larger than you think you need.
Damage values, blast radii, build costs, and range limits in WARDOGS are still being tuned, so numbers can shift between builds. The workflow does not. Site inside range, wall in fully, fire a ranging round, correct from the impact, and spend the rest of the load on the structures the enemy paid the most to put down.