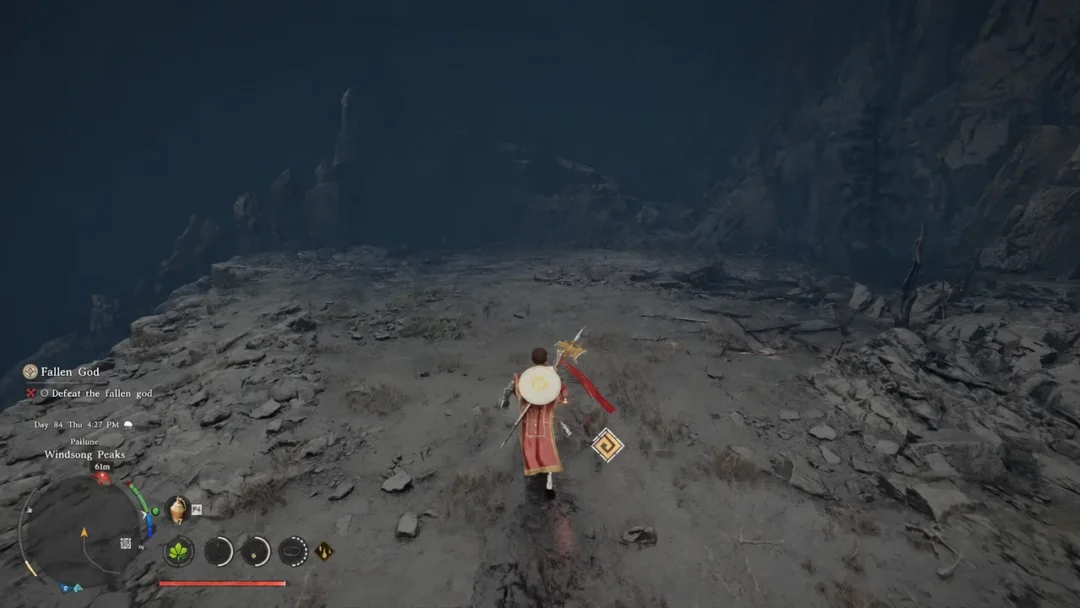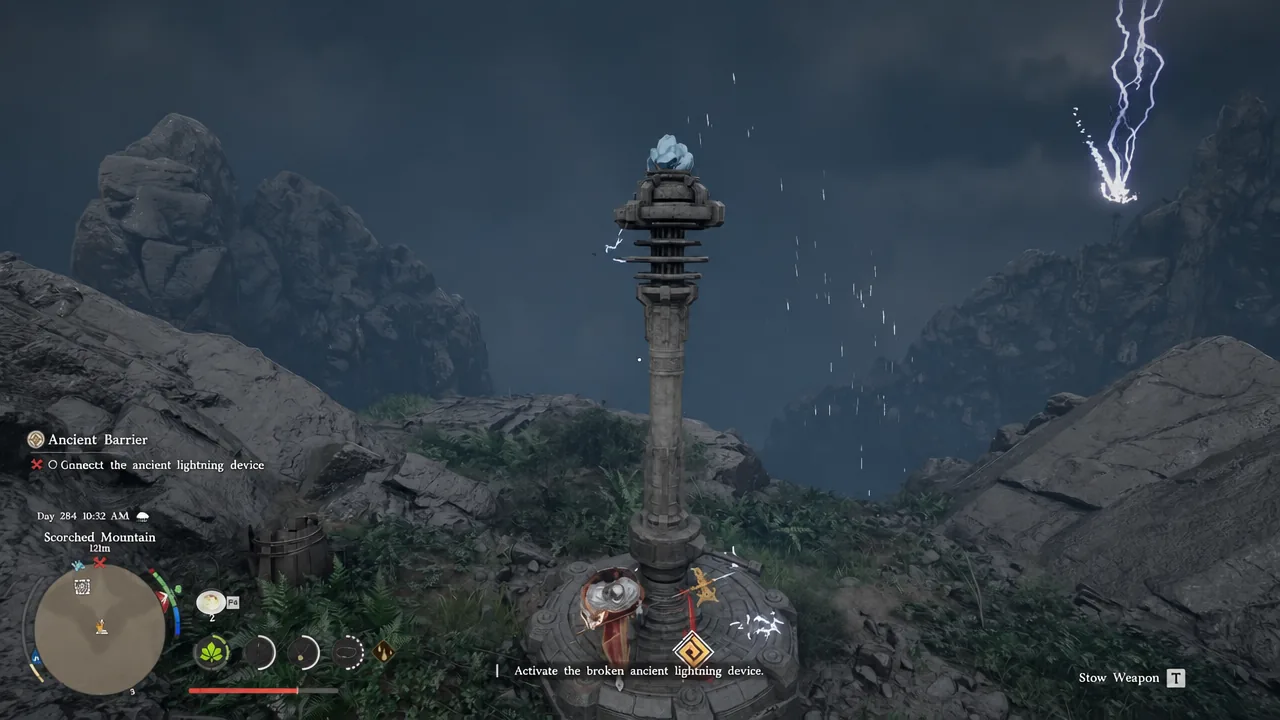
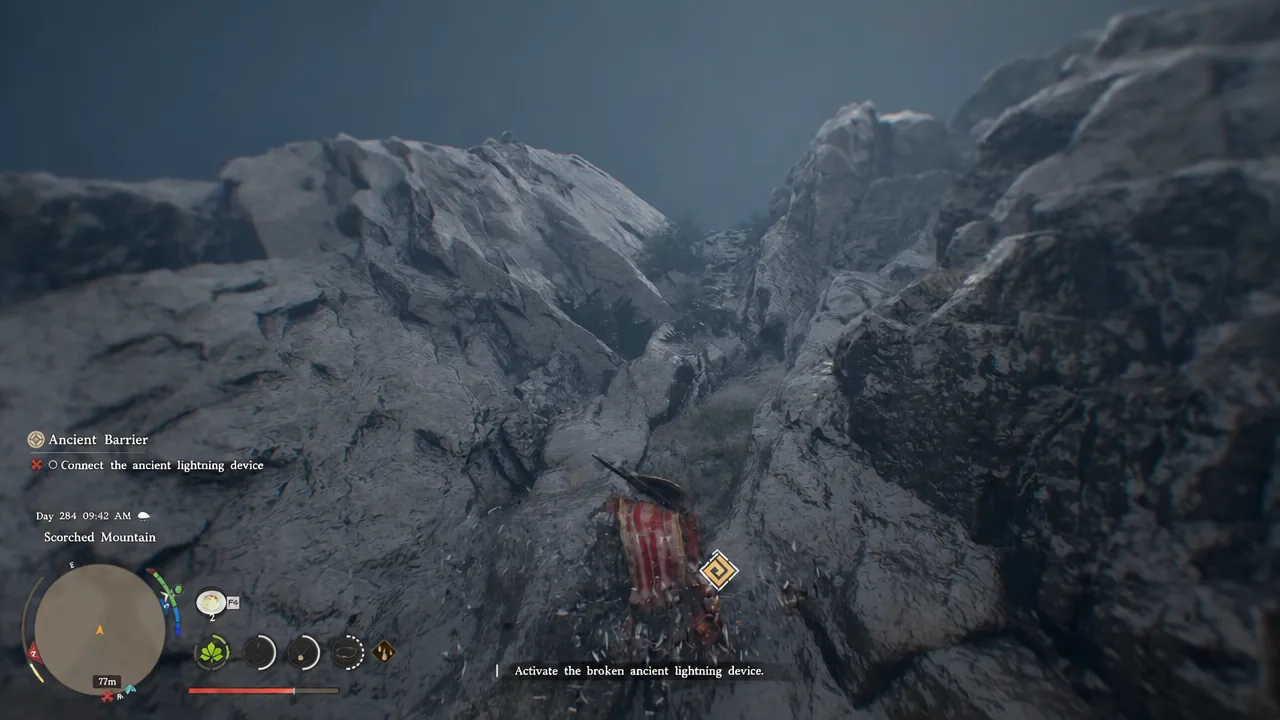
Ancient Barrier is the Stjar Clan faction quest that drops Kliff on Scorched Mountain in Pailune with one instruction and almost no explanation: activate the broken ancient lightning device. The mountain is buried in fog, lightning is going off constantly, and the objective marker points at a platform that does nothing when you stand on it. The puzzle itself is simple once you see the shape of it, and the hard part is visibility rather than mechanics.
Quick answer: Five Coil Pillars ring the central platform. Two are already working, and you need to repair or realign the other three so every pillar fires its lightning beam into the next one in the loop. Once the circuit is unbroken, stand in the middle of the Coil Status Panel to trigger the cutscene.
How to unlock the Ancient Barrier quest in Pailune
Ancient Barrier sits at the end of a chain of Pailune faction work, so it will not appear early. You need Chapter VII: Homecoming finished first, then the regional factions in order. The Pailune Militia opens the Skoghorn Tribe, Skoghorn opens the Longleaf Tribe, and Longleaf leads into the Stjar Clan.
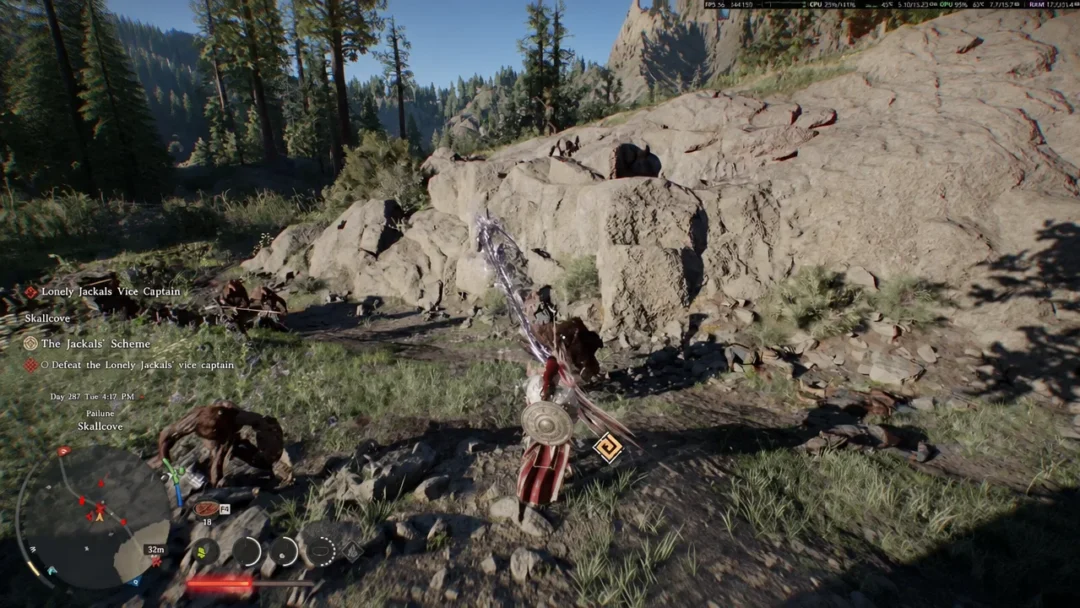
The Stjar Clan line is what sends you to Windsong Peaks. After clearing the Jackals out of the village and liberating Skallcove, speaking with the chief there starts Ancient Barrier and points you at Scorched Mountain in the northeast of Pailune.
| Detail | Value |
|---|---|
| Region | Windsong Peaks, Scorched Mountain, Pailune |
| Faction | Stjar Clan |
| Prerequisite | Chapter VII: Homecoming, then Pailune faction chain up to Stjar Clan |
| Objective | Connect the ancient lightning device |
| Reward | Trace of the Thunder God x1 |
| Unlocks | The Fallen God boss quest against Titan |
How the Coil Pillar circuit works
Climb the central structure and you will find five crystals mounted on short pillars. Each crystal mirrors the state of one Coil Pillar out on the surrounding peaks. A pillar catches a lightning strike and fires it horizontally in whatever direction its lever is pointing, so the whole thing is a relay race. Break one handoff and the panel stays dead.
Two pillars are already standing, powered, and aimed correctly. Leave those alone. The other three are some mix of knocked over, encased in ice, or unpowered, and the fix for each one is different.
| Pillar state | What to do |
|---|---|
| Already upright and beaming | Nothing. Follow its beam to find the next pillar. |
| Rod lying on the ground | Lift it with Nature’s Grasp, set it on the Coil Pedestal, then aim it. |
| Rod frozen in ice | Break the ice with Force Palm, then plant the rod with Nature’s Grasp. |
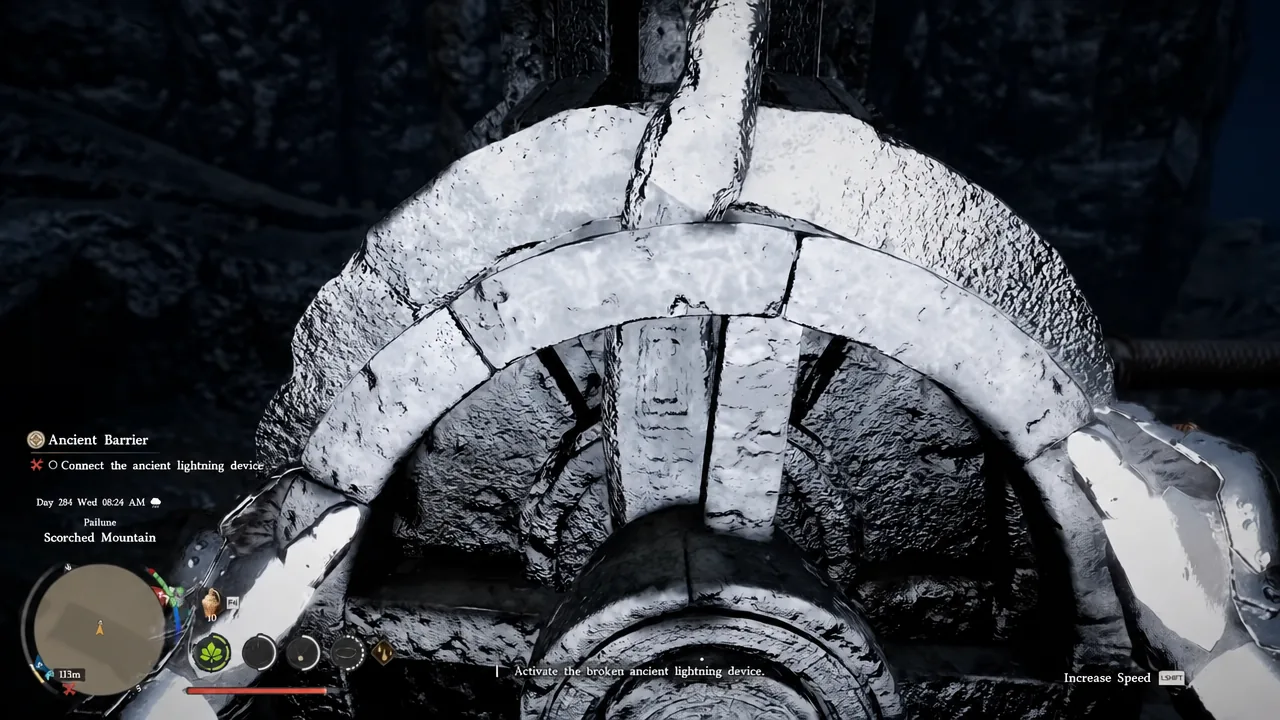
| Standing but unpowered | Turn the handwheel until sparks appear, then press the button. |
Repair and aim the Coil Pillars
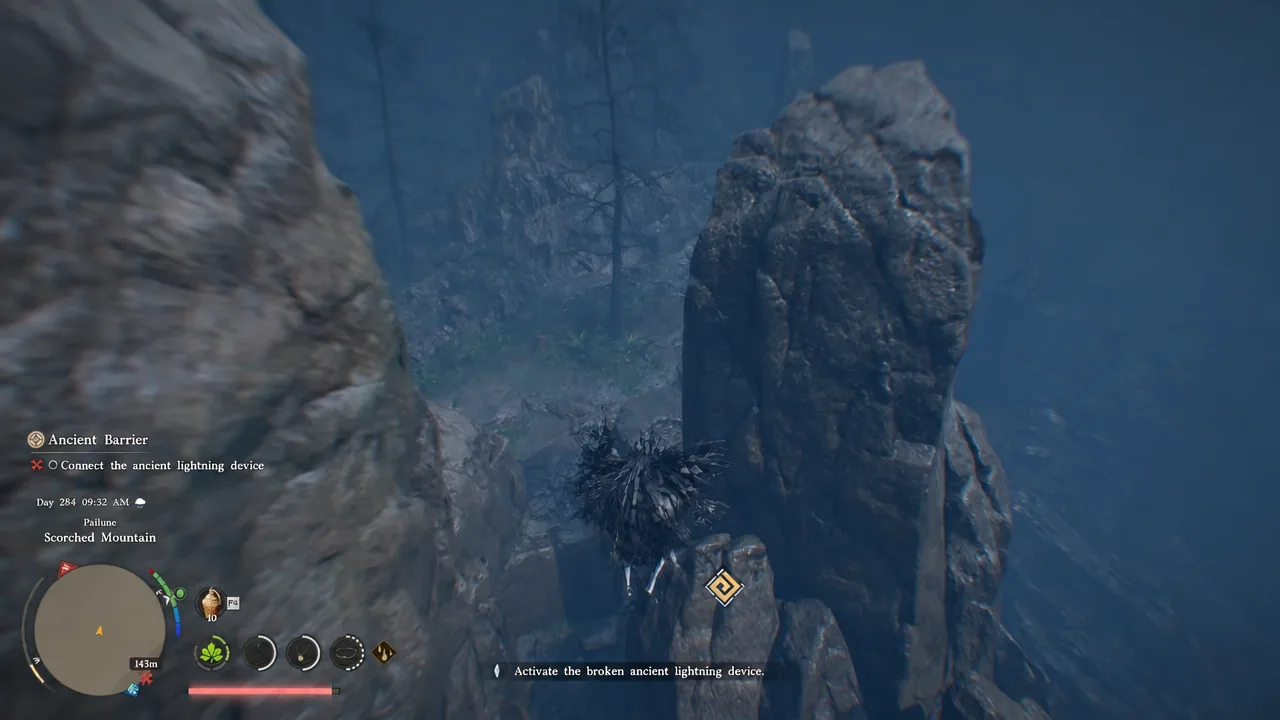
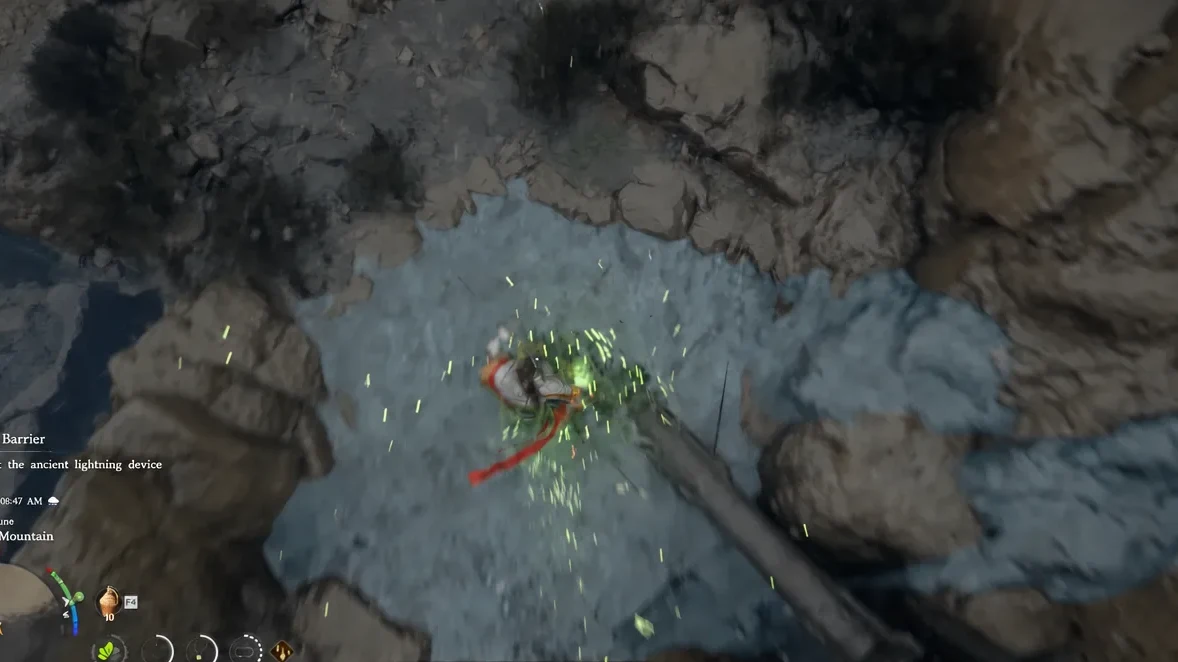
Check the connection without walking back to the panel
You do not have to hike to the middle to see whether the circuit is live. Open the map at the moment lightning strikes a pillar and the icons will show which ones are linked, so you can correct an angle from where you are standing. The Radiant Necklace also helps here, since using it pushes the storm clouds back and makes the beams far easier to trace by eye.
Tip: aim in the direction of a map marker you placed earlier rather than by landmark. The peaks look nearly identical in fog, and the marker gives you a fixed reference to swing the lever toward.
Activate the Coil Status Panel to finish Ancient Barrier
Glide back to the central platform and check the crystals. Every one of them should have lightning running across it. Walk into the circle in the middle, and the platform lights up and a cutscene plays, which is your confirmation that the puzzle is solved. The quest completes with Trace of the Thunder God, and the objective updates to point you further up the mountain.
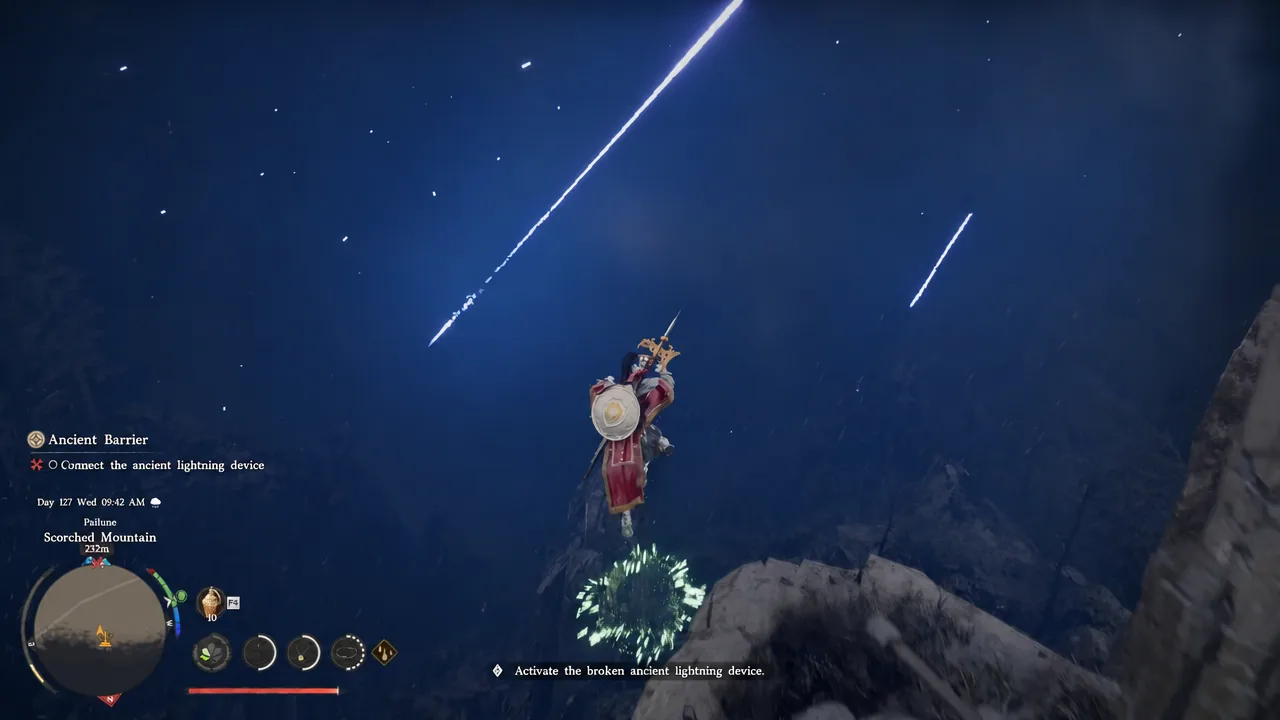
If nothing happens when you stand there, the failure is almost always one of three things. A rod is sitting on the ground instead of on its pedestal, the handwheel pillar was cranked but the button was never pressed, or one lever is off by a few degrees and its beam is missing the next pillar entirely. Check the crystals to work out which relay is dark, then go fix that one.
Completing the circuit summons Titan the Fallen God higher up the mountain, and there is an Abyss Nexus shortly before his arena. Use it to restock food and honey tea, spend the Abyss Cells you collected on the way up, and save before you walk into the stone field lined with blades.