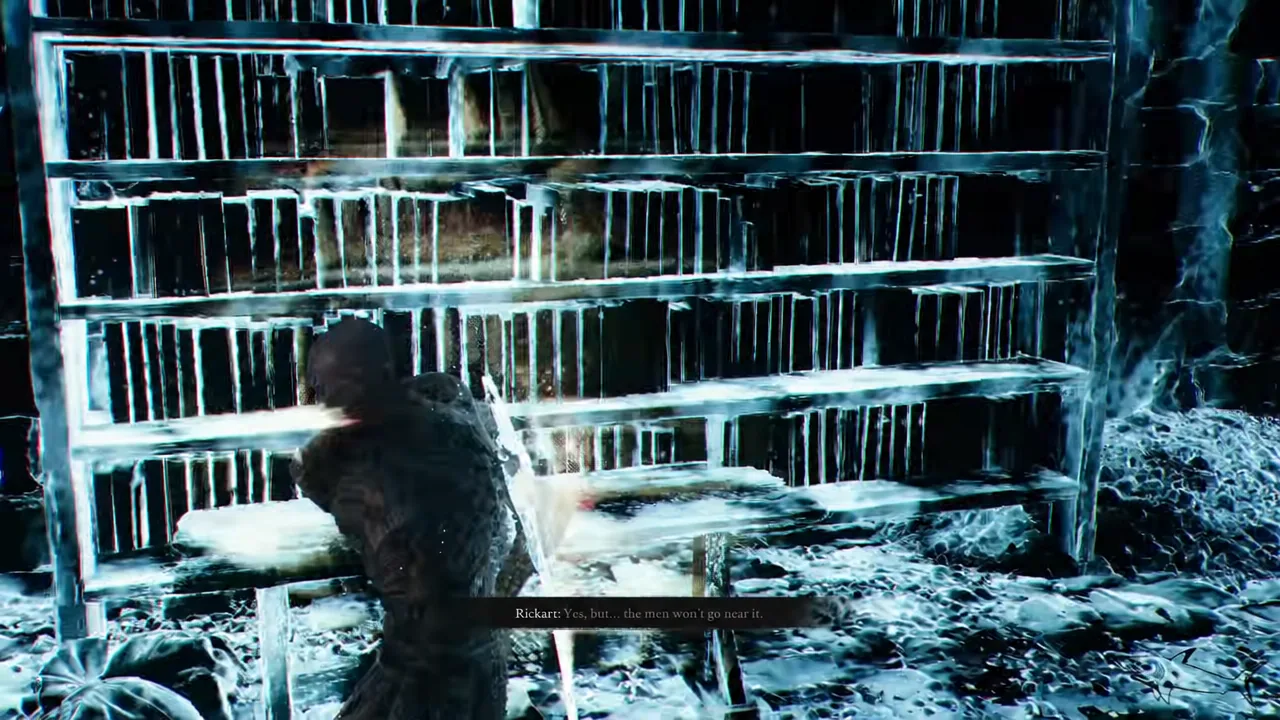
The Caged Hystrix is the closest thing Mortal Shell 2 has to a minigun. It’s a sidearm that spits projectiles in a rapid stream, and it’s tucked away at the very end of an optional dungeon in the southern reaches of Mammon. You can walk past the whole thing without ever knowing it exists, because the pickup only becomes reachable after a boss fight, a shell inheritance, and a memory sequence.
Quick answer: Head to the Chamber of Becoming dungeon near The Silent Steps Beacon, defeat Sariel, the Endless (break all four glowing stones in the arena first so he stops reviving), inherit his shell and finish the memory called “The Search,” then climb the stairs at the end of the dungeon and interact with the altar to pick up the Caged Hystrix.
Caged Hystrix location: Chamber of Becoming, south of Mammon
The sidearm sits inside the Chamber of Becoming, a dungeon in the Silent Steps area of the Ruins of Mammon, in the southern part of the map. The Silent Steps Beacon is the nearest fast travel point. From there, the dungeon entrance is to the southeast, hidden behind a large statue on top of the white ruins.
If you’d rather have it flagged on your map, Merrick in the Marrow Keep sells a map fragment called Location: Caged Hystrix for 650 coins. It does nothing except mark the spot, so it’s optional if you already know where you’re going.
What to equip before the run
Sariel applies Lightning damage with basically every hit, and that damage keeps draining your health after the swing lands. Equipping the Galvanic Shard for Lightning mitigation makes the fight far less punishing, and it works whether you slot it as a passive or an active effect.
A ranged option also helps. Four stones in the final arena need to be destroyed, and shooting them from the ledge above is easier than chasing each one on foot mid-fight.
Route to the Chamber of Becoming
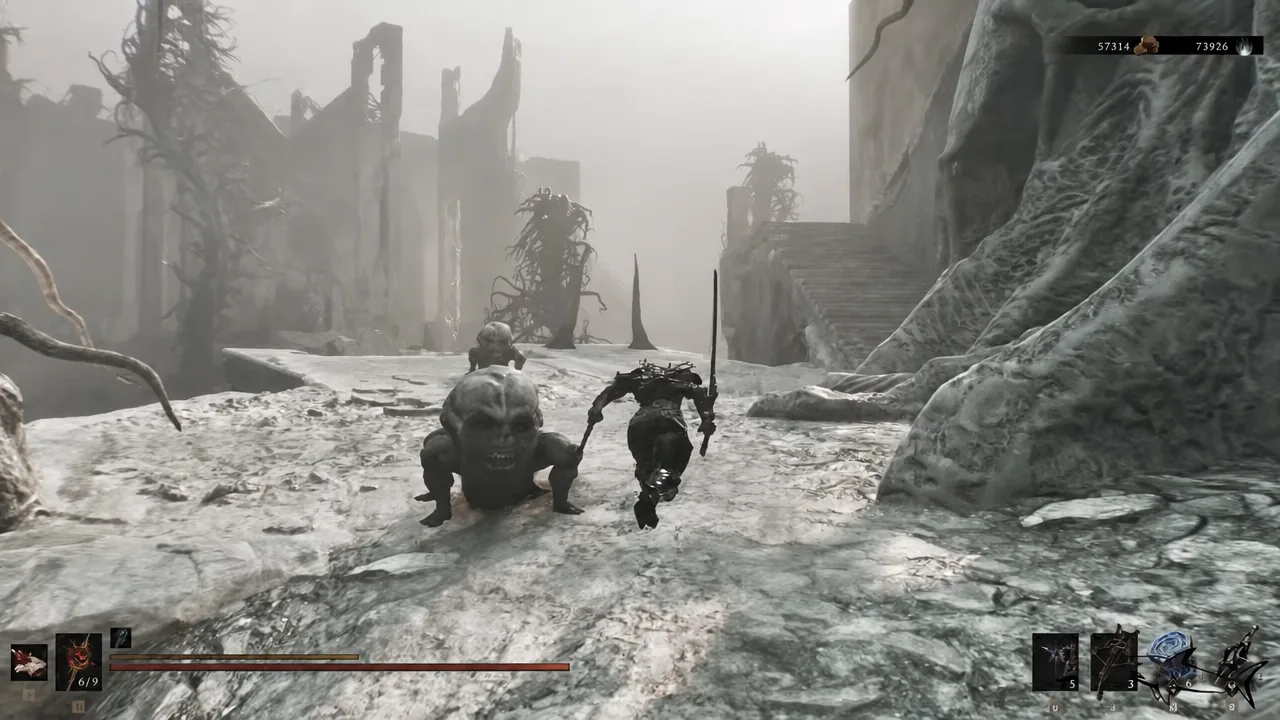
If The Silent Steps Beacon is already lit, skip straight to Step 5. If it isn’t, the overland run starts at the Outskirts of Mammon Beacon and chains through three more beacons on the way south.
Beating Sariel, the Endless: break the four stones
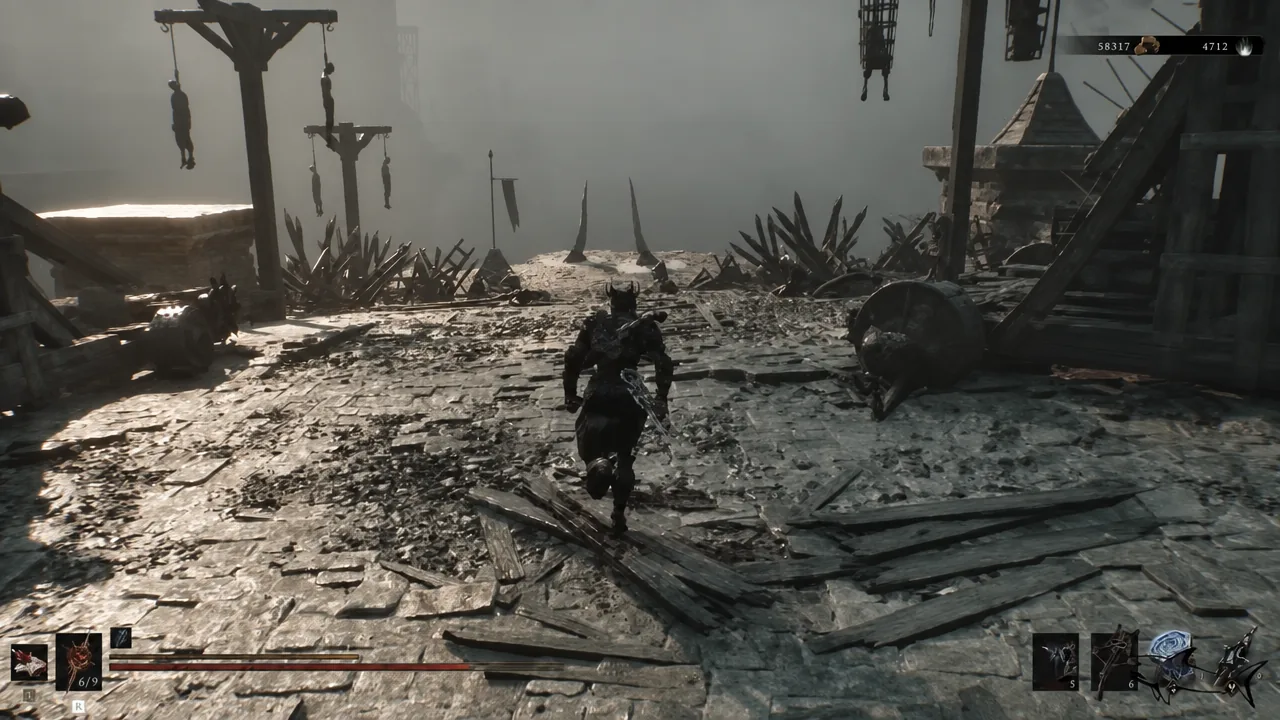
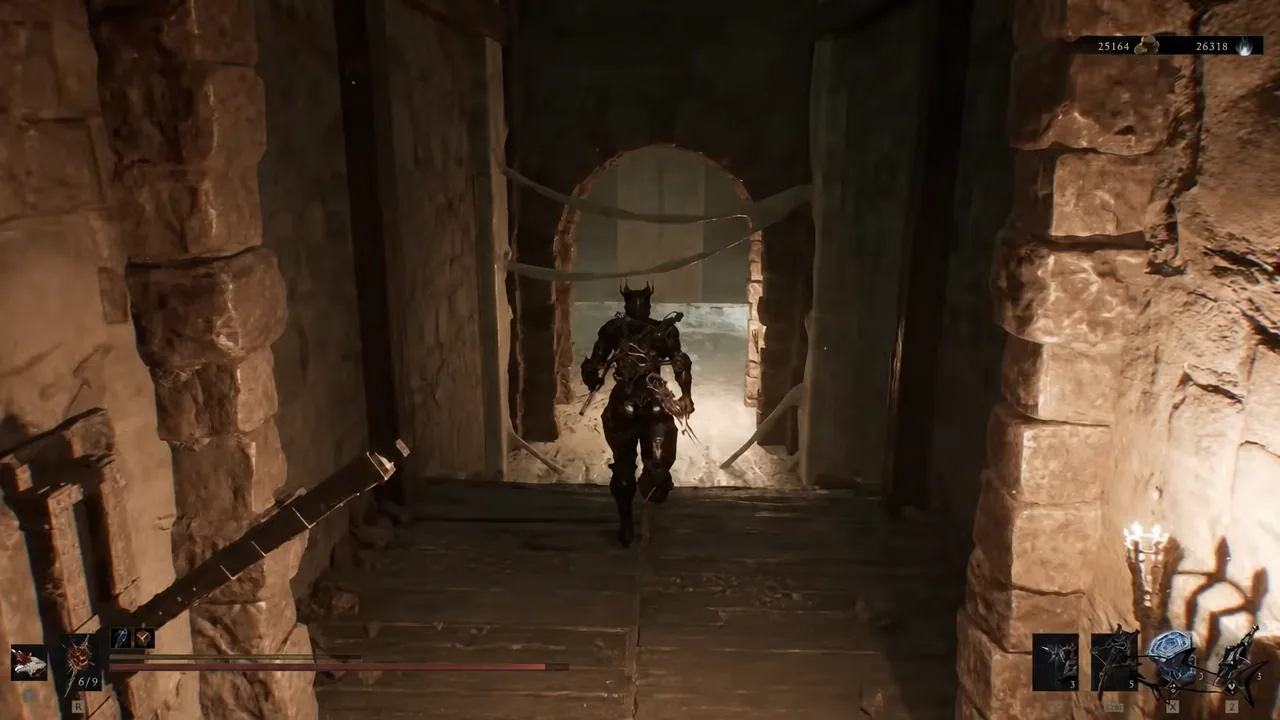
Sariel meets you again as soon as you reach the bottom. Knock him to roughly half health and a wall slides away, opening the deeper part of the dungeon. He vanishes and leaves a trail leading to the final room.
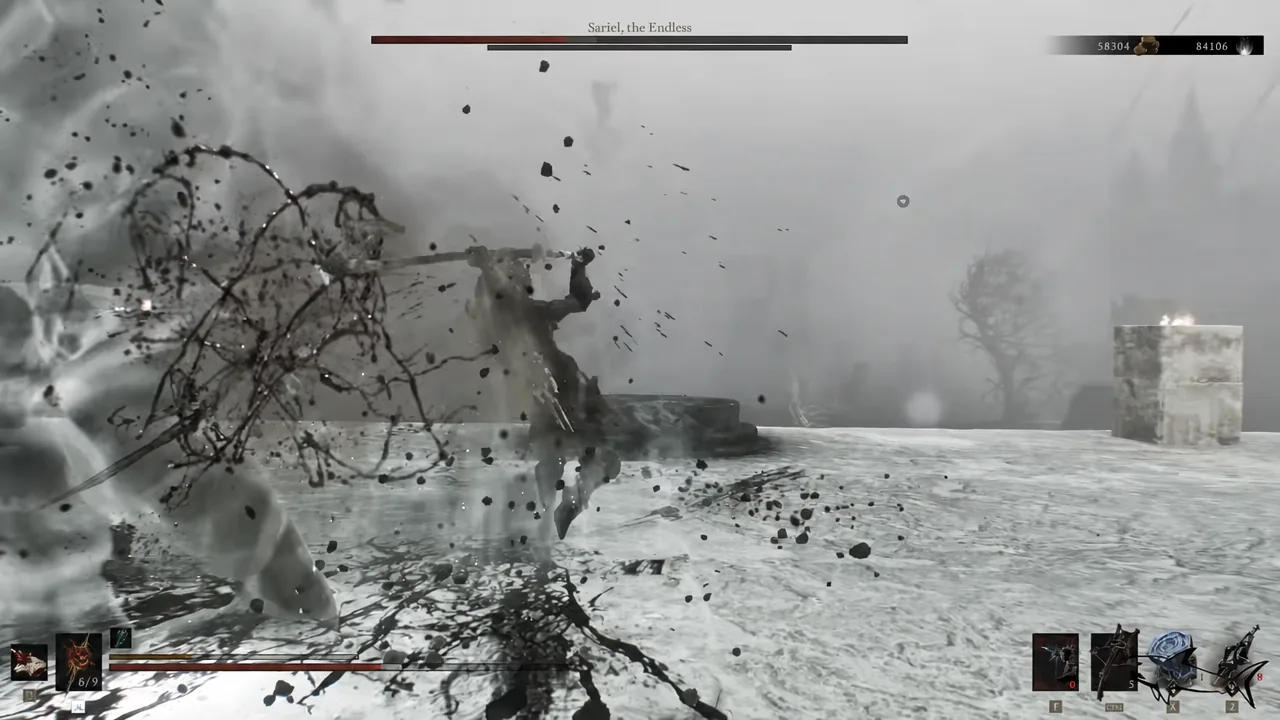
That final room has a sigil on the floor and four lit stones, one in each corner, all connected to the centre. This is where his name starts to make sense. Kill him with those stones intact and he simply reappears in the middle of the arena at full health, over and over.
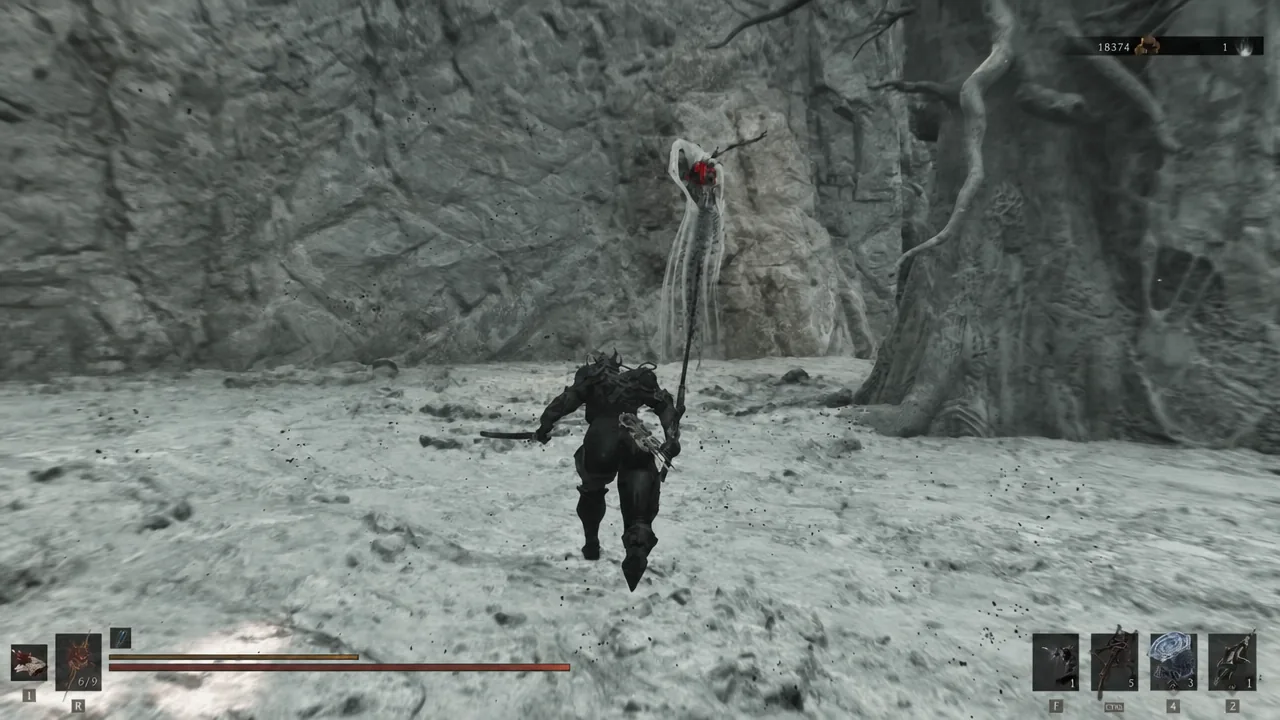
Destroy all four stones before you finish him. Melee swings are awkward to land on them, so shooting a couple from the upper vantage point before dropping down and smashing the rest is the cleaner approach. Once they’re gone, kill him normally.
Note: his ranged attacks home in on you, and his melee swings are deliberately hard to read. Keep the Lightning mitigation on and don’t get greedy between combos.
Beating him hands you the Clockwork Scythe, the melee weapon he was swinging at you.
Claim the Caged Hystrix after the Sariel memory
The sidearm is not part of the boss drop. It sits past the arena, and you have to go through the shell sequence first.
Caged Hystrix Tarstones and what the sidearm does
The weapon’s description reads: “The contraption pierces the creature trapped inside, prompting a violent and often useful reaction.” In practice it’s a high-rate-of-fire ranged option that trades per-shot damage for volume, which makes multishot and on-hit effect Tarstones a natural fit.
| Tarstone | Lv. 1 effect |
|---|---|
| Myriad Stone | Fires multiple projectiles in an arc with no extra Resolve cost |
| Splitting Stone | Fires multiple projectiles per shot with no extra Resolve cost |
| Ironpiercer’s Stone | Projectiles pierce through enemies |
| Rupturing Stone | Critical projectile hits deal Break Damage |
| Enfeebling Stone | Projectiles inflict Fragile |
| Volatile Fragment | Enemies killed by ranged attacks explode for splash damage |
| Unstable Stone | Hitting the same enemy 5 times triggers a splash explosion |
| Marksman’s Stone | Improves ranged Critical Chance |
| Deadeye Stone | Improves ranged Critical Damage |
| Siegebreaker’s Stone | Improves ranged Stagger Damage |
| Spite Stone | Ranged damage rises as your health drops |
| Solnir Shard | Spend 25 Resolve to lob a heavy arcing round that bursts on impact |
| Strange Remnant | Spend 15 Resolve for a stream of projectiles that chain between targets |
| Hag Stone | Spend 20 Resolve to infuse the sidearm with Poison |
| Accursed Stone | Spend 20 Resolve to infuse the sidearm with Curse |
Corroded Stone, Emberseed Stone and the Tarblighted Trophy also slot into it.
Why the pickup might not be there yet
There are only a few things that stop this from working, and all of them are sequencing problems rather than bugs.
- Sariel keeps reviving. At least one of the four corner stones is still standing. Break every one of them, then finish him.
- You left after the boss. The Clockwork Scythe drops from the fight, but the Caged Hystrix is a separate pickup at the end of the dungeon. Go back in and climb to the circular chamber.
- You skipped the shell. The final stretch opens up through the inheritance and the “The Search” memory. Interact with Sariel’s body before heading for the altar.
One trip to the Chamber of Becoming nets three things: the Clockwork Scythe, the Sariel shell, and the Caged Hystrix. That’s a strong return for a dungeon most players run past, so clear the whole thing in one visit rather than fast travelling out the moment the boss bar empties.