Pyroclast Field is the volcanic stretch of Providence Island added with the FL4K and the Last Resort story pack, and it packs one of the denser collectible clusters on the map. Echo Logs sit on tables and in crates, two escaped Tediore Guns are perched on climbable geometry, and three separate activity types anchor the region’s corners.
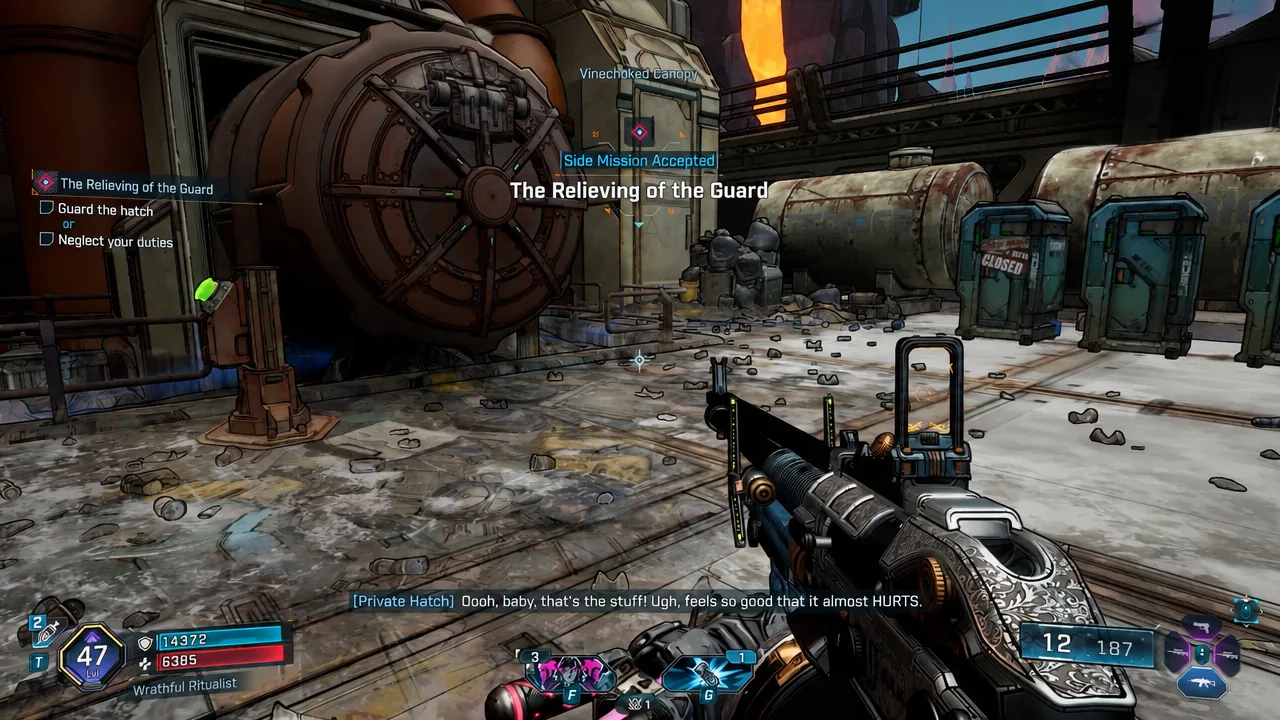
Quick answer: Pyroclast Field contains 16 markers — 7 Echo Logs, 2 Tediore Guns, 2 Substation Switches, 2 Island Safes, 1 Tediore Lockdown at Lapillus Bend, 1 Tiki Bar at The Wrecked Ratch, and 1 Occupied Sector at Pyroclast Grotto. Accept The Relieving of the Guard from Private Hatch before you try to pick up either Tediore Gun.
What Pyroclast Field contains
The region splits into a few landmarks you will keep returning to: Lapillus Bend in the north, The Wrecked Ratch, Haute Springs, and Tediore Supply Outpost Primaris. Almost everything in the count below is tied to one of those.
| Type | Count | Notes |
|---|---|---|
| Echo Logs | 7 | Tables, crates, and a vehicle tread |
| Tediore Guns | 2 | Requires The Relieving of the Guard |
| Substation Switches | 2 | One indoors, one at Supply Outpost Primaris |
| Island Safes | 2 | One needs a battery generator |
| Tediore Lockdown | 1 | Lapillus Bend |
| Tiki Bar | 1 | The Wrecked Ratch |
| Occupied Sector | 1 | Pyroclast Grotto |
Unlock the Tediore Guns first with The Relieving of the Guard
The two Tediore Guns in this region are inert until you take The Relieving of the Guard from Private Hatch. Without the quest active or completed, you can stand right next to a gun and get no prompt, which is the single most common reason a Pyroclast Field counter refuses to fill.
Grab the quest early in your sweep so the pickups are live the whole time you are in the area. If the quest marker is missing from your map entirely, push the DLC’s main story forward and check again — several Providence Island side quests only surface after story progress.
Note: These two are part of a wider set of 10 escaped Tediore weapons spread across Providence Island. Collect all 10 after finishing The Relieving of the Guard and the hidden follow-up, The Second Relieving of the Guard, appears at the same spot where you picked up the first quest. Finishing it awards the Unbroken dynamic Style and the Corporate Reclamation achievement.
All 7 Echo Log locations in Pyroclast Field
Echo Logs are short audio pickups with no combat attached. Four of the seven cluster around The Wrecked Ratch and Haute Springs, so clearing those two landmarks in one pass covers most of the list.
| Echo Log | Where it sits |
|---|---|
| If I Die | On a vehicle tread in Lapillus Bend |
| Rafa the Immortal | On a table outside The Wrecked Ratch |
| Muscle Confusion | On the bar counter inside The Wrecked Ratch |
| The Good Life | On a table at Haute Springs |
| Episode #442 | Inside a crate |
| Paradise Lost | On a wooden table |
| From: Ted_Infantry_MD2 | Inside a crate |
The Lapillus Bend log is the easiest one to walk past. It rests on a vehicle tread rather than a table, so look for the purple interaction highlight at roughly waist height instead of scanning flat surfaces.
The three activities: Tediore Lockdown, Tiki Bar, and Occupied Sector
Each activity type appears exactly once here, and each resolves differently. The Lockdown is pure combat, the Tiki Bar is a two-input puzzle, and the Occupied Sector ends in a boss fight.
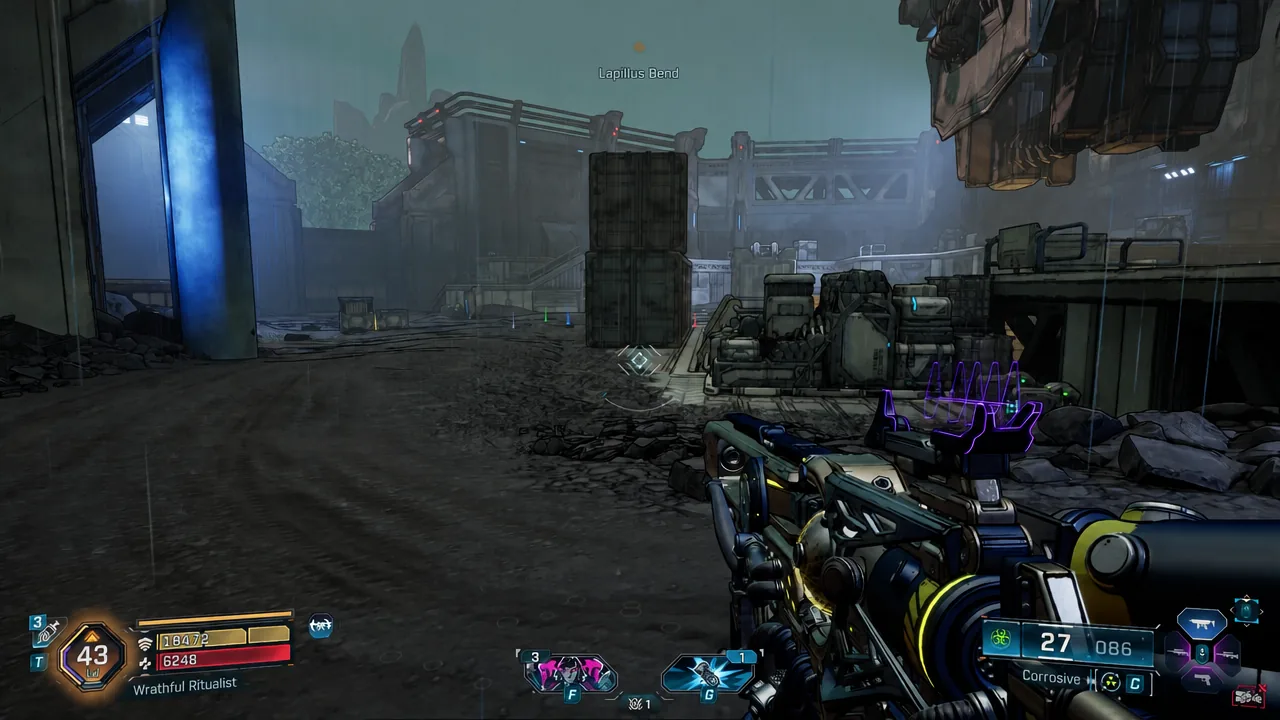
Lapillus Bend Tediore Lockdown
Trigger the Lockdown in Lapillus Bend and hold your ground. The objective is survival through the ambush waves, so bring something with sustained damage and keep moving between the rock cover rather than committing to one firing position.
The Wrecked Ratch Tiki Bar
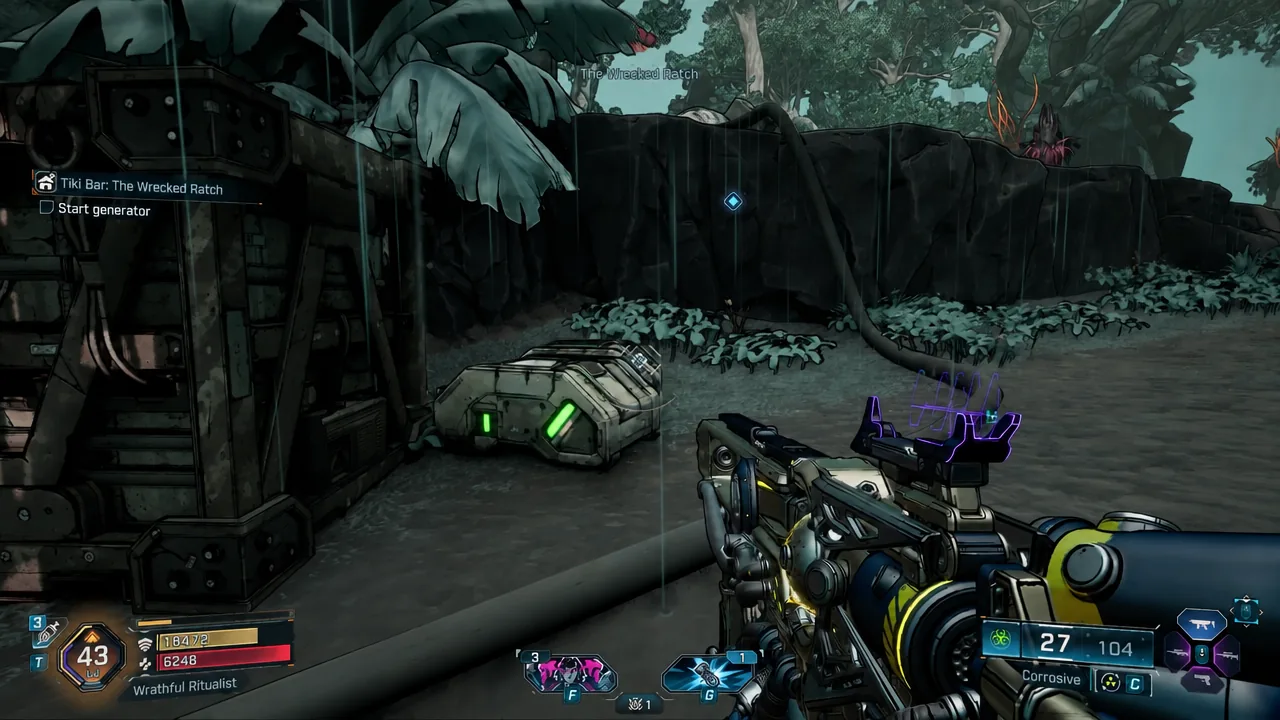
Two Echo Logs sit here as well — one on an outdoor table, one on the bar counter inside — so clear both before you leave.
Pyroclast Grotto Occupied Sector
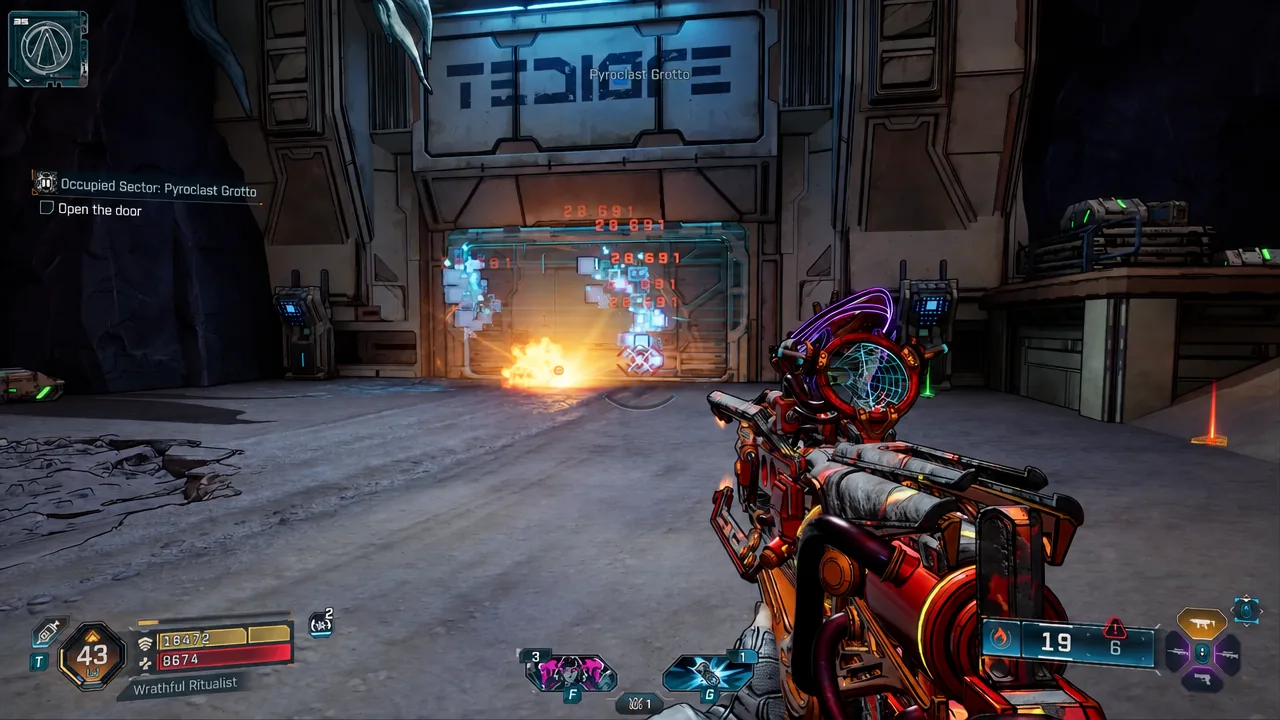
Both Substation Switches and both Island Safes
The first Substation Switch is tucked inside a building within Pyroclast Field proper. The second sits at Tediore Supply Outpost Primaris. Both are simple interactions once you are standing in front of them, and they count toward the island-wide Substation network that leads to the hidden boss Vulkorr.
Island Safes need slightly more work. The first will not open until you find the battery generator lying nearby and slot it into the safe’s housing — carry it over, insert it, and the safe unlocks on the spot. The second is hidden inside a cave at Haute Springs, past the geyser field, so follow the steam vents in rather than circling the exterior.
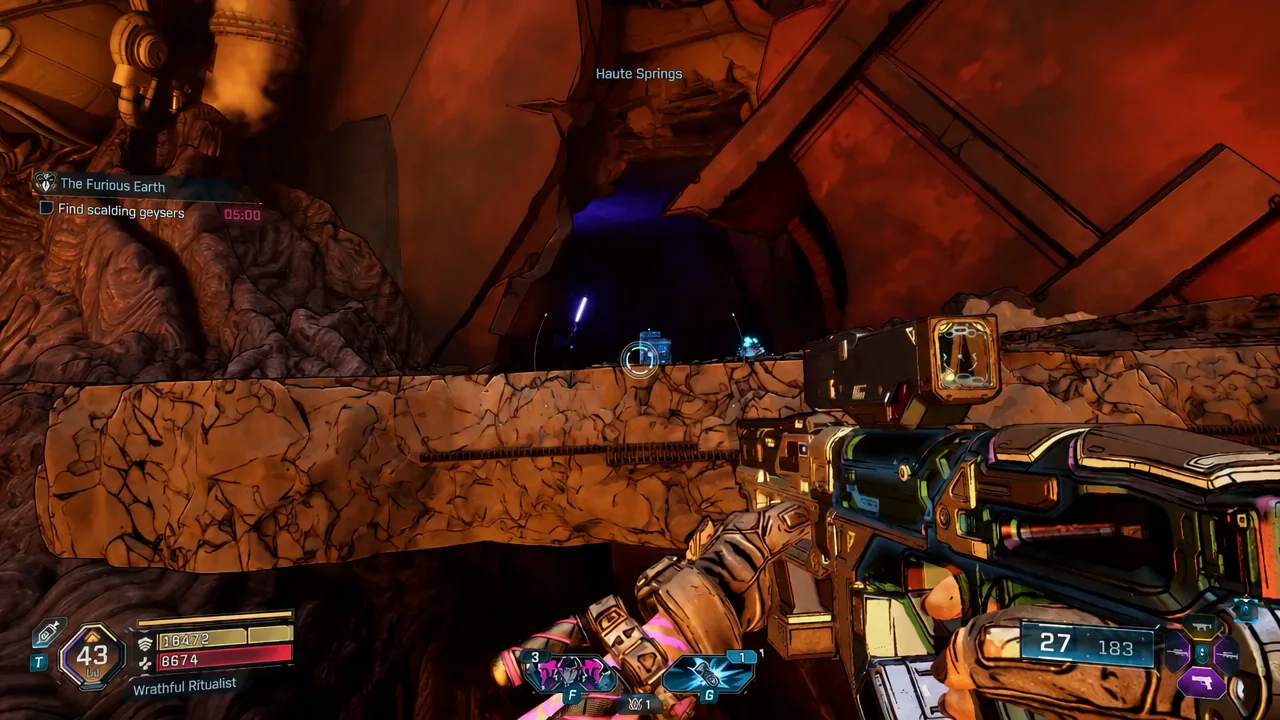
Where the two Tediore Guns are hiding
Neither gun is at ground level. The first requires a short rock climb — approach the outcrop from the low side and work your way up until the pickup prompt appears at the edge.
The second sits on the pipeline structure in the industrial part of the region. Climb the pipework rather than looking for a door, and expect to traverse across the top of the run before you reach it.
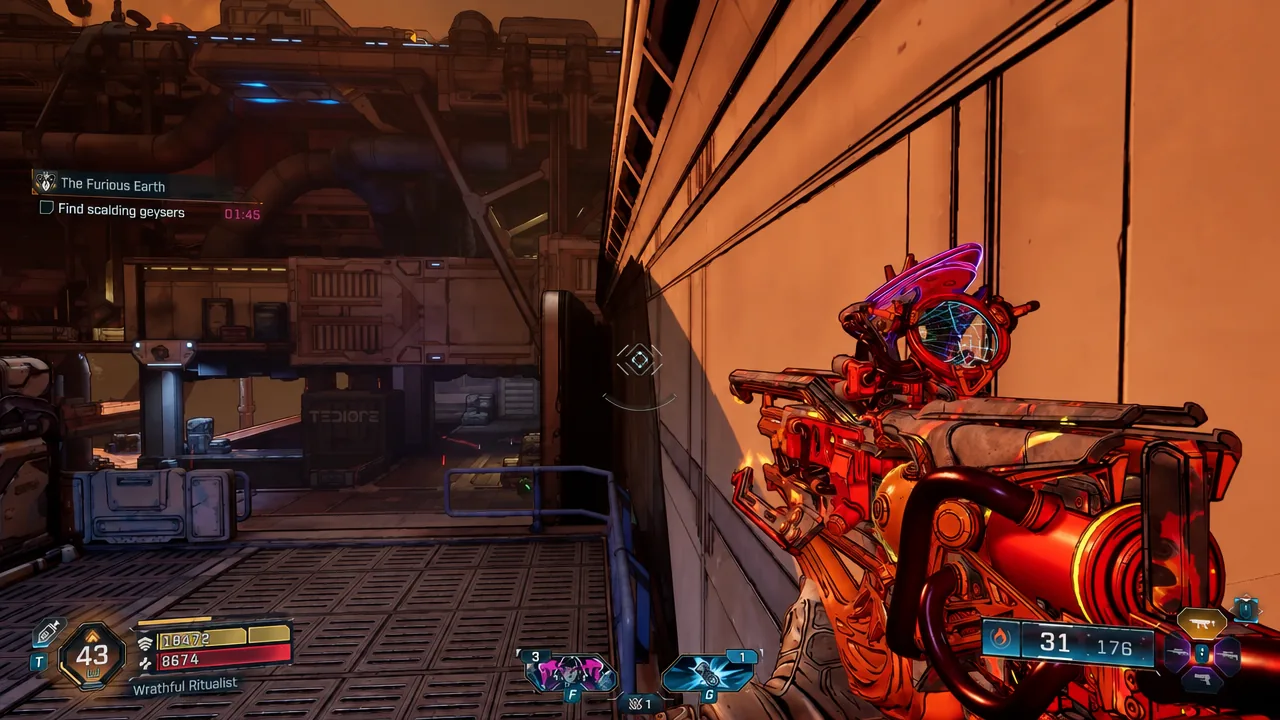
How to confirm the region is fully cleared
Open the map, hover over Pyroclast Field, and press Square on PS5, X on Xbox, or F on PC to pull up the region’s collectible progress. Anything still outstanding shows there as a count.
To narrow the map down to one type, press D-Pad Right on console or B on PC and filter for the icon you are chasing. Markers only appear once you have been near them, and the colour tells you the state — blue for not yet collected, green for done.
If a marker never appears at all, the cause is almost always access rather than a missed pickup. Some spots sit behind story or side quest progress, and the two Tediore Guns specifically need The Relieving of the Guard. Nothing here is permanently missable — free roam stays open after the story, and side quests can be replayed through the mission replay menu, so you can finish every mission first and clean up the markers afterward.