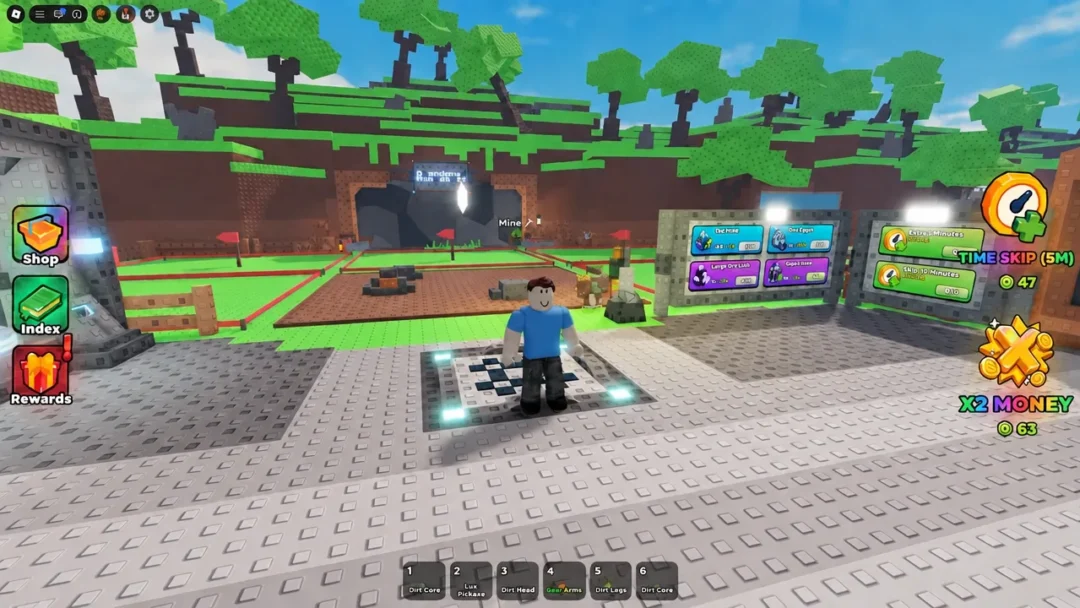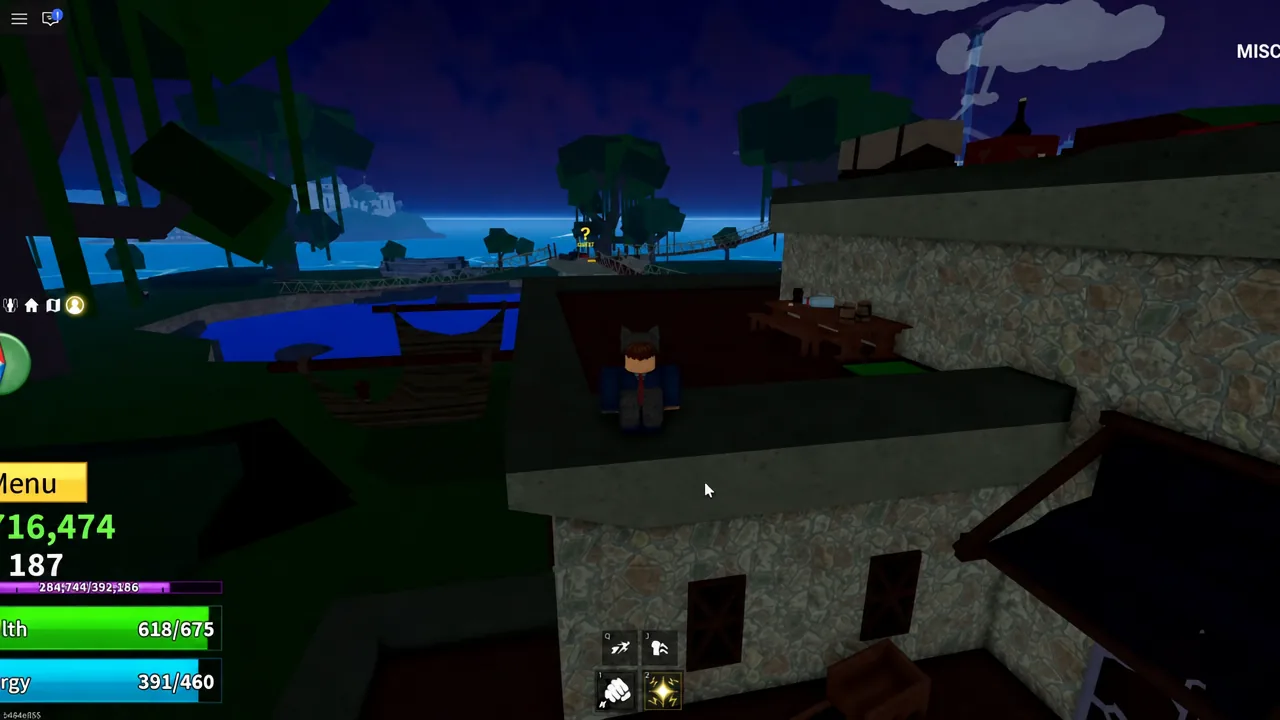
The Saber is a Legendary sword in the First Sea, and it is the only reward from the Saber Expert, a level 200 boss locked behind a five-island puzzle chain. The puzzle itself can be started at almost any level, but the final door refuses entry until you hit level 200.
Quick answer: Step on all five green buttons in the Jungle, take the torch under the quest giver’s house, burn the curtain in the Desert house with the red door to get the cup, fill the cup from the dripping icicle in the Frozen Village cave and give it to the Sick Man, defeat the Mob Leader for the Rich Man in the Pirate Village to earn the Ancient Relic, then slot the relic into the wall of the Jungle’s stone building and kill the Saber Expert.
Saber puzzle requirements before you start
Only one hard gate exists, and it sits at the very end. You must be level 200 or higher to enter the Saber Expert’s room. Attempt it earlier and the game blocks you with the message “The entrance rejects you. You’re not ready yet.”
| Detail | Value |
|---|---|
| Minimum level | 200 (final boss only) |
| Sea | First Sea |
| Islands involved | Jungle, Desert, Frozen Village, Pirate Village, Jean-Luc Island |
| Mob Leader | Lv. 120 boss, 2,600 HP |
| Saber Expert | Lv. 200 boss, 11,000 HP |
| Saber drop chance | 100 percent |
| Progress saving | Puzzle progress saves if you leave the game |
Nothing else is gated. You can complete every step below well before level 200 and come back for the fight later, because the door stays unlocked once the relic goes in, even after a server hop.
Activate all five Jungle buttons
The Jungle has two parts, the main island and the smaller island where Gorillas spawn. Three buttons sit on the main island and two sit on the Gorilla island. Bright green means untouched; dark green means you already pressed it, so you can skip it.
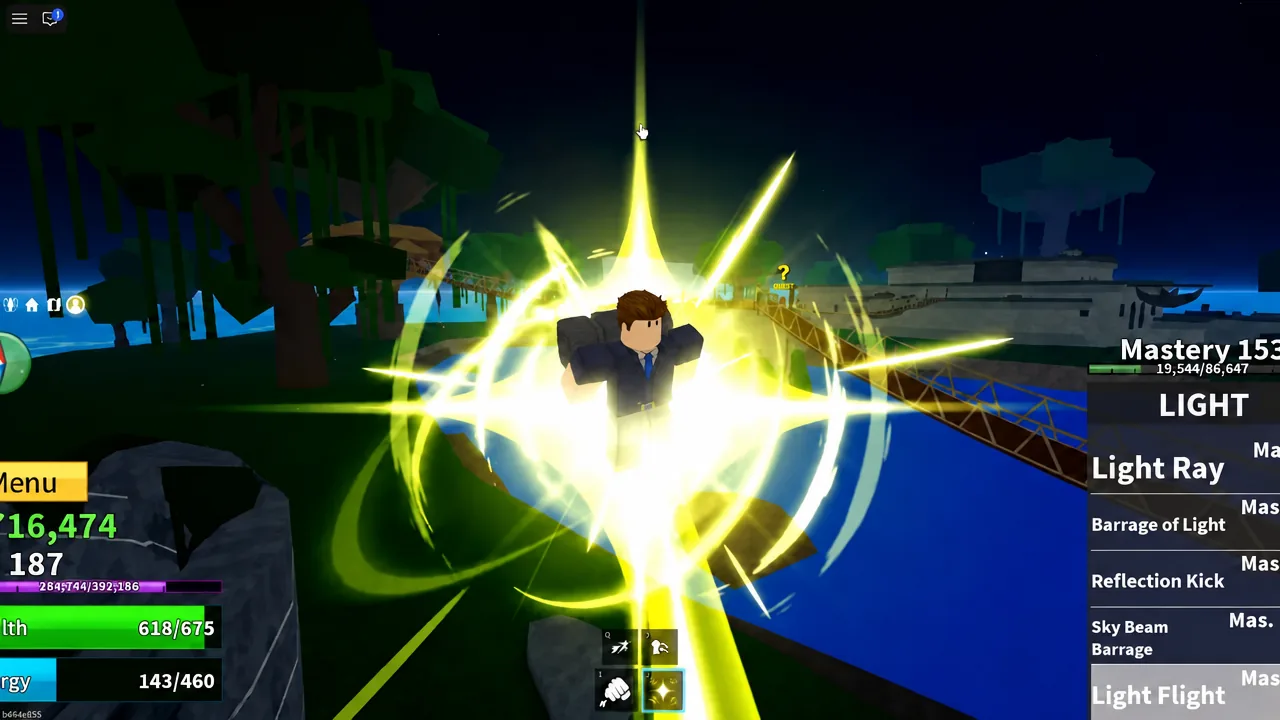
With all five green, return to the quest giver NPC house that sits over the lake in the middle of the Jungle. Walk down the stairs and a hole will now be open in the floor. If the floor is solid, one button is still unpressed.
Torch, cup, and the two poems
Down the hole you will find a torch on the wall beside a poem that reads “Lands of sand, my home does stand. Now dark and grim, bring light within.” That is a pointer to the Desert. Grab the torch and set sail.
Note: dying drops the torch. That costs time but not progress, because the basement room stays open permanently and you can simply pick up another torch.
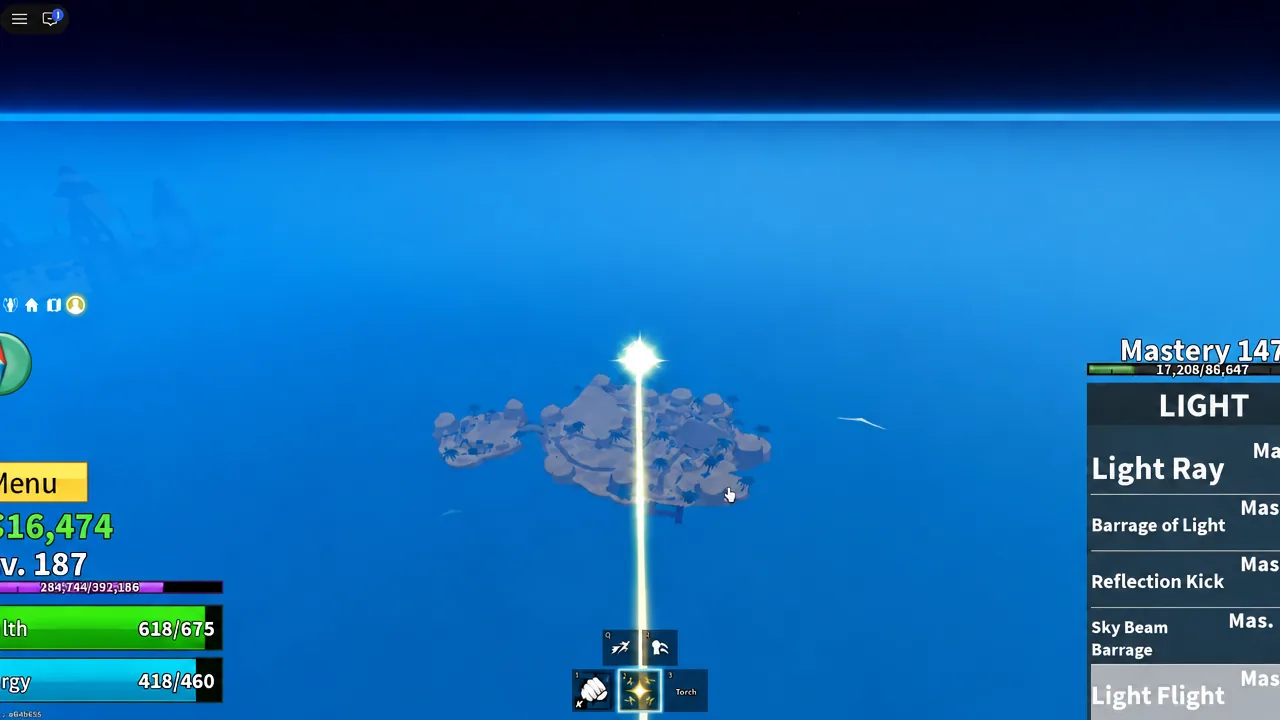
On the Desert, look near the pyramid for the half-collapsed house with a red door. Go through it, head down the steps, then equip the torch and stand still next to the brown curtain. The flame burns the curtain away and reveals a hidden room.
Inside sits the cup, along with a second poem: “If power you seek, fill the cup from a leak. Left alone in the cold, is a story to be told.” Pick the cup up by clicking it or standing on it, then head for the Frozen Village.
Fill the cup and help the Sick Man
The water source is inside the cave where the Ability Teacher stands, with the entrance cut into the cliffside near the village. Look up for an ice stalactite dripping water onto the ground. Stand underneath it with the cup equipped, and one drop is enough to fill it.
If you cannot see the stalactite at all, the cup is not equipped. That is the single most common reason this step appears broken.
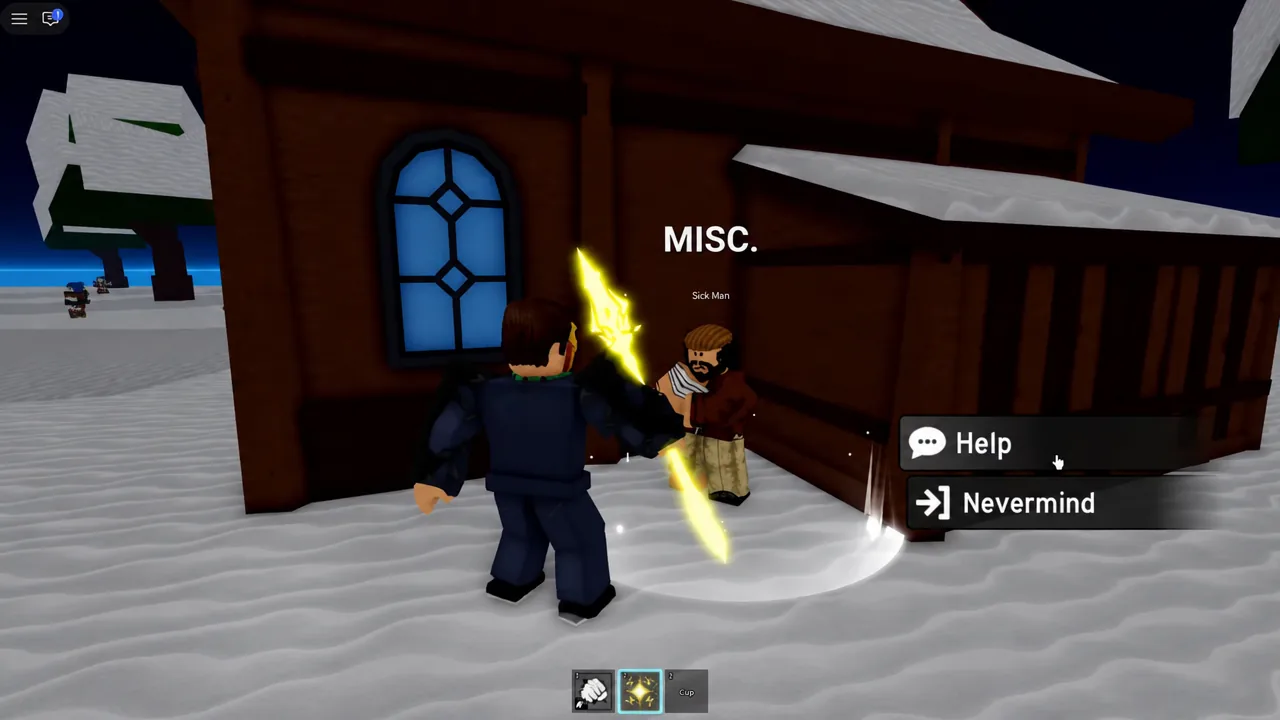
Leave the cave and climb to the upper part of the village. The Sick Man waits inside the house near the Sword Dealer of the East, to the right of the pine tree. Talk to him, choose the Help option, and he replies: “Thank you so much! Please meet up with my son, I’m sure he will reward you.”
Defeat the Mob Leader for the Ancient Relic
Sail to the Pirate Village and find the Rich Man, the Sick Man’s son. His line sets up the next task: “Thanks for helping my father, but a mob leader has stolen all my money! Please find and take him down as soon as possible so I can reward you…”
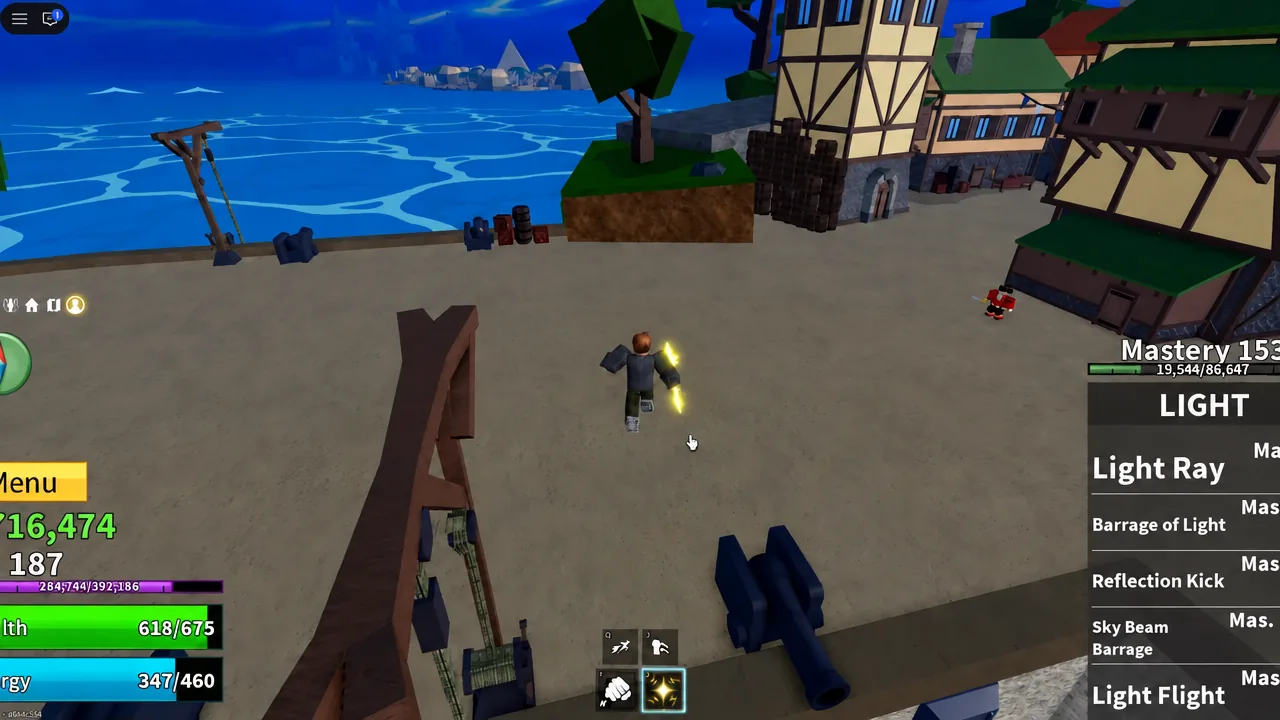
The Mob Leader is on Jean-Luc Island, a small secret island southwest of the Pirate Village in the direction of the Magma Village. He is a level 120 boss with 2,600 HP and goes down quickly for anyone approaching level 200. He also respawns roughly every minute, so an empty room just means a short wait.
Return to the Rich Man afterwards and he says: “Thank you for getting my money back, you can keep this ancient relic as your reward.” The Ancient Relic lands in your item slot.
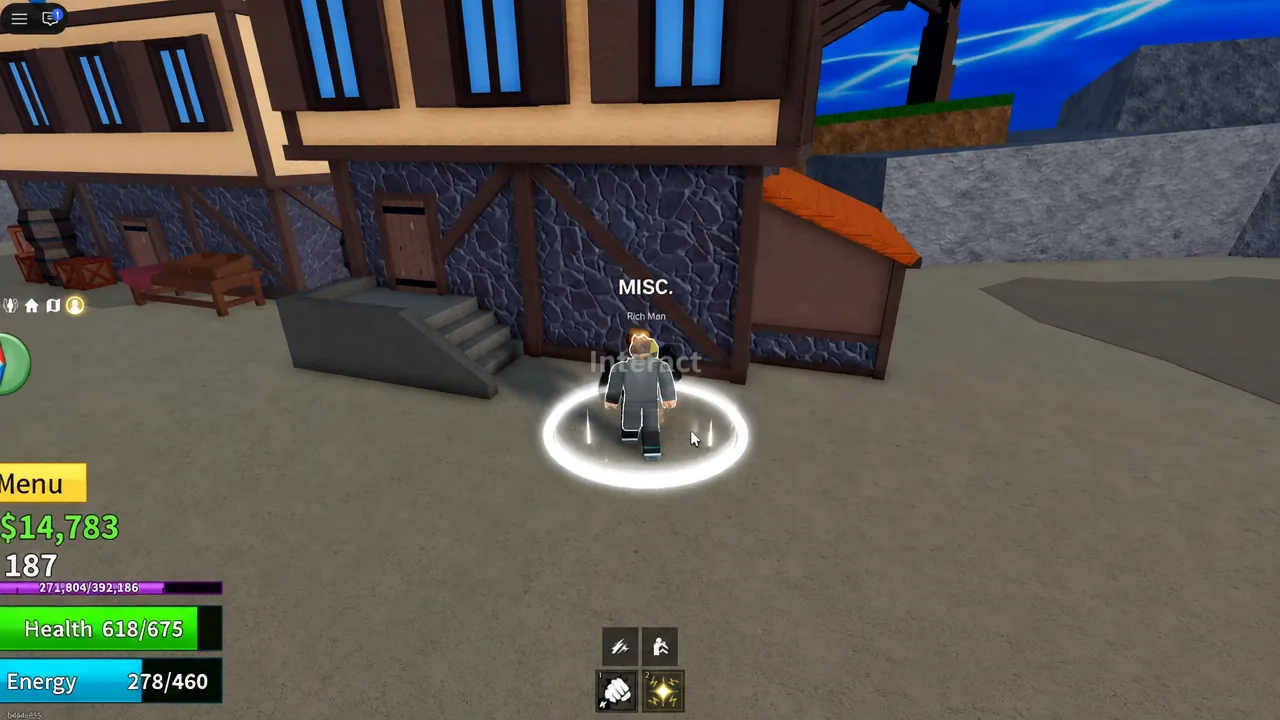
Tip: losing the relic is not a problem. Because the Rich Man’s quest completion saves, you can talk to him again for a replacement if you die or join a new server.
Open the Saber Expert room and win the fight
Go back to the Jungle and to the stone building where the Blox Fruit Gacha sits. Beside the stairs is a relic-shaped hole in the wall. Insert the Ancient Relic and the secret door swings open.
Inside waits the Saber Expert, a level 200 boss with 11,000 HP. He hits hard enough that many players fight him with help or across several attempts. His one special move is Air Slash, a red wave of air that travels toward you when he swings, and dashing sideways as he winds up avoids it.
Two positioning tricks make the fight easier. The boss cannot leave his room, so standing just outside the doorway and attacking inward blocks most of his melee. Stray too far, though, and he resets to the middle of the room at full health. He can also get caught on the square bump between the stairs, which limits him to his ranged attack.
The Flash Step glitch does not work here. The Saber Expert can still damage you while you cannot damage him, so there is no shortcut through the health bar.
If other players are hitting him at the same time, you need to deal at least 10 percent of his health yourself to qualify for the drop.
How to confirm you got the Saber
The kill produces an on-screen item drop notification reading Saber, alongside the usual money, experience, and a 5,000 bounty payout for defeating a boss. Open your inventory and the Saber will be listed under your items with the description “A sword that carries many burdens and lives, once used by an expert of its kind.”
The drop is guaranteed at 100 percent, so if nothing appeared, the cause is almost always one of two things. Either you were under level 200 and never actually entered, or you contributed less than 10 percent of the damage in a shared fight.
Missed the spawn window? The boss respawns on a timer, so wait it out or hop servers. The door remains unlocked and does not need the relic again.
Saber V2 upgrade requirements
Once the Saber is yours, it upgrades into Saber V2 through two conditions rather than a crafting recipe. You need one million Bounty or Honor, and you need to kill another player at a similar level, meaning within about 25 percent of your own level. Bounty and Honor do not stack, so pick pirate or marine and stay there while grinding.
Regular NPC kills only push Bounty or Honor up to 250,000, after which bosses and player kills carry you the rest of the way. The upgrade fires the moment both conditions are met, announced by the message “Something weird has occurred to your <Saber>.” Kills flagged as suspicious, or players already farmed to their 3/3 reward limit, will not count.
Saber V1 asks for 50 mastery for Deadly Rush and 125 for Triple Slash, which is low enough that the sword becomes usable almost immediately after the boss fight. Neither move breaks Instinct, and neither can hit Blade users, but the damage and hitboxes make it one of the strongest grinding swords available in the First Sea.