Chapter 10 of Resonance: A Plague Tale Legacy sends Sophia and Faro around the broken bridge and into the mountain, and it is one of the densest chapters in the game for pickups. It also hides the last blade, so a clean sweep here matters more than usual.
Quick answer: Parallel Paths holds 33 collectibles — 4 artefacts, 3 charms, the Xiphos blade, and 25 Resonance Points. Grab the Resonance Points on your first run, because they do not carry over if you replay the chapter later.
Chapter 10 collectible count and what you can go back for
| Collectible | Count | Recoverable later? |
|---|---|---|
| Artefacts | 4 | Yes, via chapter select |
| Charms | 3 | Yes, via chapter select |
| Blades | 1 (Xiphos) | Yes, via chapter select |
| Resonance Points | 25 | No — they do not carry over |
The chapter splits into three collectible-bearing stretches: The Bridge, In the Plunderers’ Wake, and Daedalus’ Workshop, followed by the test trial flashback and the climb back out. Xiphos is the last blade you can add to the set, so skipping the tomb means finishing the game without a complete rack.
Artefact locations: Sun Dial, Terra Incognita, Thakourth Ball, Impossible Mechanism
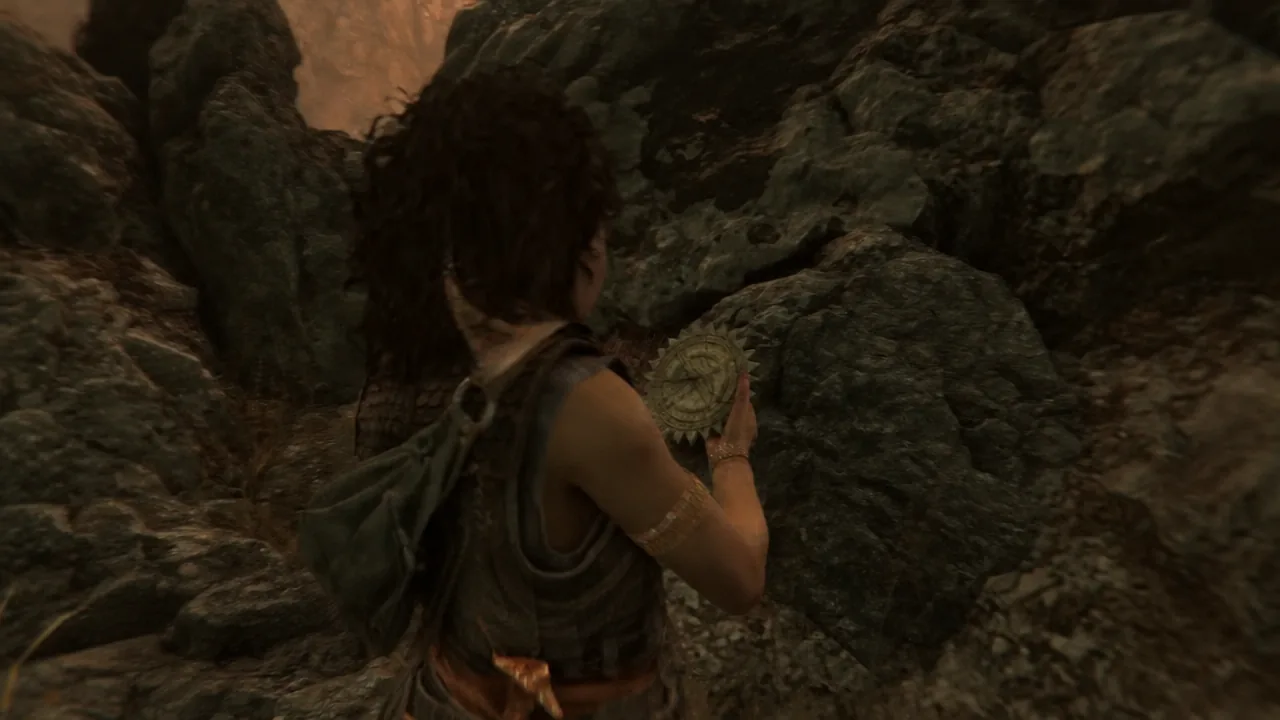
Sun Dial (Relic of the Past). From the opening walk with Faro, squeeze through the first rock gap and take the path down to the right. Just past a palm tree, and to the right of the ladder, there is a second gap you can slip through. The relic is on the ground inside.
Terra Incognita (Relic of the Present). After the bridge fight and the zipline escape, slide down the wooden ramp into the tree line. Hug the far right edge of the area and keep walking roughly 30 metres forward. The relic lies between two broken vases near the pots under the palms.
Thakourth Ball (Relic of the Present). Once you exit the mine maze, turn right toward the crate you can climb, then carry on past it and follow the right-hand bank of the river all the way to the water’s edge. It sits at the very end of that path, under a palm.
Impossible Mechanism (Relic of the Past). Inside Daedalus’ workshop, head downstairs and cross the bridge to the right. The artefact is tucked into the right corner by the workbench alcove.
Charm locations: Beads 5, Trinket 4, and Pierced Coin 5
Beads 5 is the easiest of the three to walk past. Find the rock painted with three white dots on the right edge of the forest area, turn a full 180 degrees, and walk in a straight line. The chest glimmers from a distance and sits next to the small stream that feeds into the main river. The charm gives archers a high chance to miss you.
Trinket 4 is in the ruined camp you reach after the zipline and the path behind the waterfall. Walk in, keep going, and check the second tent on the right — the chest is under the canopy. It grants a chance to survive what would otherwise be a lethal hit.
Pierced Coin 5 needs one extra step. In Daedalus’ workshop, go right down the stairs, turn right again, and jump onto the mirror hanging from chains. Face the wall, use the grapple prompt (L2/LT) to pull down a weight, and a tomb opens back upstairs. Head down into it and open the chest. The coin gives a strong chance that a strike will not consume Rage.
Xiphos blade: opening the tomb in the plunderers’ wake
The blade tomb sits past the cave on the far side of the river, up a wall you scale with the grapnel. The bull statue in front of it is the puzzle.
If Xiphos is the last blade you are missing, the Plunderer trophy pops the moment the sarcophagus opens. If it does not, one of the earlier chapters still has a blade left in it.
The two gates that stall a collectible run
Navigating the mine maze with the book symbols
The cave after the camp is a maze, and the painted symbols on its walls are the map. Open Sophia’s book, interact with the sketch, and note the arrow printed beside each symbol — that arrow is the direction you take when you meet that symbol on the wall. Only the symbols listed in the book count; ignore everything else.
The mapping runs like this: the Q-shaped mark sends you right, the b-shaped mark sends you left, the X-shaped mark sends you left, and the Z-shaped mark sends you right. The exit is a brightly lit gap in the rock you squeeze through. If you want the hourglass room Resonance Point, take every right turn from the circle icon at the cave entrance instead — that room sits directly before the exit gap.
Aligning the stele door gems
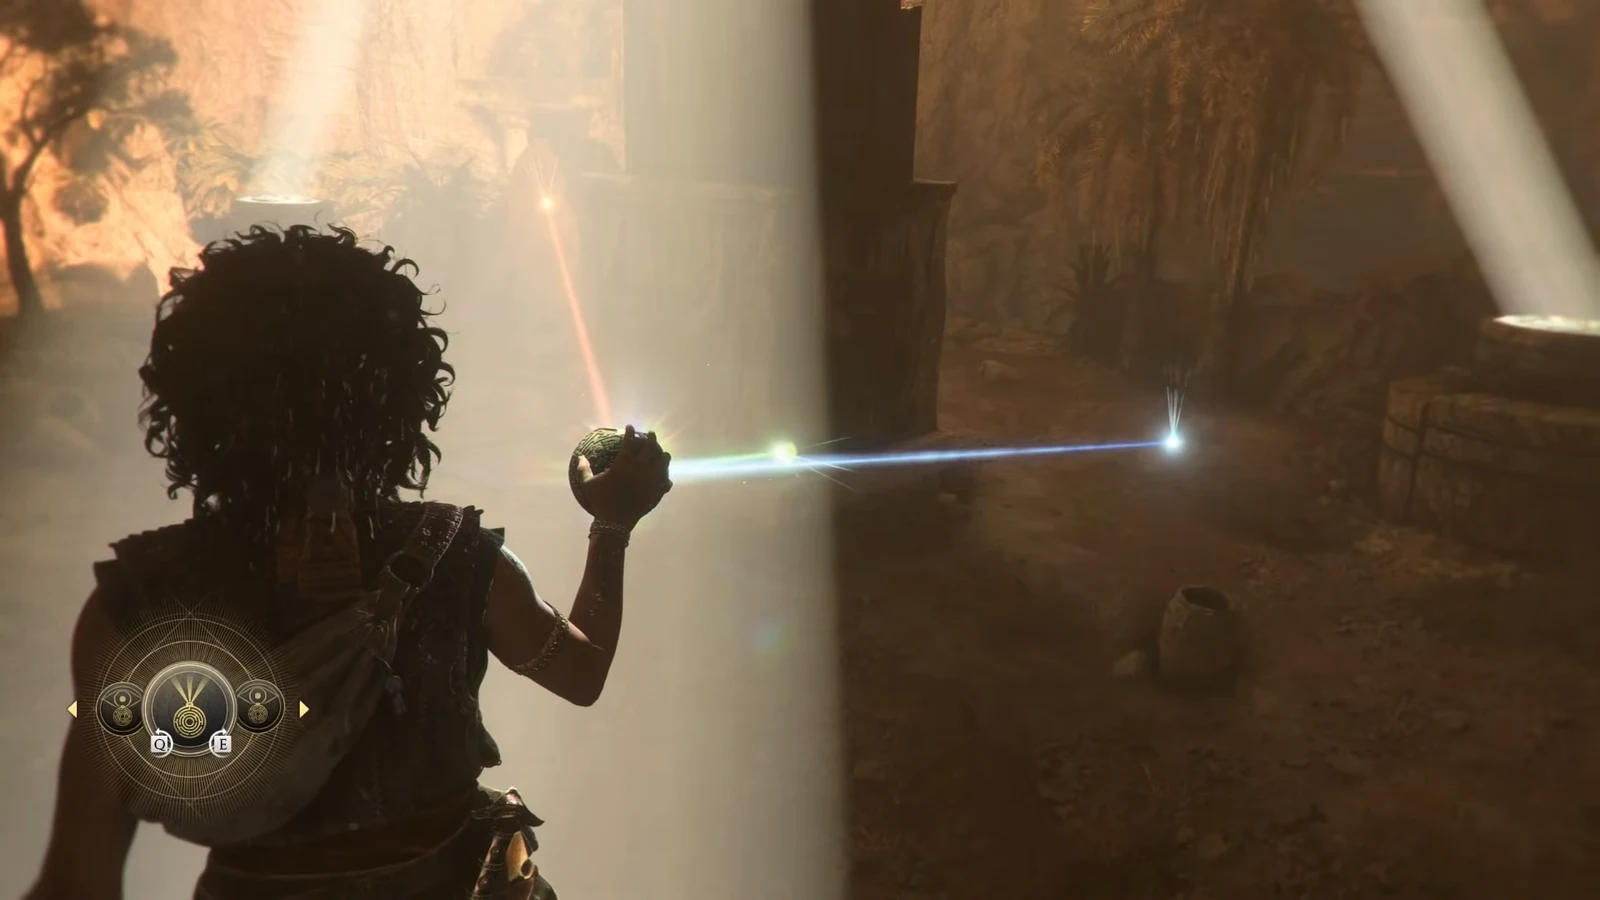
Outside the mine, the mountain door needs six stelae revealed with the sphere’s light. Light the brazier in the cave under the waterfall, then bounce the beam mirror to mirror until it reaches the pedestal in front of the door, boosting Faro onto the last one so he can hold the light while you work. Soldiers ambush you partway through; clearing them awards a Resonance Point.
Three warriors are carved above the door, and each weapon maps to one stele symbol. Use the three pedestals to set the gems, then stand on the plate in the light and use Light Splitting on all three at once.
| Gem | Symbol to align with |
|---|---|
| Green | Serpent (sword warrior) |
| Red | Upward arrow (bow warrior) |
| Blue | Combined L and E shape (spear warrior) |
The door grinds open when all three beams land. Inside, the next door needs Daedalus’s Key, which you already carry.
All 25 Resonance Point locations in Parallel Paths
Sub-chapter 1: The Bridge (9 points)
| Location | Points |
|---|---|
| Top of the ladder, straight ahead just before the wooden bridge | 1 |
| Awarded automatically after the bridge fight and the cutscene | 2 |
| After the wooden slope, behind the trees on your left, on the river’s right bank | 1 |
| Right edge of the area, directly below the rock painted with three white dots | 1 |
| Upriver toward the twin waterfalls, last strip of land left of the river, behind a broken vase | 1 |
| The camp at the end of the zipline, on your left as you walk in | 1 |
| First cave after the camp — turn left into the dead end | 1 |
| Maze room with the hourglass icon and stalagmites, before the exit gap | 1 |
Two of these are easy to lose because they sit off the story path in the dark. The dead-end turn immediately inside the first cave costs about ten seconds, and the hourglass room is on the always-turn-right route through the maze.
Sub-chapter 2: In the Plunderers’ Wake (6 points)
| Location | Points |
|---|---|
| Outside the maze, follow the right wall to a metal floor plate — it sits in front of it | 1 |
| Climb the wooden scaffold to the mirror, then take the ledge to the mirror’s left | 1 |
| From the Thakourth Ball, turn left and cross the water; it is in front of a cave | 1 |
| Past that cave, grapple up the wall and smash the vases directly ahead | 1 |
| After defeating the soldiers who ambush the mirror puzzle | 1 |
| Through the opened mountain door, left corner at the end of the room behind a pillar | 1 |
Sub-chapter 3: Daedalus’ Workshop (5 points)
| Location | Points |
|---|---|
| Back across the bridge from the Impossible Mechanism, in front of the second bookshelf on your left | 1 |
| On the left as you descend the stairs toward the hanging mirror | 1 |
| Inside the opened tomb, on the shelf to the left of the Pierced Coin | 1 |
| Climb above the brazier and slot the sphere into the round opening to reveal a niche | 2 |
After the flashback: the climb out (5 points)
| Location | Points |
|---|---|
| As control returns to Sophia, turn around and check the ledge on the right | 1 |
| Immediately after the grapple swing, on your right | 1 |
| The lit area with green grass, next to the chain lying on the ground | 1 |
| After the slide and grapple, climb the ledge on the right to a dead end | 1 |
| In the doorway you burn open on the way out — the chapter’s last point | 1 |
Note: the corrupted door out of the workshop only opens after you collect the Light Concentrate upgrade from the receptacle below the test chamber, so there is no way to leave early and lose access to that final pickup.
Confirming you finished Chapter 10 at 100 percent
Before you step onto the ledge overlooking the crater, check the collectible counters. Artefacts should show four new entries split between Past and Present relics, charms should include Beads 5, Trinket 4, and Pierced Coin 5, and Xiphos should appear in your blade list. Each Resonance Point flashes a “+1 Resonance Point” prompt on pickup, so there is no partial credit to worry about.
The chapter closes with the Parallel Paths trophy and the Chapter XI “Patera” title card. If any artefact, charm, or the blade is still missing at that point, chapter select will let you go back for it — the 25 Resonance Points are the only thing a replay will not restore.