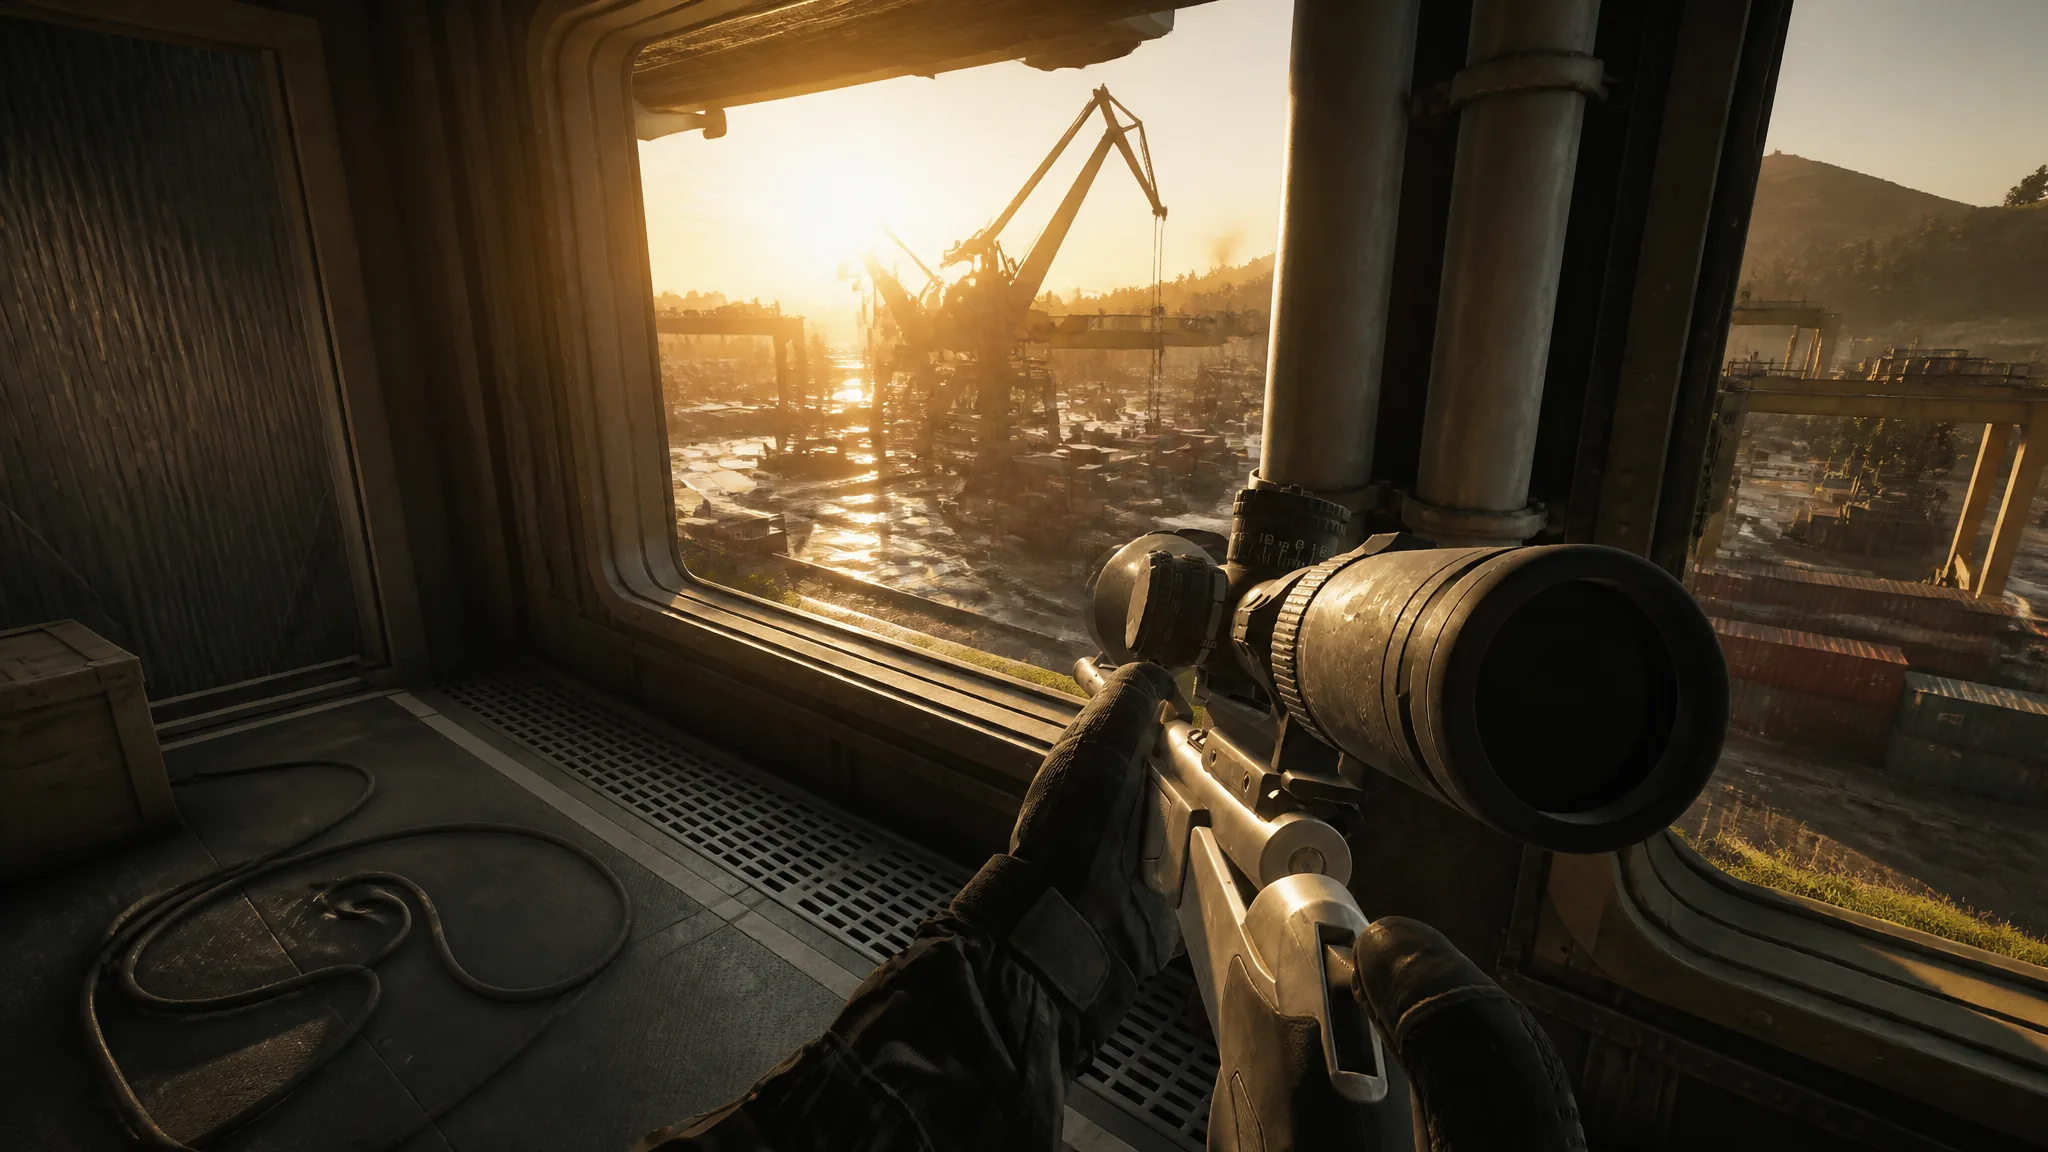
Recon is the patience class in WARDOGS. You are not meant to chase the Hot Zone. You pick a quiet perch, read the sightlines, and drop enemies before they work out where the shot came from. A good sniper loadout makes that job far easier, and the right one changes as you climb the Recon track and unlock heavier rifles.
Quick answer: Start with the Scout Rifle TD kit for around $4,845, run the SKS build once you hit Recon Level 7, then graduate to the SV98 build once that rifle is unlocked further up the Recon track.
Sniper rifles in WARDOGS and their stats
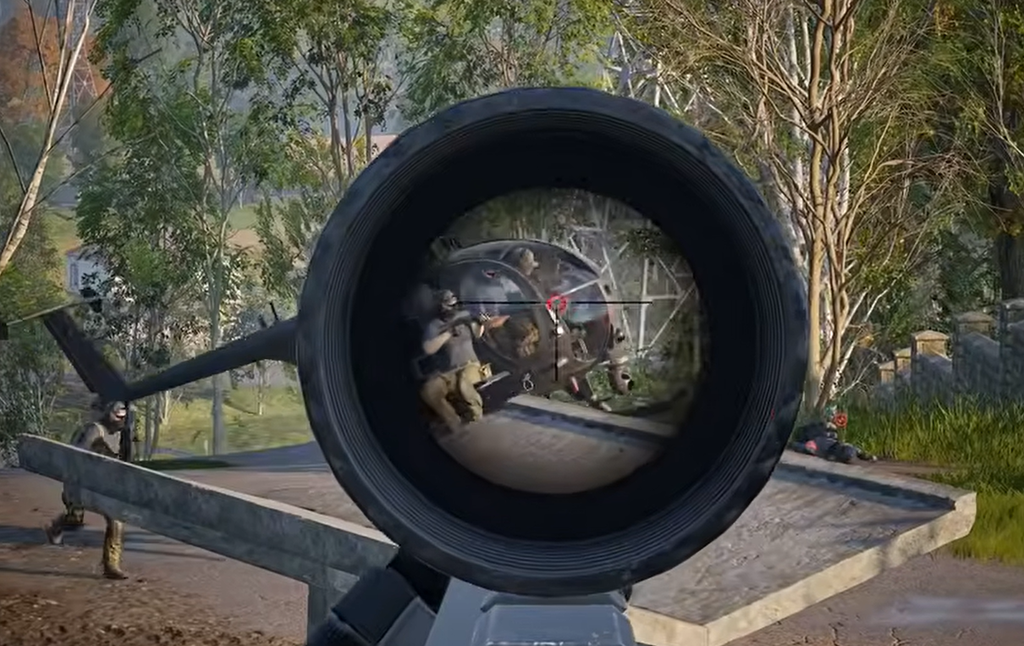
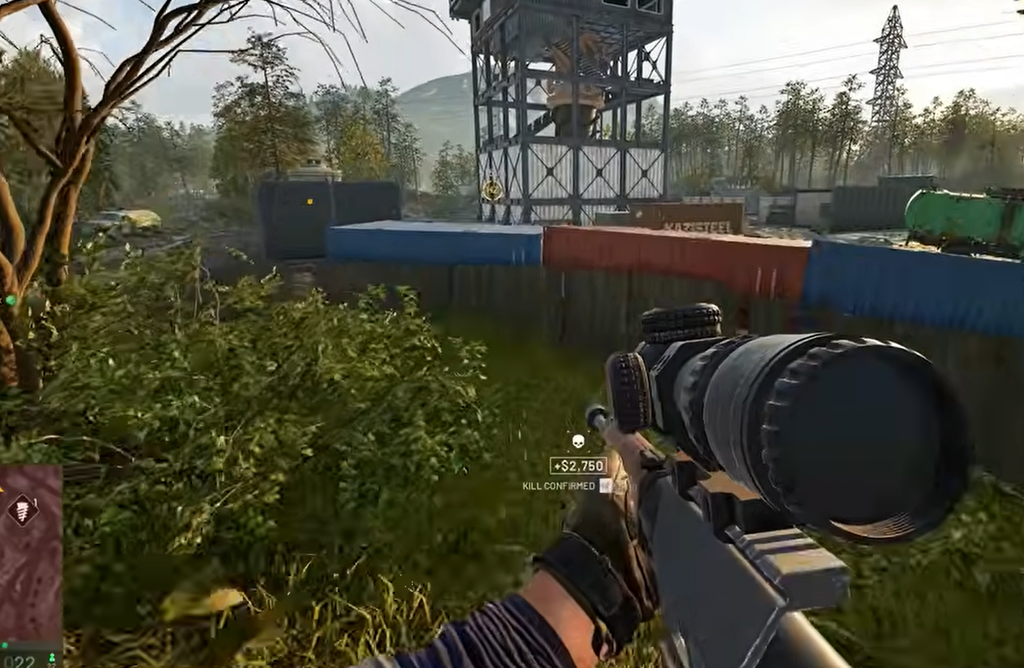
There are five sniper rifles on the Recon track: the Scout Rifle TD, Mosin Nagant, SV98, MK22, and AMR 50. They run from $1,100 to $8,800, and every kill with them earns Recon XP. The two you will meet first are the ones the budget and low-level builds are built around.
| Rifle | Damage (headshot) | Fire / RPM | Price |
|---|---|---|---|
| Scout Rifle TD | 28 (89.6) | Break-action / 46 | $1,100 |
| Mosin Nagant | 55 (176) | Bolt-action / 46 | $4,500 |
The Scout Rifle TD fires the 5.56x45mm round and does 11.2 damage through body armour. It is a break-action rifle with a 975 m/s muzzle velocity, which keeps shots flat over distance. The Mosin Nagant is a much heavier hitter, chambered in 7.62x54mm, dealing 22 damage through armour and reaching a maximum zeroing range of 800m. It unlocks at Recon Level 10 for a one-time fee of $50,000.
Below Recon Level 9 the whole vendor sells at half price, so it is worth buying and testing rifles early while they are cheap.
Best sniper loadouts by Recon level
Entry sniper kit (Scout Rifle TD)
This is the cheapest way to start leveling Recon and it needs no unlocks, costing roughly $4,845 a life at 10.6 kg.
- Primary: Scout Rifle TD with an optic and Strelix Suppressor
- Sidearm: GGX17
- Specialist: Monocular
- Gear: Basic Armor, Basic Tac-Vest, Starter Backpack
- Backpack: 1 spare GGX17 magazine, 80 loose rifle rounds, 5 Bandages, Resuscitator
The Scout Rifle TD is a break-loader, but its scope and 89.6 headshot damage make it a genuine head-hunter at range. The Monocular fills the specialist slot so you can spot infantry and vehicles even when there is no clean shot, and spotting also feeds Recon progression. The GGX17 is your close-range fallback, though if you play the angle well you will rarely need it. You can skip the helmet here to keep the kit light and cheap.
Low-level build (SKS, Recon Level 7)
- Primary: SKS Marksman Rifle
- Attachments: DTK-1 Brake Muzzle, SKS Bipod, 6x Precision Rifle Scope
- Sidearm: GGX 17
- Specialist: Small Hammer
- Gear: Helmet, Armor, Vest, Scout Backpack
- Backpack: Bandage x10, Building Supplies x1, 7.62 Standard Ammo (FMJ) x120, GGX 17 RND Magazine x1
The SKS is a reliable marksman rifle with a solid fire rate and a 10-round magazine. Its recoil is lower than a dedicated sniper’s, so consecutive shots are easy to land, and the bipod plus brake muzzle flatten it further. Deploy the bipod and this build is close to recoil-free.
It cannot one-shot armored enemies, but landing two shots in quick succession is not hard here. The other bonus is flexibility: strip the scope and the SKS becomes a capable mid- and close-range rifle if a fight comes to you. The Small Hammer beats a Rangefinder or Monocular in the specialist slot because it lets you fortify your position and stop rushes, which matters when you are perched on a tower.
Mid-level build (SV98)
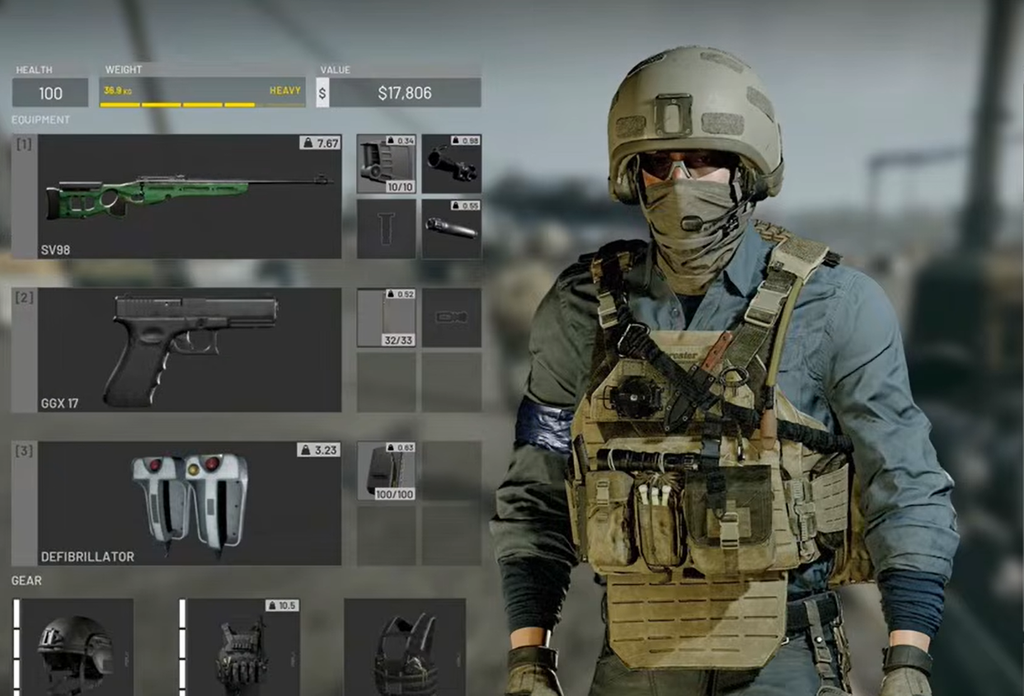
- Primary: SV98 Sniper Rifle
- Attachments: SRVV Brake Muzzle, SV98 Bipods, 6x to 10x Scope Mrad
- Sidearm: GGX 17
- Specialist: Small Hammer
- Gear: Helmet, Armor, Vest, Field Backpack
- Backpack: Bandage x10, Building Supplies x1, 7.62x54mm Standard Ammo (FMJ) x80, SV98 10 RND Magazine x2, GGX 17 RND Magazine x1
Once the SV98 is unlocked, it is the natural step up. It is a dedicated bolt-action sniper with very high vertical recoil. The attachments above cut that down a lot, but landing two back-to-back shots on one target is still tough. For most engagements you will not need to.
The SV98 one-shots targets with no armour and those wearing low-level armour, so a headshot or torso hit is a guaranteed kill. That payoff is what justifies the recoil. The catch is that it feeds from magazines, each one takes up two backpack spaces, and once they are all empty you need a long break to refill them. Unlike the SKS, it is useless up close, which is exactly why the sidearm and Small Hammer earn their slots here.
Zeroing your rifle for accurate shots
Whichever build you run, zeroing decides whether your shots land. Your weapon has to be set for the distance you are shooting, or your aim drifts. Without a Range Finder, the quickest way to check is to cycle through the zeroing distances while firing at a concrete object at the same range as your target. When the point of impact sits closest to the center dot of your scope, that is the correct range.
You can also estimate range off the map. Ping the point you are aiming at, check its location, and compare that distance against your distance from the Hot Zone (as long as you are outside it). If you have unlocked the Range Finder, it does this job faster than any manual method.
Where to set up as a sniper
Almost all fighting happens inside the Control Zone, and elevated structures rule it. Towers are the tallest points, so capture the one nearest your HQ early. From a tower you overlook a large slice of the zone and can trade fire with enemy snipers on other towers. The risk is a ground rush, so wall off the approach with barbed wire to funnel attackers into a single, predictable path to the stairs.
Positioning inside a tower matters as much as the perch. Find a one-way sightline, lean from the sturdy-walled side of a window, and only use the rooftop to hit other towers. On the Bakurani map, the church on the hill gives strong sightlines from its side doors; wire off the other entrances so nobody flanks you. Entry points where rival factions push in from the west, south, and east are also prime ambush spots, since players near their own tower move carelessly.
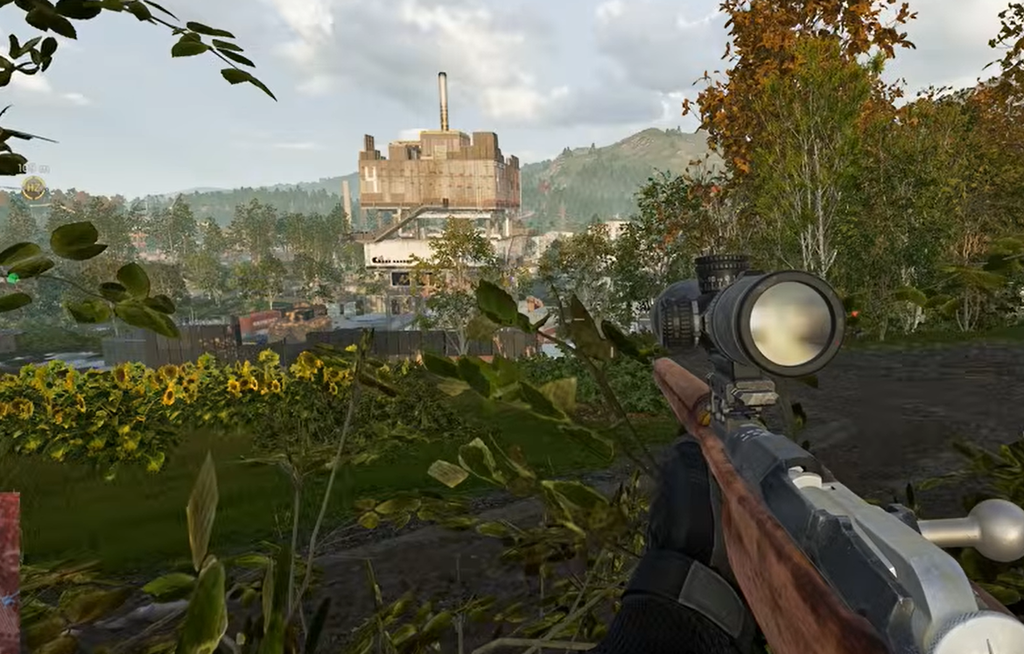
Movement is what gives you away, not just scope glare. Stay stationary and you blend into the terrain; move and you become an easy target. A Recon Tent forces you prone, limits sudden motion, and adds camouflage, which makes it ideal on hills or among trees.
Loadouts do not carry between matches yet, so you rebuild these at the gear vendor each life. During a match you can rebuy your previous loadout with one click from the bottom-left of the gear vendor menu, which is the fastest way to get straight back on your perch.