Roll A Gnome is a Roblox tycoon simulator built on one repeating cycle. You roll for gnomes at your plot, drop them into your garden, and they plant crops for you. Walk over the finished produce, sell it at the barn, and spend the cash on better gnomes, more roll slots, and a bigger plot. The garden keeps growing while you are offline, so the real skill is deciding where each payout goes.
Quick answer: Roll a gnome at the cauldron on your plot, claim the free Garden upgrade, place the gnome on the dirt, walk over ripe crops to harvest, then sell your inventory at the Sell barn.
Roll A Gnome core loop: roll, plant, harvest, sell
Every system in the game feeds the next one, and nothing works until the previous link is in place. Rolls produce gnomes. Gnomes produce crops. Crops produce cash. Cash buys more rolls, more space, and faster growth.
- Rolls happen at the cauldrons on your own plot, and each result is a gnome you can buy with cash.
- A placed gnome plants its matching crop automatically — a Carrot Gnome plants carrots, a Corn Gnome plants corn.
- Harvesting is movement-based. Walk over a fully grown plant and it goes into your inventory.
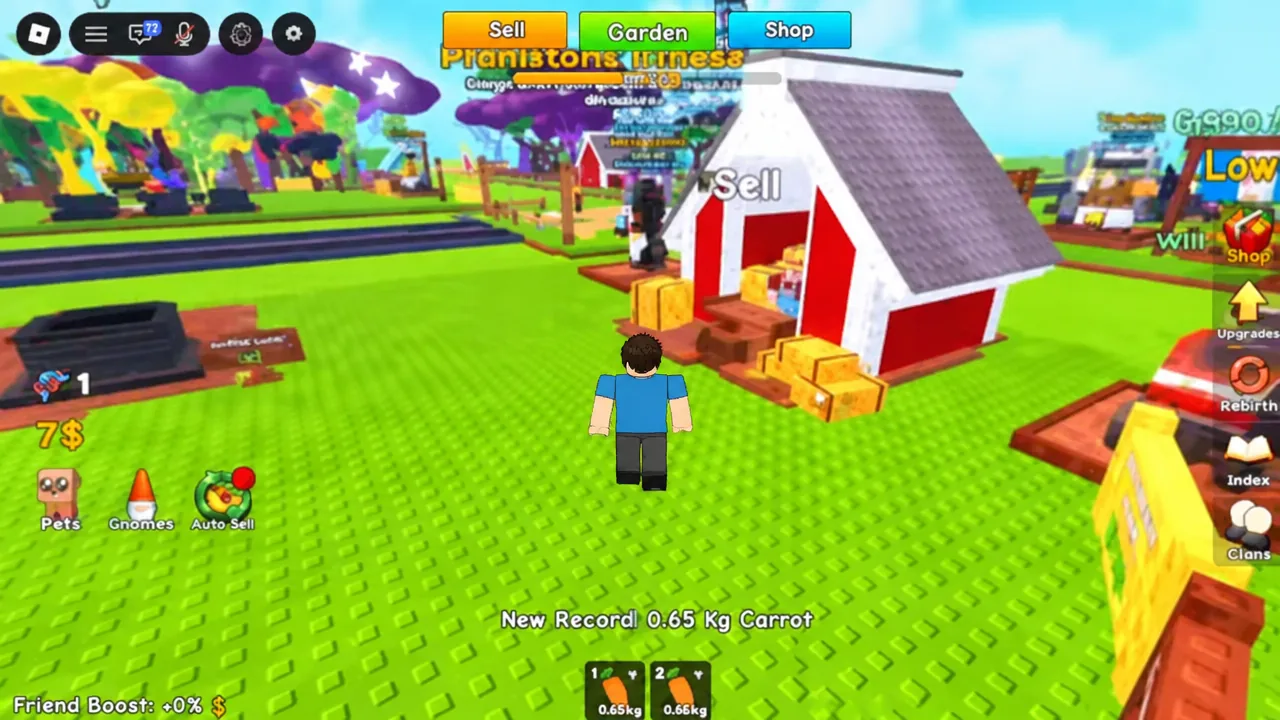
- Selling is done at the Sell barn, marked by yellow directional arrows on your first visit.
- Gnomes level up on their own as they keep planting, which improves what they produce.
The one part that is easy to miss early on is that crop growth continues while you are away. A garden left full of placed gnomes will have produce waiting when you rejoin, so the worst thing you can do before logging off is leave planting space empty.
How to play Roll A Gnome: your first session
Joining a server drops you onto a numbered plot with your username above it, and you get the “You Played!” badge on arrival. Here is the opening sequence that turns a bare plot into a working income loop. You can launch the experience from the official Roll A Gnome Roblox page.
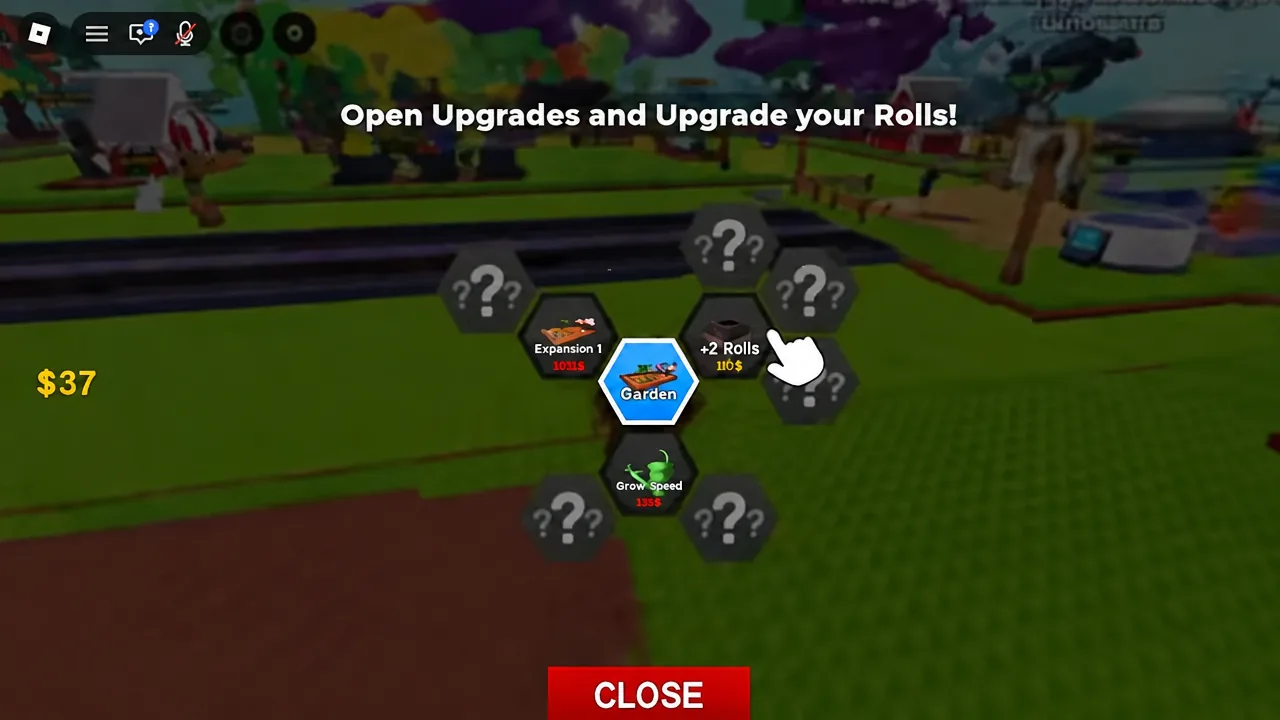
Upgrade prices get rebalanced between updates, and +2 Rolls has appeared at both $25 and $50. Read the price on the button before you commit rather than saving to a fixed number.
Gnome costs in Roll A Gnome
Each gnome is tied to one crop, and the price you pay to claim a roll scales with how rare that gnome is. These are the purchase prices seen on the roll stands as a garden grows from carrots into orchard fruit.
| Gnome | Cost | Stage |
|---|---|---|
| Carrot Gnome | $5 | Starter |
| Corn Gnome | $10 | Starter |
| Strawberry Gnome | $38 | Early |
| Pumpkin Gnome | $40 | Early |
| Pear Gnome | $75 | Early |
| Blueberry Gnome | $400 | Mid |
| Pepper Gnome | $600 | Mid |
| Cabbage Gnome | $1,250 | Mid |
| Banana Gnome | $2,500 | Mid |
| Grape Gnome | $3,750 | Mid |
| Kiwi Gnome | $4,250 | Late |
| Coconut Gnome | $5,000 | Late |
| Apple Gnome | $15,000 | Late |
| Dragonfruit Gnome | $18,000 | Late |
Rolling does not force a purchase. If a stand shows a gnome you cannot afford, leave it, keep harvesting, and come back with the cash — the expensive tree and fruit gnomes pay for themselves quickly once a plot has the space to hold them.
Upgrade costs and spending order
The Upgrades menu holds gnome, player, plant, and garden improvements in a tree, with later tiers locked until the earlier one is bought. These are the prices along the standard progression route.
| Upgrade | Cost | Effect |
|---|---|---|
| Garden | FREE | Unlocks the planting area |
| +2 Rolls | $25 | Extra roll cauldrons |
| Plot Expansion | $250 | More garden space |
| Luck I | $500 | Better roll odds |
| Roll Speed I | $500 | Faster rolls |
| Grow Speed I | $1,000 | Faster crop growth |
| +3 Rolls | $1,500 | Extra roll cauldrons |
| Luck II | $2,500 | Better roll odds |
| Roll Speed II | $2,500 | Faster rolls |
| Grow Speed II | $3,500 | Faster crop growth |
| Roll Speed III | $4,750 | Faster rolls |
| +4 Rolls | $5,000 | Extra roll cauldrons |
| Super Luck I | $10,000 | Higher rarity chance |
| Grow Speed III | $12,500 | Faster crop growth |
| Luck III | $17,500 | Better roll odds |
Buy Plot Expansion as soon as your garden is full, not before. Space you cannot fill earns nothing, while an expansion bought with three spare gnomes sitting in your inventory pays out on the very next harvest cycle. After that, Grow Speed and Luck are the two lines worth climbing, since one shortens the cycle and the other improves what comes out of the cauldrons.
Spending every payout on rolls stalls progress. Keep enough cash aside for the next expansion or grow-speed tier so your base income keeps rising instead of depending on luck.
Item shop boosts for faster growth
An Items shop sits near the garden and sells temporary gear that speeds up growth or increases what each plant is worth. Most effects run on a timer, so buy them when you are about to play an active session rather than before logging off.
| Item | Rarity | Effect |
|---|---|---|
| Basic Sprinkler | Rare | 1.25x crop growth speed |
| Golden Sprinkler | Rare | 1.75x growth for 3 minutes |
| Basic Watering Can | Rare | Growth time -10% |
| Gold Watering Can | Legendary | Growth time -25% |
| Fertilizer | Epic | Fruit size up to +100%, 3 minutes |
| Good Fertilizer | Epic | Fruit size up to +300%, 3 minutes |
| Gnome Coffee | Legendary | Planting speed +50%, 3 minutes |
| Mutation Mister | Legendary | Mutation odds up to +300%, 5 minutes |
Fruit size directly affects sale value, which is why the weight readout appears on harvest. Stacking a fertilizer with a sprinkler before a big collection run is the cheapest way to turn one cycle into an outsized payout.
Selling crops and the Daily Deal bonus
The barn is the only place crops turn into money. Alongside the standard sell options, a Daily Deal appears there offering 10% to 50% more for a sold item, so check it before dumping a full inventory. Option 3 in the dialogue, “How much for this?”, quotes a price without committing to the sale, which is useful when you are unsure whether a rare heavy crop is worth holding.
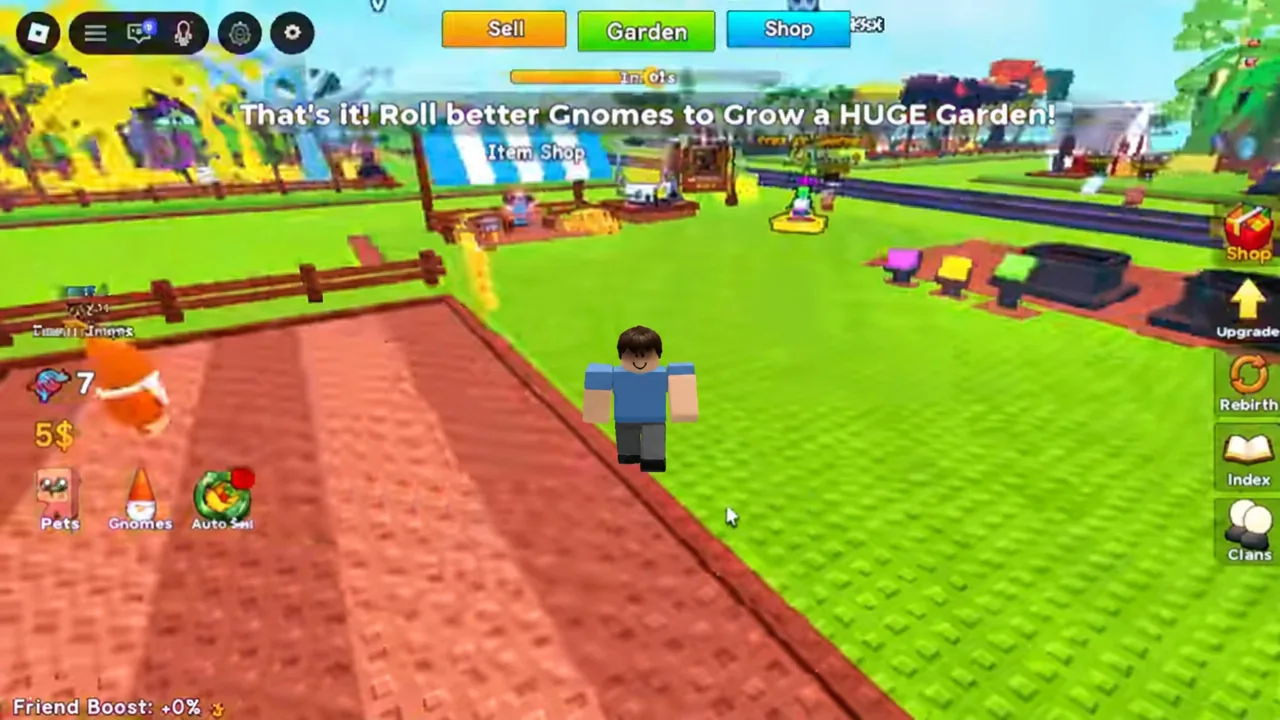
Payouts scale fast once several crop types are running at once. An early carrot-only run brings in around $52, while a mixed garden of strawberries, corn, pears, and pumpkins clears thousands per trip, and a late-game plot with dragonfruit and coconut can pass $50,000 in a single sale.
Pets, rebirths, and the gnome placement limit
Pets
Cats, dogs, and other pets spawn around the map at random. Buy one and place it at your base to apply buffs to your garden. They are a passive boost rather than a core mechanic, so grab them when they appear instead of hunting for them.
Gnome placement cap
Your plot holds a fixed number of gnomes. Once you hit it, placing another one returns the message “Buy more space to place gnome. (14 MAX)”. You can pick up a weak gnome — a starter Carrot Gnome, for example — and drop a higher-value one in its slot, or buy more space so both stay planted.
Rebirth
The Rebirth icon on the right side of the screen resets progress once you meet its money and gnome requirements. Each rebirth grants a luck multiplier, a larger base, money, and more gnome space, which is what lifts the ceiling on how much a single garden can produce.
Gamepasses, luck bonus, and settings
Liking the game and joining the group gives +100% luck, and it costs nothing. Beyond that, four gamepasses are available for Robux.
| Gamepass | Price (Robux) |
|---|---|
| VIP | 180 |
| Auto Roll | 170 |
| Auto Sell | 80 |
| Lucky Rolls | 70 |
A separate Free OP Gnome stand exists on the map, but claiming it goes through a Robux prompt. The Settings menu covers Music Volume, Sound Volume, Camera Shake, Low Performance Mode, Collecting Enabled, and Auto Sell. Low Performance Mode is worth turning on if a large orchard starts dropping frames on a phone or low-end laptop.
How to confirm your garden loop is working
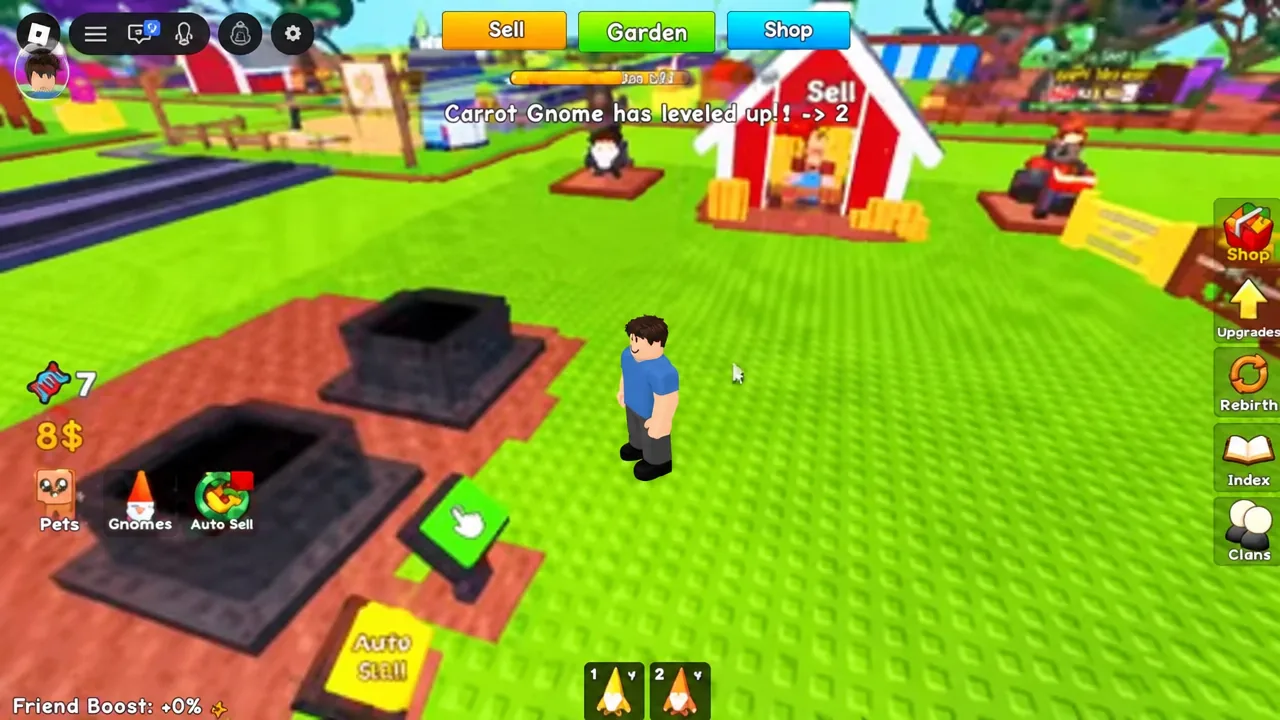
You will know each stage landed by a specific on-screen response rather than by guessing. Placing a gnome makes crops appear in the dirt with green indicators around them. Collecting a crop posts a weight line such as “New Record! 0.52 kg Carrot”. A gnome that has been planting long enough prints a level message — “Carrot Gnome has leveled up 1 -> 2” — and selling at the barn increases your cash counter immediately.
If cash is not rising between sell trips, the cause is almost always an empty slot or an unplaced gnome sitting in your inventory. Fill the garden first, then look at upgrades.
Costs, odds, and menu labels move with updates, so treat the numbers above as the shape of the progression rather than permanent values, and read the price on a button before buying. The loop itself has stayed consistent since launch — roll, place, harvest, sell, reinvest — and mastering the order you spend in matters far more than a lucky pull.