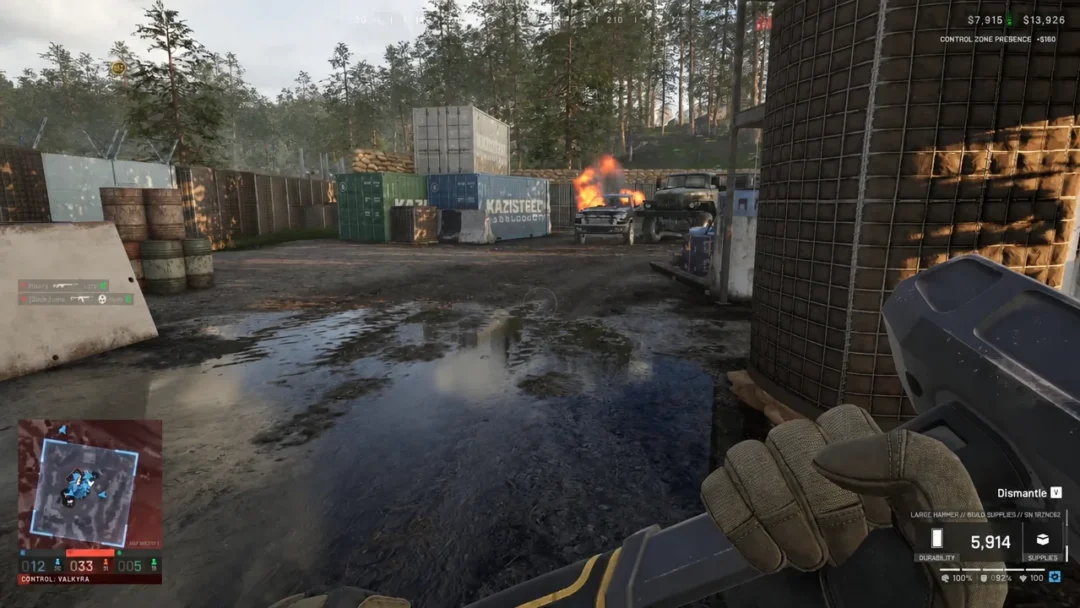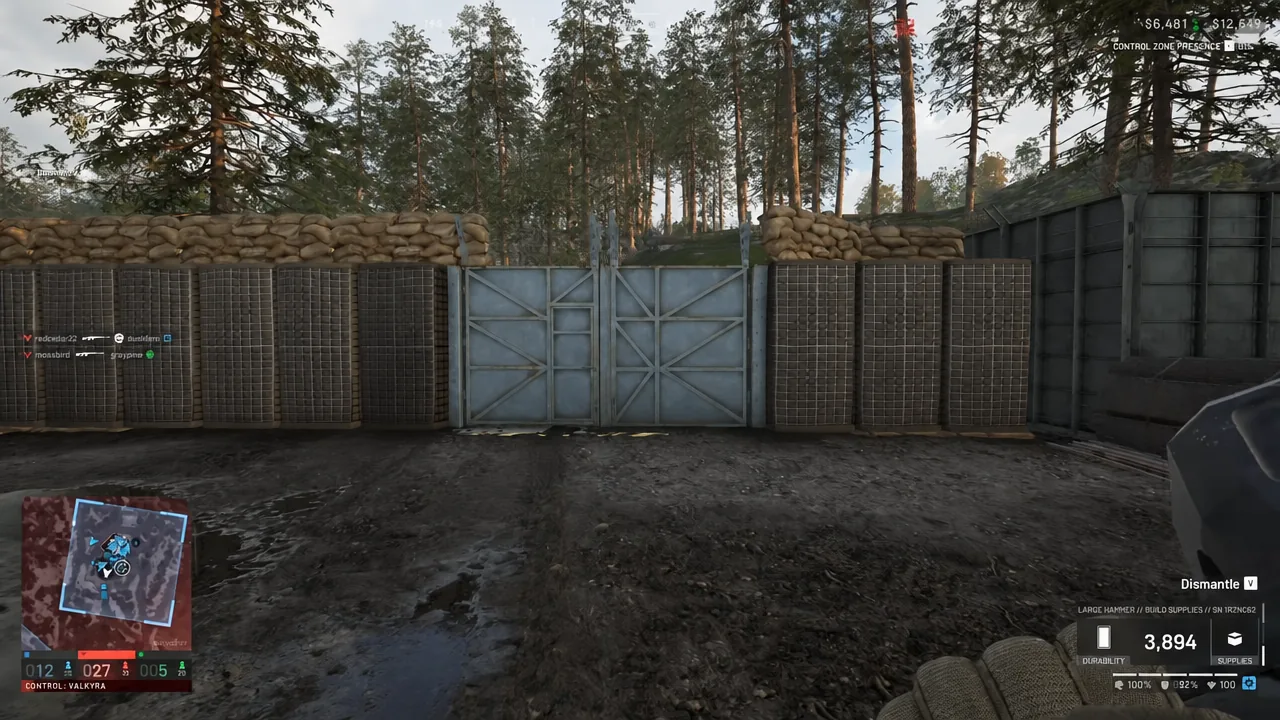
The Gate is the only buildable in Wardogs that lets your vehicles roll through a fortified perimeter without leaving a hole for the enemy to walk into. It sits in the Fortifications category, it pays out Support XP, and it is locked to your team — enemy players cannot swing it open. Getting one up takes the right tool, the right resource, and the right ground.
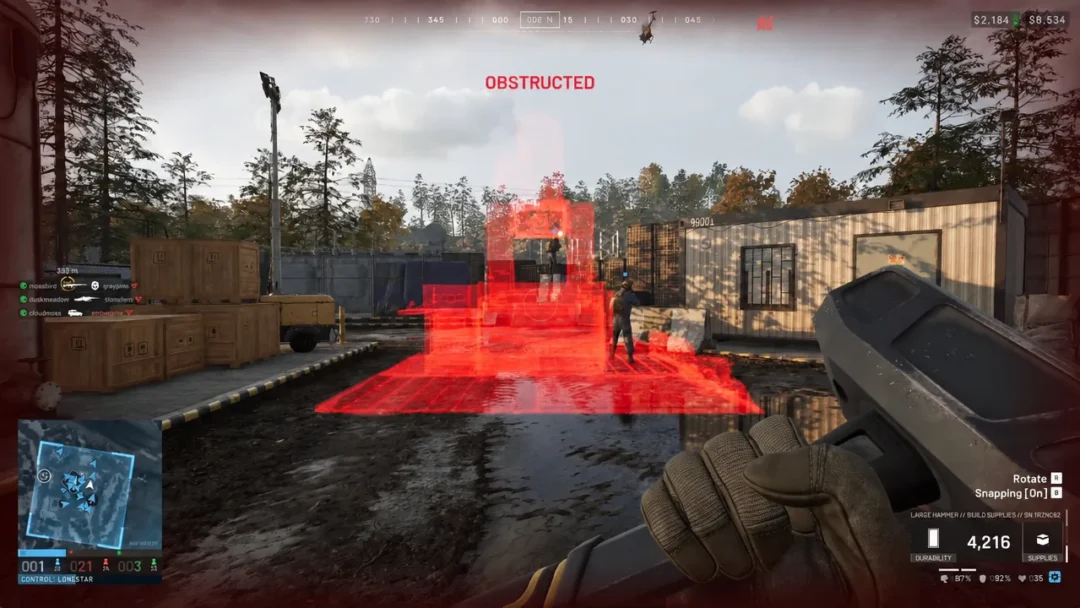
Quick answer: Equip a Large Hammer inside a Forward Operating Base radius, hold right-click and tap F until GATE is selected, place the blueprint, then hold left-click until the build bar reaches 100 percent.
Gate requirements in Wardogs
Three things have to line up before the blueprint will even appear in your build wheel:
- A Large Hammer, which is the tool tier that can construct every buildable in the game.
- A deployed Forward Operating Base, because the Gate is one of the structures that only works inside a FOB radius.
- Build Supplies, either carried on you or stored in the FOB. They cost $10 apiece and weigh 0.02kg each.
Small fortifications such as sandbags, barbed wire, and hedgehogs can go down anywhere. The Gate cannot. If you are standing outside the blue construction zone the FOB projects, nothing heavier than those field defenses will place.
How to get a Large Hammer in Wardogs
Hammers are tiered, and the tier decides what you can put down. The Small Hammer handles basic cover only and builds slowly. The Large Hammer builds everything and builds fastest, which matters when your base is taking fire and a wall section needs to go up now.
| Hammer | Requirement | Build access |
|---|---|---|
| Small Hammer | None | Small buildables, slow speed |
| Medium Hammer | Support level 3 | Basic and larger buildables |
| Large Hammer | Support level 8 | All buildables, fast speed |
Buy it at Support level 8
The Large Hammer unlocks on the Support role ladder at level 8, and the unlock is gated behind a one-time fee of $75,000. Once that is paid, each hammer costs $2,400 from the vendor and weighs 3.18kg in your kit. For comparison, a Small Hammer is $100 and 0.32kg, so the jump is significant if you are still rebuilding your bank after a bad run.
Pull one free from a FOB inventory
You do not have to own a Large Hammer to build a Gate. Walk up to any friendly Forward Operating Base, open FOB INVENTORY, and take the Large Hammer stored inside at no cost. That is the fastest route for newer players who have not pushed Support progression yet.
Deploy a FOB and stock Build Supplies
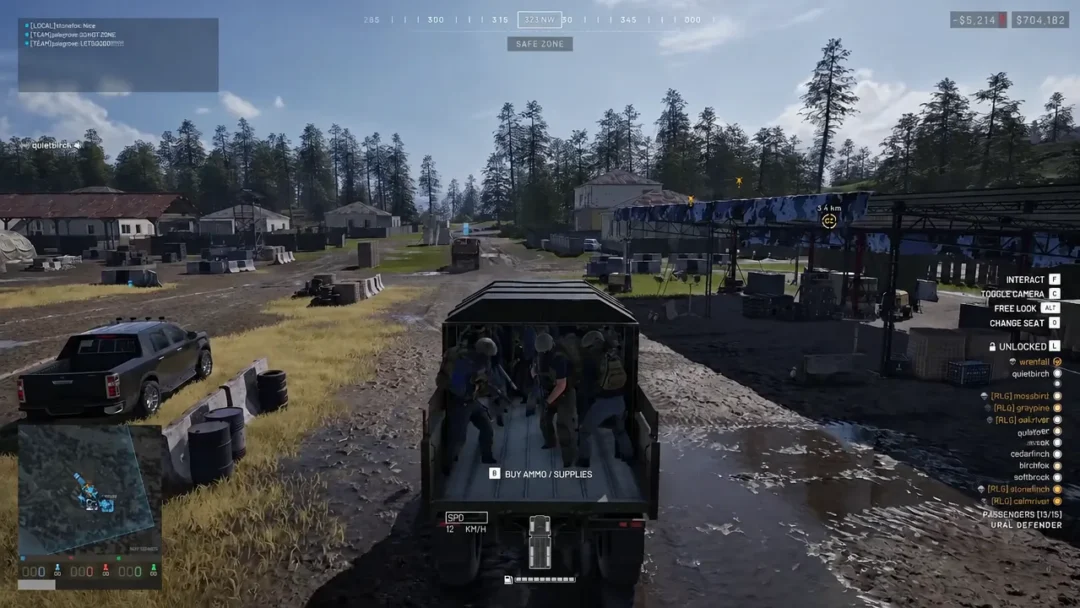
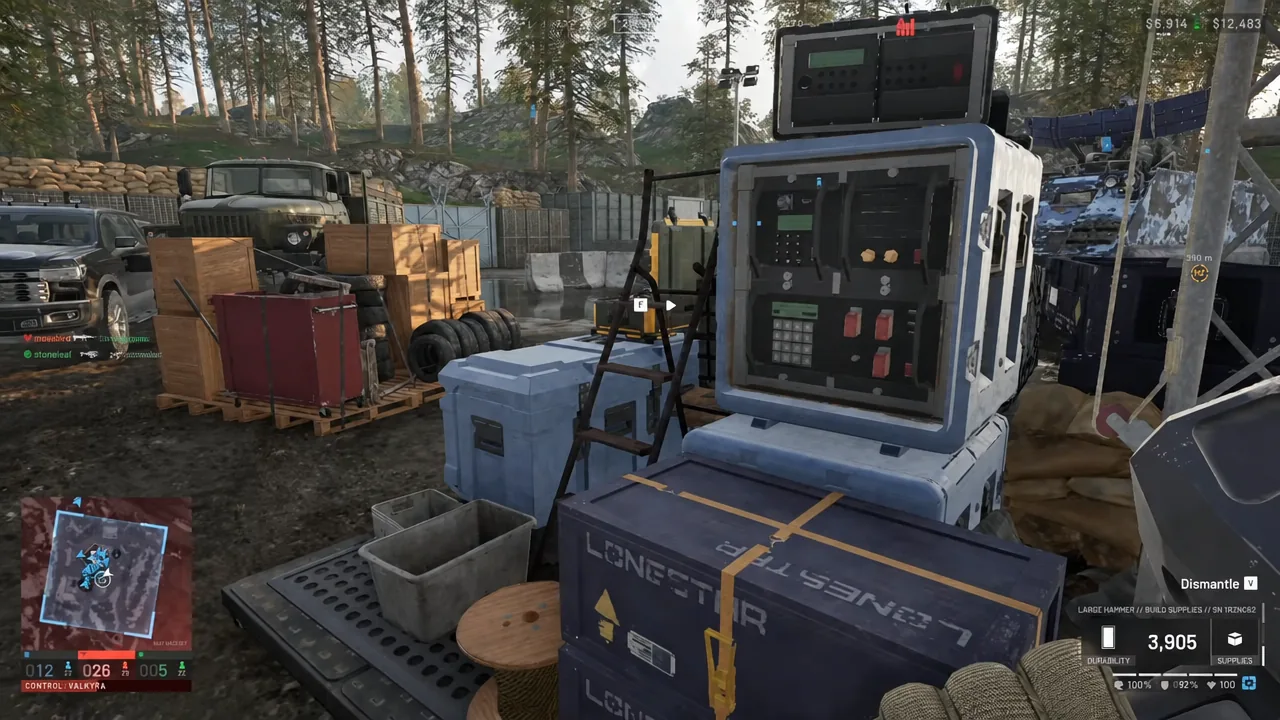
If there is no FOB near your position, you need to place one yourself. The Forward Operating Base costs $7,500 and weighs 6.5kg, so plan on hauling it by vehicle rather than on foot. Once deployed, it creates the radius your team builds inside and acts as a shared container for items and resources.
Build Supplies are the resource every structure consumes, and a Gate is on the heavier end of the fortification list. Buy well past what you think you need, move them with a vehicle, and drop them into the FOB so the whole squad can draw from the same pool. A helicopter can airdrop supply pallets straight onto the site, though a pallet will break on a hard landing from roughly 90 metres up.
A FOB is not a player respawn point. It protects and supports vehicle spawns and stores ammo, fuel, mechanical, and build resources, but you cannot redeploy on it like a spawn beacon.
Select and construct the Gate
F to cycle through the categories until GATE is highlighted. The supply cost for the selected structure is shown alongside it, so you can check affordability before committing.Building is Support XP, so a player who never fires a shot can still climb the role ladder and make solid money doing nothing but hammering structures inside a friendly FOB.
Confirm the Gate is finished and team-locked
The build is done when the progress bar hits 100 percent and the blueprint shading is replaced by the solid armored gate model. Walk up to it and an interaction prompt appears, switching between OPEN and CLOSE depending on its current state. If that prompt shows, the structure is complete and functional.
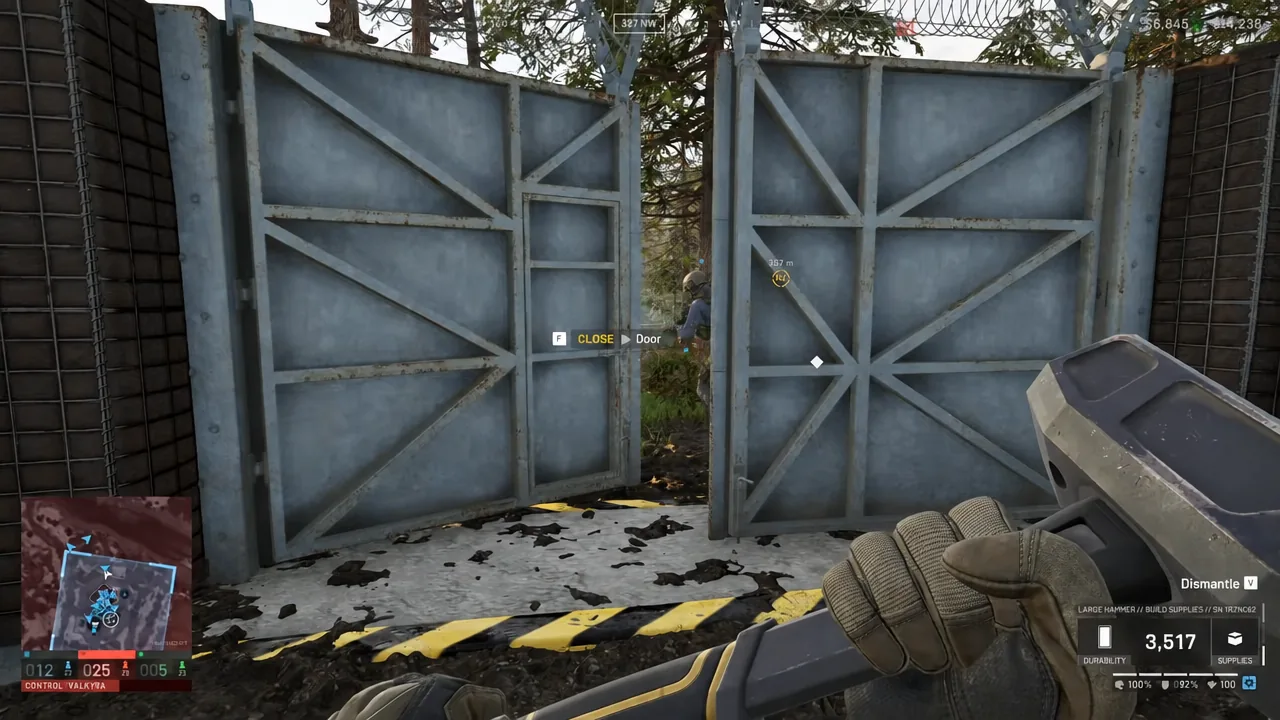
Only members of your own team can operate it. Enemies get no prompt at all, which is the entire point of spending the supplies. Close it behind every convoy, because an open Gate is a vehicle-width invitation into your FOB.
Repair or dismantle a Gate with the same hammer
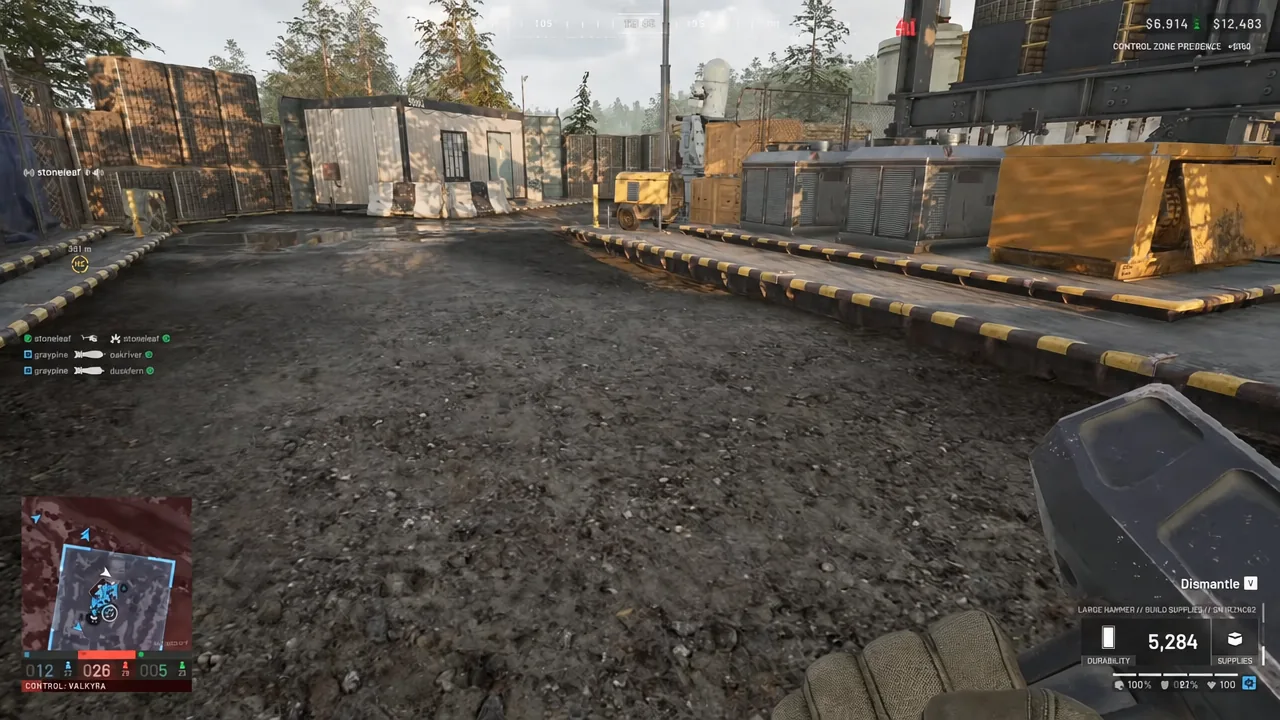
The Large Hammer is not a one-way tool. It repairs damaged structures and demolishes them too, so a Gate placed at a bad angle is not a permanent mistake. Aim at the structure and a dismantle prompt appears, letting you clear the footprint and rebuild somewhere better.
Vehicle repairs run on a different resource. Mechanical Supplies cost $10 each, weigh 0.03kg, and only work inside a FOB radius, so keep them separate in your head from the Build Supplies that feed your walls and gates.
Where to place the Gate in your perimeter
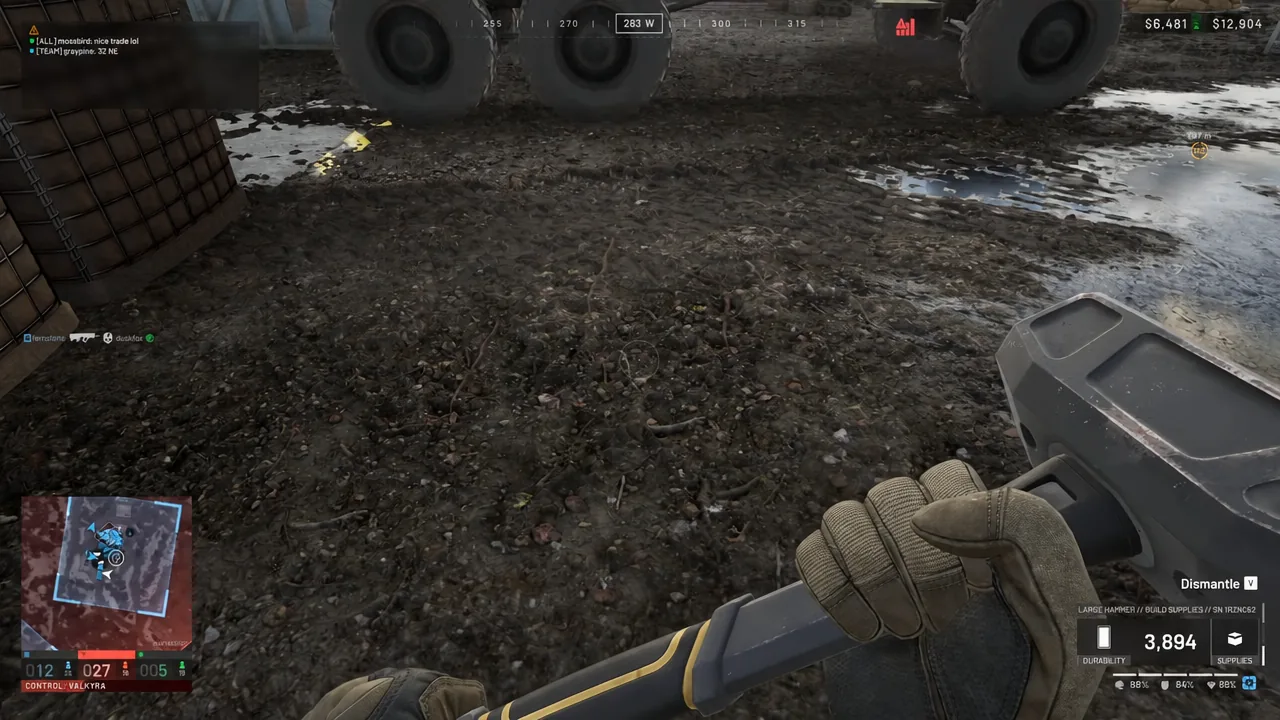
Site the Gate on open ground with a clear run-up on both sides so a truck or armored vehicle can pass without snagging on walls or terrain. Two gates paired with two doors is far better than a single entrance, which turns every rotation into a traffic jam under fire.
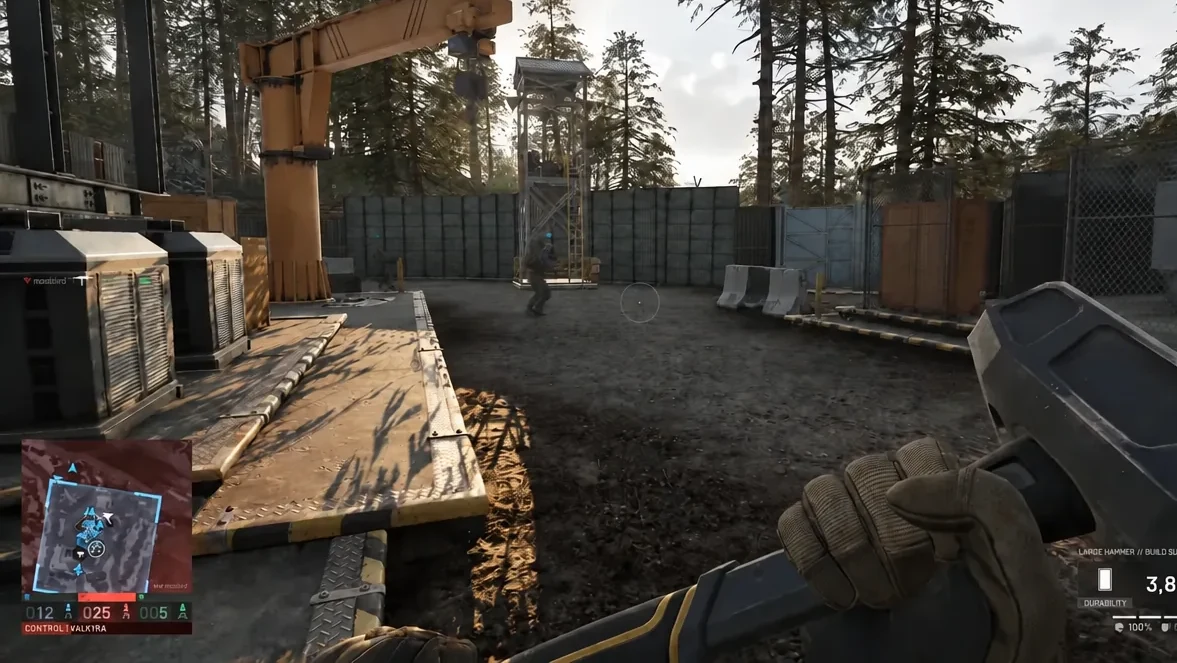
Once the entrance is settled, sweep the rest of your wall line for gaps and seal anything an enemy could vault. Barbed wire along the top of walls and in the corners stops players hopping in and blocks straight shots through seams, and a recon tower near the Gate gives someone eyes on whoever is approaching it.