Build and Kill Zombies gives you a chassis, a pile of rolled parts, and one number that matters: how far your car gets before it dies on the track. A tutorial build stalls out around 500 studs. A fully rolled one clears 14,000. The gap between those two numbers is not driving skill — it is fuel, luck, and the order in which you spend cash.
Quick answer: Runs end when fuel hits zero, not when zombies stop you. Roll Fuels and Engines first, buy Luck I before anything else, and mount weapons on the front face of the car.
The run loop: roll, build, drive, return
Every cycle in the game is the same four beats. You roll parts at the stations in the garage using cash, place them on your chassis in Build Mode, drive down the track into zombie waves, and return to spend whatever you earned. Cash comes from two things — the distance you cover and the zombies you crush — so a longer run directly funds the next set of rolls.
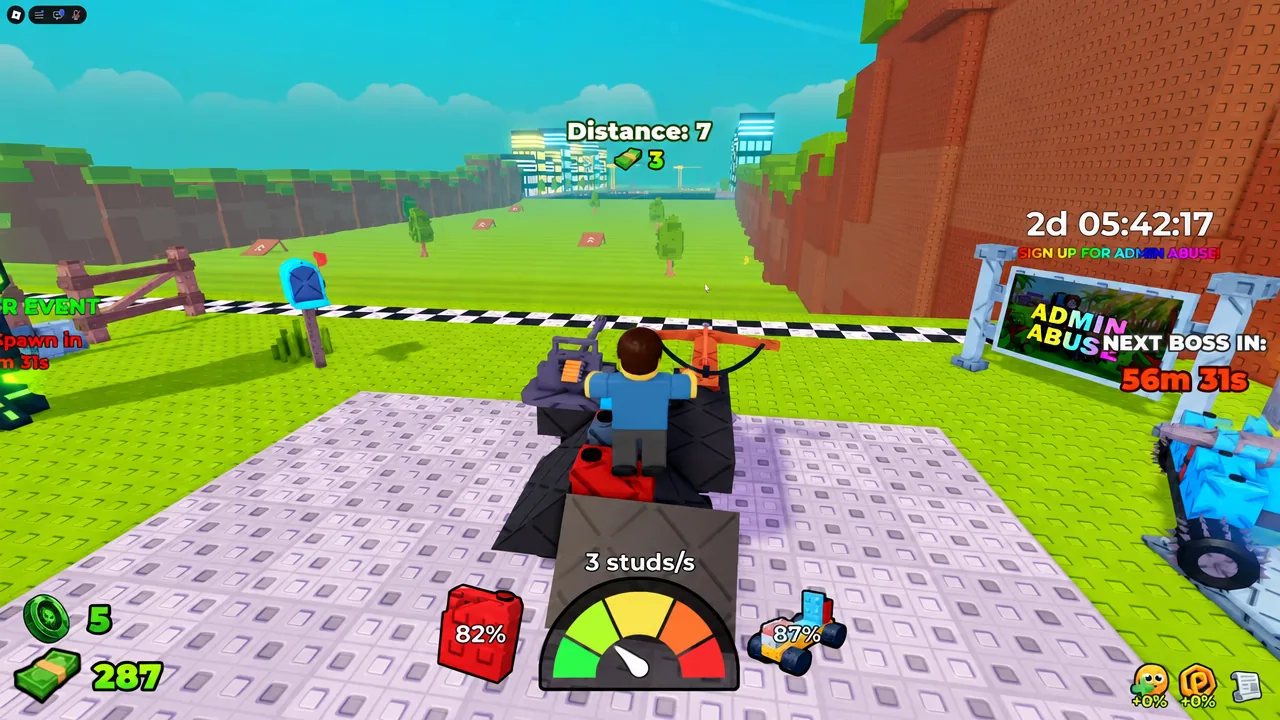
Fuel is the only hard stop. When the tank empties, an “Out of fuel!” message appears and you press F to head back to the garage. Nothing else forces the run to end, which is why a faster engine with a small tank is often worse than a modest engine with a bigger one.
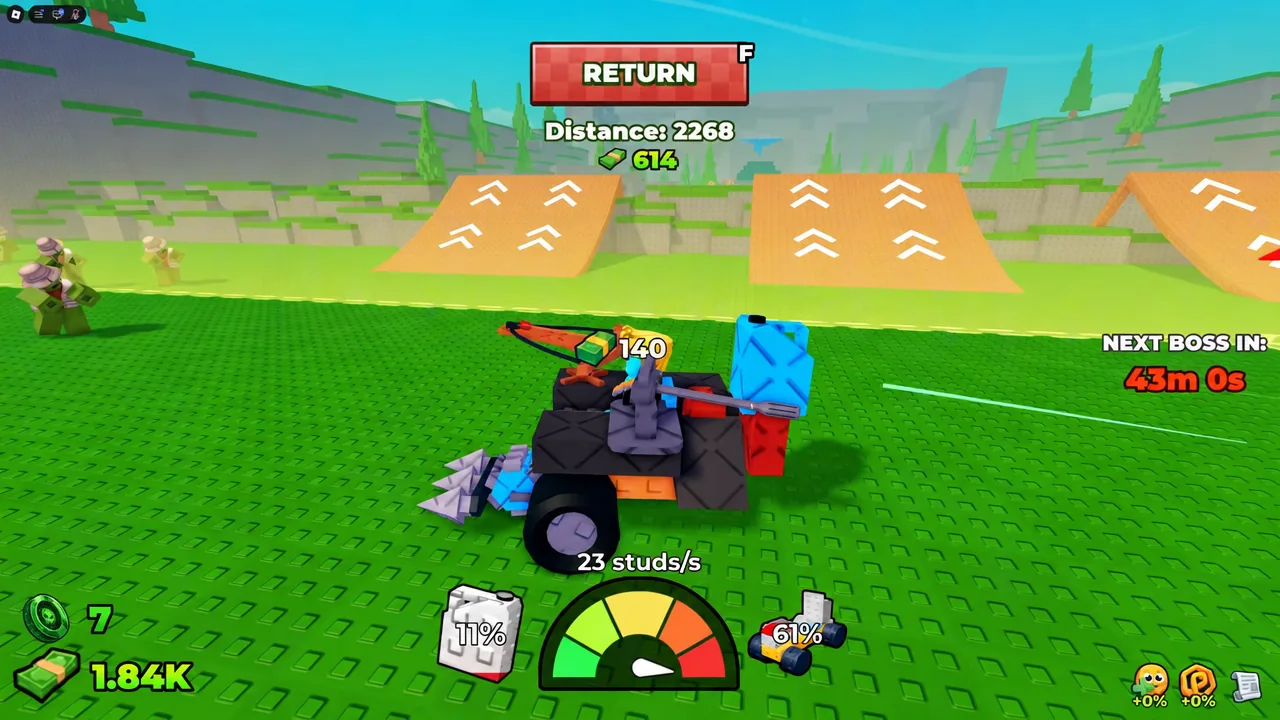
The controls are short enough to memorize in one sitting.
- W / A / S / D — accelerate, steer, reverse
- Spacebar — jump
- E — interact and roll at a station
- Q — open the category selector at a roll machine
- B — open Build Mode
- F — start driving, or return to base
Rolling parts: what each station gives you
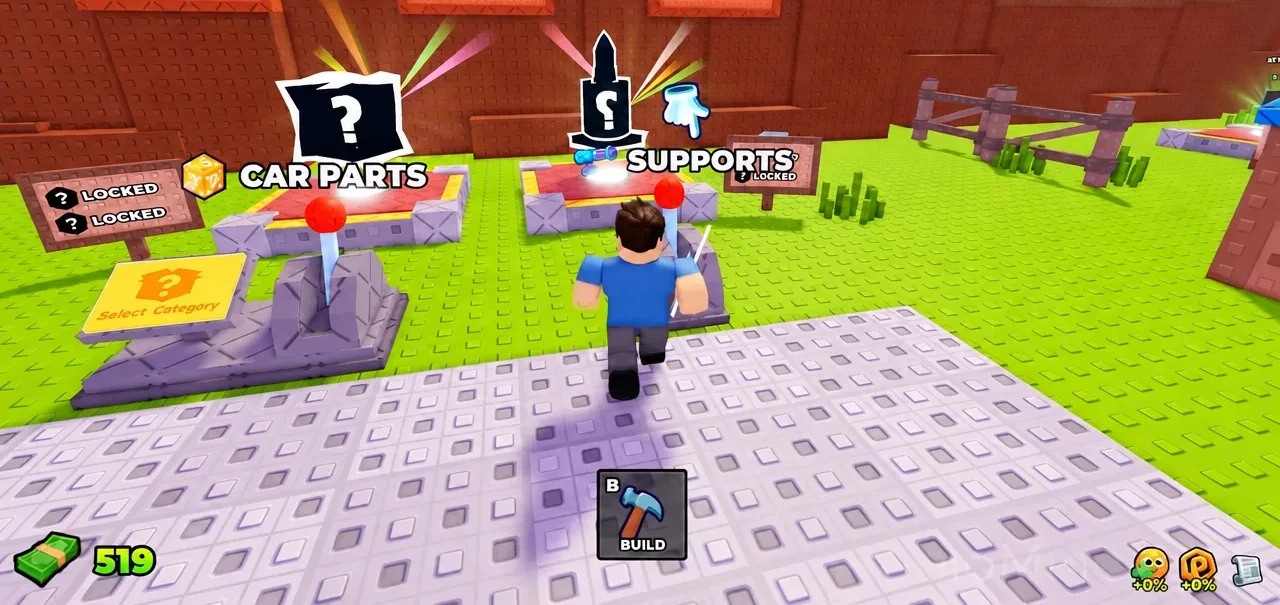
Parts are not bought off a shelf. You spend cash on a roll and take whatever the machine hands you. The CAR PARTS machine covers Blocks, Engines, Wheels, and Fuels — press Q, pick a category, confirm, then press E to roll. A separate SUPPORTS machine handles weapons and support pieces with the same inputs. Each result shows its rarity, and duplicates are normal and useful once your chassis has room for them.
Rarity runs Common, Uncommon, Rare, Epic, Legendary, and Mythical. Prices climb steeply along with it, and the jump from Rare to Legendary is where distance numbers stop creeping and start multiplying.
| Part | Rarity | Cost |
|---|---|---|
| Small Engine | Common | $50 |
| Glass Cylinder | Uncommon | $15 |
| Shredder | Uncommon | $250 |
| Crossbow | Epic | $275 |
| Barrel Gun | Epic | $500 |
| Razor Wheel | Rare | $550 |
| Mini Missile | Legendary | $1.2k |
| Super Fuel | Legendary | $4k |
| Flame Turbo-X | Legendary | $5.9k |
| Scarlet X | Legendary | $8.2k |
The Index tracks every part you have unlocked along with its stats, so you can check whether a new roll is actually an upgrade before you tear the car apart to fit it. Some individual items also have dedicated roll stations, which lets you chase one specific piece instead of gambling on a whole category.
Treat Engines and Fuels as a pair. Raw speed does nothing once the tank is empty, and the biggest single leap in the progression below came from a Legendary fuel, not a Legendary engine.
Skill Tree priority: Luck first, support slots second
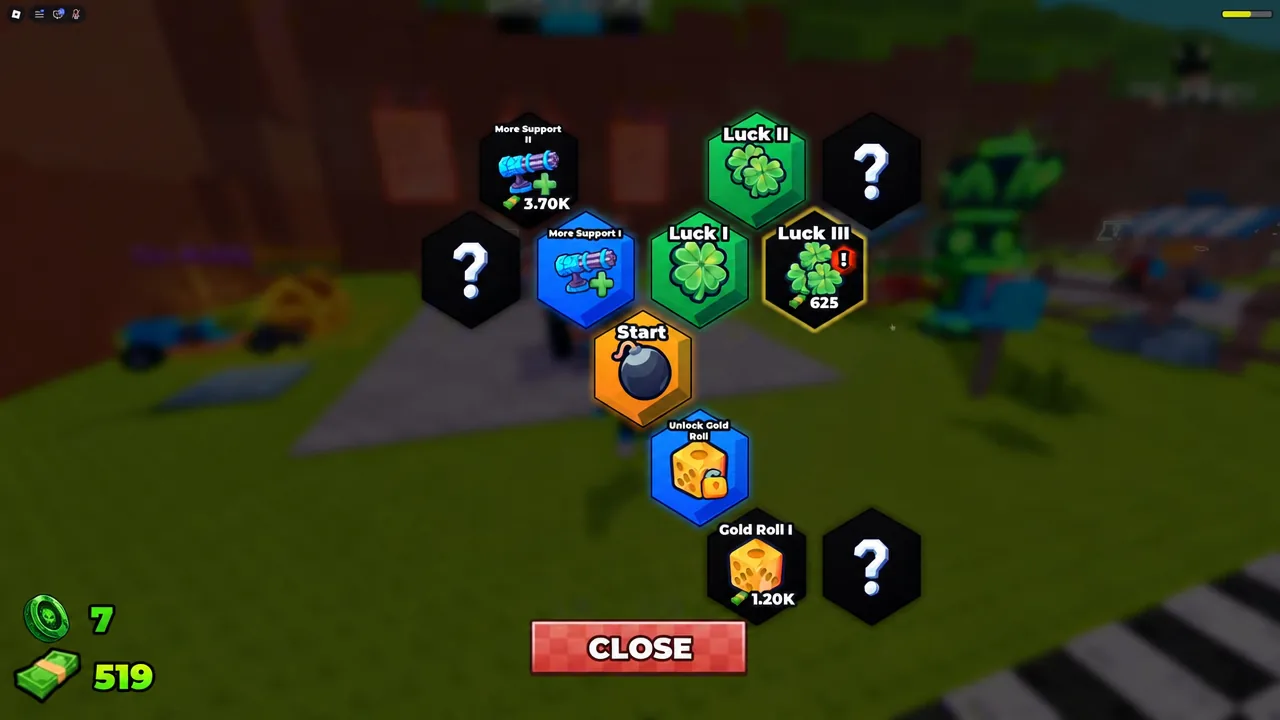
The Skill Tree is the only progress that carries across runs. Everything else resets. Nodes are tiered, so the second rank of a skill only appears once you own the first, and the whole tree is paid for with the same cash you would otherwise spend on rolls.
| Order | Skill | What it does |
|---|---|---|
| 1 | Luck I | Better odds at both roll machines |
| 2 | Luck II | Stacks on the first rank |
| 3 | More Support I | Adds a weapon or support slot |
| 4 | More Support II | Second slot for multi-weapon builds |
| Later | Gold Roll I | Special roll type, costs thousands |
Luck comes first because every part in the game passes through a roll. Spending on luck early makes every later dollar worth more, while support slots only pay off once you own weapons worth mounting in them. Gold Roll and Rainbow Roll sit at the expensive end of the tree and are a goal, not a starting purchase.
Assembling the car in Build Mode
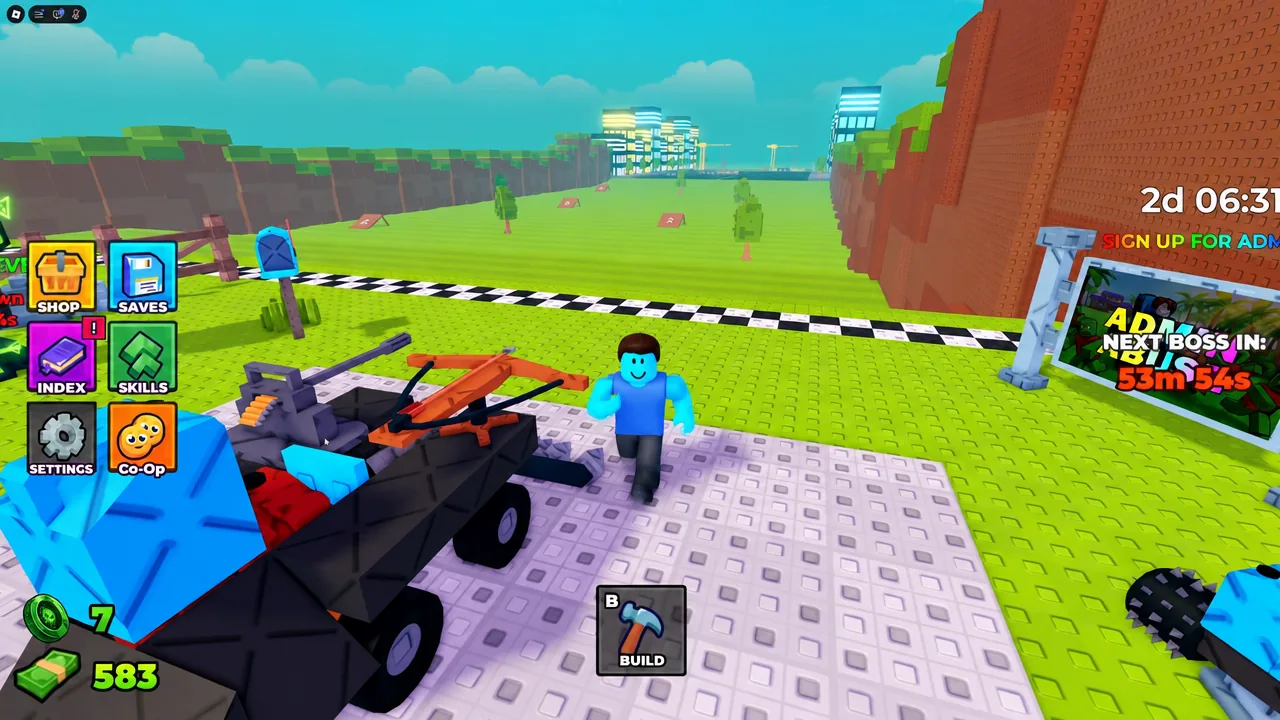
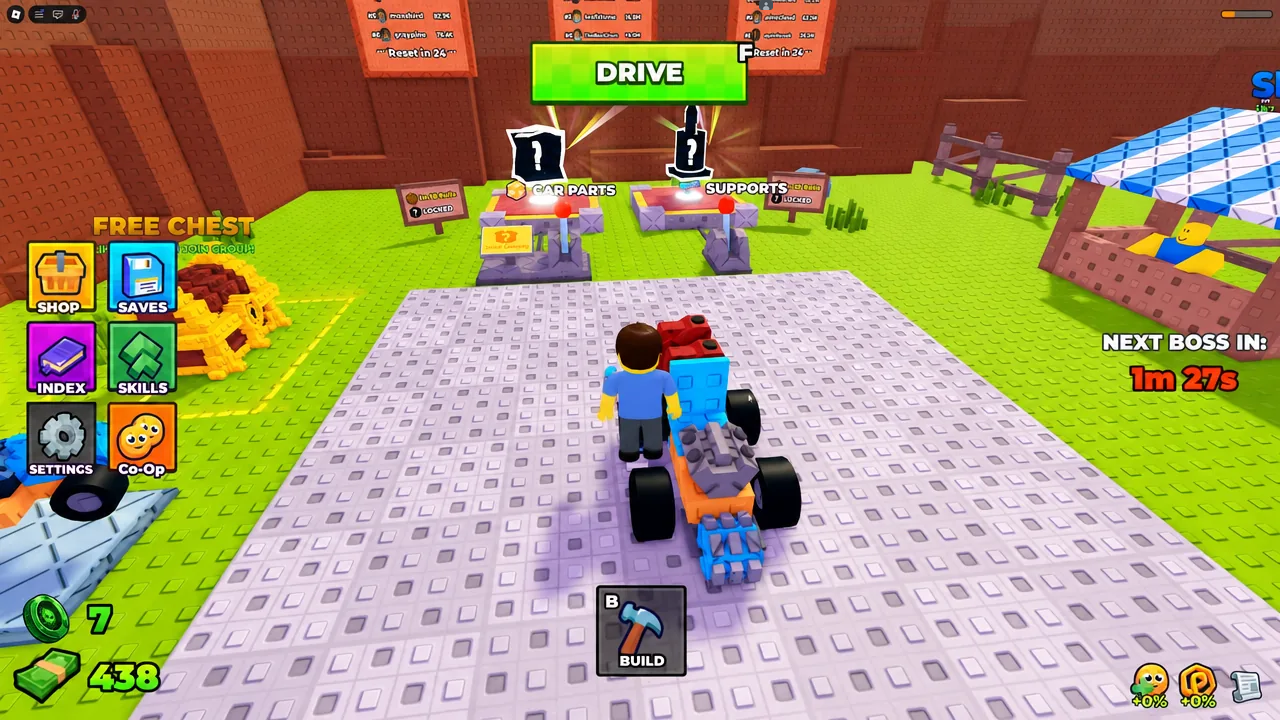
If building from scratch is not appealing, the CAR BUILDS beacon holds pre-made blueprints, including Fast Furious and Blue Monster. Each one lists the parts it needs and flags the ones you are missing, which makes it a usable shopping list even before you can spawn it.
What the distance numbers look like as you upgrade
Progress is not linear. Early upgrades move the needle by a few hundred studs at a time, then a single Legendary fuel unlocks a five-figure run. Here is how the curve plays out across a full session, from the tutorial car to the record.
| Build state | Distance |
|---|---|
| Small Engine + Shredder (tutorial) | 542 studs |
| After first Skill Tree nodes | 664 studs |
| Small Tank fuel added | 1,075 studs |
| Metal Spike + Rubber Wheels | 1,252 studs |
| Barrel Gun and Crossbow mounted | 1,388 studs |
| Razor Wheels equipped | 2,290 studs |
| Expanded multi-part chassis | 10,494 studs |
| Super Fuel + Mini Missile | 14,204 studs |
Individual runs wobble a lot. One attempt landed at 279 studs and the next at 2,763 with the same car, so a single bad result is not a sign the build is wrong. Change one part, drive, and watch whether the average moves rather than judging on one attempt.
How to confirm an upgrade worked
There are two possible endings to a run, and they tell you different things. The “Out of fuel!” message means the run simply timed out on range. The “New distance record” banner means the last change you made to the car genuinely improved it — that banner is the clearest confirmation the game gives you.
Servers cap at five players, so nobody is competing for the track while you test. Change a single part per run, drive, and let the record banner tell you whether to keep it. The game is available free on its official Roblox page, and once you have a Legendary engine and fuel paired together, the track stops being the limiting factor entirely.