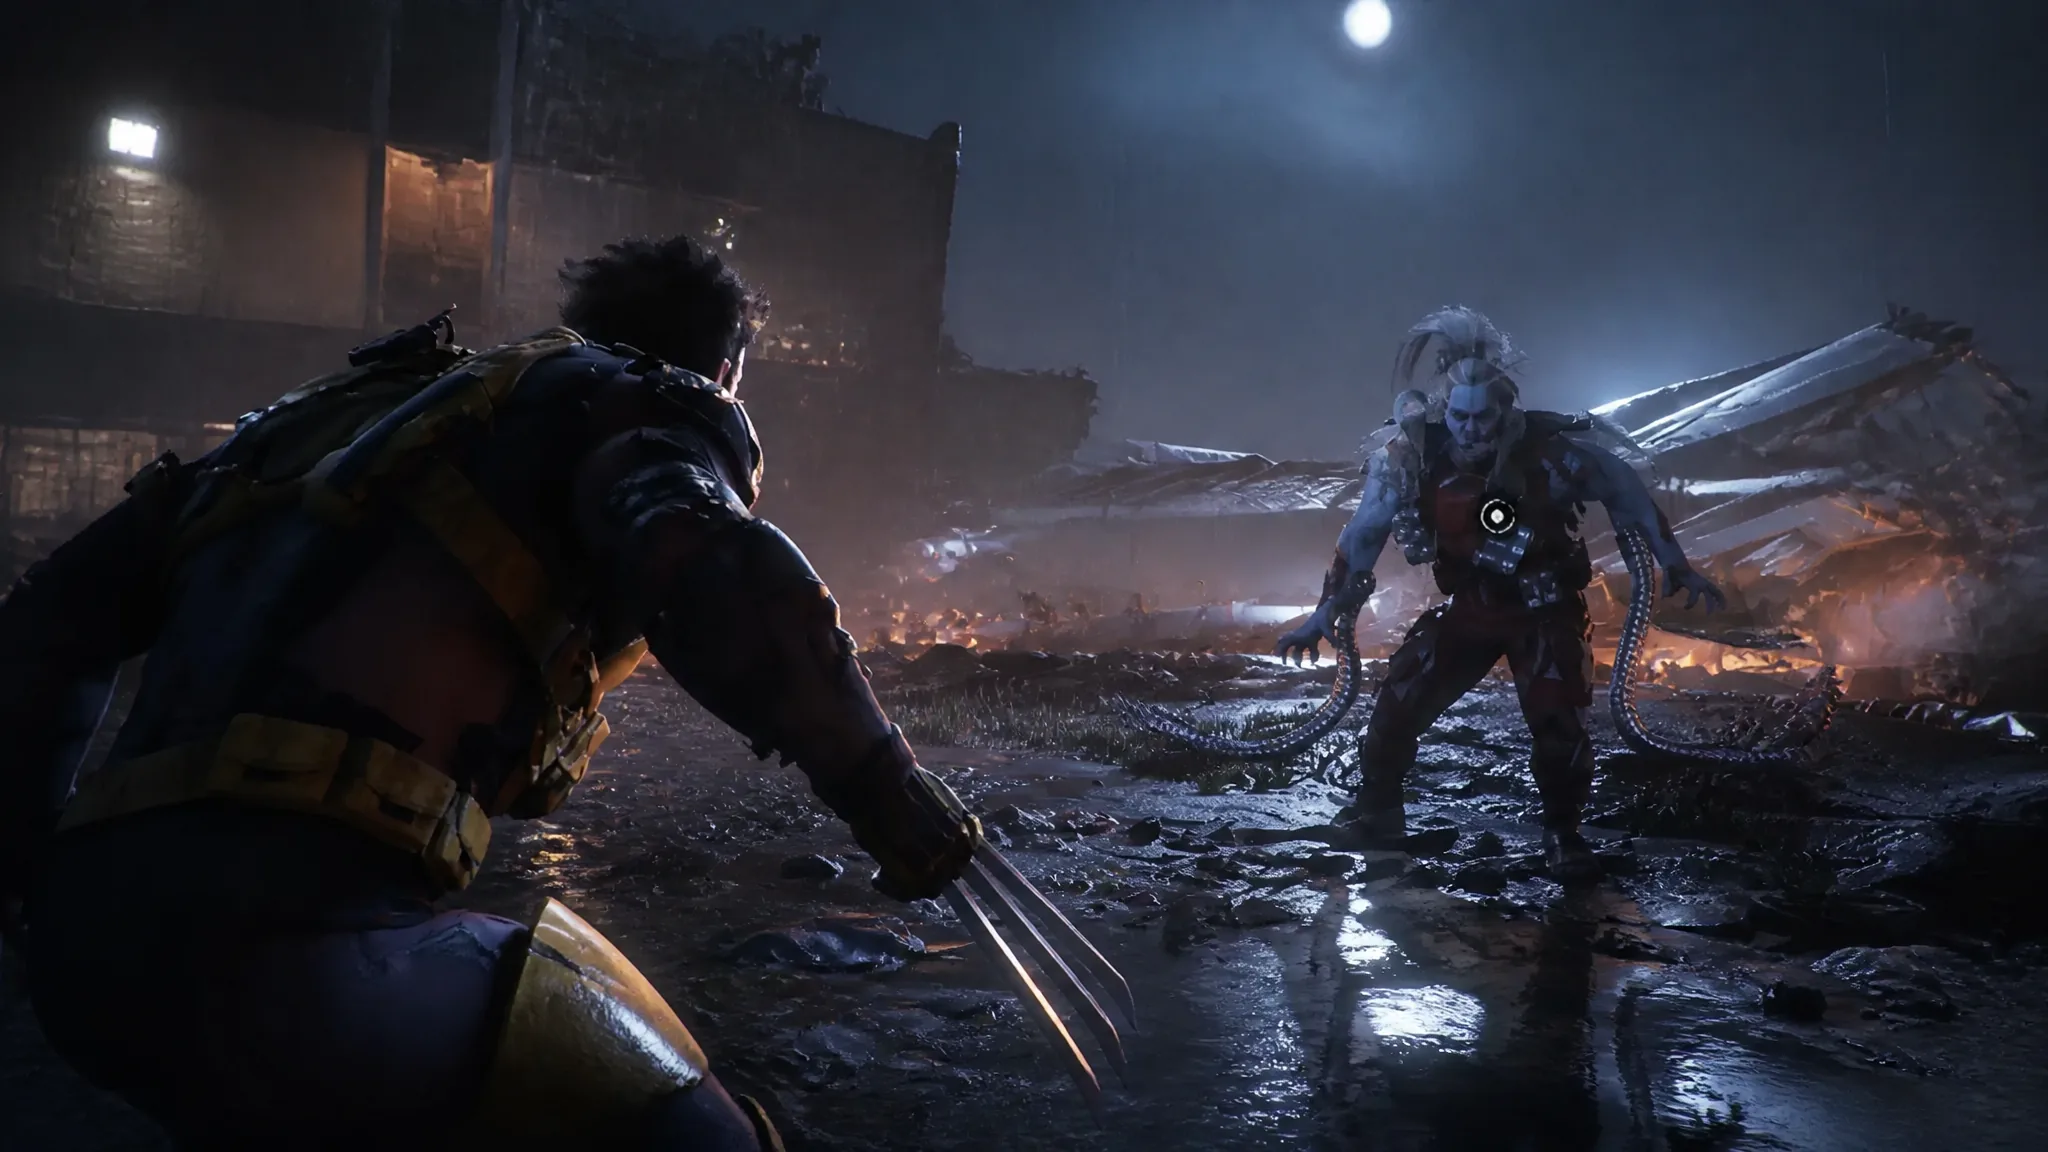
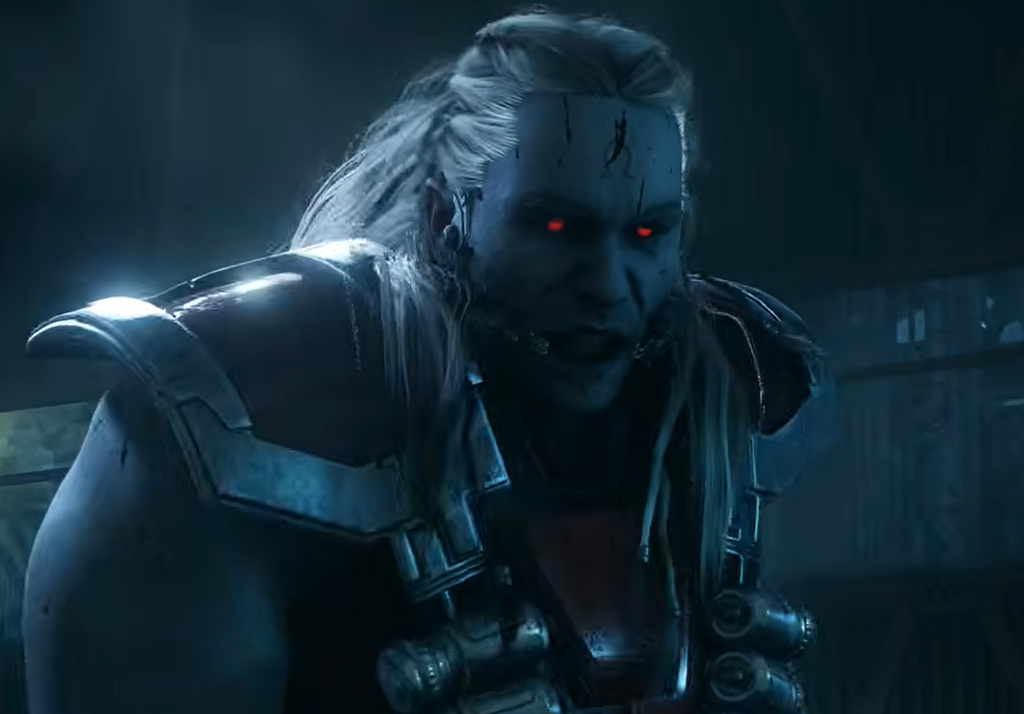
Omega Red is the first real wall in Marvel’s Wolverine, and he sets the tone for every boss that follows. He fights from range with carbonadium tentacles while Logan needs to be up close to do damage, so the fight becomes a patient rhythm of blocking his reach, waiting for an opening, and punishing it. The encounter kicks off during the rescue of Nathaniel Essex, right after Omega Red yanks Essex out of the escaping chopper and drags Logan into the Trask Compound.
Quick answer: Parry his non-red attacks with L1 to fill his stagger meter, then rush in and attack while he is dazed. Never parry a red-glowing attack — dodge it with Circle.
Controls and the core loop
The whole fight runs on one idea: his stagger bar is the yellow bar under his health bar. Every successful parry fills it, and once it is full he is briefly staggered and open to a full combo. If you swing at him before he is staggered, he simply shields himself with his tentacles, and getting too close early makes him lash out for heavy damage.
- L1 — parry incoming tentacle attacks to build his stagger meter.
- Circle — dodge; the only answer to red-glowing power attacks and thrown objects.
- Square — barrage attack, used once he is staggered.
- L2 + Square — heal Logan using the meter that builds under his HP bar.
Omega Red flashes red for a brief moment before an unblockable attack. That red glow is your cue to stop looking for a parry and dodge to the side instead.
Phase one: learn the parry timing
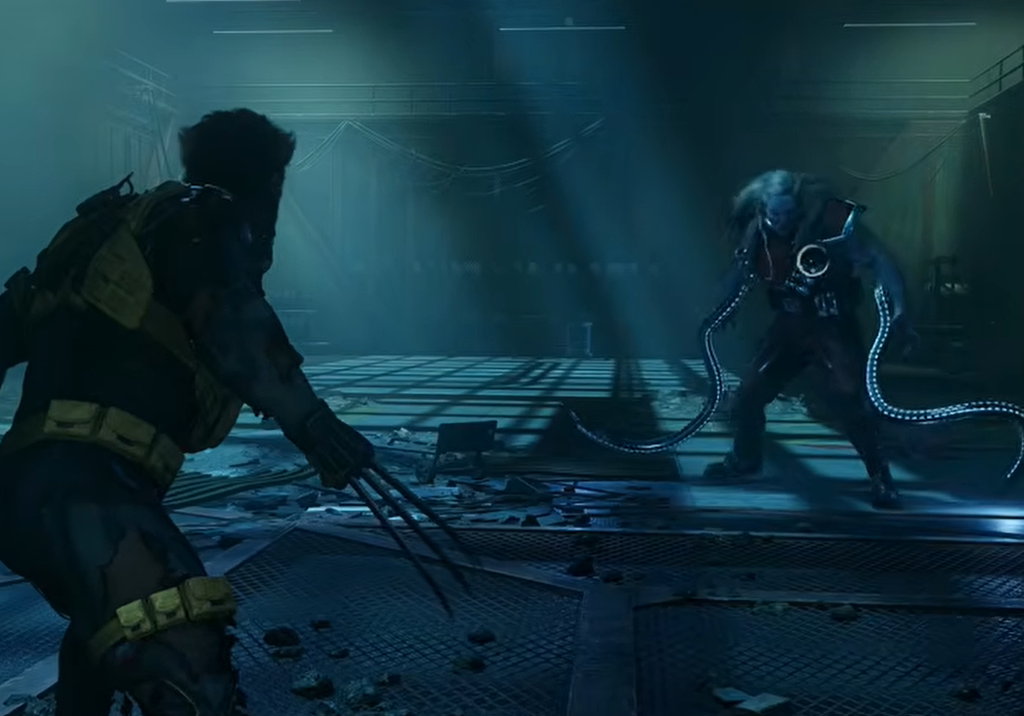
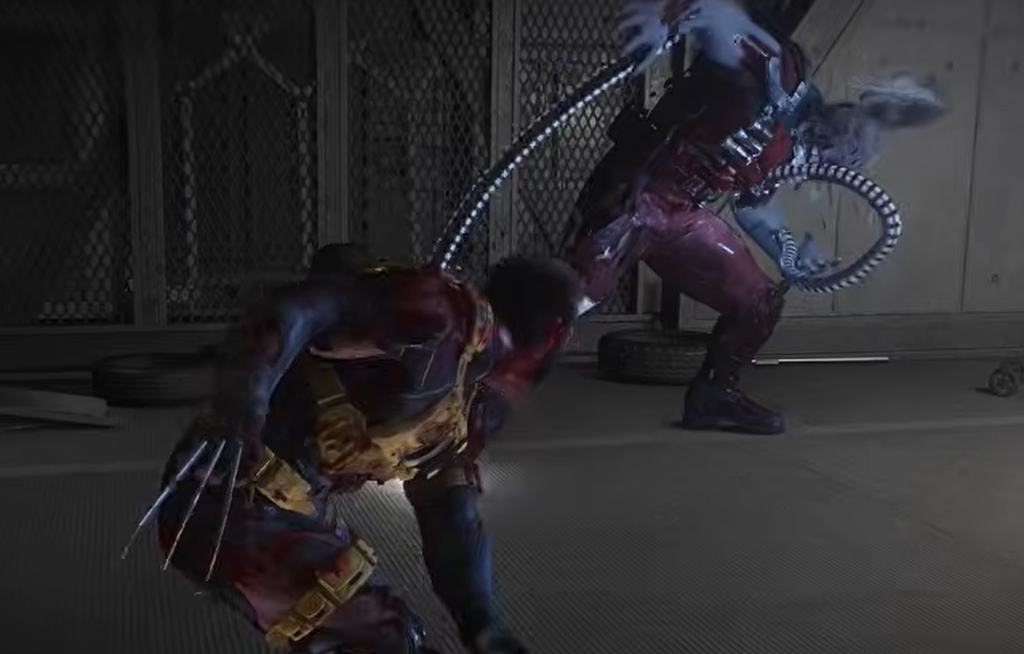
This opening phase is a parry tutorial in disguise. Stay defensive, hold your ground, and only commit to attacks once the stagger bar is full. His bread-and-butter combo is a swing sequence — a left, then a right, ending in a downward slam — and each hit you deflect pushes the stagger meter higher.
- Swing and slam combo — he extends his coils, slams down, then swings one to the side. Parry each hit until a red power attack finishes the string, then dodge the red one.
- Thrown debris — he jumps back to create distance and launches objects at you. There is no parry for these; dodge before they land, since even small hits sting here.
Wait for the stagger, close the gap, and unload with Square. Save your special techniques for these windows too. When his first health bar empties, a cutscene plays where he starts draining Logan’s life force, and Wolverine breaks free by stabbing himself before being tossed outside — which leads straight into the next phase.
Phase two: dodge as much as you parry
The same parry-and-stagger plan still works, but everything speeds up and he adds long-reaching grab attacks that cannot be parried. Balance your parries with dodges here.
- Double extended coils — he flashes red, crouches, and thrusts both coils straight ahead to grab you. Cannot be parried; dodge to the side because the reach is long.
- Single extended coil — a quick red flash while standing, then one coil fires straight forward. Also unblockable, so dodge sideways.
If he grabs you, mash the Quick Time Event prompt to break free. Try to avoid the grab entirely, because he heals back any damage you have dealt while he holds you. Once you knock his second health bar down to the halfway point, a cutscene has him hurl part of an airplane wreck at you, tipping the fight into its final stretch.
Phase three: attack proactively and keep moving
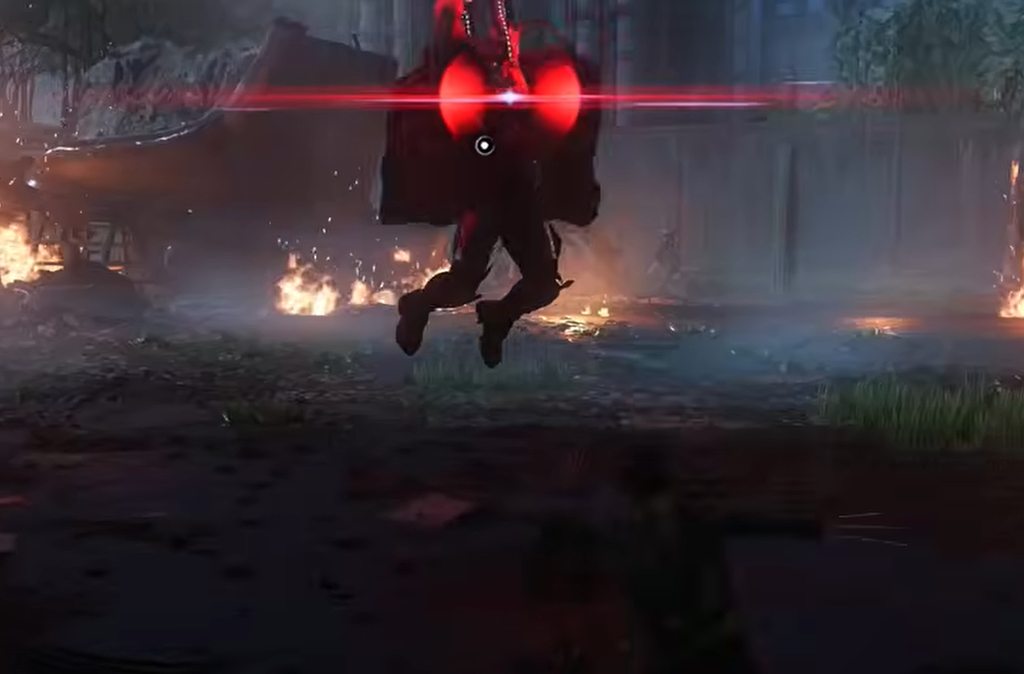
The last phase flips the strategy. Omega Red now leans on ferocious red attacks and offers fewer parryable openings, and everything is faster and hits harder. Waiting purely for staggers is no longer enough — you need to time your own attacks in the gaps and fire off techniques as soon as they charge, all while dodging every red move thrown at you.
- Debris swing — he grabs two large slabs and swings them at you like hammers. Unblockable; dodge it.
- Debris slam — always follows the swing, slamming the slabs into the ground for extra reach. Dodge and keep moving; standing still lets him track you.
- Leap and spear — a fast, easy-to-miss attack. He jumps, flashes red, and spears his coils out as he lands. Dodge and never hold still.
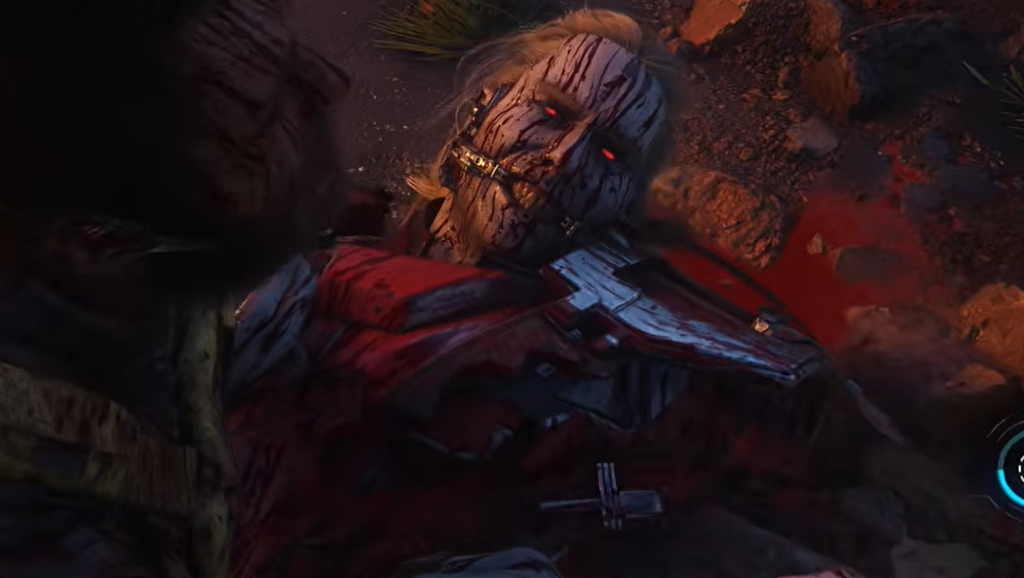
Heal with L2 whenever you take too much damage, and treat constant movement as your default state. Drain the last of his health and the fight ends in a cutscene where Logan rips off one tentacle, then the other when Omega Red tries to reel him in, followed by a series of QTEs to finish him.
How you know the fight is over
Once his final health bar is gone and the finishing QTEs play out, you collect a sample for Essex and the rest of the Reavers close in. Mystique and Sabretooth arrive to pull you both out, which ends the encounter and wraps up the Telambang mission. When that rescue cutscene plays, Omega Red is beaten and you can move on.