Towers are the loudest objectives on a Wardogs map. They sit in fixed spots on every map, they hand out the best sightlines in the game, and the ones inside the active Control Zone double as the only way to drag the Hot Zone somewhere your team has already dug in. Capturing one is simple. Knowing what to do with it afterwards is where matches get won.
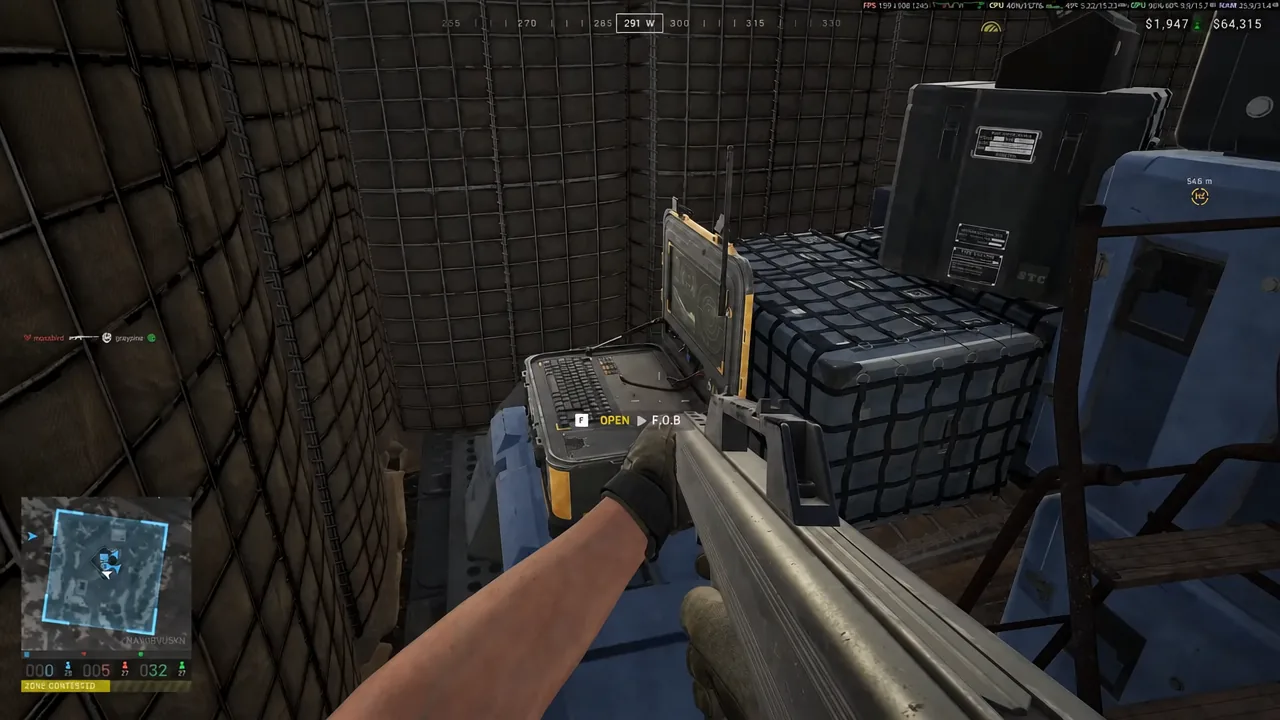
Quick answer: Wait out the tower’s cooldown, clear the building, then hold F on the console in the control room above the entry level until the capture bar fills.
Tower cooldowns and Control Zone rules
Every tower starts the match locked behind a 10-minute cooldown, and the same timer kicks in again each time a tower changes hands. You cannot rush a console that is still counting down. Hover the tower icon on the map to read the remaining time, or walk in and check the console screen itself.
Position matters just as much as timing. Every tower is a useful recon perch, but only the ones sitting inside the current Control Zone function as objectives. The Control Zone is a randomised 2×2 km block of the map. Every 30 seconds, whichever faction has the most players inside it banks a point, and the first team to 100 wins the match.
Open your map before you commit to a route. Tower icons are colour-coded by the faction that currently holds them, and the layout of active towers is rolled fresh each match, so a path you memorised last game may be pointing at nothing.
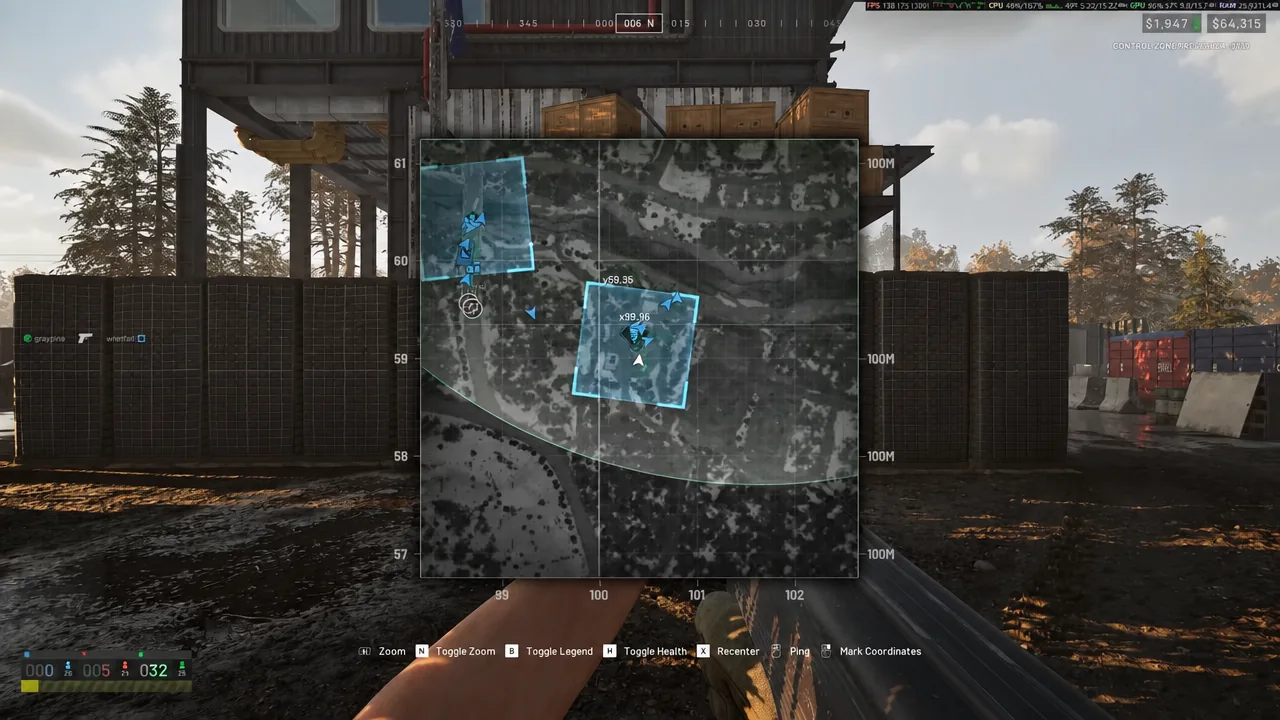
How to capture a tower in Wardogs
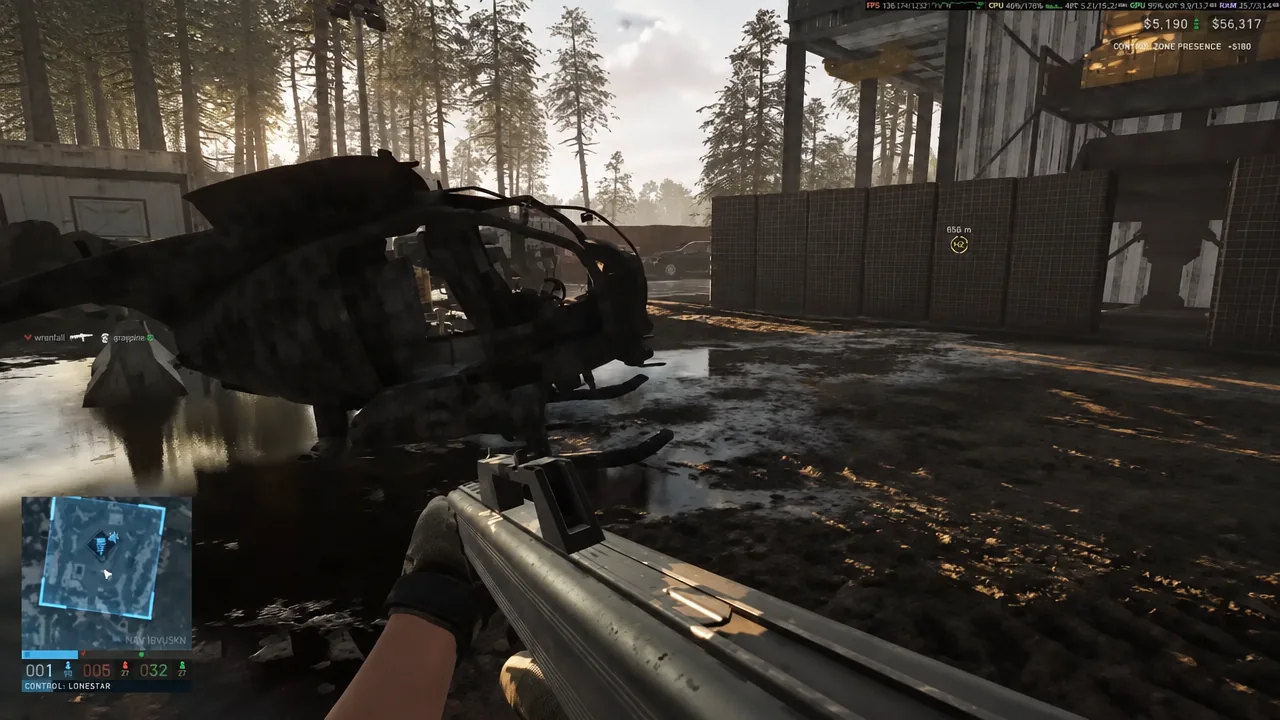
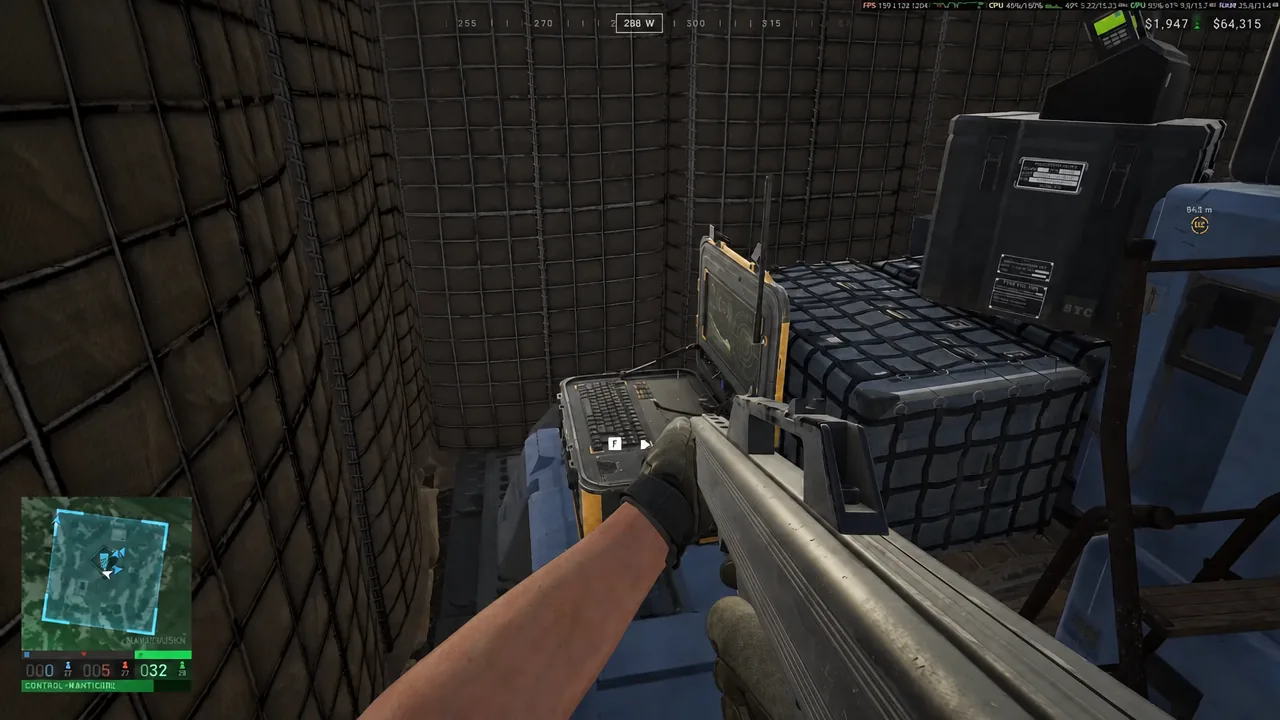
You know it worked when the tower flips to your faction’s colour on the map and the console screen resolves to your side. A number also appears on the screen along with its position in the overall code. Write that down and call it out to your team immediately, because you will need it later.
Do not leave the moment the bar fills. The capture puts the tower on cooldown, but nothing stops an enemy squad from walking in and waiting it out on the spot.
Tower codes and the Hot Zone Magnet
Each captured tower gives up one digit of a numerical code, plus the slot that digit occupies in the sequence. Collect every digit by taking every tower in the Control Zone and you can run the power play. The sequence is generated for the current match only, so a code that worked an hour ago is worthless in the next game.
To use it, go to a tower your faction still holds, interact with the number pad beside the main console, and punch in the digits. A correct entry activates the Hot Zone Magnet.
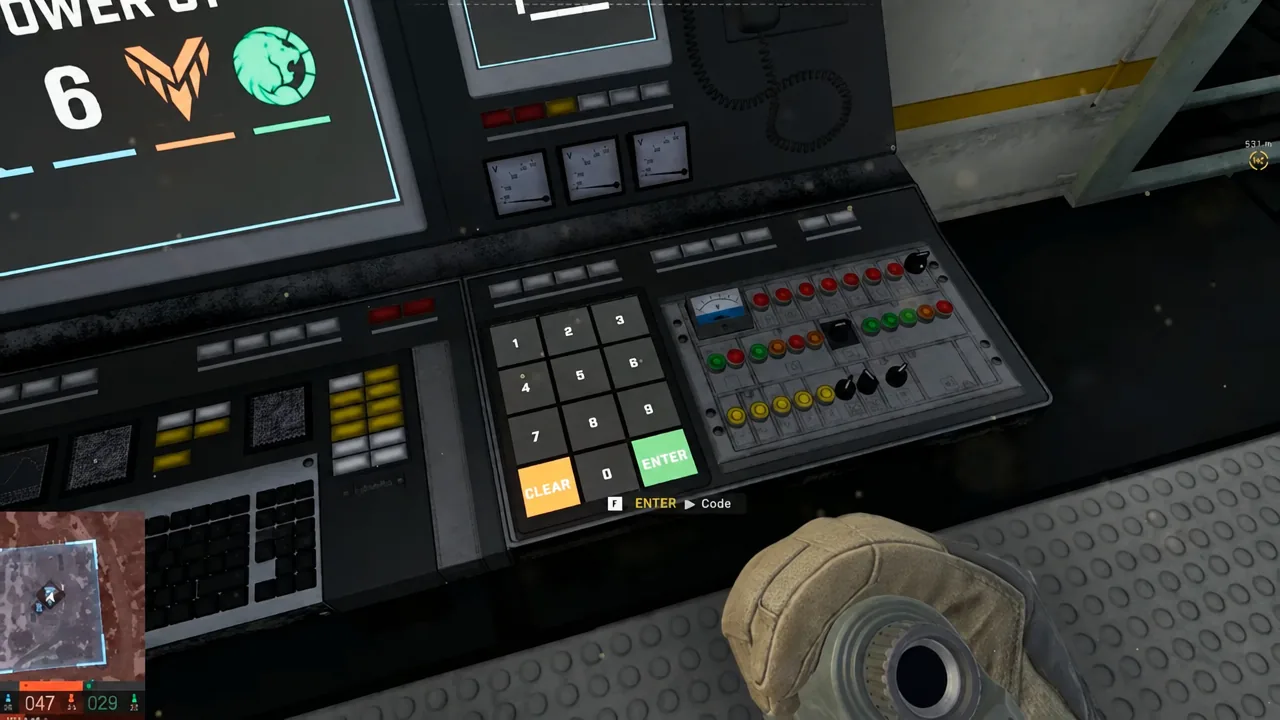
Guessing is possible but strictly limited. You get two attempts, and too many wrong entries lock you out of the keypad for a short period.
Once the code lands, the Hot Zone stops behaving normally and starts travelling toward the tower you activated it from, no matter where it currently sits. White dashed lines on the map trace the path and show which tower pulled it. The zone parks on that tower for a period before returning to its usual roaming pattern.
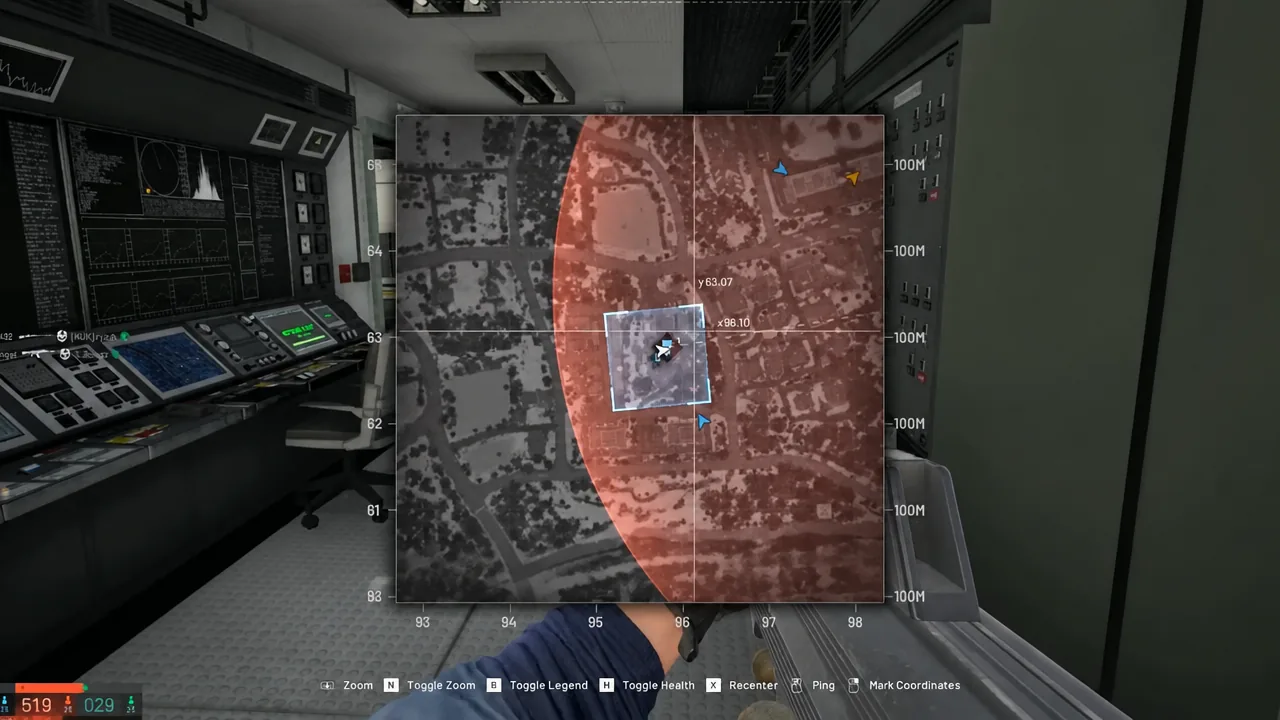
The Hot Zone is a small circle inside the larger Control Zone, and it is worth fighting over for two reasons. Actions completed inside it, from kills to assisting teammates, pay double cash. Each player standing inside it also counts as two bodies for the Control Zone tick, which means your point gain every 30 seconds can double. The catch is obvious: pull the zone onto your position and both rival factions come to you.
That is why the choice of activation tower matters more than speed. Enter the code at a tower ringed by friendly players, a supplied FOB and finished defences, not at the first terminal you happen to be standing next to.
Building a FOB at a captured tower
A tower on its own is a vantage point. A tower with a Forward Operating Base under it is a strongpoint. The FOB is what lets you build larger structures, stores items and resources for anyone on your team to pull from, and projects the radius you have to be standing inside to construct anything at all. Placing one at a tower also marks it as your faction’s main tower, shown on the map as a square in your colour.
Buy everything from a vendor before you deploy. The FOB itself is the big purchase, and the four supply types each do one specific job.
| Item | Price | Weight (kg) | Used for |
|---|---|---|---|
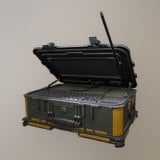 Forward Operating Base Forward Operating Base | $7,500 | 6.5 | Build radius and storage |
| Build Supplies | $10 | 0.02 | All buildables |
| Ammo Supplies | $10 | 0.03 | Reloading buildable weapons |
| Fuel Supplies | $10 | 0.03 | Refuelling vehicles |
| Mechanical Supplies | $10 | 0.03 | Repairing vehicles |
| Small Hammer | $100 | 0.32 | Small buildables, slow |
| Medium Hammer | $800 | 1.23 | Large and basic buildables |
Ammo, fuel and mechanical supplies all require a FOB radius to use, so there is no point hauling them anywhere else. Build supplies only need a hammer in your hands. The Medium Hammer is gated behind Support level 3 and a one-time unlock fee of $25,000, and it covers gates, HESCO walls, doors and base defences on top of everything the Small Hammer can place. The Large Hammer adds the heavy equipment: anti-air guns, mortars and drill rigs.
Deploy the FOB where you want it, and a blue square appears on the minimap marking your build area. Ferry the rest of the supplies out by ground or air vehicle, drop them on pallets near the FOB, then unload the pallets directly into it. Move your hammers into the FOB inventory, pick the structure you want, and strike the yellow X markers with the right hammer. One hit finishes each piece.
A Mechanical Supply Pallet costs $400 and will be destroyed by high-speed impacts, with roughly a 90m free-fall the maximum it survives. Delivering it to the FOB rather than dumping it from altitude is the safer play.
For fortification, sandbag walls, barriers, mini-bunkers and barbed wire all go up quickly around the tower’s approaches. Barbed wire costs $10 to place, and tearing down an enemy’s piece pays $75. None of it is impenetrable, and a faction with the right weapon will get through, so cover the stairwells and entrances with shooters rather than relying on the walls alone. Captured towers also come with a tannoy at the top, which lets you broadcast anything from your microphone across the surrounding area.
Drill sites: pulling the Hot Zone without the code
Capturing every tower in the Control Zone is a big ask in a public match. The alternative is a buildable Drill Site placed on a faction-owned FOB, which acts as a mini-tower. Fuel it to the maximum 6000/6000 and you can activate the drill to work as a Hot Zone magnet in its own right. Nothing stops you running both a tower and a drill at once.
The trade-offs split cleanly:
- FOB drills burn a constant supply of fuel; tower drills need none.
- Tower drills cannot be destroyed; FOB drills are vulnerable to artillery and Stingray drones.
- FOB drills can be shut down by cutting your logistics, which the tower route sidesteps entirely.
- Building a drill involves far less shooting, which is usually why it is the easier option.
Which Wardogs maps have towers
Both playable maps use towers as a major objective. Bakurani has seven towers plus four abandoned ones, and Ozeti has four. Zestafona has been revealed but is not playable yet, so its tower count is unknown.
Wardogs is in early access, and towers, codes and drills are exactly the kind of systems that get retuned between builds. Treat the layout you learn in one match as a starting point, check the map at the top of every game, and let the Hot Zone come to the ground you have already fortified rather than chasing it across the Control Zone.