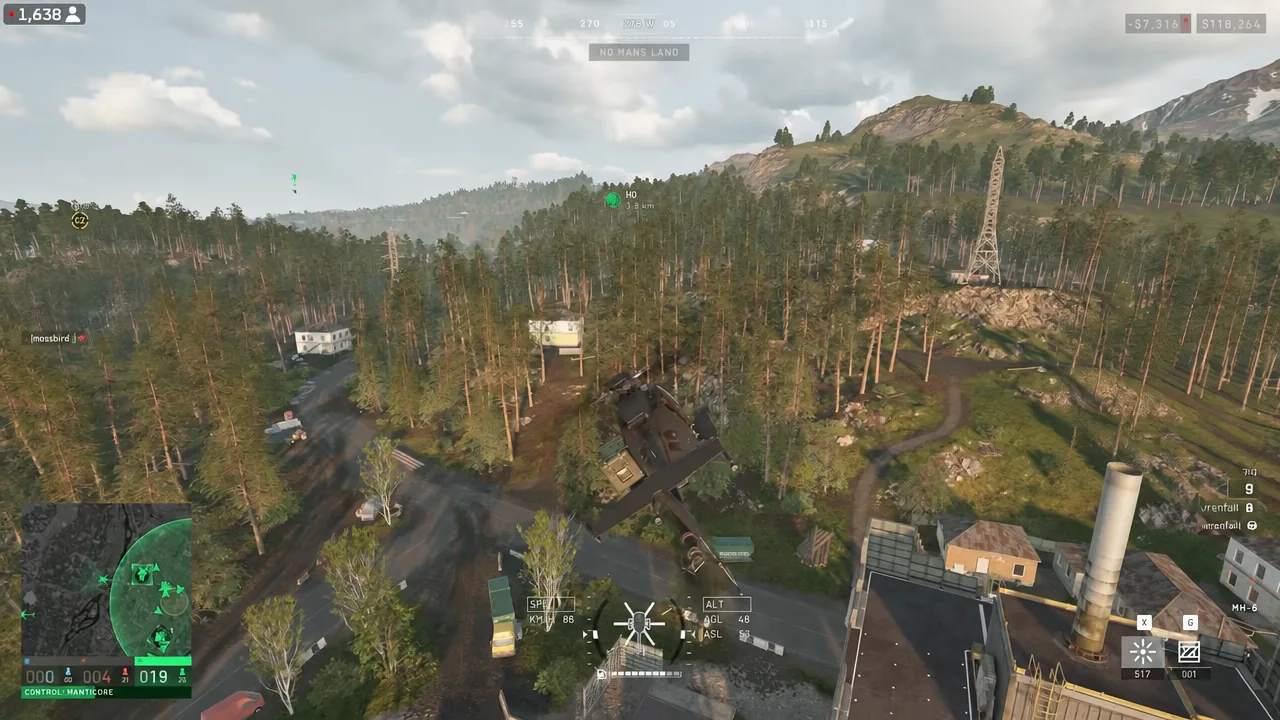
WARDOGS asks you to pay for everything you carry, drops you a long way from the fight, and takes it all away when you die. Three factions of up to 33 players each contest one moving Control Zone on a 16x16km map, and the players who climb fastest are rarely the ones spending the most. They are the ones who understand what the game pays for and how much weight they can carry while doing it.
Quick answer: Run a cheap kit with a helmet and Level 1 Armor, carry loose ammo instead of spare magazines, keep your total weight under 10kg, and spot every enemy you see.
Your first loadout: Skip the expensive rifle
Every loadout includes a free rifle, a backpack, and one magazine. That free rifle kills an unarmored player just as dead as a rifle you paid five figures for, so the money is better spent on the things that keep you alive and earning. A helmet and body armor do more for your survival on life one than any barrel or optic.
Level 1 Armor is the entry tier. It becomes available at Wardog level 3 for a one-time unlock fee of $10,000, then costs $400 each time you buy it. It has 200 durability, sits at armour tier 1, and covers the upper, middle, and lower torso with low damage reduction. That is enough to turn some one-shot deaths into fights you can still win.
The Emergency Resuscitator costs nothing and weighs 0.39kg. It is a single-use, one-per-life item that revives a downed teammate much faster than a manual revive. Take it every single time you spawn, and loot spare ones off downed players so you can keep reviving after yours is gone.
Right-clicking an item sends it straight to your inventory. It works on helmets, body armor, tactical vests, and backpacks, and it is far quicker than dragging things across the screen mid-firefight.
Carry weight thresholds and movement penalties
Weight is the quiet reason new players feel slow. Penalties stack at fixed thresholds, and crossing the last one leaves you walking into a fight you cannot walk out of.
| Total weight | Penalty |
|---|---|
| Over 10kg | Reduced movement speed |
| Over 17kg | Added weapon sway |
| Over 27kg | No tactical sprint |
| Over 40kg | No sprinting at all |
Once you are on the ground, your parachute is three kilos of nothing. Press G to drop it and you often fall back under a threshold immediately. Heavier armor tiers resist more ammunition types, but they also cut sprint speed, stamina regeneration, jump height, and how fast you can aim down sights.
Buy loose ammo instead of spare magazines
A half-empty magazine stays half empty. Reload out of cover twice and you are carrying three partial mags and no way to fix them. Loose ammo solves that, and it takes less space than the equivalent stack of loaded magazines.
C to combine ammo. Loose rounds are packed into empty magazines automatically, and two half-empty mags merge into one full one.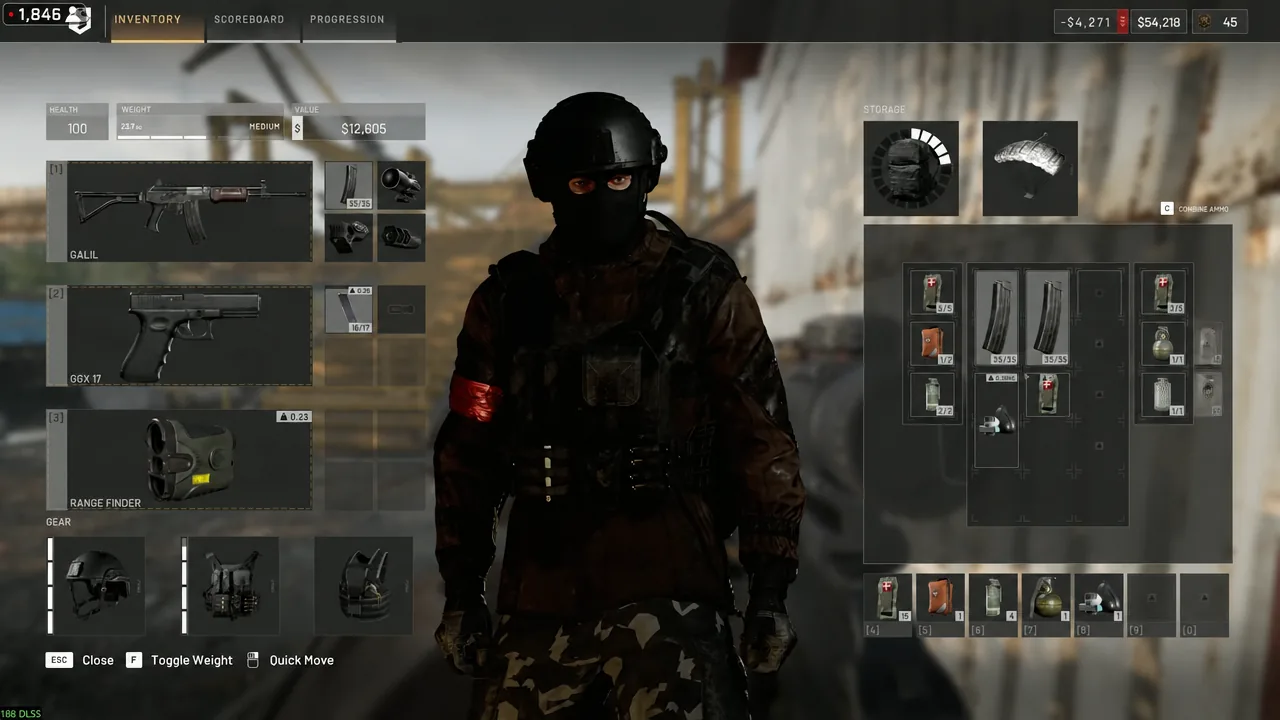
Spotting tools: Binoculars and the Range Finder
Spotting is the cheapest income in the game. Tagging a target marks it for your whole faction and on the mini-map, and you get paid and earn Recon XP when someone else takes the kill. You never have to fire a shot.
Binoculars
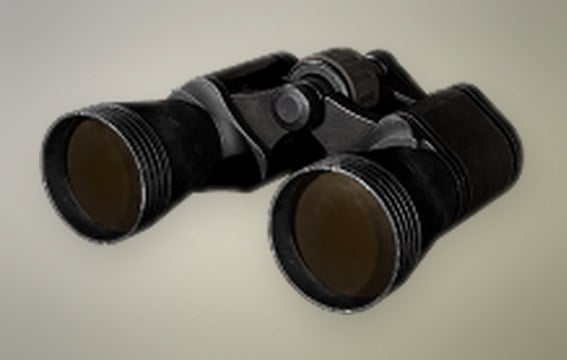
Binoculars cost $75 and weigh 0.3kg. They spot enemy infantry and vehicles at low magnification, which is all you need to start levelling Recon on your first life. Tagging enemy FOBs and vehicles pays more than tagging infantry, and those marks last longer.
The starter scout rifle is weak enough that most players are better off ignoring it entirely and spotting their way up the Recon track until the SKS unlocks. That rifle then carries across every other loadout you build.
Range Finder
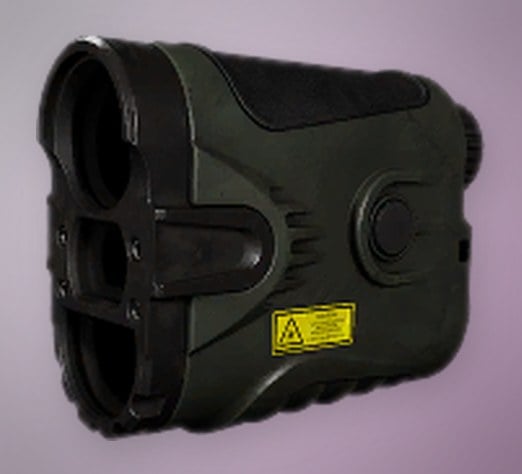
The Range Finder unlocks at Recon level 8 for a one-time fee of $15,000, then costs $400 and weighs 0.23kg. It spots the same targets as binoculars but adds high-level variable magnification and an accurate distance readout, which is what turns a guess at 600 meters into a hit.
Zero your scope for the range you are shooting
Your zero distance sits in the bottom right of the screen and defaults to 100 meters. Leave it there against a target much further out and you are guessing at holdover. Adjust it with Page Up and Page Down to match the distance you actually ranged, and bullet drop stops being your problem.
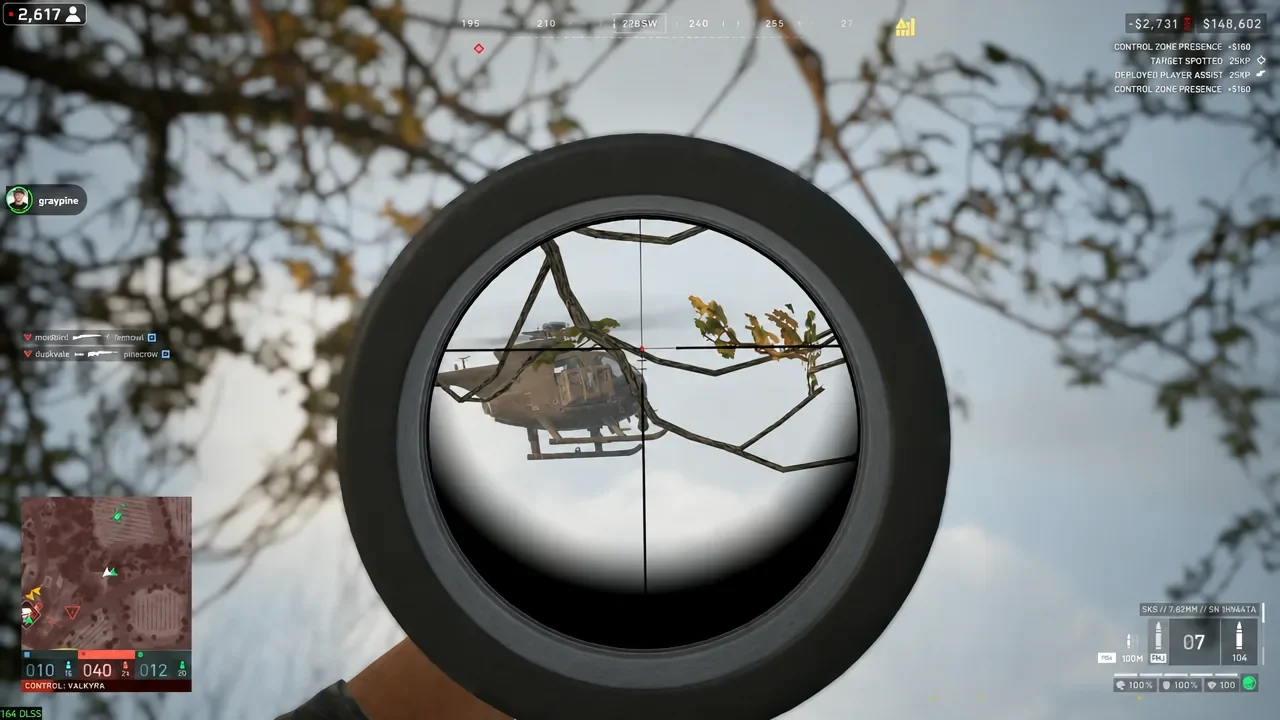
Hold breath is not a sniper-only mechanic. Assault rifles can use it too, which makes it worth the habit on any mid-range shot. And after one or two shots from a position, move. Players who rotate after firing survive; players who reload in the same window get found.
Reviving, bandages, and reading downed bodies
Healing pays more than the bandage cost, so patching up an ally is free money plus Medic XP. Loot spare bandages off bodies, pull your teammate behind cover, and work through them there. A larger backpack lets you hold several Resuscitators, and you can search a downed player’s bag to swap items before you pick them up.
A body lying on the ground is a live player waiting on the bleedout timer. A player who has given up leaves only a backpack behind. Learning that difference tells you instantly whether an approach is worth the risk, and it also tells you when an enemy corpse is bait for a multi-kill.
Smoke buys the time you need. Throw it to cover the angle, drag the body out, then revive. White smoke unlocks at Medic level 5. Just remember that smoke is cover, not protection, and bullets pass straight through wooden and chain-link fences.
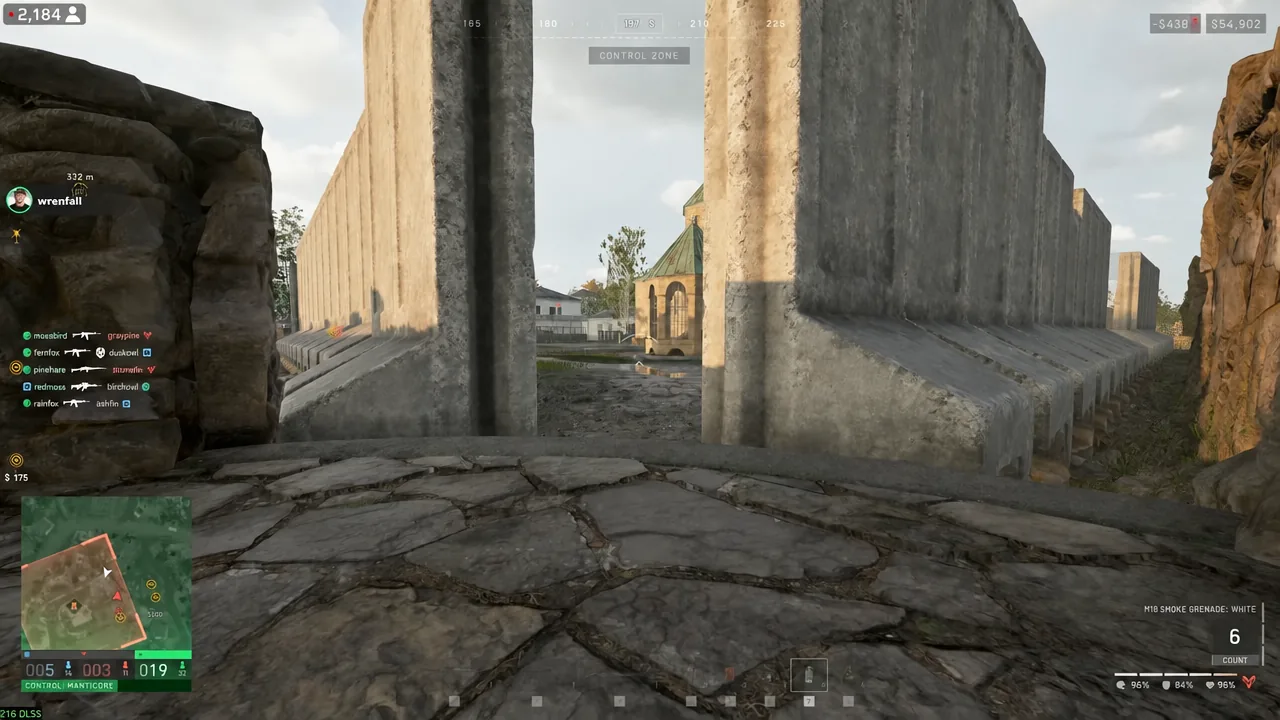
If nobody is coming for you, set a cash bribe on your own downed body. It puts a price on your revive and gives passing teammates a reason to stop.
How the Control Zone and Hot Zone score
The faction with the most players standing inside the Control Zone takes the tick. First to 100 points wins, and matches can run past an hour. Inside the larger zone sits the smaller Hot Zone, which constantly moves. Every player in it counts as two toward scoring and earns double cash while standing there.
That is why a cheap loadout is not a wasted one. A player in a $500 kit counts exactly the same as a player in a $20,000 kit for scoring purposes, and only one of them loses sleep when a mortar lands. Digging into a fixed FOB and refusing to move loses games, because the Hot Zone will simply drift off your position.
Towers are the lever for that. Each tower your faction secures hands over one digit of a code, and holding every tower lets you activate the mechanic that pulls the Hot Zone toward a tower of your choosing. Call your digits out in team chat. The remaining numbers can be brute-forced once you have most of them.
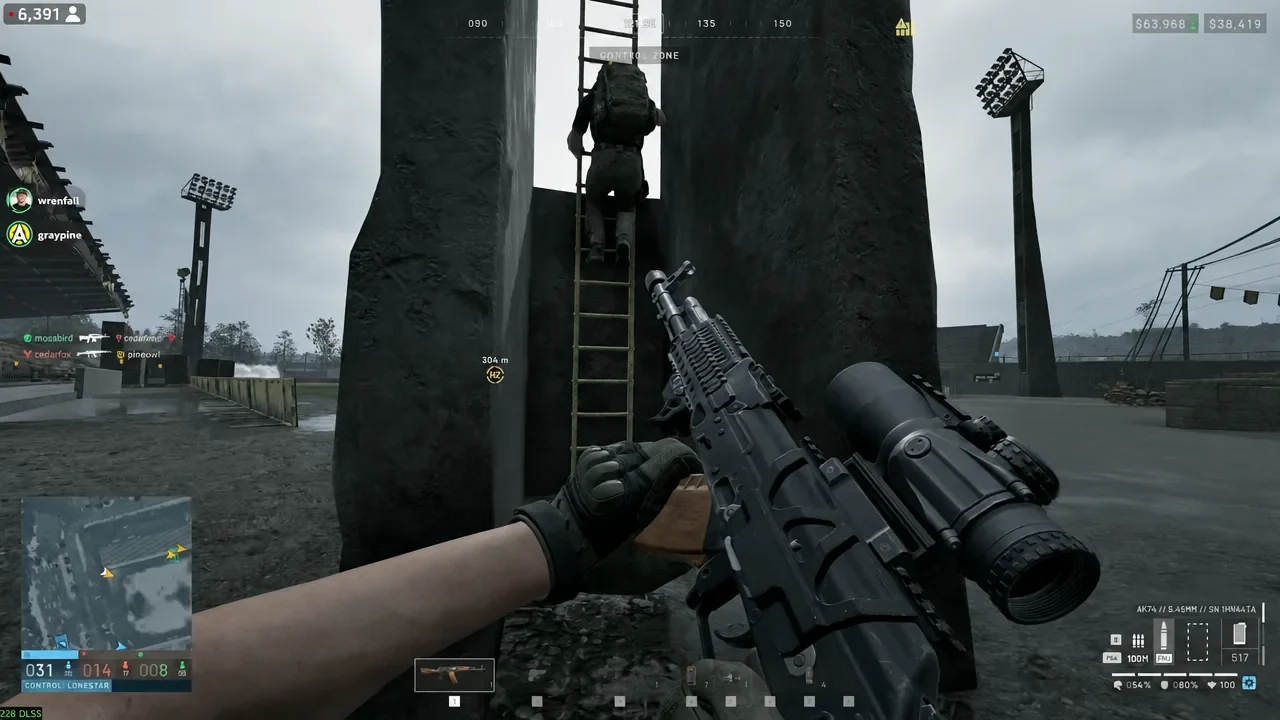
Climb the towers and loot the tops. High-value gear like MP5s, defibs, and batteries spawns up there.
Cash payouts by action
You start each round with at least $10,000 and your funds carry over between matches, with beginner discounts applying up to Wardog level 10. Knowing which actions pay changes what you do with your time on the field.
| Action | Payout |
|---|---|
| Zone occupation (normal) | $160 per cycle |
| Zone occupation (Hot Zone) | $320 per cycle |
| Transporting a teammate | $300–$450, plus $500 if they survive |
| Bandage heal | $400 |
| Revive | $100–$900 |
| Hammer hit / marked hit / completion | $1 / $6 / $15 |
| Kill confirmed | $1,500–$2,000 |
| Vehicle destroyed | $3,000–$4,688 |
Build payouts are per player, not split. If four people swing hammers on the same structure, all four get paid for their own hits and for the completion.
The six class tracks and what levels each one
Your overall Wardog level is the sum of six independent tracks, and that total is what gates armor unlocks. Play solo and kill-focused and only one of them moves.
- Assault levels from killing enemy players.
- Medic levels from healing and reviving teammates.
- Support levels from building structures and repairing vehicles.
- Recon levels from spot assists.
- Driver and Pilot level from transporting other players and delivering supplies.
Static weapon operators are the softest Assault targets on the map. Mortar and anti-air crews are stationary, focused on their own screen, and frequently not wearing a helmet.
FOB logistics: Pallets, supplies, and hammers
Supply runs are the most reliable XP loop in the game and they need no aim at all. Buy a pallet, deliver it to a FOB, and hold F to unpack it. Driving it there pays Driver XP, flying it pays Pilot XP, and unpacking pays Support XP. Smaller crates have to be carried in your backpack by hand.
A Mechanical Supply Pallet costs $400. Delivering it directly to a FOB is the intended route, and it will be destroyed by a high-speed impact, which means roughly a 90m free fall is the limit before it breaks. Loose Mechanical Supplies cost $10 and weigh 0.03kg each, and they repair vehicles inside a FOB radius. Ammo Supplies match those numbers and reload buildable weapons, also only inside a FOB radius.
The Small Hammer costs $100, weighs 0.32kg, builds small structures only at a slow speed, and needs Build Supplies to work. Hover over a FOB on the map to read its current Build, Fuel, Ammo, and Mechanical levels before you buy anything, so you are hauling what the position actually needs.
Vehicles: Mobile spawns, deployment boards, and helicopters
HQ is a long way from the fight, which makes every death expensive in time as well as cash. Deployment boards sit at each faction’s HQ on Bakurani, outside the play areas, and they are how you fast-travel to a respawn vehicle your team has already pushed into the Control Zone.
The M113 APC SV becomes available at 20 team points and works as a mobile spawn once it is parked in the zone. It is also fragile in one specific way. Its antenna can be shot off, which disables the spawn without destroying the vehicle, so park it where the antenna is not skylined.
In the air, flying low keeps you off radar and out of missile locks. A damaged helicopter can be repaired rather than written off. And only get into a helicopter with a pilot you trust, because a bad approach loses your entire loadout in about two seconds.
Squads, proximity chat, and spawning together
Join a squad from the escape menu. It gives you a private radio channel, squad pings, and squad spawns, and there is no size limit, so there is no reason to load in alone if you have friends in the server.
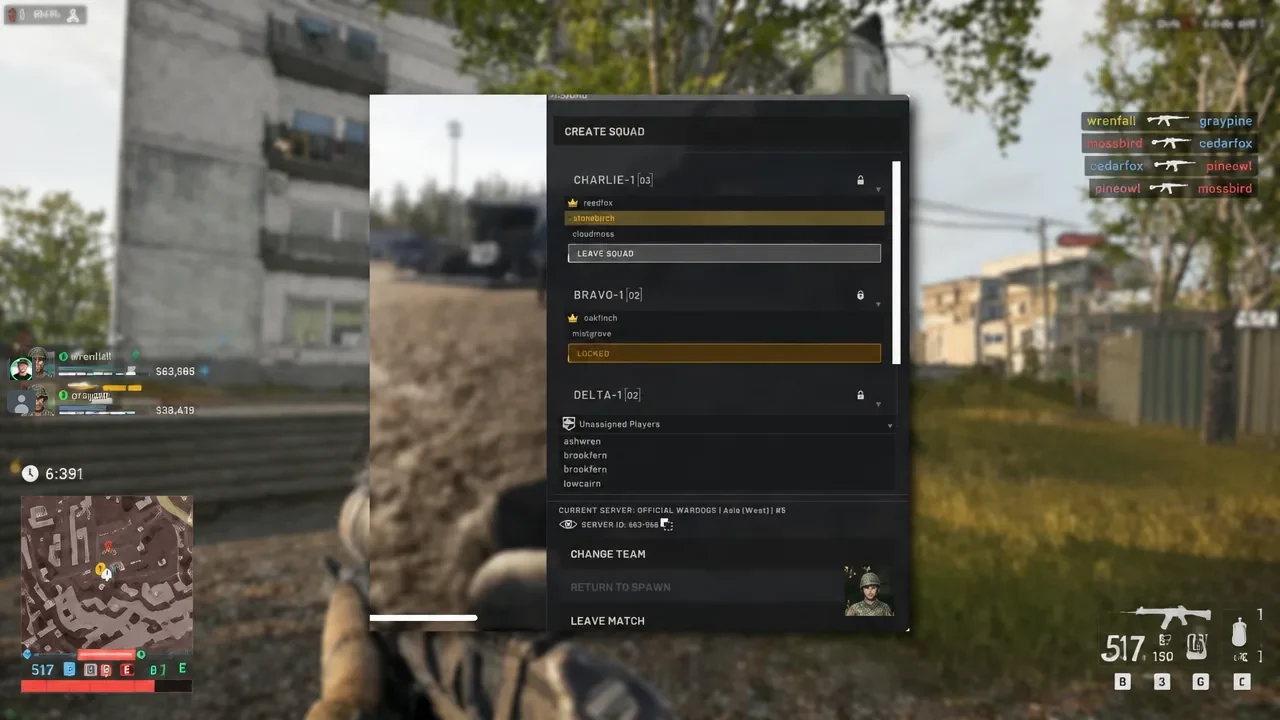
Proximity chat is heard by all three factions. Anything you say near an enemy is intelligence you handed over for free, and it cuts both ways if you want to feed someone bad information.
Settings to change before your first match
| Setting | Recommended | Why |
|---|---|---|
| Field of view | 95 | Engagements are long; 120 shrinks distant targets |
| 3D spatial audio | On | Clearer directional footsteps |
| Tinnitus audio | Off | Hear again immediately after explosions |
| Mini-map zoom | [ and ] | Switch between local and map-wide awareness |
Keybinds cannot hold two actions at once, so rebinding a vehicle control can silently unbind an infantry one. Check both lists after any change. And at the vendor, the Rebuy Last Loadout button reassembles your previous kit in one click, which matters a lot when you are respawning far from the fight.
Everything above can be practiced for nothing on the firing range, which gives free access to every weapon, attachment, and vehicle, plus a sniping range and a simulated map for testing builds and vehicle handling. An hour there costs you no gear and no teammates. One last habit worth building from your very first match: close every door and gate behind you, because an open gate undoes an entire base.