

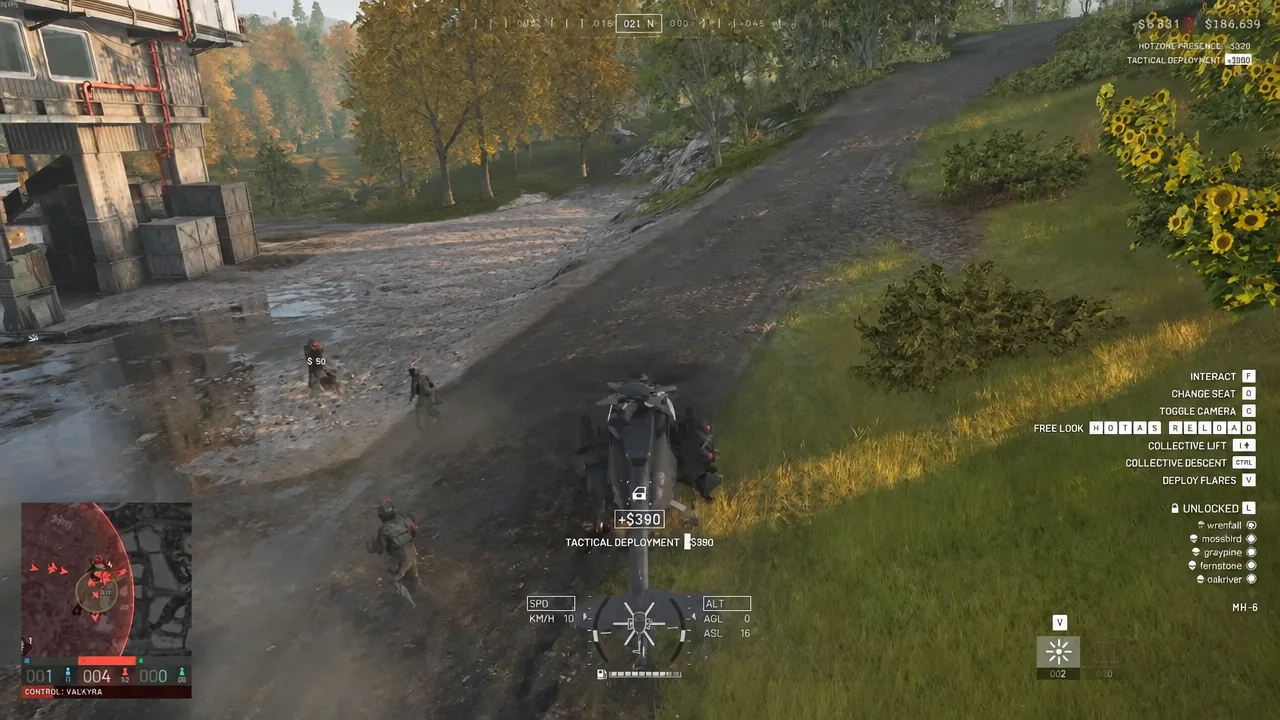
Cash in WARDOGS carries over between matches, and every life you spawn has to be paid for. That makes the scoreboard’s kill column far less important than it looks, because almost every action that helps your team pays out — dropping passengers into a fight, reviving them, marking targets, hauling supplies, and swinging a hammer at a sandbag wall.
Quick answer: Yes. Keep your kit cheap, then earn from transport drops, revives, spotting, logistics, and FOB construction. A single pilot match with zero kills has cleared $117,358 in profit.
What pays cash without kills in WARDOGS
Payouts scale with where the action happens. The Hot Zone sits inside the wider Control Zone, doubles the basic zone tick, and multiplies most rewarded activity, so the same revive is worth several times more in the middle of a fight than it is behind your own lines.
| Action | Payout | Where |
|---|---|---|
| Enter the Control Zone | $250 | Control Zone |
| Score tick while present | $160 / $320 | Control Zone / Hot Zone |
| Revive a teammate | $400 / $800 / $1,600 | Outside / Control / Hot |
| Defibrillator revive | $600 / $1,200 / $2,400 | Outside / Control / Hot |
| Bandage an injured player | $400 | Anywhere |
| Drive a spawn vehicle into the zone | $3,000 | Control Zone |
| Teammate spawns on your vehicle | $250 | Anywhere |
| Deliver a logistics pallet | $2,500 | Objective area |
| Pallet unpacked at a FOB | $1,800 | FOB |
| Hammer swing on cover | $50 | Friendly FOB |
Destroying enemy hardware pays too, though it costs money to set up. Enemy ammo crates, FOB consoles, and mines all return cash when destroyed, and vehicle kills climb from around $5,000 for a spawn vehicle to $14,000 for an artillery tank. A Stingray rocket runs about $5,000, so the margin is thinner than the headline number suggests.
Buy a cheap loadout before you buy anything else
You start with $10,000 total, not per match, and every death means buying the kit again. The fastest way to lose money without kills is to carry an expensive rifle into a job that never needs one. The Bushmaster M17S costs nothing, fires semi and burst 5.56x45mm at 700 rounds per minute, and cannot take attachments — which is fine when your actual job is flying, reviving, or spotting.
| Item | Price | Unlock |
|---|---|---|
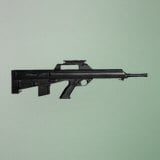 Bushmaster M17S Bushmaster M17S | $0 | None |
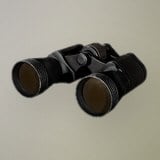 Binoculars Binoculars | $75 | None |
| Small Hammer | $100 | None |
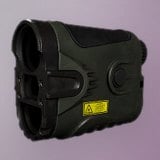 Range Finder Range Finder | $400 | Recon level 8, $15,000 fee |
| Defibrillator | $1,600 | Medic level 11, $50,000 fee |
If a match ends while you are still alive, 90% of your loadout cost comes back. Surviving the last minute is worth more than one extra push.
Helicopter transport: the highest-paying no-kill role
Flying a transport helicopter stacks three separate income streams on the same flight. You get paid when passengers exit into a combat zone (Tactical Deployment), again when those passengers stay alive (Passenger Survived), and again for any supply crates you drop (Supplies Delivered). Deployment payouts observed in the Control Zone have ranged from $390 to $5,390 per notification, with survival bonuses of $1,000 to $4,000 landing afterwards.
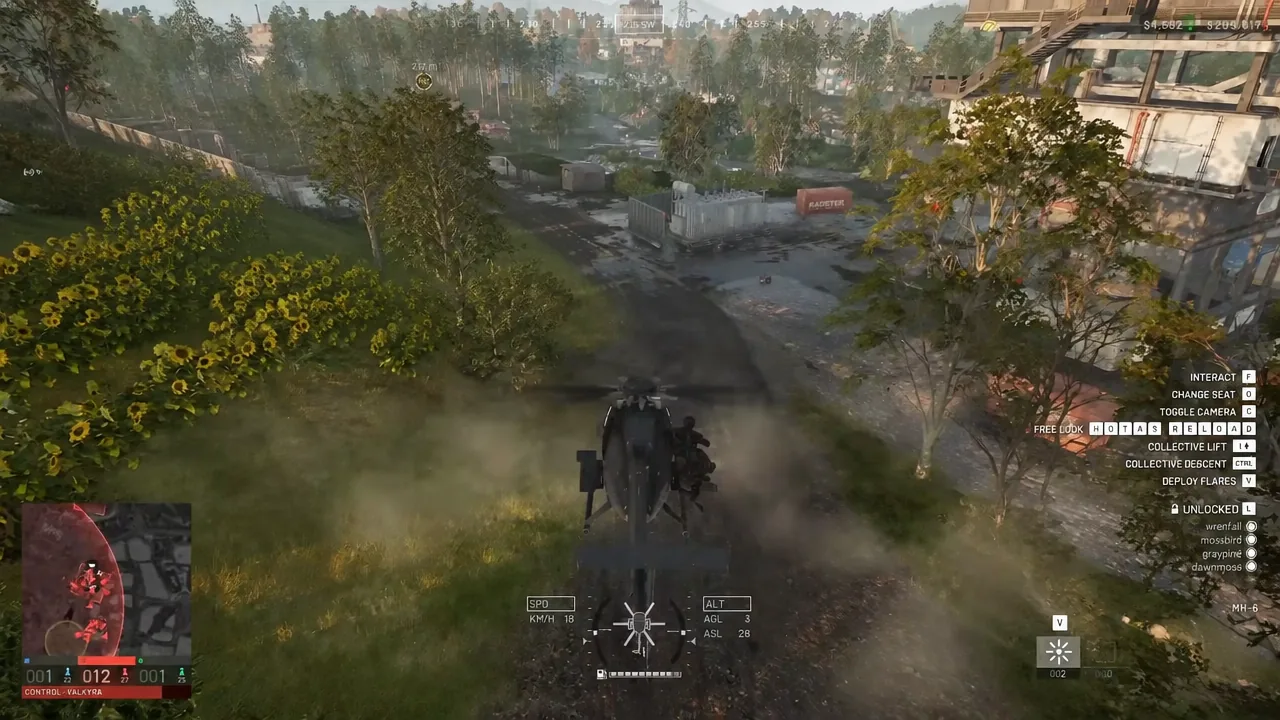
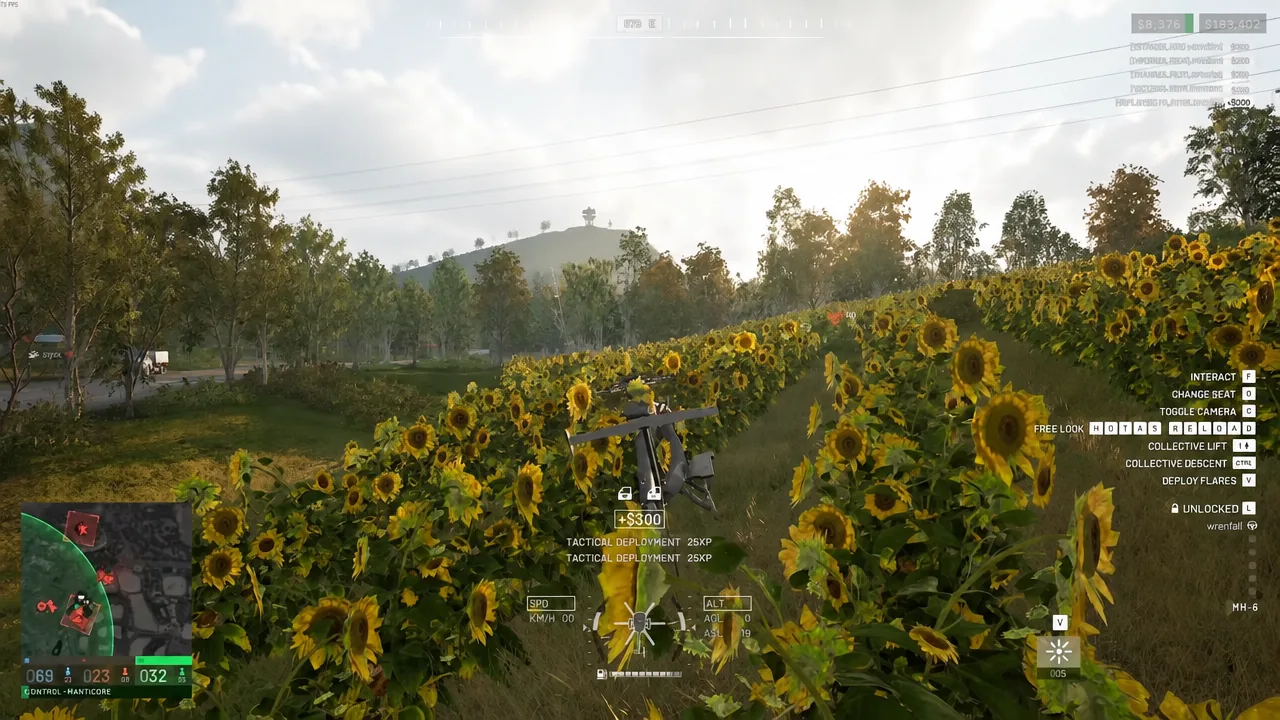
Landing zones near the objective are shot at constantly. Flares are bound to their own key and are the only thing standing between you and a lost $40,000 airframe when something locks on, so keep a finger near them on every approach and leave low and fast.
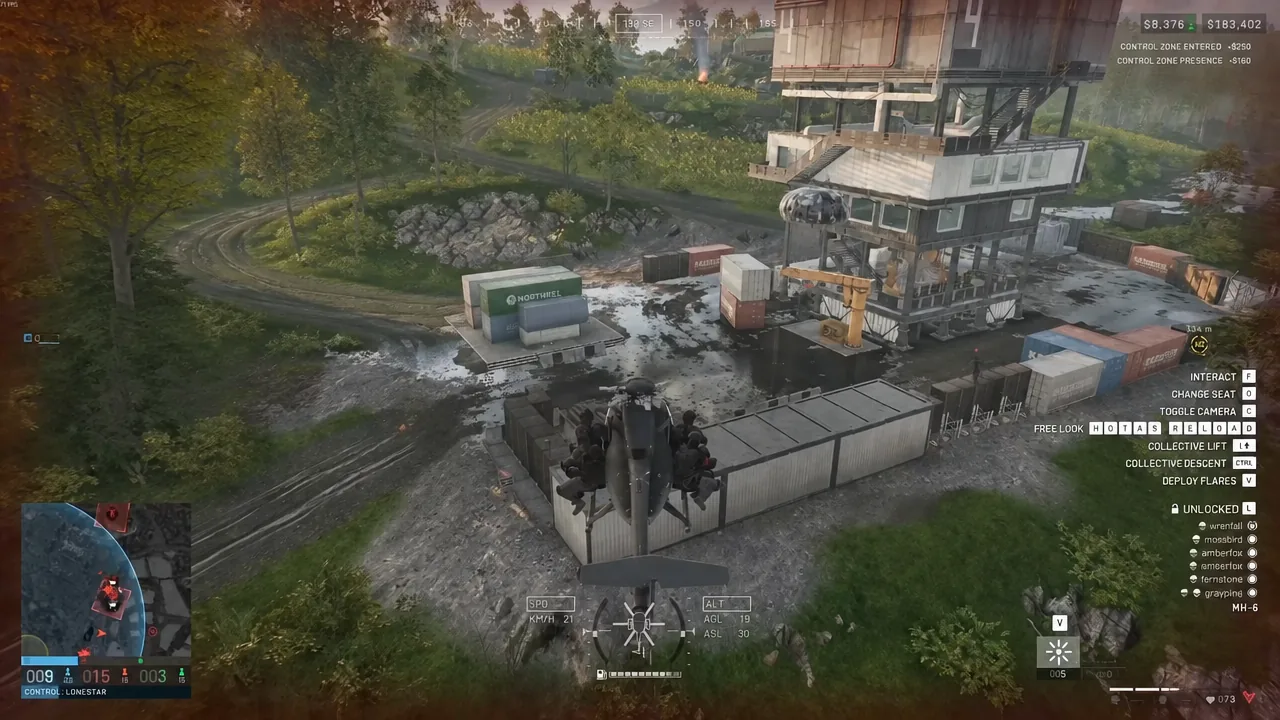
Base camp helipads act as repair and refuel zones. Set a smoking helicopter down, step out, and it repairs and refuels itself over time — cheaper than buying a replacement, and it costs you nothing but the wait. A wrench does the same job in the field if you are somewhere safe enough to stand still.
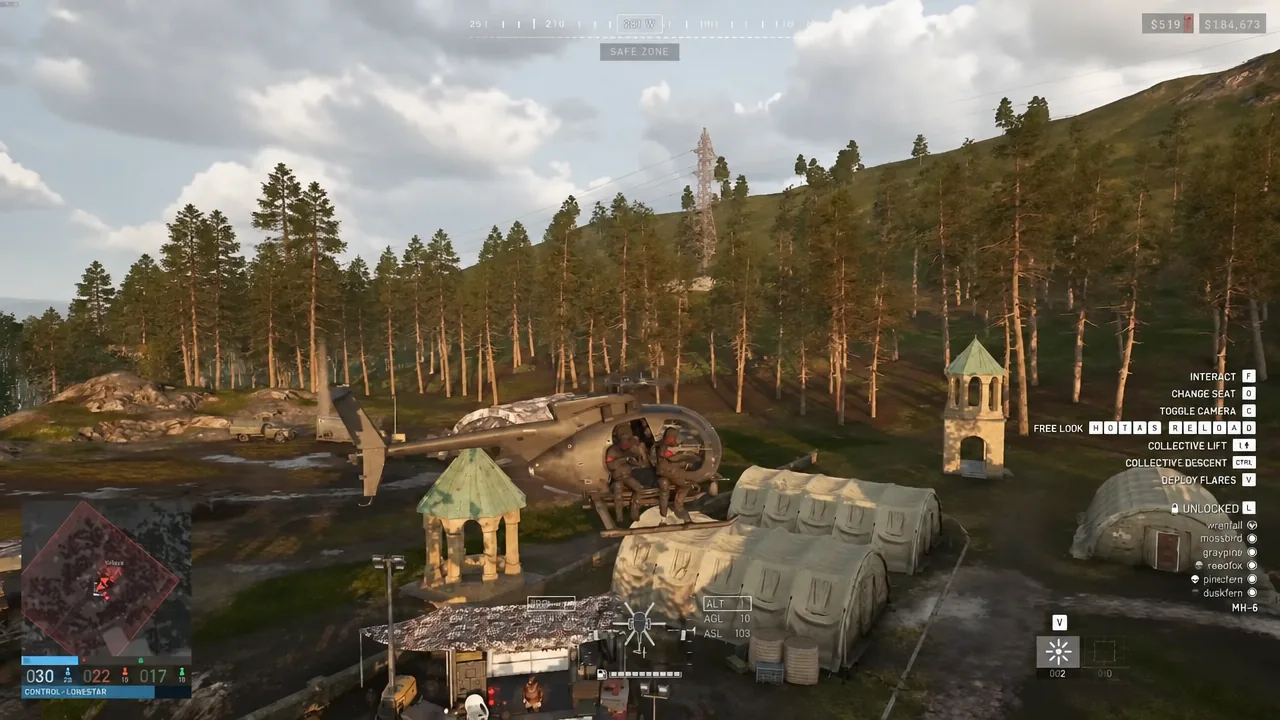
Bad drops cut into your pay. Passengers who jump without a parachute and die on impact, or who are killed the instant they touch down, count against the pilot.
If you have empty seats, fill them with logistics. A pallet costs $400 and pays $2,500 on delivery, plus another $1,800 once somebody at a FOB breaks it down. Drop it too fast or from too high and it can explode — you keep the delivery payout, but the $1,800 is gone because nobody can use the supplies.
Medic revives and bandages
Medic is the most consistent earner for players who want to stay on foot. A revive plus a bandage is worth $1,200 inside the Control Zone, which matches what an ordinary kill pays in the Hot Zone. The Defibrillator costs $1,600 and revives instantly, but it needs a Battery to charge and use, and the unlock itself is gated behind Medic level 11 and a one-time $50,000 fee.
Repeatedly picking up the same teammate appears to pay less each time, so rotate between casualties rather than shadowing one player. Position matters more than kit — a medic working from behind held cover gets several rescues per life, while one sprinting across an open approach usually loses the loadout before the first one lands.
Recon spotting with binoculars or a Range Finder
Spotting is the cheapest income in the game. Binoculars cost $75, need no unlock, and let you mark enemy infantry and vehicles. Aim, hold the cursor over a target until the marker completes, and the enemy appears on your team’s map. The mark itself is worth a small amount; the real payout arrives when a teammate kills someone you tagged, and it scales up sharply inside the Hot Zone.
The Range Finder is the upgrade, with high-level variable magnification and an accurate distance readout for zeroing long shots. It costs $400 at the vendor, but you need Recon level 8 and a one-time $15,000 unlock fee before you can buy it at all. Until then, binoculars do the same job at shorter range.
Engineer building and FOB defenses
The Small Hammer costs $100, builds small buildables only, and needs Build Supplies to use. Every swing that raises cover pays $50. That sounds trivial until you are fortifying a FOB next to the Hot Zone, where the construction never stops. Emplacements like CIWS, mortars, and anti-air positions cost no cash inside a FOB — they only consume build supplies.
The better money is passive. When teammates use structures you built to kill enemies, you take a cut, and a builder parked on a busy FOB can clear six figures across a match while pushing Support progression at the same time. Pick a FOB the team is actually using; a perfectly built position nobody defends earns nothing.
How to confirm you actually made a profit
The end-of-match screen is the only number that counts. It breaks out Cash Spent, Cash Earned, Cash Refunded, and Total Profit, and Total Profit is what reaches your persistent balance. A large Cash Earned figure means nothing if you rebought a helicopter twice to get it.
For a sense of scale, one full pilot match finished with $128,457 earned and $117,358 in total profit against a scoreboard reading 0 kills, 1 assist, and 4 deaths — including two helicopters lost and a $40,000 rebuy midway through. The same match pushed the Pilot track from level 15 to 17, so the role progression comes along for free.
Everything about the no-kill approach comes down to that one line on the results screen. Cheap kits, short round trips, and finishing the match alive protect it; repeated deaths, expensive gear you never fire, and long empty flights quietly eat it. Pick the role your team is short of, keep the per-life cost low, and the profit looks after itself.





