Gaming Guide

Mortal Shell 2: Citadel Annex Beacon Location and Hushed Sanctum Cleanse

The exact route through the Ashen Sanctum to the beacon, plus every reward waiting inside the Hushed Sanctum.

The exact route through the Ashen Sanctum to the beacon, plus every reward waiting inside the Hushed Sanctum.

The Citadel Annex Beacon is the first checkpoint you reach inside the Faded Citadel, and cleansing it drops you into the Hushed Sanctum dungeon. Getting there means working through the Ashen Sanctum, a stretch of Mortal Shell 2 built almost entirely around blue flames that block doors and stairways until you put them out.

Quick answer: The Citadel Annex Beacon sits on a balcony at the top of the Ashen Sanctum, past the egg cave inside the Gate of Infinity. Cleansing it opens the Hushed Sanctum dungeon.


Citadel Annex Beacon location in the Faded Citadel

The Faded Citadel sits behind the Gate of Infinity, to the north of Mammon in the Vestige of Infinity. Everything between the gate’s entrance hallway and the arena where you fight Isaac, the Scholar-Prince, belongs to a single sub-location called the Ashen Sanctum, and the Citadel Annex Beacon is the first of its two beacons.

Several approaches lead to the gate itself, so you are not locked into one path across Mammon:

  • Through the Abandoned Slums
  • Along the Road to Absolution
  • From the area near Sester’s Gate

How blue flames gate the Ashen Sanctum

Blue flames work the same way here as the one burning in front of the Gate of Infinity Beacon. Extinguishing a flame damages the enemy praying at it, and in most rooms it also unseals whatever door, stairway or corridor was blocked. Treat every flame as the room’s real objective, because killing the guards on their own rarely opens anything.

When a flame room has too many enemies, pull them out one at a time by taunting from the doorway rather than fighting the whole group at once.


Route to the Citadel Annex Beacon
Enter the Gate of Infinity and cross the opening hallway. A staircase at the far end leads up into the Ashen Sanctum, and only one path branches to the right.
A Depraved kneels in front of the first blue flame. Put the fire out to damage it, then finish the fight.
Turn left to face a Dorsalite and two Gloom Stalks. Keep following the single available path afterwards.
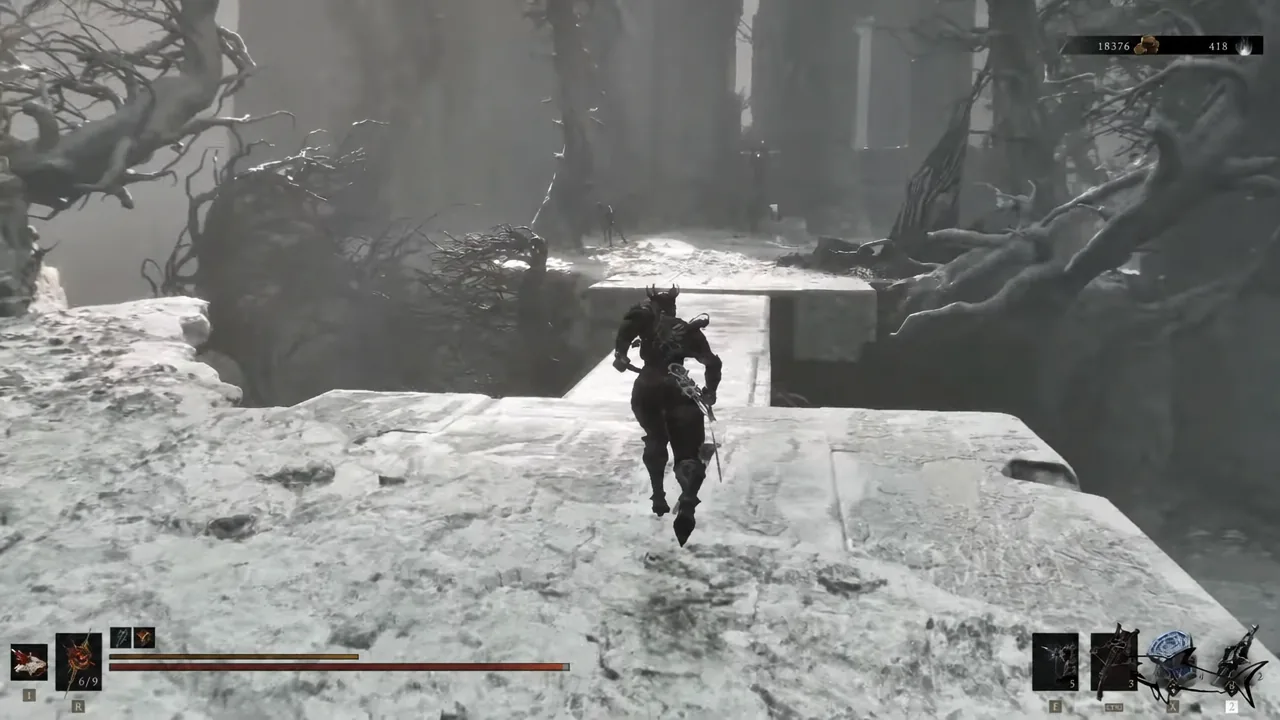
Cross the stone bridge and pick up the Ventrium sitting just behind the Canyon Crawler. Then take the tight ledge along the wall and drop into the zone below.
The Harbinger runs across an open stone platform toward the narrow bridge in the Ashen Sanctum
The stone bridge crossing in the Ashen Sanctum, with the Ventrium waiting on the far side. Image: Cold Symmetry
A Dual Blade Assassin guards the next blue flame, with the forward path sealed. Extinguish the flame and kill the assassin to unlock it, and grab the Dorsalite in that space.
Head up and put out the flame above. A door opens at the end of the room, revealing a chest that holds the Summoning Stone Tarstone.
Take the route behind that flame. The next room packs several enemies around another blue flame, but you only need to extinguish it to reveal the way forward. Clearing the enemies is optional.
Climb the staircase. At the top, walk over to the tree to collect a Tooth of Nochte.
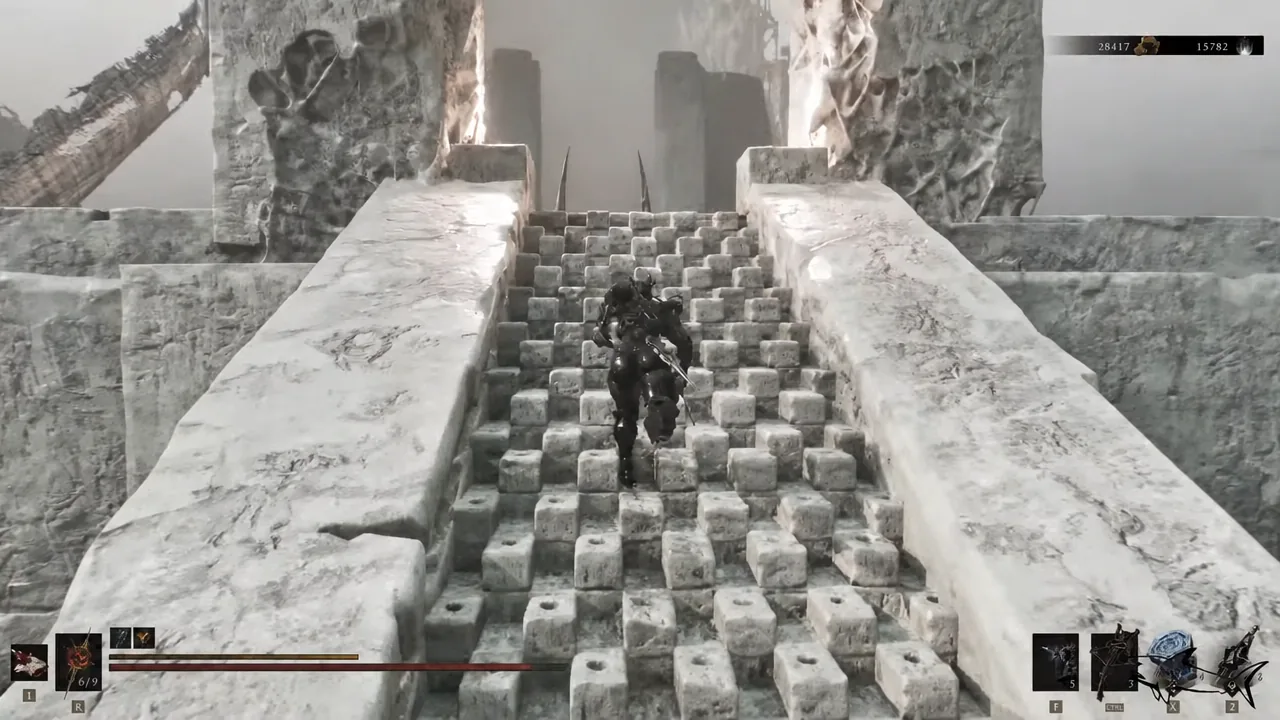
Armored character climbing a long stone staircase toward the citadel walls
The staircase leading up through the Ashen Sanctum toward the citadel. Image: Cold Symmetry
The path stays linear from here. Push up and through the cave filled with eggs, then take the staircase on the far side up to a balcony. The Citadel Annex Beacon is waiting there.
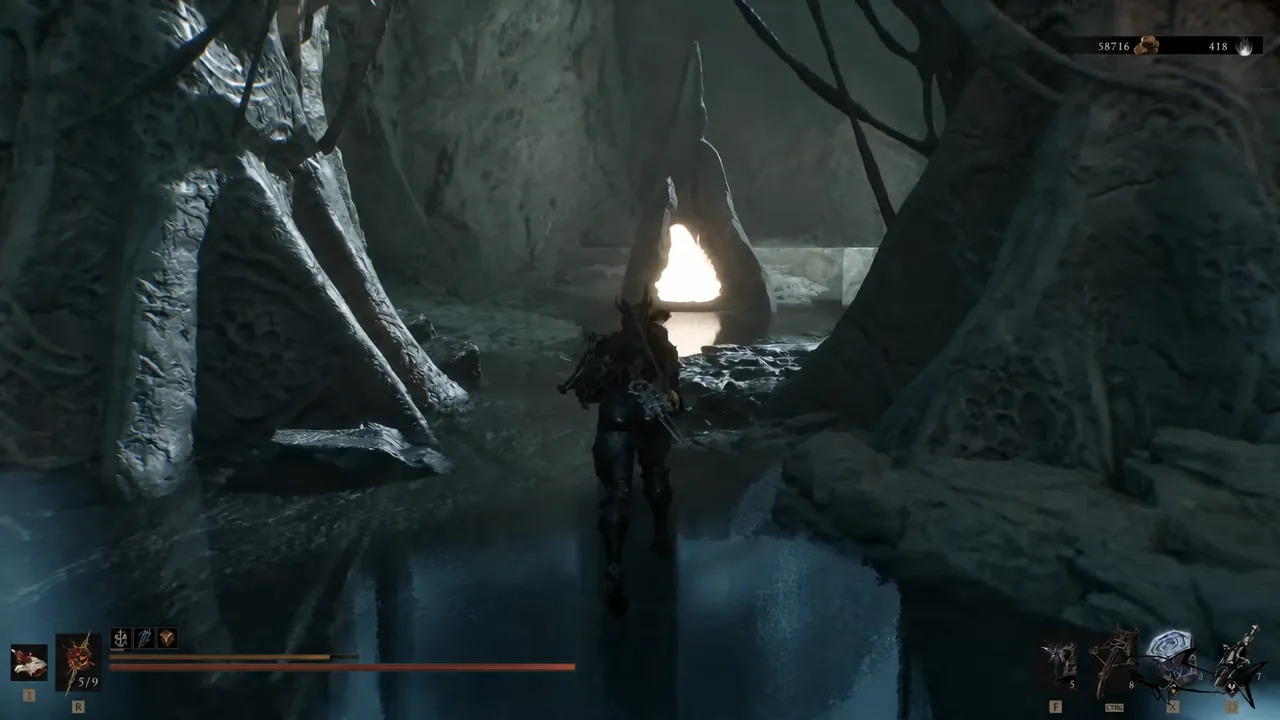
Player wading through a dark flooded cave toward a bright opening ahead
The cave section just before the staircase up to the Citadel Annex Beacon balcony. Image: Cold Symmetry

Hushed Sanctum walkthrough

Pick the Cleanse Beacon option to descend into the Hushed Sanctum. The dungeon runs in one direction, with two blood offerings acting as informal checkpoints along the way.
Follow the path down from the beacon and enter the room at the end.
Kill the two Necropedes and interact with the blood offering ahead. Move forward and deal with three Lithopods and two Faceless Cleriks.
Go up the stairs and take the Laterite on the right. Two more Necropedes and an Infested Stalker attack in the same area.
Move through the pillared corridor and clear the Infested Stalkers inside. A Dorsalite sits between two of the pillars. Continue on and use the second blood offering.
Leave the corridor and take the Bone Gate on the right. On the other side, kill the Sheep to get the Sheephead Totem, then strike the blue-flame torch standing behind it.
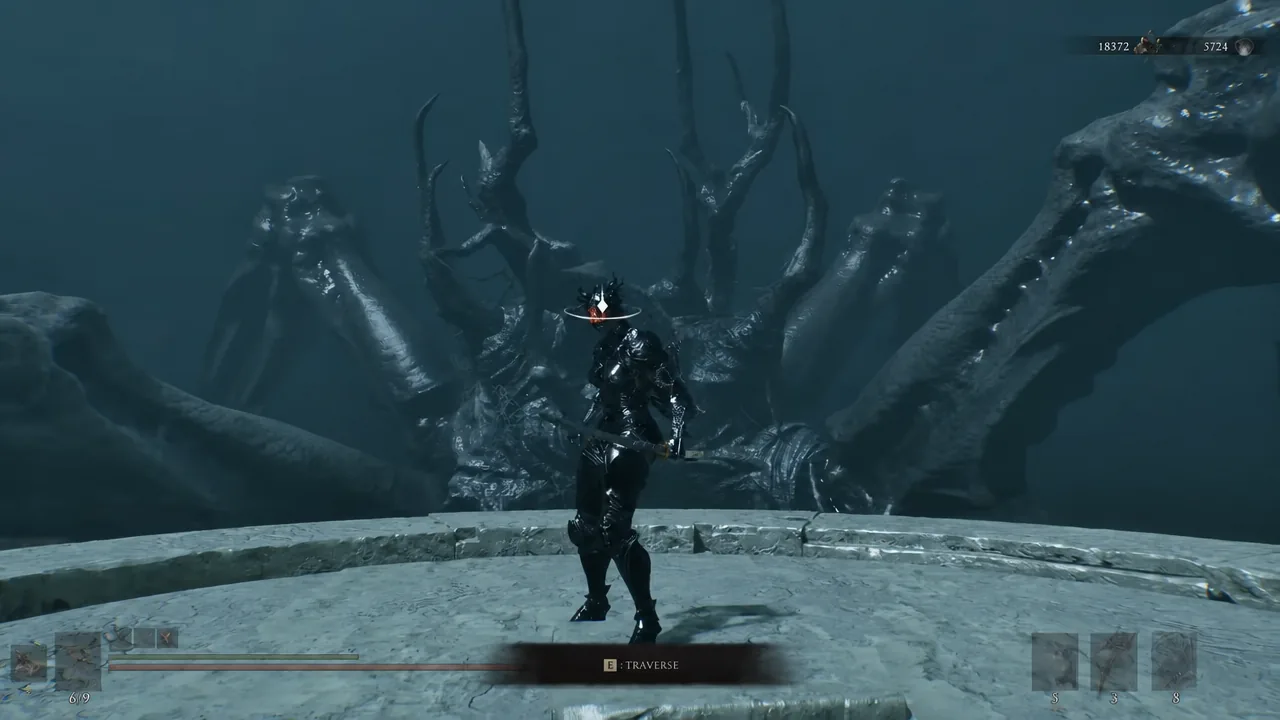
Go back through the Bone Gate and keep going forward. Ride the elevator at the end of the path, then use the traverse prompt on the giant Infested Stalker to cross to the far side.
On-screen TRAVERSE prompt bound to the E key as the player approaches a huge creature
The TRAVERSE prompt that lets you ride the giant Infested Stalker across the gap. Image: Cold Symmetry
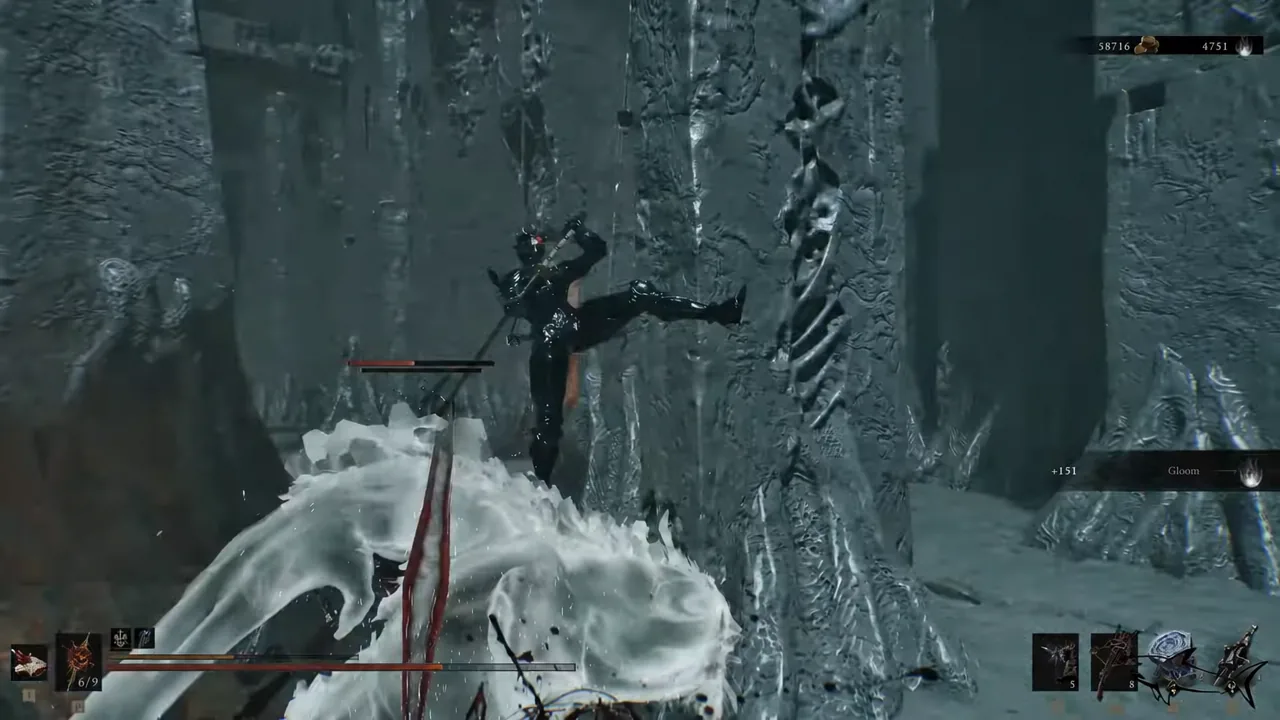
Kill the Slithering Corpseseeker and open the chest behind it for the Stillblade’s Stone. The corruption sits a short distance ahead.
Player swinging at a large pale creature inside a bone-strewn arena
The Slithering Corpseseeker guarding the chest that holds the Stillblade’s Stone. Image: Cold Symmetry
Cleanse the corruption and pick up the Ovum to finish the dungeon.

Hushed Sanctum rewards

RewardAmountSource
Lateritex1Top of the first staircase
Dorsalitex1Between the corridor pillars
Sheephead Totemx1The Sheep past the Bone Gate
Stillblade’s Stonex1Chest behind the Corpseseeker
Ovax1The cleansed corruption
Glimpsex1Dungeon completion

Ova and Glimpses are guaranteed from every beacon dungeon in the game, so the Sheephead Totem and the Stillblade’s Stone are what make this run worth doing on top of the checkpoint itself.


Confirming the beacon is cleansed

Once the corruption is gone, the black tendrils wrapped around the beacon disappear in the world, and any loot that was blocked by obstructions becomes interactable. Beacons that sit inside Gates do not appear on the world map, so the reliable check for this one is the Mether’s Breath fast travel menu, where the icon shows whether a beacon is still corrupted.

The beacon itself functions the same either way. Resting revives your equipped Shell, restores Health and Resolve, respawns regular enemies, and sets your respawn point, with options to level up with Gloom, swap equipment, upgrade Mether’s Pulse, or return to Marrow Keep.

With the Citadel Annex Beacon set as your respawn point, the long staircase beside it continues deeper into the Ashen Sanctum toward the Citadel Atrium Beacon and, eventually, Isaac, the Scholar-Prince.