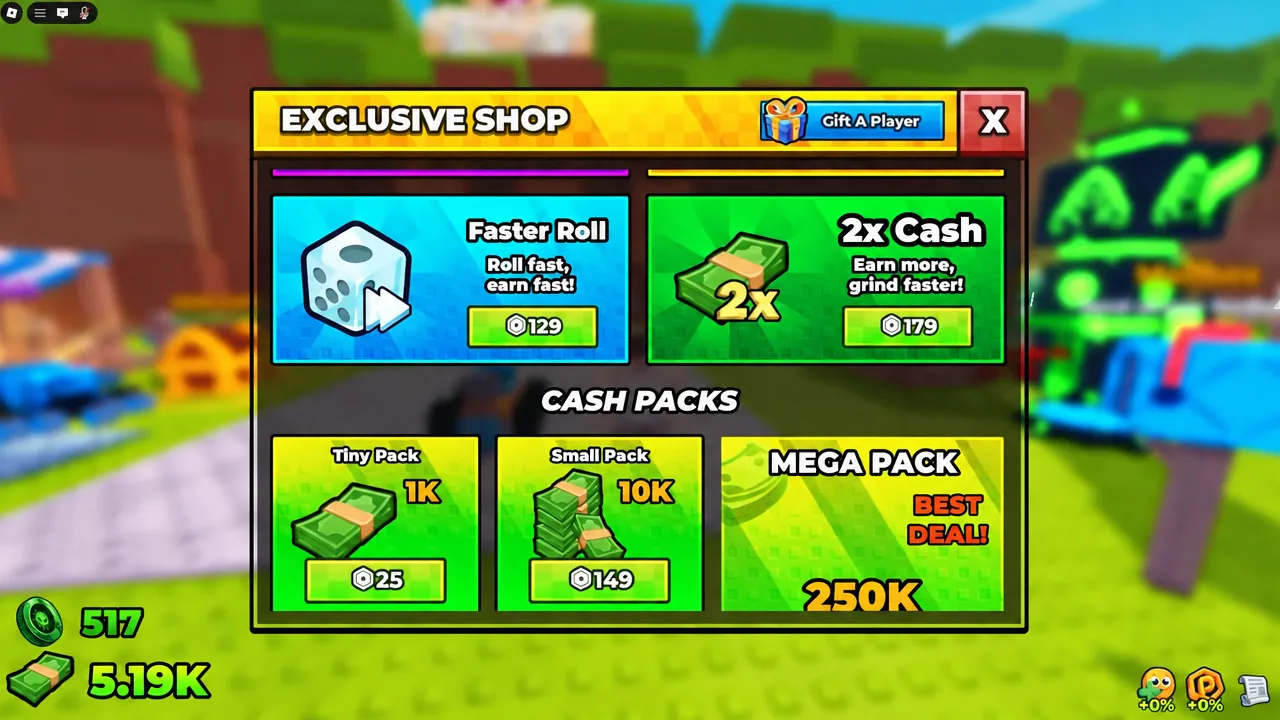
Most cars in Build and Kill Zombies die the same way: the run stops halfway down the track, the “Out of fuel” message appears, and the cash total is barely bigger than the last attempt. The fix is almost never a faster engine. It is a build where the engine, the fuel volume, and the weapon on the front all match what your rolls have actually given you.
Quick answer: Pair one strong engine with enough fuel to finish the track, mount your best weapon on the front face of the car, and buy Luck in the Skills menu before spending heavily on rolls.
Fuel, not speed, decides how far a run goes
Every run follows the same loop. You roll parts at your plot, place them on the chassis in Build Mode, drive down the track into green and yellow zombie groups, and earn cash from both the distance covered and the kills you rack up. When the tank empties, the run ends and you head back to spend what you made.
That makes fuel the real limiter early on. A powerful engine with one small tank stops just as short as a weak one, so treat engines and fuel as a single decision rather than two separate rolls. Stacking two Small Engines alongside extra Small Tanks is the cheapest way to add both speed and range at the same time, and it is the upgrade that turns a half-track run into a full one.
How to roll car parts and supports
Parts are not sold in a shop. Two machines on your plot hand them out, and each one works the same way. Press Q on the CAR PARTS machine to open the category selector, pick BLOCKS, ENGINES, WHEELS, or FUELS, confirm, then press E to roll. The SUPPORTS machine uses the same inputs but covers weapons and support pieces.
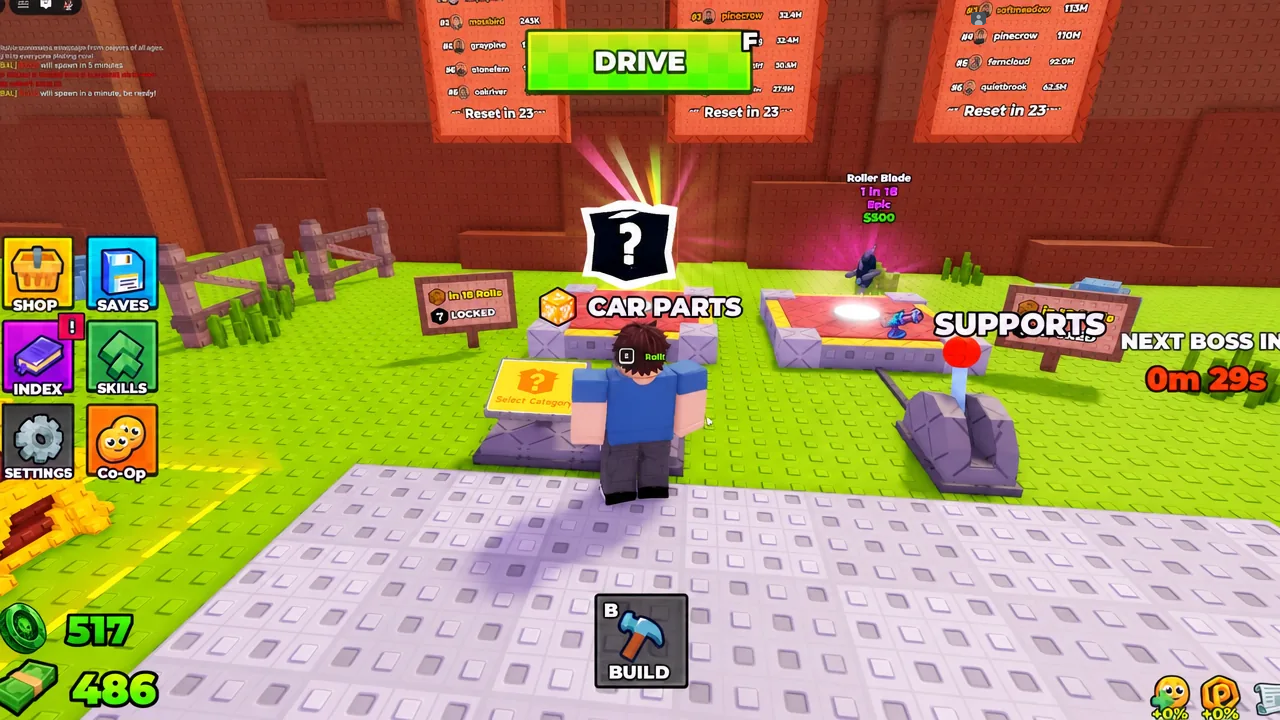
Each result shows its rarity and its drop odds before you pay for it, and rarities run from Common up through Uncommon, Rare, Epic, Legendary, and Mythic. A roll you cannot afford is simply lost, so check the price tag before committing cash you were saving. Duplicates are normal and useful, since a wider plot eventually gives you room to mount several of the same cheap part.
Part costs and drop odds
| Part | Rarity | Odds | Cost |
|---|---|---|---|
| Basic Block | Common | 1 in 2 | $10 |
| Glass Slab | Uncommon | 1 in 3 | $10 |
| Glass Cylinder | Uncommon | — | $15 |
| Shredder | Uncommon | — | $250 |
| Green Smasher | Epic | 1 in 14 | $400 |
| Roller Blade | Epic | 1 in 18 | $500 |
| Pro Fuel | Rare | 1 in 14 | $850 |
| Fuel Barrel | Epic | 1 in 35 | $2.0K |
| Double Barrel | Legendary | 1 in 18 | $2.2k |
The Fuel Barrel is the single most valuable early purchase on that list. It is worth banking two or three runs of cash for rather than spending on cheap blocks you already own.
Skills to buy first
Skills are the only progress that carries between runs, and the nodes are tiered, so the second rank only opens once the first is bought. Luck comes first because every part in the game arrives through a roll, which means better odds multiply the value of every dollar you spend afterwards. More Support follows once you own a weapon worth mounting, and Gold Roll is a later goal rather than an opening purchase.
| Skill | Effect | Cost |
|---|---|---|
| Luck I | +10% Luck | 75 |
| Luck II | +20% Luck | 250 |
| Luck III | +35% Luck | 625 |
| Gold Roll I | Gold roll every 18 rolls | 1.20K |
| Pro Luck I | Higher-tier luck bonus | 2.50K |
| Gold Roll II | Improved gold roll rate | 2.70K |
| More Support I | 2 total support slots | 3.50K |
| More Support II | 3 total support slots | 3.70K |
| More Support III | Additional support slot | 8.50K |
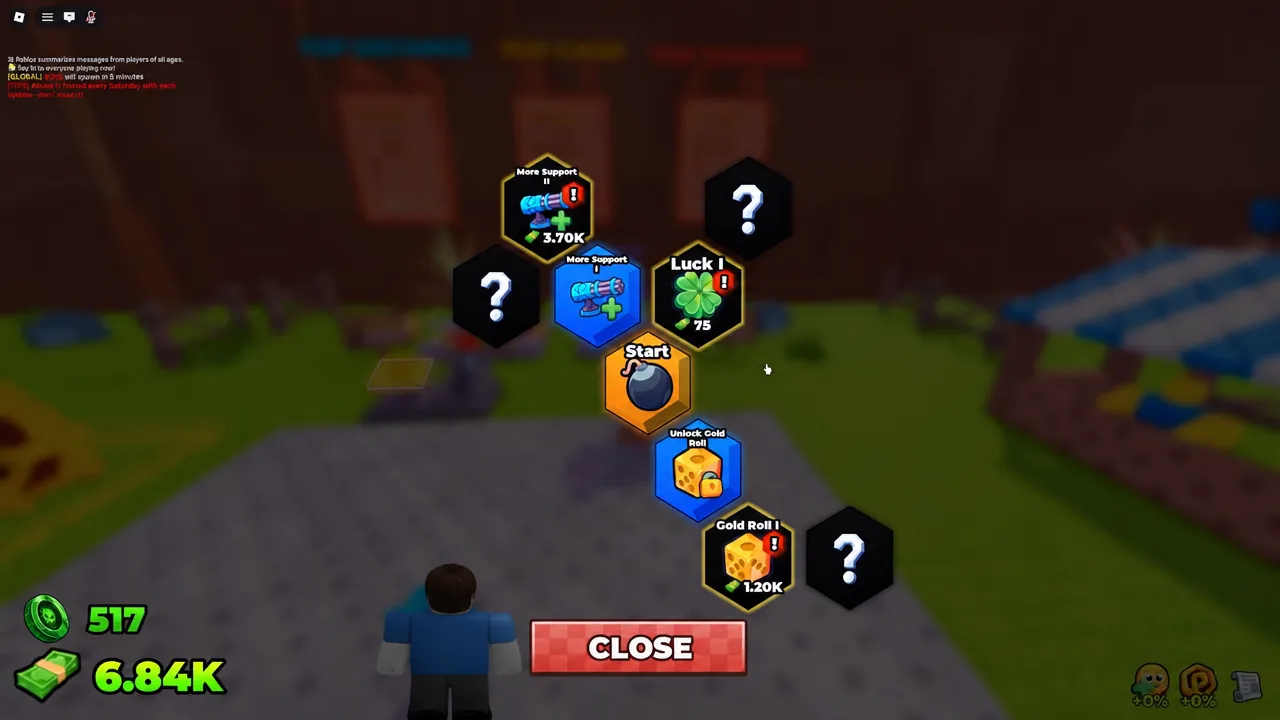
Buying More Support before you have anything better than a Glass Cylinder wastes the slot. Hold it until a Shredder, Roller Blade, or Double Barrel is actually sitting in your inventory.
Best car build: one engine, matched fuel, front-mounted weapon
A hybrid layout beats both extremes for day-to-day cash. Pure speed cars cover ground but generate no kill income, and heavy weapon cars run out of tank before the dense zombie groups appear. One solid engine, enough fuel to finish the track, and a single weapon on the nose earns more per run than either.
B to open Build Mode and lay down a compact chassis. Use only the blocks you need to hold the engine, wheels, and one front weapon face, because extra mass costs you distance for nothing.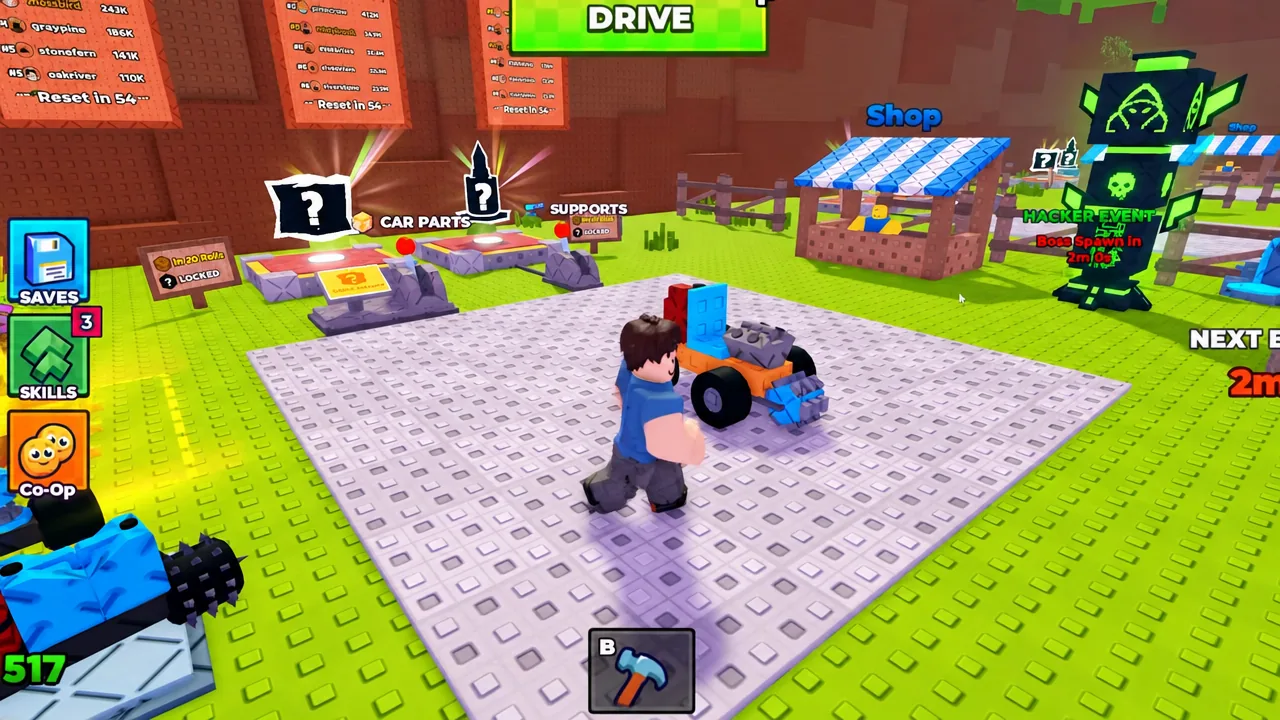
Useful inputs while you work: Mouse click places a selected part, R rotates it, X cancels placement, and Q deletes a part you no longer want. F starts the drive and also returns you to base, and on the track W accelerates, S reverses, and A and D steer.
Speed build vs weapon build
| Build | Focus | Best for |
|---|---|---|
| Speed | Distance, minimal weapons | Early cash farming |
| Weapon | Kill count, slower pace | Boss windows, dense waves |
| Hybrid | Balanced speed and one weapon | Every stage |
Lean speed while you are still poor. Skipping the $250 Shredder in favour of Luck I and a fuel upgrade gets you rolling higher-tier parts sooner, and a cheap Glass Cylinder still adds a little kill income without much drag.
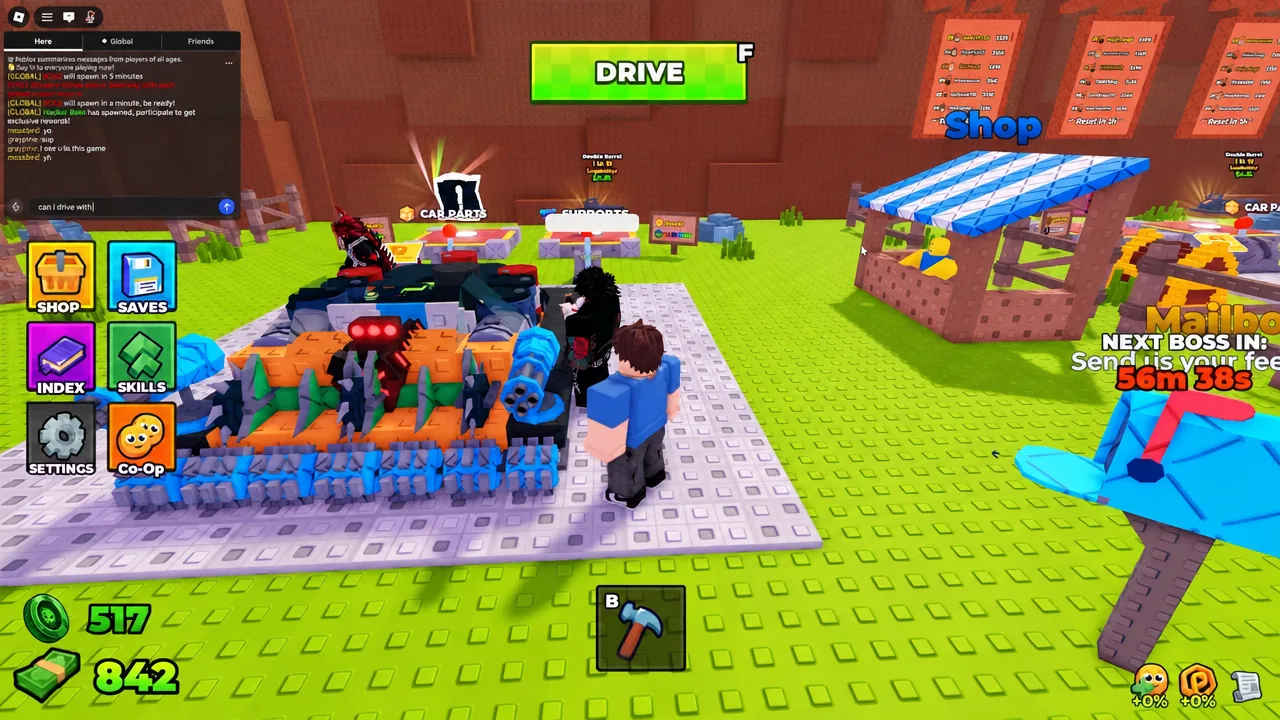
The weapon-heavy approach only pays once you own the good supports. A heavier chassis burns through the same fuel while covering less ground, so add tanks to compensate before you add turrets. The HUD also shows a “NEXT BOSS IN” timer on the right side of the screen, and a weapon-leaning car is the one you want ready when it hits zero.
Fast Furious and Blue Monster blueprints
The Car Builds beacon holds two ready-made designs. Each one lists the exact parts it needs and flags the ones you are still missing, which makes it a shopping list even before you can build it. Once you own everything on the list, the blueprint assembles the car for you, and both can also be bought outright with Robux.
| Blueprint | Best for | How to get it |
|---|---|---|
| Fast Furious | Speed-first distance runs | Collect all listed parts or buy with Robux |
| Blue Monster | Heavier builds, more weapon slots | Collect all listed parts or buy with Robux |
Neither is the ceiling. Treat them as a baseline you strip parts from and add to, and use the Index to check the stats of everything you have unlocked before deciding what to swap.
Building with friends through Plot Permission
The Co-Op menu opens Plot Permission, where you grant other players on your server the ability to build, delete, or drive on your plot. Servers cap at five players, so co-op is usually a small, deliberate arrangement rather than a crowd.
Delete permission lets another player remove parts from your car. Grant build and driver access first and keep delete for people you actually trust.
How to confirm a build change worked
Change one part per run, then drive and read the result. The clearest confirmation is the “New distance record“ banner at the end of a run, which tells you the last change genuinely pushed the car further. If it does not appear and your distance number dropped, revert to the previous layout.
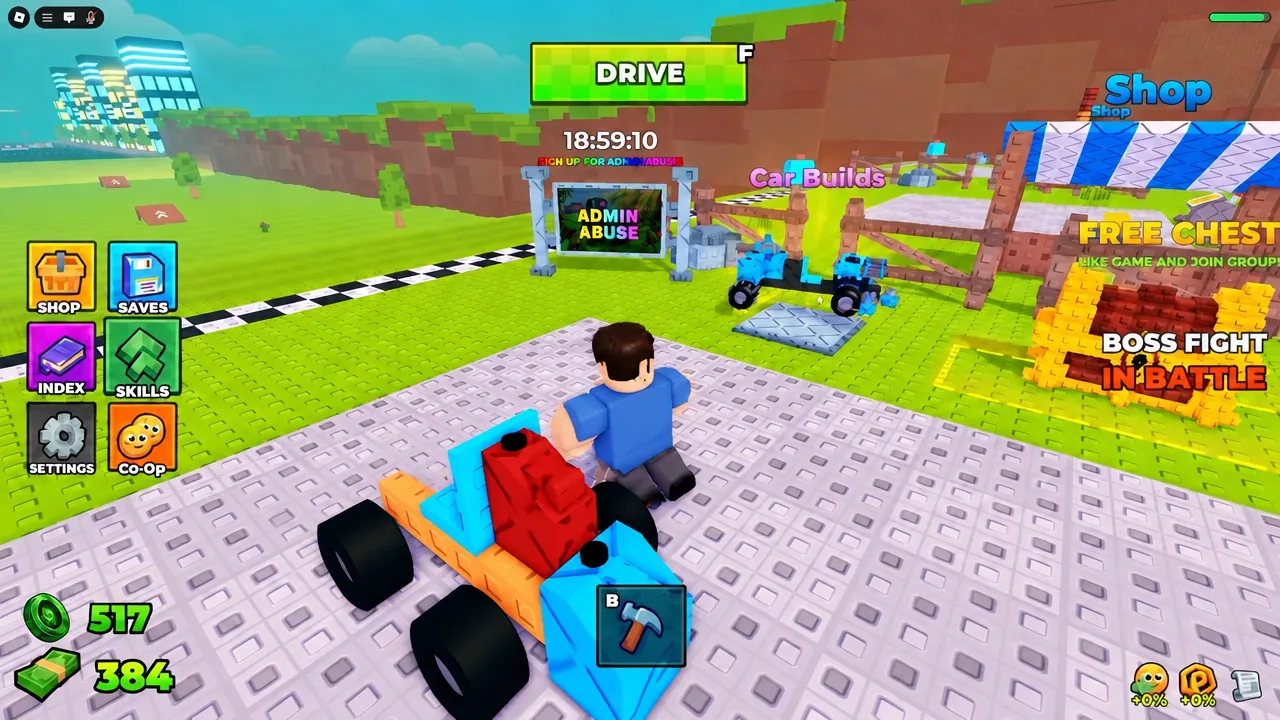
Distance alone is not the whole picture. Watch the cash figure too, since kills contribute on top of ground covered, and a car that travels slightly less but shreds more zombies can still be the better earner. “Your vehicle was destroyed!” ends the attempt outright, and a red “Not enough Cash” warning means the roll you were eyeing needs another lap first.
Run that one-change loop a few times and the build stops being guesswork. Bank cash for a Fuel Barrel, keep Luck climbing in the Skills tree, and the parts that make a tank-sized car possible start showing up on their own.