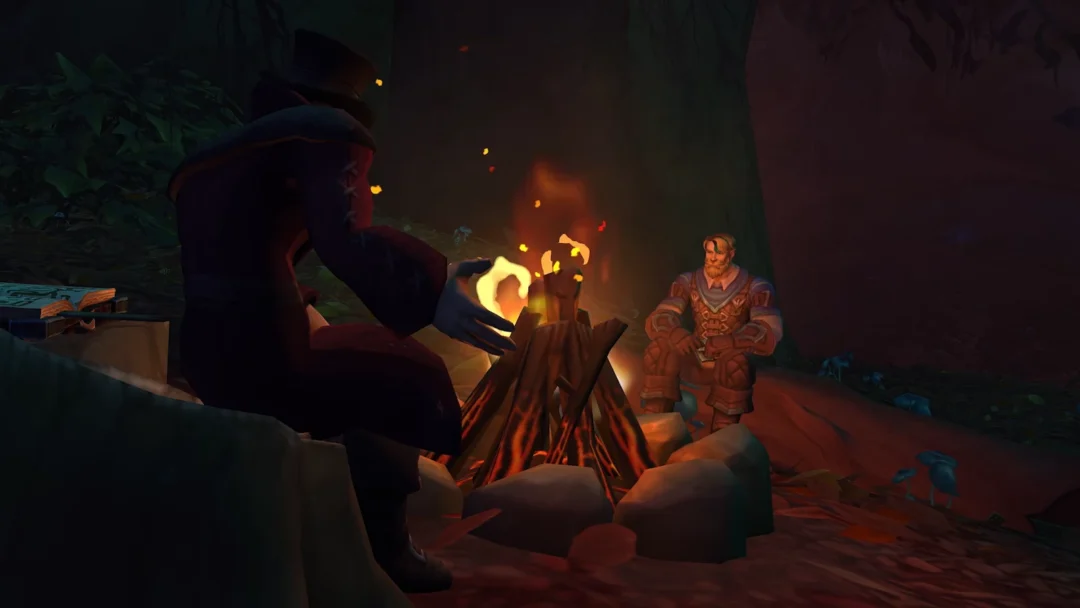
Giant Saplings are the largest plantable object in 99 Nights in the Forest, and they exist for one reason: turning open ground around your campfire into a solid wall of living tree trunks. Unlike log walls, which you craft and place in straight runs, Giant Saplings have to be harvested from the huge trees scattered across the map, and only one class can find them at all.
Quick answer: Reach Woodsman Level 3 by cutting 500 trees and killing 100 enemies with its starter axe, then fell giant trees to collect Giant Saplings and plant them into the gaps around your camp.
Woodsman Level 3 requirement for Giant Saplings
Giant Saplings are locked behind the final Woodsman perk. Woodsman is a 5-star class that costs 600 Diamonds in the Classes shop, and shop stock rotates, so it will not always be listed when you look. Everything about the class is tied to its own axe, which also means you cannot pick up or use any other axe while the class is equipped.
| Level | Requirement | What it gives you |
|---|---|---|
| 1 | 600 Diamonds | Axe levels up as you chop, raising damage to trees and enemies |
| 2 | 250 trees, 50 kills | Logs stop counting toward sack capacity |
| 3 | 500 trees, 100 kills | Giant Saplings can drop and be planted |
Both counters carry over between runs, so you do not need to finish them in one session. The tree count fills quickly during normal wood runs; the kill count is usually the slower half. Fight the wolves, cultists and cave enemies you run into instead of dodging them, and the two bars fill together.
Level 2 matters more than it looks. Once logs no longer eat sack space, a single trip out can bring back enough timber for several wall sections, which is the difference between a wall that grows every day and one that stalls.
How to harvest Giant Saplings from giant trees
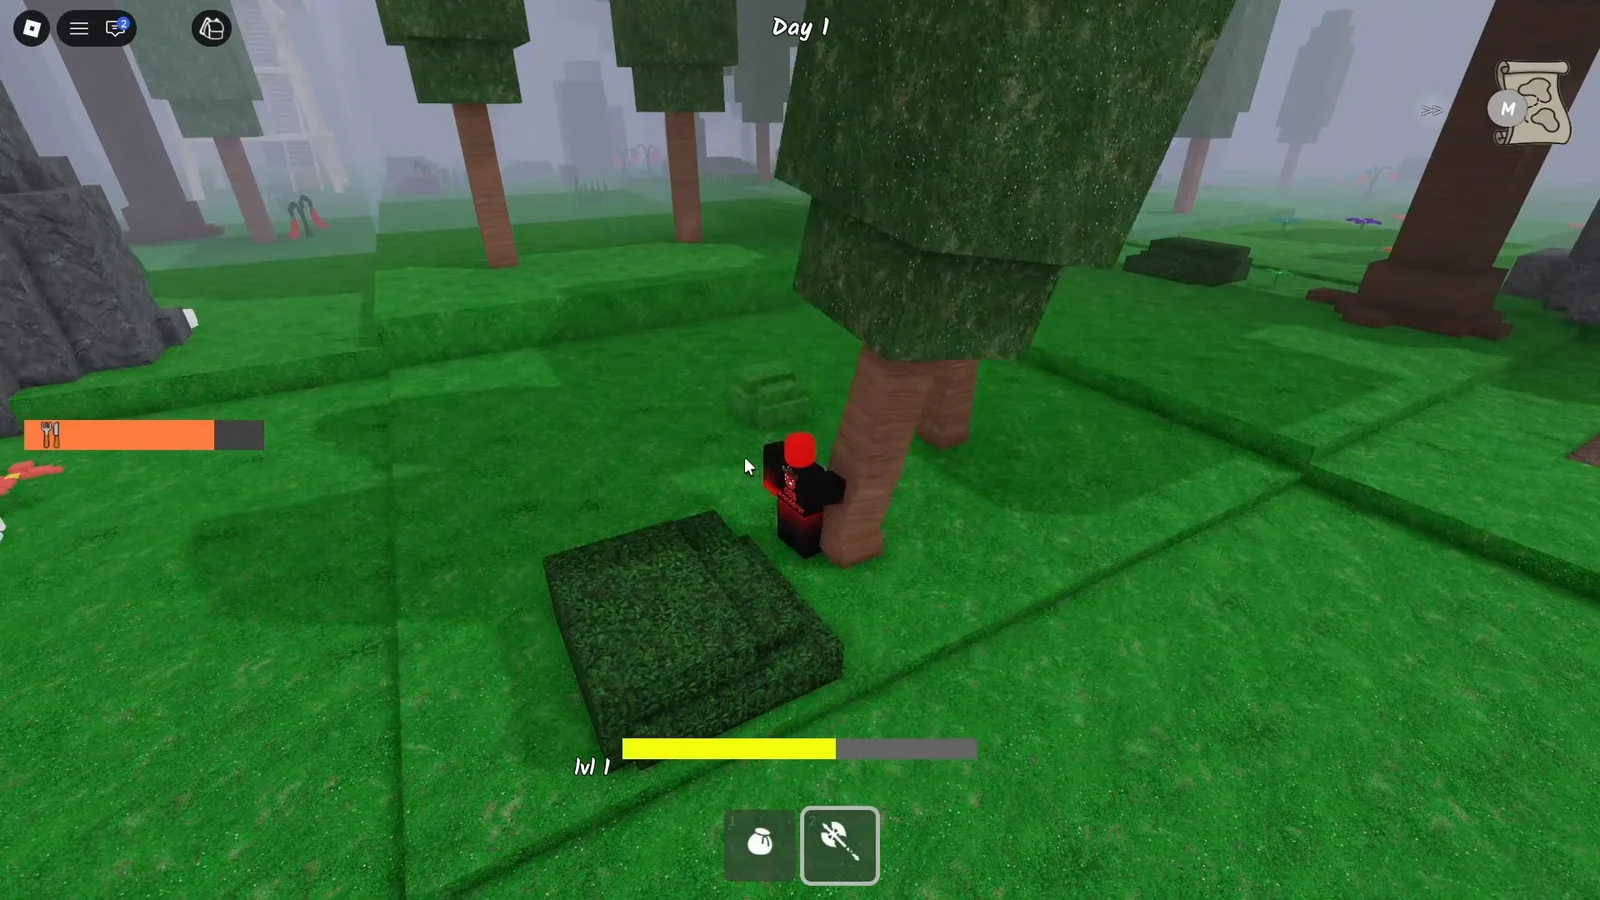
Giant Saplings come off the map’s oversized trees, not the ordinary ones you chop for fuel. Finding them is a hunt in itself, and a single mega tree takes a long stretch of chopping before the trunk comes down. When it does, it drops a large batch of logs along with the saplings, which is why harvest trips usually consume several in-game days at a time.
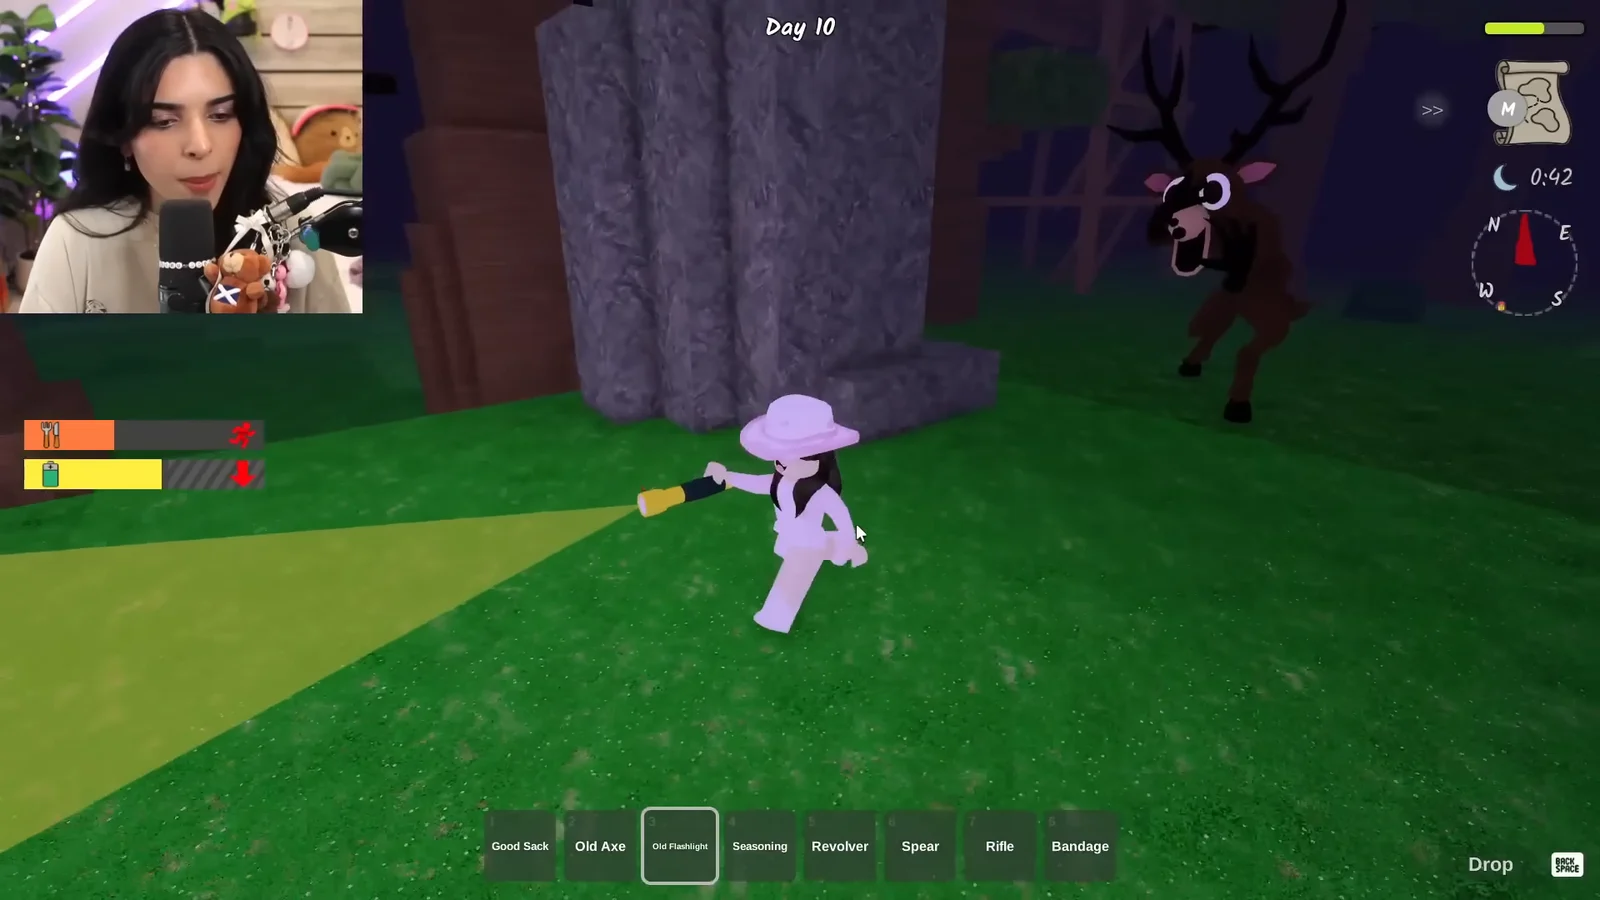
Giant tree felling frequently coincides with heavy rain and lightning storms, and the Deer monster shows up around giant trees at night. Craft a Lightning Rod for camp, and keep a flashlight handy to spot and avoid the Deer while you work.
Where to plant Giant Saplings: build at the campfire, not away from it
The instinct to hide a base in a remote shack or hollow log is a trap. Structures have placement restrictions, and several of the things that keep you alive simply cannot be set down away from the main camp. A hidden shelter can hold a shelf, a farm plot and a bunny trap, but it has no campfire light, and that is what actually keeps the night off you.

Sleeping alone in an outlying shelter reliably ends the same way. Wolves push in through the doorway and the Deer monster follows, and without a lit camp or a teammate nearby there is nothing to break the attack. Plant your Giant Saplings around the campfire instead and let the wall do the hiding.
Sealing the perimeter with Giant Saplings
A Giant Sapling wall is built in passes, not in one go. You plant what you have, come back from the next harvest, and fill whatever gaps are left. The finished shape is a ring of trunks tight enough that enemies cannot walk between them.
Log walls, gates, torches and lightning rods
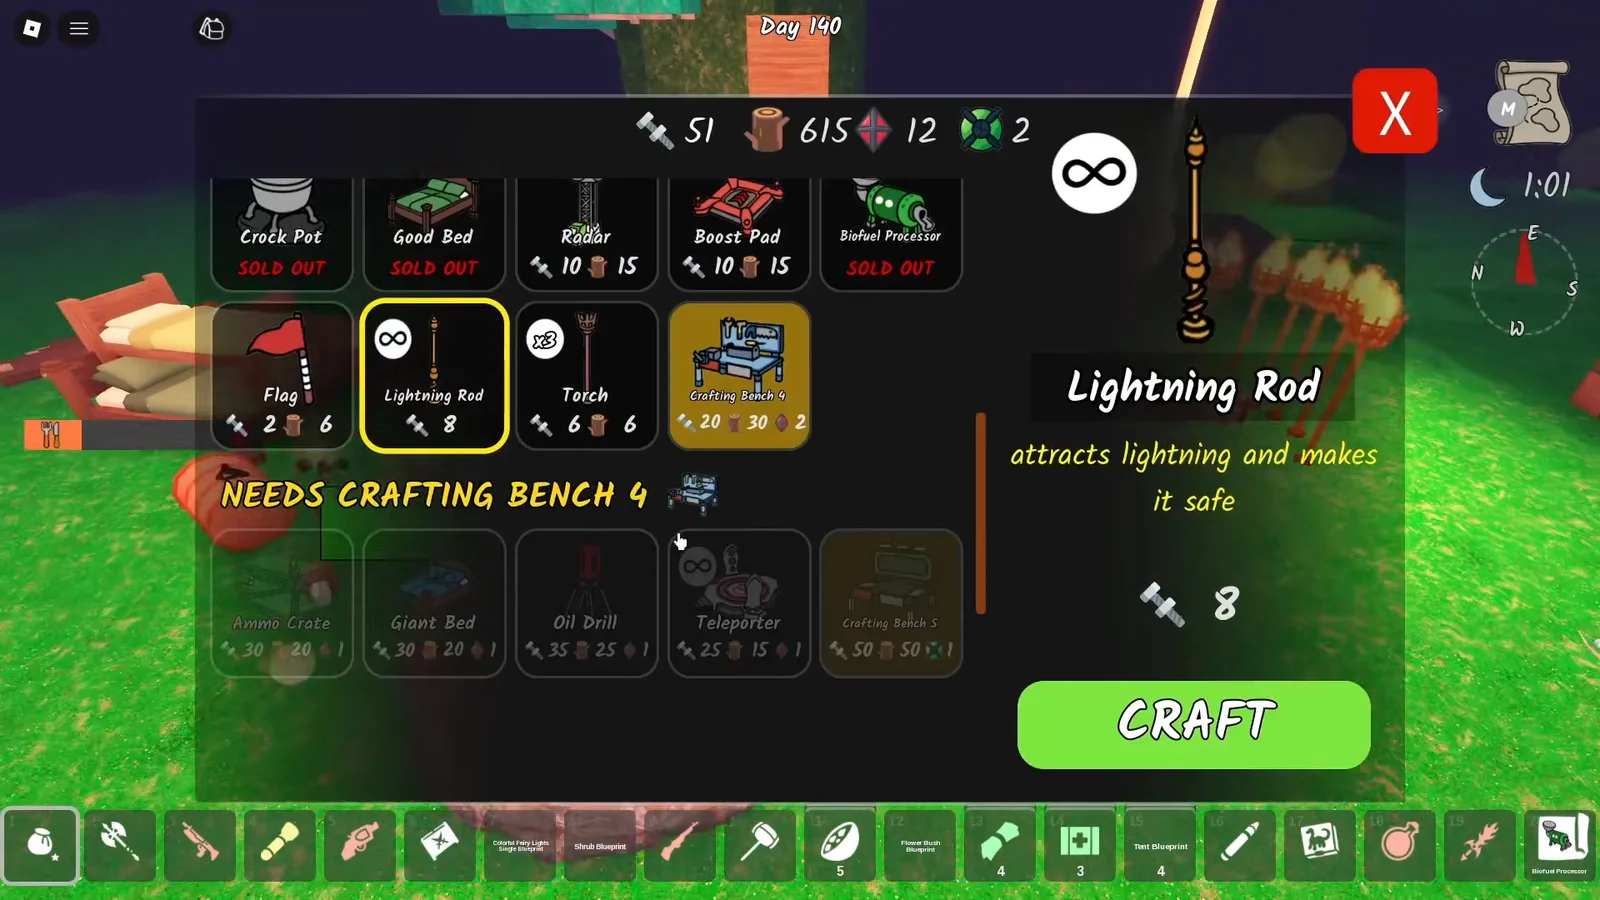
Saplings handle the bulk and the awkward corners; crafted structures handle everything else. Log Walls give you straight runs where the ground is clear, Log Gates close the entrance, Torches light the approach so you can see attackers coming, and Lightning Rods protect the camp during the storms that come with giant tree weather.
- Log Wall — straight barrier sections between planted trunks
- Log Gate — closes the single intended entrance
- Torch — lights the perimeter for night defence
- Lightning Rod — storm protection for the camp
- Wood Rain Storage — keeps gathered wood covered between trips
Once the shell holds, the Furniture Shop covers the inside. Fountains, wooden nightstands, birdhouses, bookshelves, fairy lights and shrubs are all purchasable, and a Paint Brush lets you recolour fences and decorations. None of it affects survival, so spend on it only after the beds, the Crock Pot and the farm plots are running.
Surviving long enough to finish the build
A full Giant Sapling perimeter takes well past Day 99 to complete. The day count is the real construction budget, and you extend it by rescuing the missing children listed on the board at camp. Check the board regularly and fold rescues into your harvesting trips, but treat the later ones seriously — bring healing items, food and a proper weapon, because the shelters and bunkers holding those kids are defended.
Rescue routes also carry the gear that keeps your camp standing. Golden chests in underground shelters hold things like the Chainsaw and defensive blueprints, the Cultist Stronghold rooftop chest holds Thorn Body armour, and the lava biome castle ends with the Infernal Sword, which cuts through raid waves far faster than a spear.
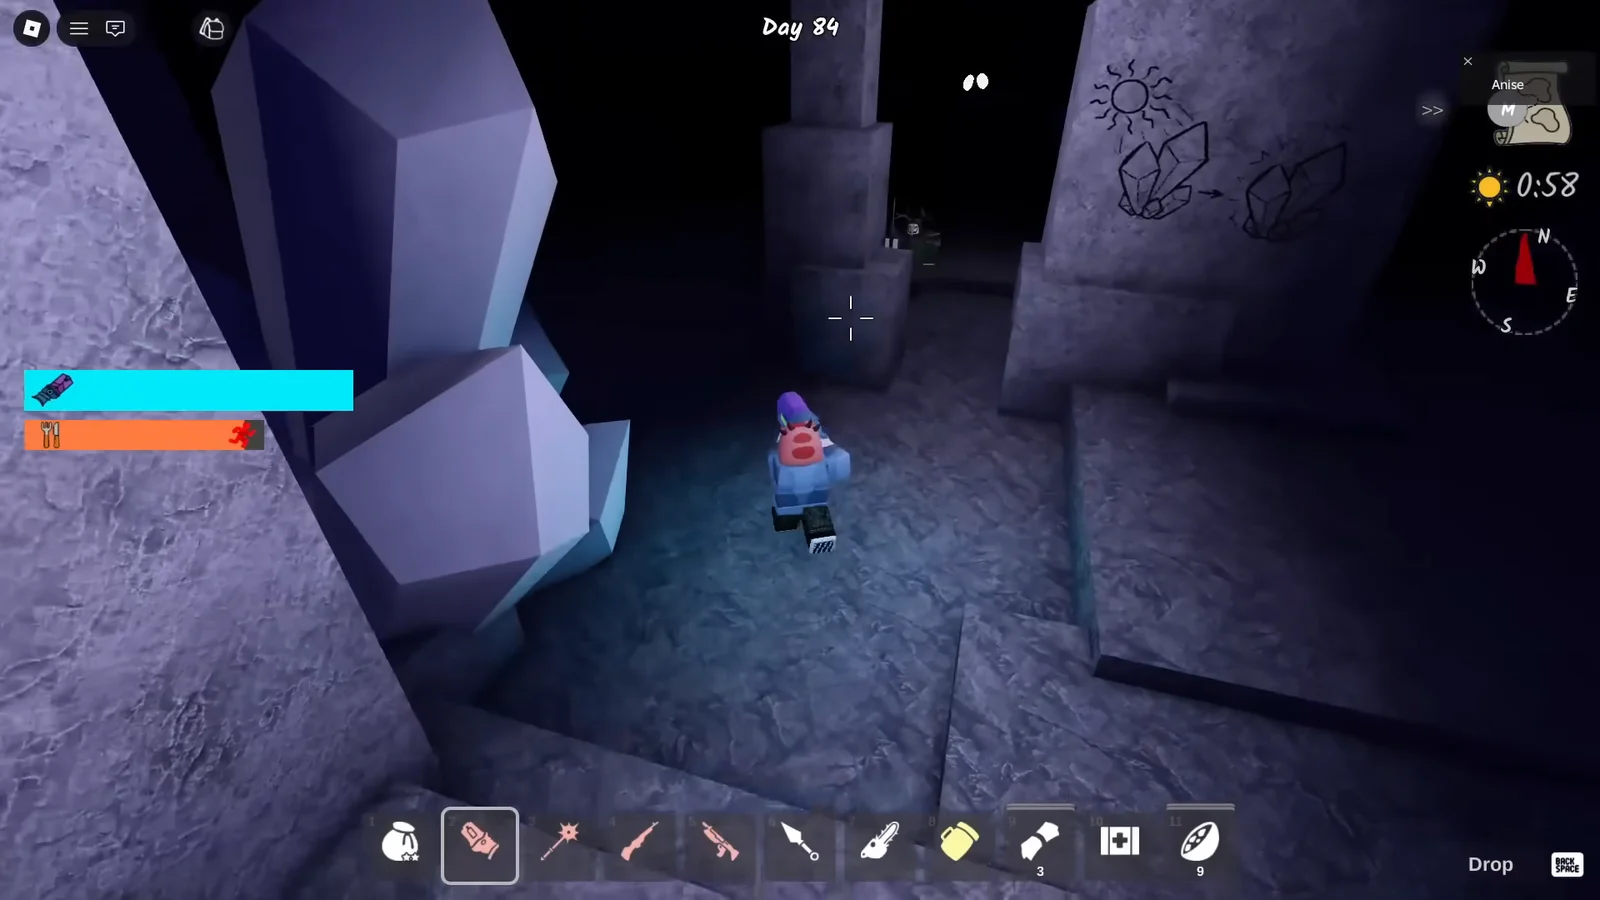
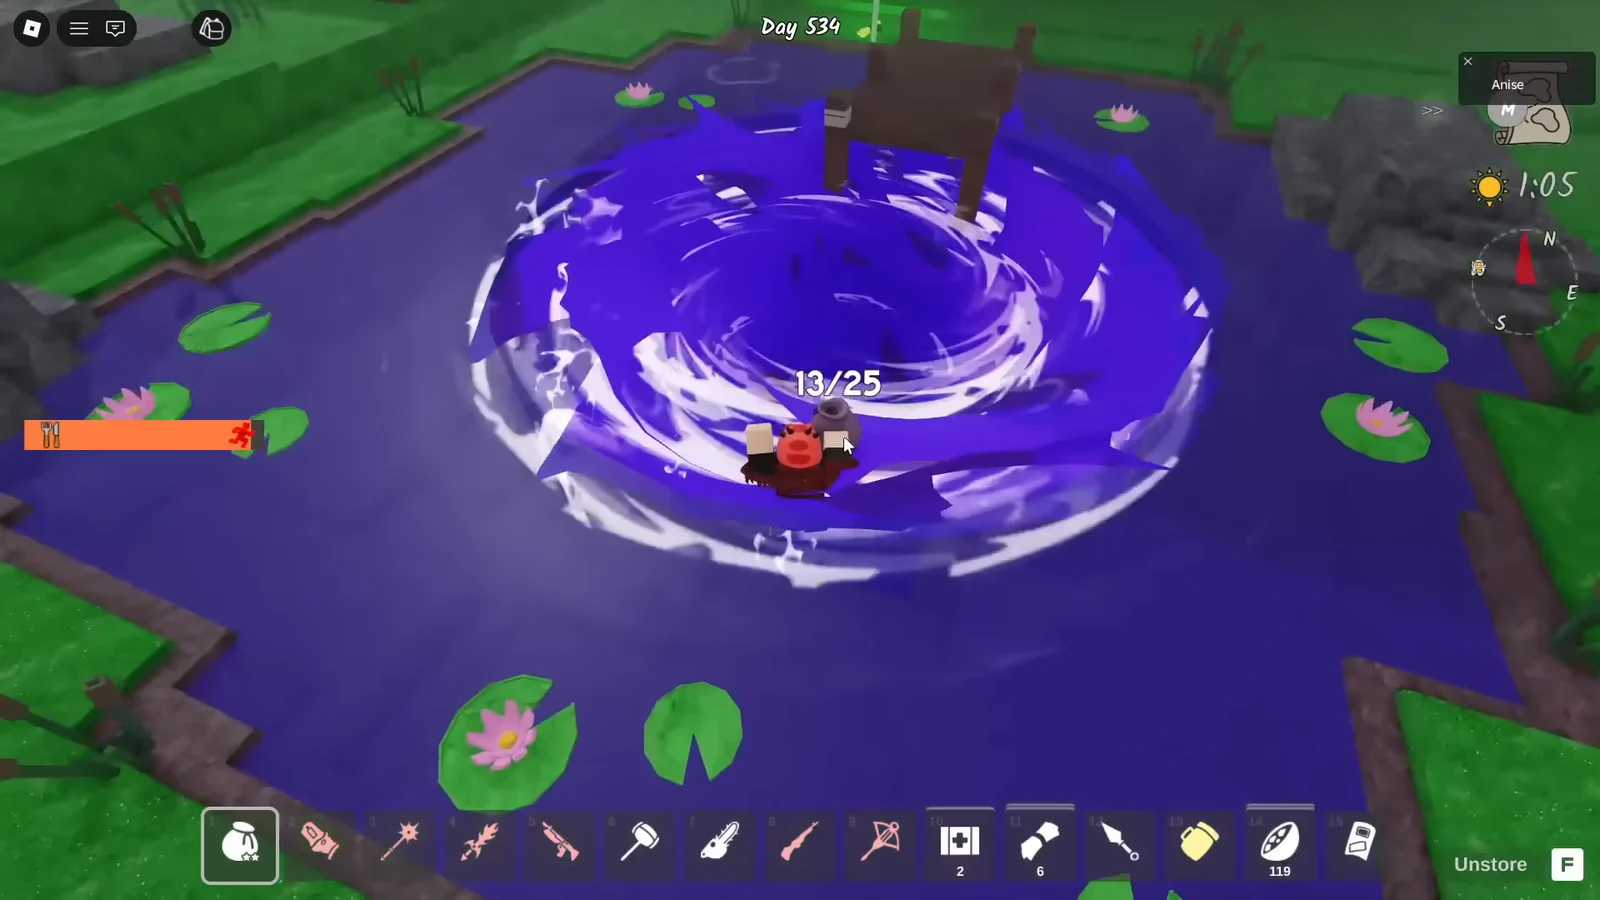
Deeper content is optional but useful for a long run. Caves hand out blessing buffs and key fragments, and the frog pond sanctum ends in a giant frog king fight that unlocks the frog chest and boots. None of it is required for the wall, and none of it is worth attempting before your camp can survive a night without you standing in it.
How to confirm the Giant Sapling wall is working
Open the Classes menu and check Woodsman first. All three perk tiers should read as completed; only then will Giant Saplings start appearing as chopping drops. If the drops never come, the level is not finished.
For the wall itself, walk the full outside edge in daylight and look for any space you can squeeze through. Then watch an actual raid. If cultists funnel to your gated entrance and follow the route you left instead of appearing next to the campfire, the perimeter is sealed. If one arrives at the fire directly, there is still an opening — find it during the next day and plant a sapling into it.
One last check worth doing: make sure you can still move. A ring tight enough to stop wolves is also tight enough to trap you, so confirm you can reach the crafting bench, the beds, the farm plots and the gate without backtracking through the whole camp.