The Nightfall Sickles are locked behind a server-wide puzzle rather than a boss fight. Ten red levers sit hidden across the map, and until every one of them is flipped, the gate that leads to the schematic stays shut. After that, the weapon still has to be crafted, and the bill is steep.
Quick answer: Pull all 10 red levers on a single server, then ride through the opened red gates near Mistfall Harbor and drop into the sewer grate to reach the altar holding the Nightfall Sickles Schematic.
How the Nightfall Sickles lever puzzle works
Each lever glows red until you interact with it, then switches to green. That colour change is your only confirmation, so check it before moving on. Green levers stay green for the rest of your time on that server.
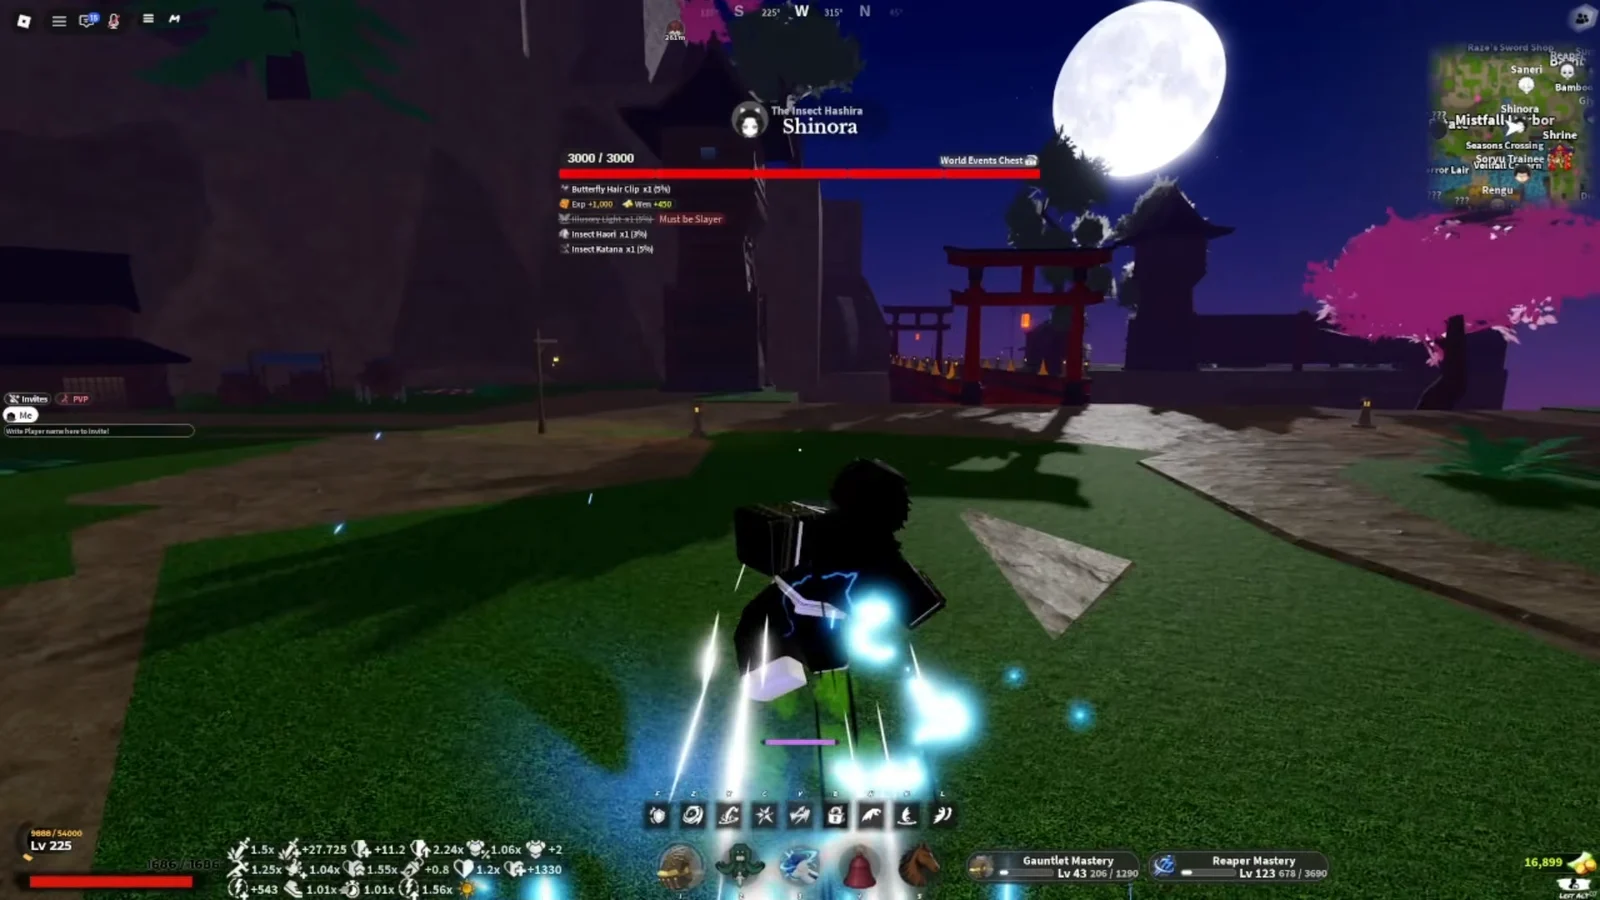
The catch is the server itself. All ten pulls have to happen on the same server, so avoid rejoining or getting kicked mid-run. Once the final lever flips, the red gates on the main bridge out of Mistfall Harbor open, exposing the route down into the Forgotten Ruins.
What to bring before starting the run
The route crosses snow, deep water, and a lot of open ground, so a few things save real time.
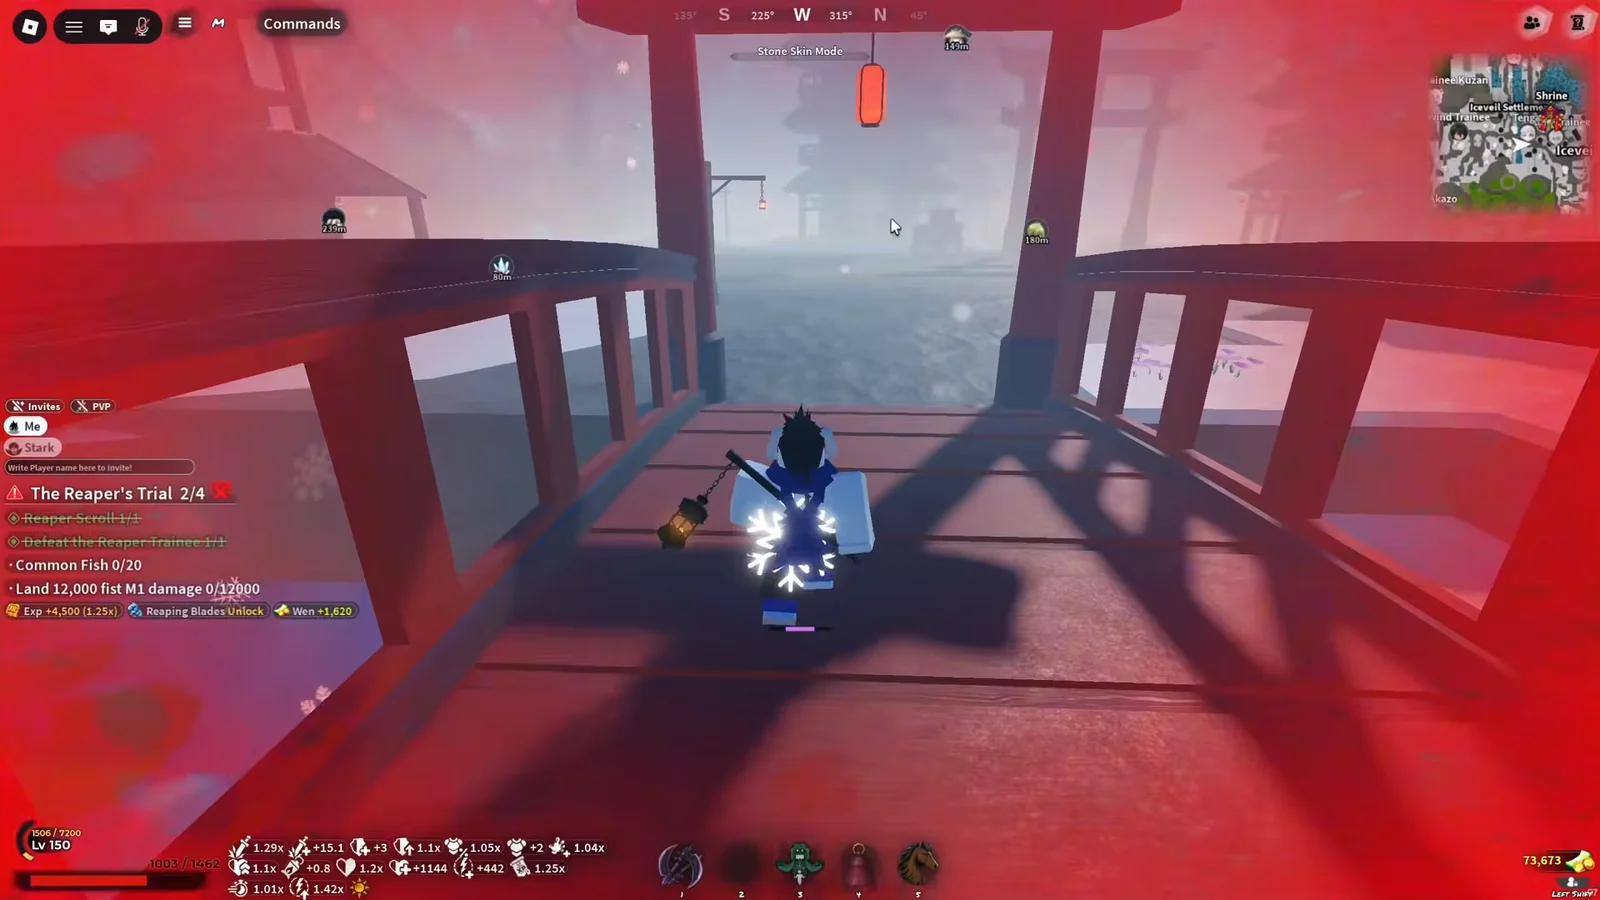
- A lantern equipped before entering Iceveil Valley, which stops cold damage.
- A horse for the long stretches between Hidden Mist Village and Mistfall Harbor.
- Spawn set at the pink crystal in Iceveil Settlement before you dive for the underwater lever.
- Shrine fast travel points unlocked at Bamboo Grove and Mistfall Harbor.
All 10 lever locations
The numbers below follow a clean travel route from the spawn shrine outward. Order does not matter mechanically, only that all ten end up green.
| Lever | Area | Exact spot |
|---|---|---|
| 1 | Akaza’s cave | Behind the stone wall, tucked behind wooden crates |
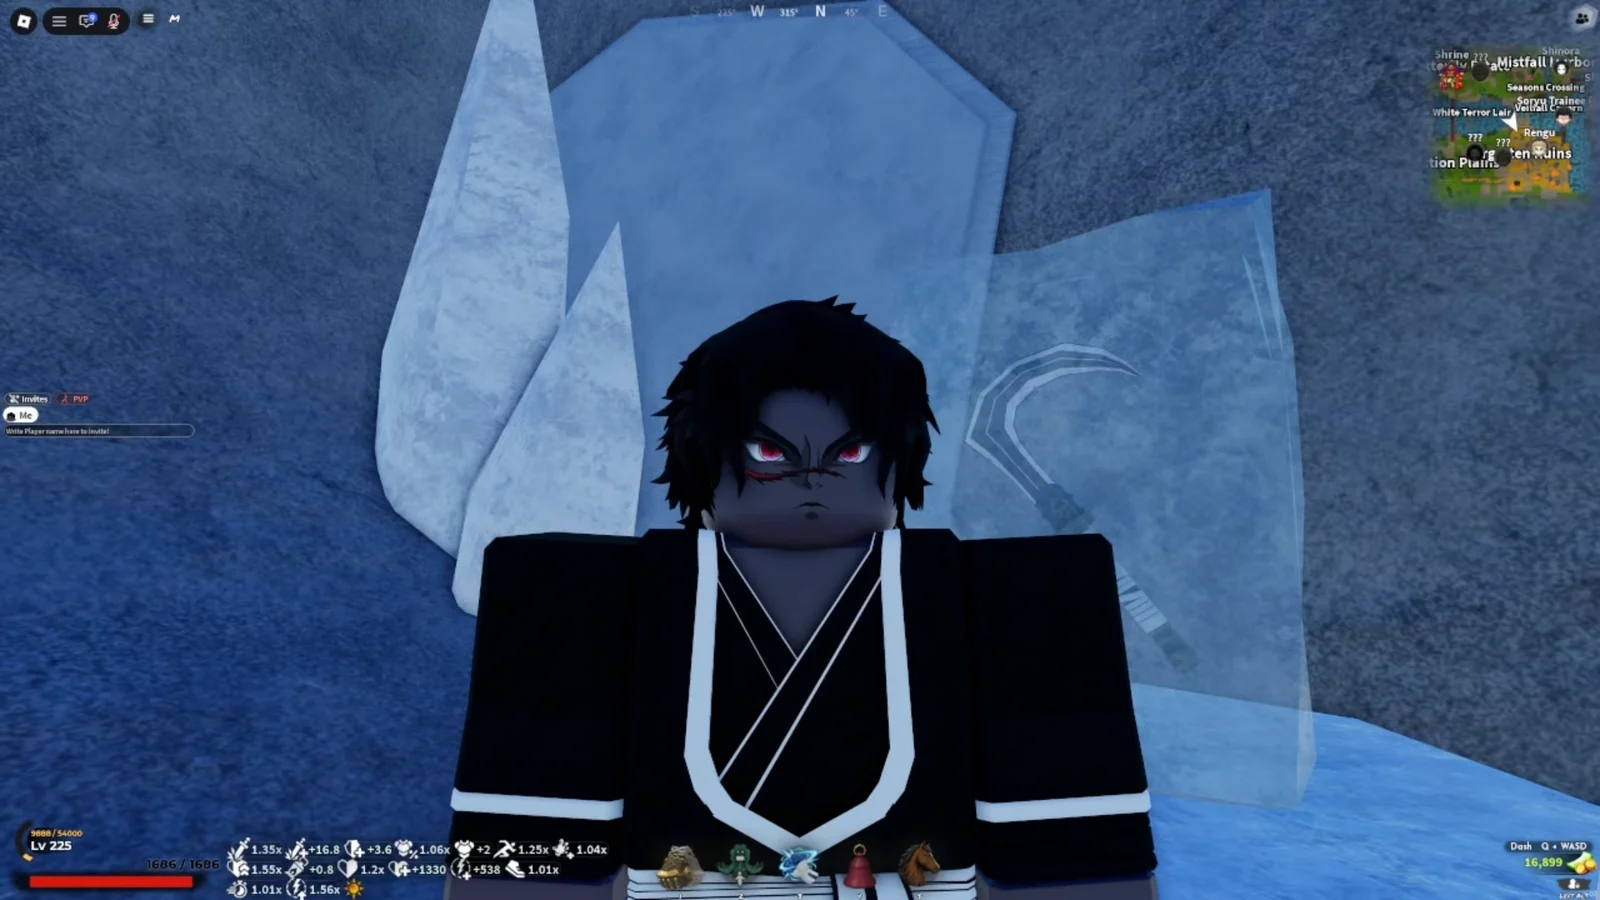
| 2 | Iceveil Valley | Underwater, on a submerged red torii gate |
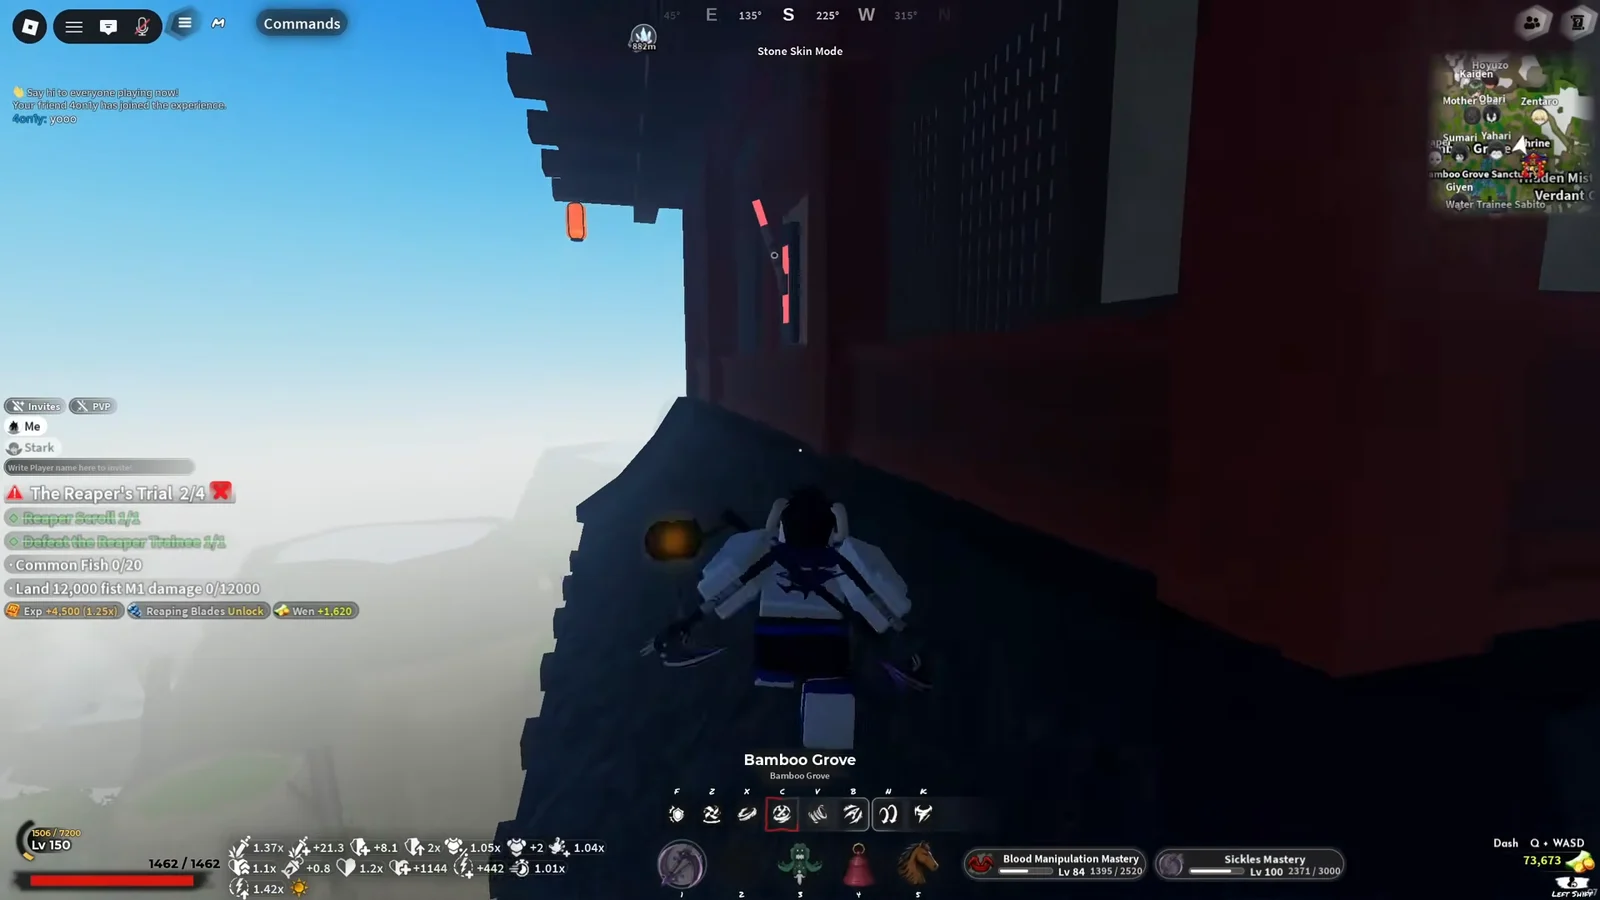
| 3 | Bamboo Grove | Outer balcony ledge of the tall pagoda |
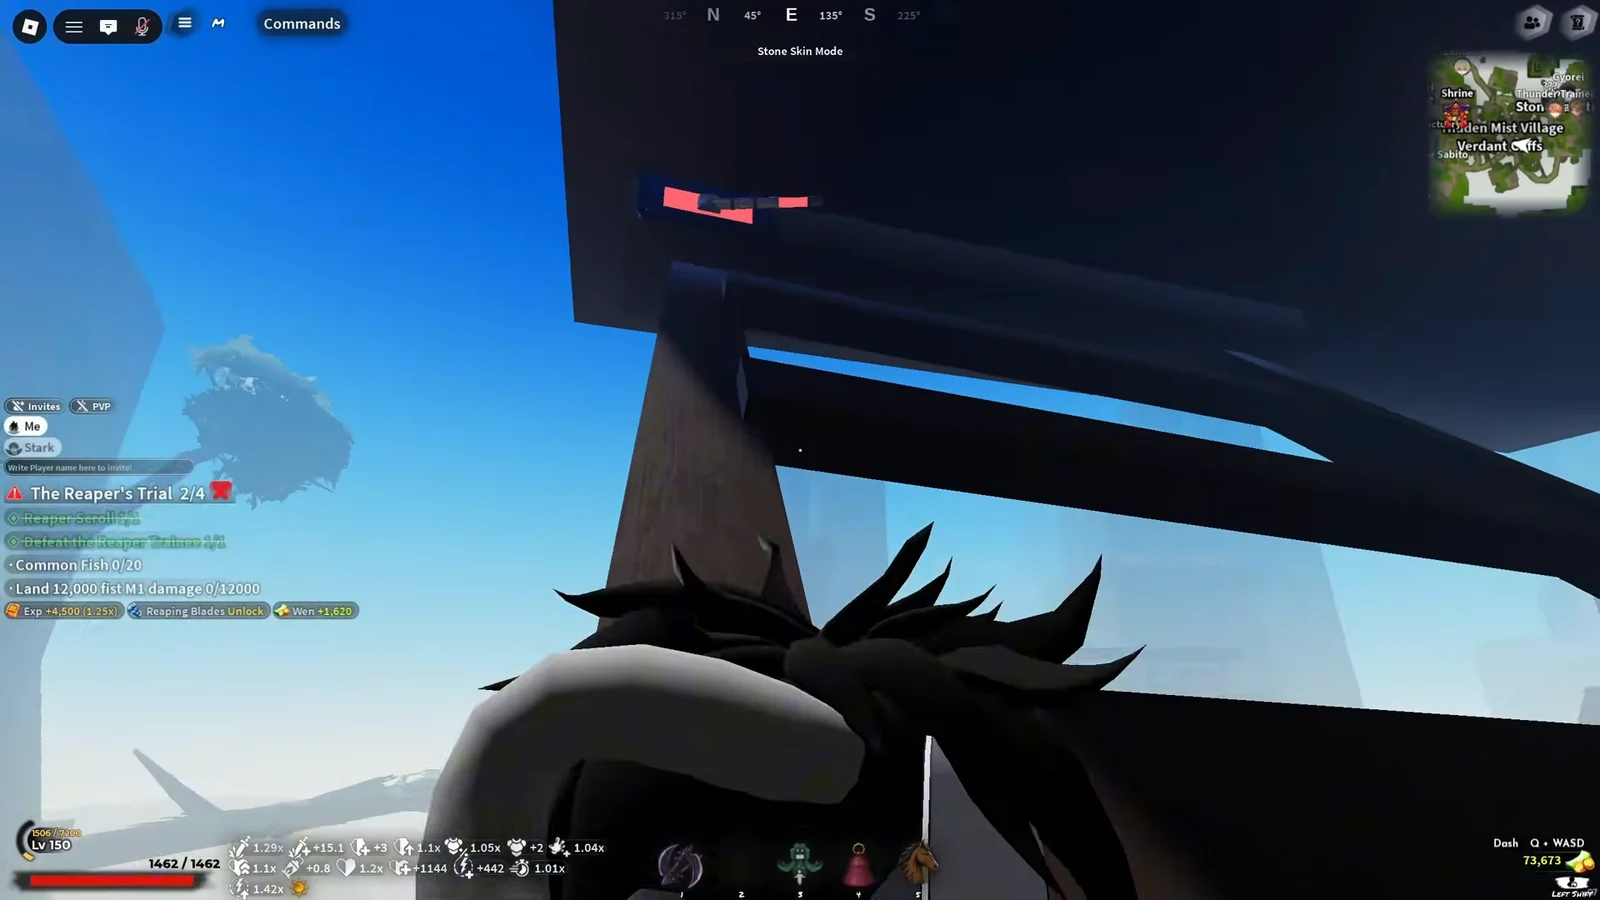
| 4 | Verdant Cliffs | Wooden beams under the cliff overhang |
| 5 | Stone Trainer area | Narrow crevice behind the stone wall |
| 6 | Hidden Mist Village | Inside a stilt house, near the window barrels |
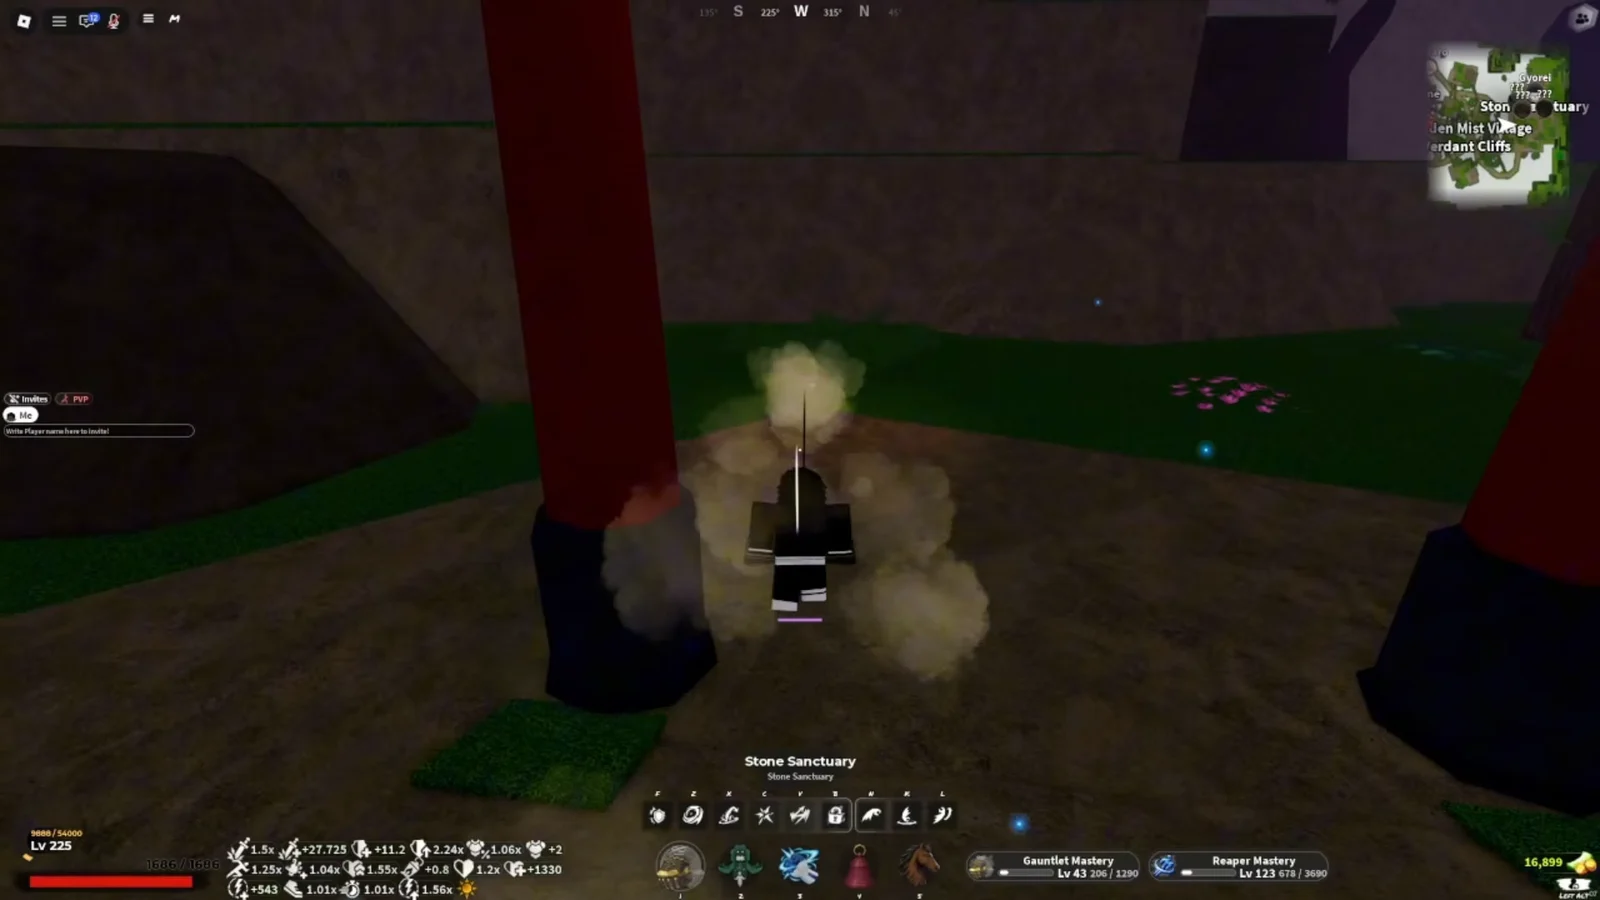
| 7 | Cliff peak above the village | On the trunk of the glowing pink tree |
| 8 | Mistfall Harbor | Underwater, on the torii post beneath the red bridge |
| 9 | Toward Final Selection Plains | Underwater, on the stone foundation post under the next bridge |
| 10 | Verdant Cliffs tall trees | High up on a tree branch |
The three underwater levers
Iceveil Valley’s lever sits on a sunken torii gate, and the cold water will chew through you while you search. Pulling it and then resetting your character is faster than swimming back, which is exactly why setting spawn at the Iceveil Settlement crystal first matters.
The other two are close together in the harbor. Dive beneath the red bridge for the first, then keep swimming along the shoreline toward Final Selection Plains and check the stone foundation post under the following bridge.
Levers that need height or a movement skill
The pagoda lever in the Bamboo Grove wilderness is the fiddliest of the set. Climb the mountain to the tower, head to the upper level, then use a movement ability to reach the narrow outer balcony where the lever is fixed to the wall.
Before leaving the pagoda, grab the Nightfall Axe and Mace Schematic from the upper floor. It is on the same route and easy to walk past.
From the pagoda, glide down and climb the green cliffs toward Verdant Cliffs. The lever there is on the wooden beams tucked under a cliff overhang, and the tenth sits much higher up, on a branch in the tall trees.
Ground-level levers
Akaza’s cave, the Stone Trainer crevice, and the Hidden Mist Village stilt house are all straightforward once you know where to look. The crevice lever requires dropping into a gap behind the stone wall past the torii gates, and the village lever is easiest to reach by gliding straight into the stilt house rather than climbing.
Getting the Nightfall Sickles Schematic in the Forgotten Ruins
Nightfall Sickles crafting requirements at Blacksmith Togane
Crafting happens in Hidden Mist Village. Speak to Blacksmith Togane and open the crafting menu, then select the Nightfall Sickles recipe.
| Requirement | Amount |
|---|---|
| Demonic Sickles | 1 |
| Nightfall Sickles Schematic | 1 |
| Silk | 1,000 |
| Metal Scraps | 1,000 |
| Yen | 1,000,000 |
The Demonic Sickles are consumed by the recipe, so treat the base weapon as a material rather than something you keep alongside the upgrade.
The recipe shows each requirement as a running count in Togane’s menu, so you can confirm progress at a glance. When the schematic and the Demonic Sickles both read 1/1 and the silk, scraps, and yen totals are met, the craft option becomes usable and the Nightfall Sickles land in your inventory.
Most of the work is the lever hunt, not the crafting. Clear the ten pulls in one uninterrupted session, bank the schematic, and the remaining grind is just materials and money you can collect at your own pace.