Ride A Pet is built around a single number: how fast your mount moves. Speed decides how many eggs you can reach before their break timers run out, which decides how fast you hatch rarer pets, which decides how quickly you clear the seven Rebirths. Everything else — radars, nests, food, mutations — exists to feed that loop. You can load into the game from the official Ride A Pet page on Roblox.
Quick answer: Always ride your fastest pet, buy the $50 Advanced Radar first, run one fixed egg route, keep every nest full, and bank the Rebirth pets instead of selling them.
The core loop: eggs, speed, and why routing beats rarity
You find an egg on the map, carry it back to your own ranch plot, drop it into an empty nest, dismount, and hatch it. The pet that pops out either becomes your new mount or gets placed on the plot to bank cash per second. That cash pays for radars, Hatch Luck, and food, which produce better pets on the next cycle.
The mistake that stalls most new accounts is chasing the rarest-looking egg on the map. If a target sits behind a jump you keep failing, it costs more time than the hatch is worth. Optimise for eggs per minute, not egg quality, and only widen your route when a faster mount unlocks it.

Pick up an egg and its break countdown begins immediately; hatching is restricted to your own plot. When “Egg Basket Is Full” appears, return home to unload before collecting another item.
First hour setup: radar, route, and your first nest cycle
The income gap between early pets explains why swapping matters. A Snail banks about $3 per second; a Chicken, at a 1 in 150 hatch chance, banks around $42 per second. That’s a fourteen-fold jump from one hatch.
Best pets by stage: which mount to ride and when
The roster falls into three broad speed bands. Exact figures shift between updates, but the shape of the ladder holds, and the jump between bands is what actually shortens your egg runs.
| Stage | Pets | What changes |
|---|---|---|
| Early | Snail, Turtle, Sloth, Axolotl, Chicken | Short hops near the plot only |
| Mid | Kangaroo, Deer, Crocodile, Gorilla, Wolf, Shark, Lion, Horse | Route opens up; first Rebirth becomes possible |
| Late | Fox, Giraffe, Cheetah, Unicorn, T-Rex, Phoenix, Cerberus, Dragon, Kitsune | Rebirth recovery drops to minutes |
The Index makes the speed gap obvious at a glance. A Snail sits at 15 speed, while a Chicken reaches 553. Ignore how a pet looks — the number under it is the only stat that changes your run time.
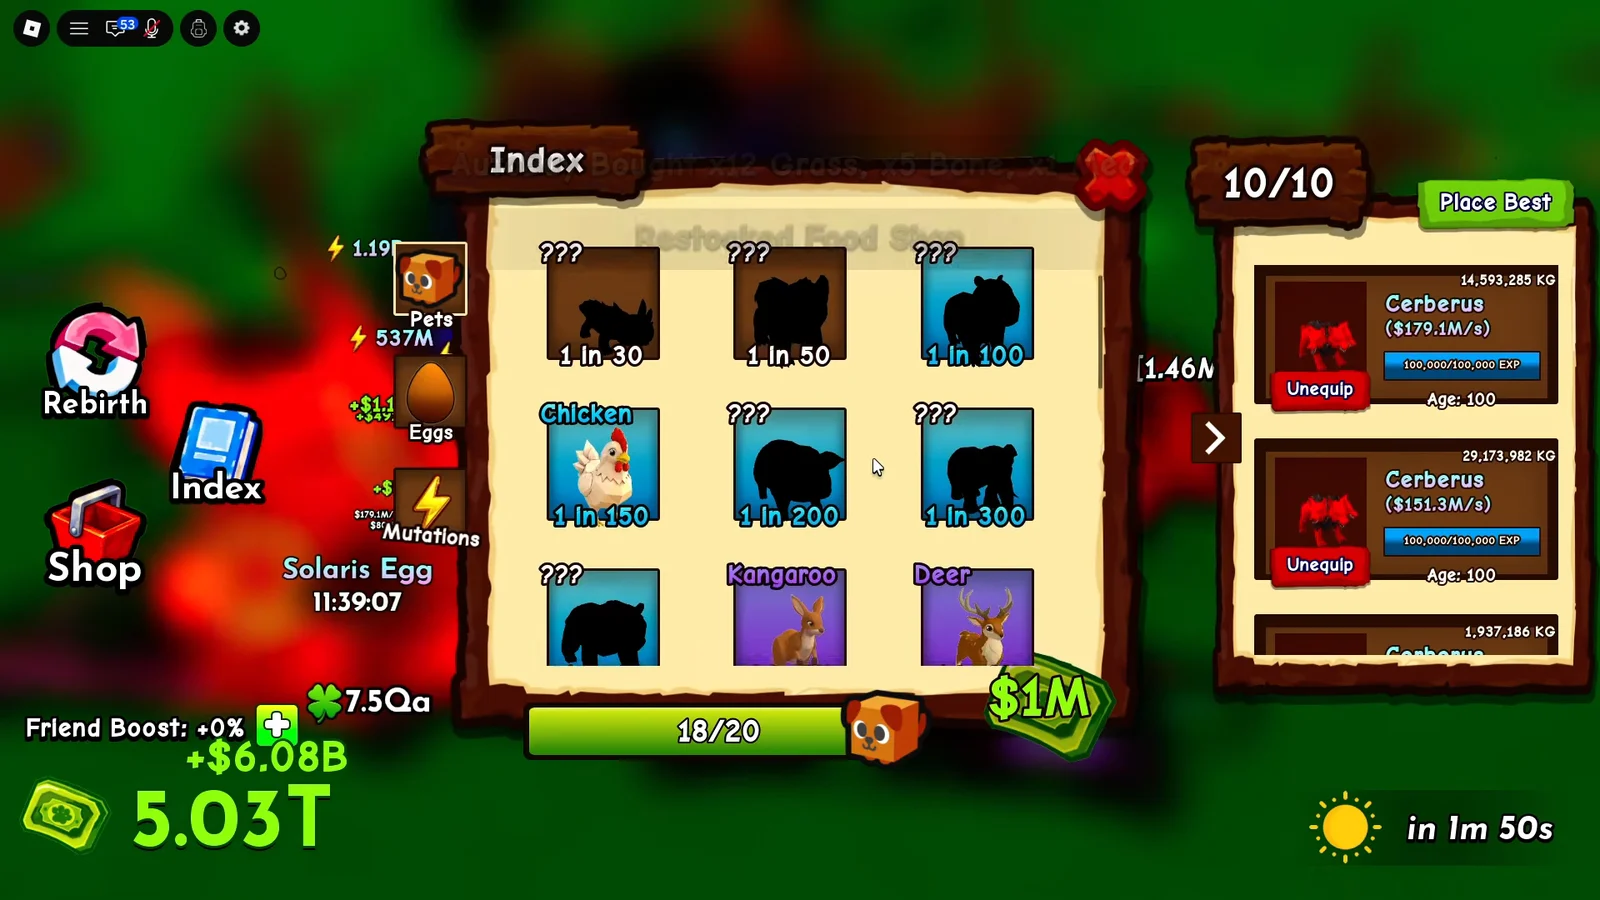
Fox is the first real power spike. Once it unlocks, the map shrinks and the Giraffe, Cheetah, and Unicorn tier becomes reachable in normal play rather than as lucky hatches.
At the top end, two pets solve two different bottlenecks, and it’s worth knowing which one you actually need.
| Pet | Base speed | Base income | Use it for |
|---|---|---|---|
| Kitsune | 1 billion | 90 million | Clearing egg routes fast |
| Dragon | 300 million | 300 million | Rebuilding cash after a reset |
Ask what is slowing your next run rather than what your rarest pet is. If it’s travel time, ride Kitsune. If it’s money, place Dragon. If it’s a messy route, no pet fixes that.
All 7 Rebirth requirements: pets and cash
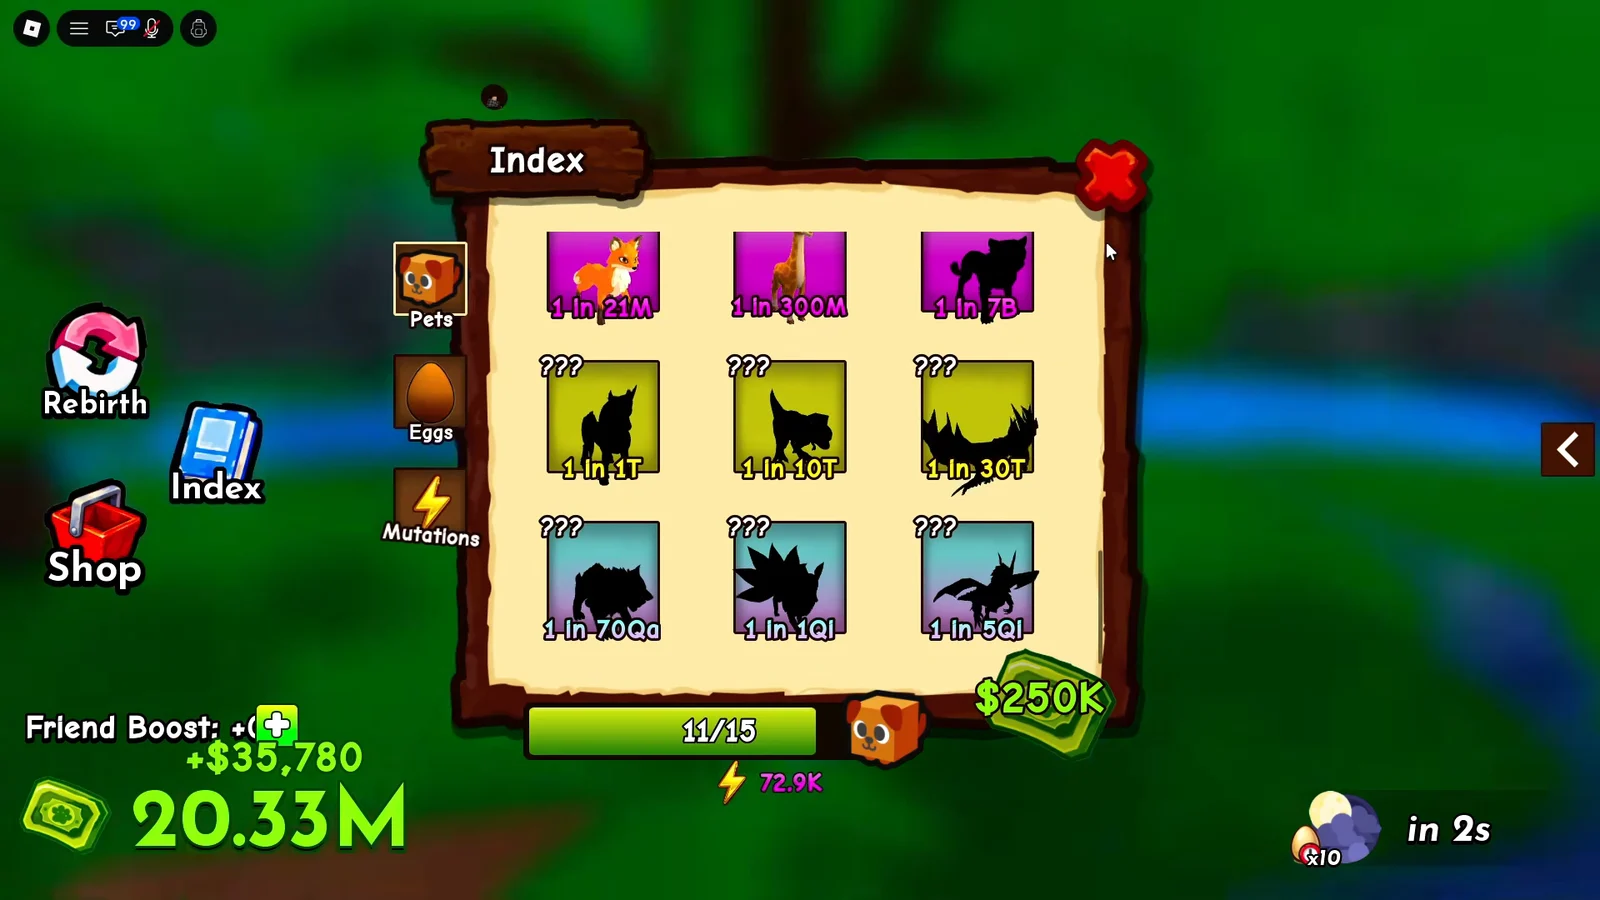
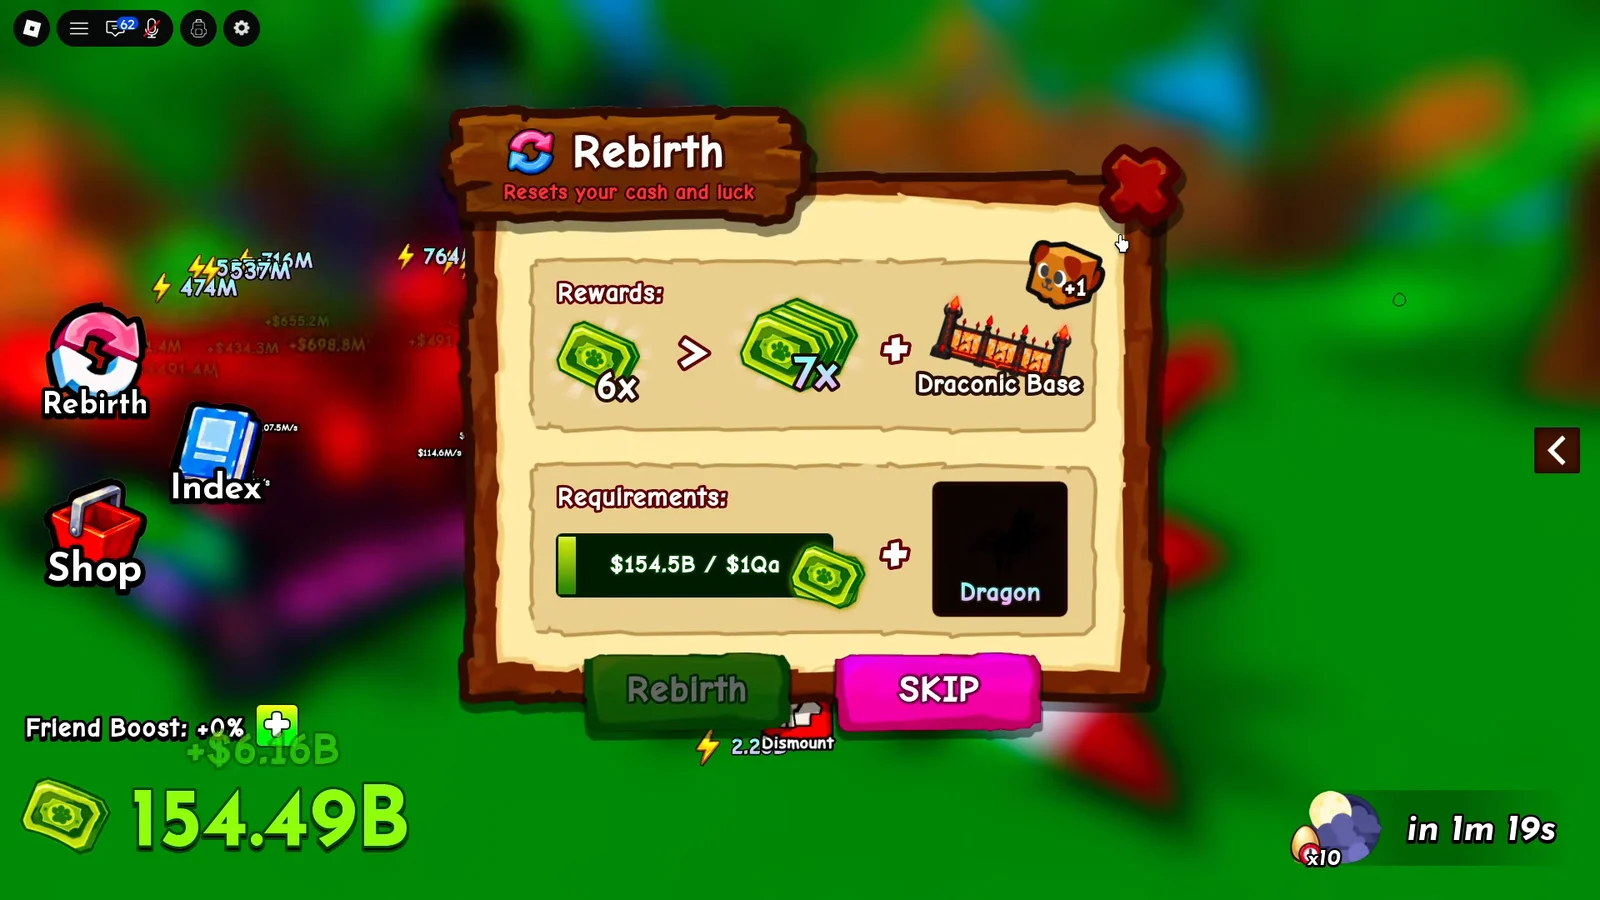
There are seven Rebirths, and each one demands a specific pet in your ranch or inventory plus a cash threshold. Because the pet must be present when you press the button, selling a Horse, Fox, Unicorn, Phoenix, Kitsune, or Dragon before using it is the most expensive mistake in the game.
| Rebirth | Required pet | Hatch chance | Cash |
|---|---|---|---|
| 1 | Horse | 1 in 500K | $1M |
| 2 | Fox | 1 in 21M | $50M |
| 3 | Unicorn | 1 in 1T | $2.5B |
| 4 | Phoenix | 1 in 30T | $125B |
| 5 | Kitsune | 1 in 1Qi | $6.2T |
| 6 | Kitsune | 1 in 1Qi | $325T |
| 7 | Dragon | 1 in 5Qi | $50Qa |
The Rebirth button sits on the left of the screen and lights up once both conditions are met. Each completed reset grants a permanent +1x money multiplier and +1 pet slot, so after all seven your pets earn at +7x and your ranch holds up to 12 placed pets at once. Rebirths also unlock alternate ranch skins, which make your plot easier to spot when you’re sprinting home with a cracking egg.
A Rebirth removes your cash and all Luck purchased from the board inside your ranch. Your placed pets and Rebirth rewards remain, but the money is reset.
You’ll know a Rebirth registered when the pet slot count on your plot increases and the multiplier on your income ticks up. Timing matters more than eligibility: reset when your setup can rebuild in a few minutes, not the second the button unlocks. After the reset, skip the menu tour, run your best early route immediately, replace the starter mount as fast as possible, and then push straight at the next Rebirth requirement.
Mutations and weather traits: multipliers and timing
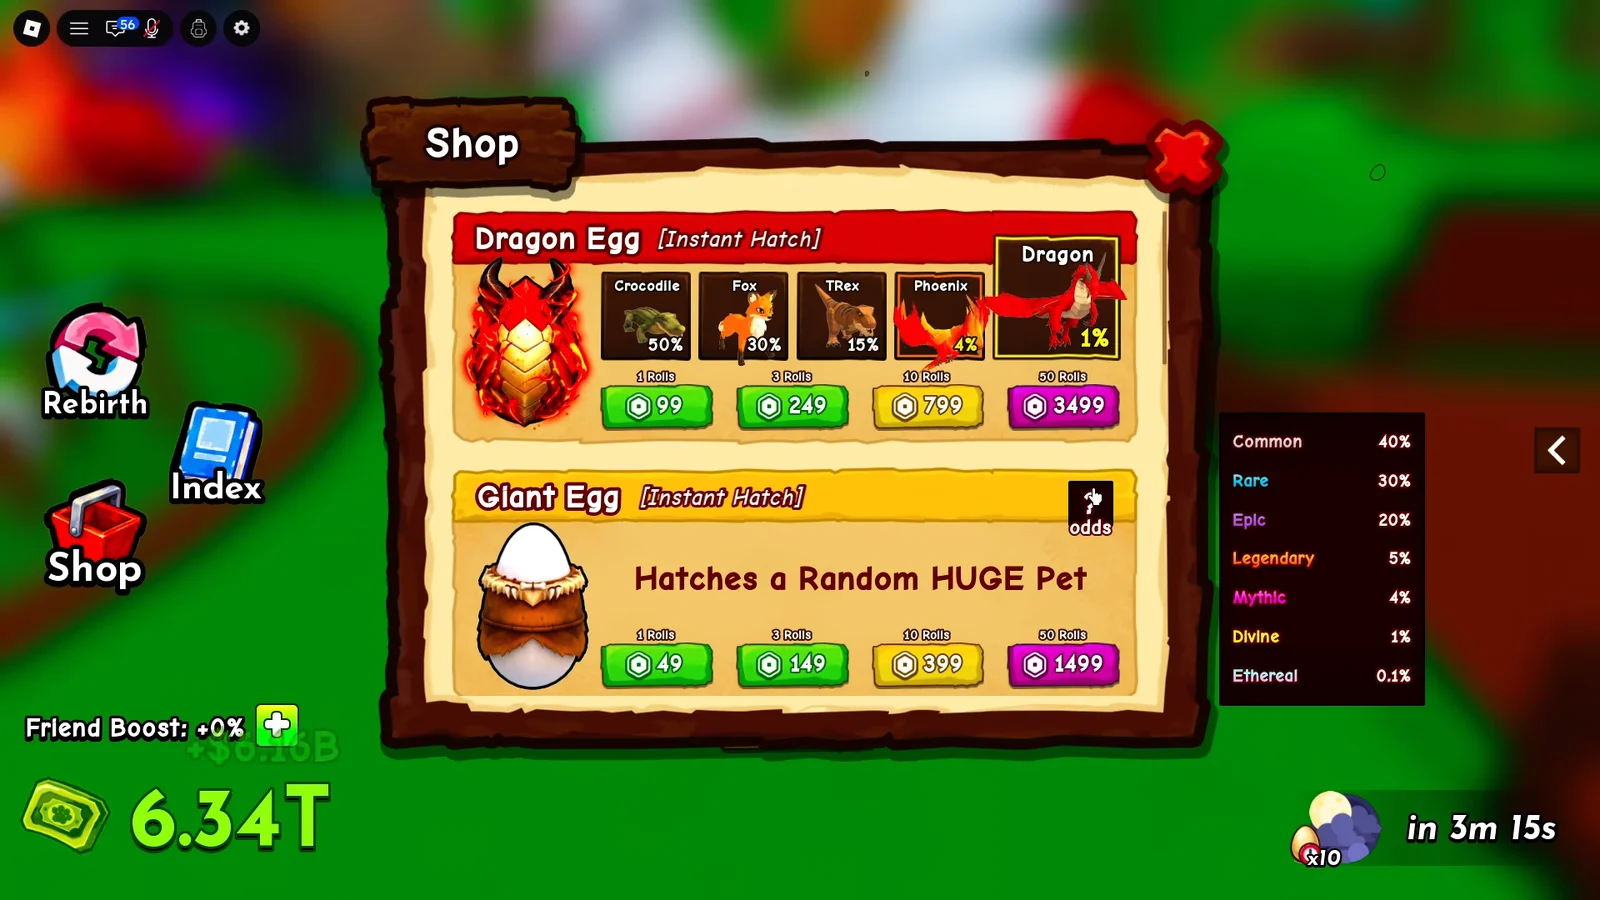
The Mutations menu splits into Hatched Mutations — Gold, Diamond, and Rainbow — and Weather Traits, which are the five event-driven mutations. Weather Traits are the ones that transform a pet, and they apply to speed, money per second, and sale value at the same time.
| Weather event | Mutation | Multiplier |
|---|---|---|
| Thunder | Shocked | 2x |
| Volt | Volted | 3x |
| Rage | Rage | 4x |
| Void | Void | 10x |
| Eternal | Eternal | 100x |
Each weather event runs for five minutes, and every event has an equal chance of appearing whenever the weather changes. While one is active, every egg on the map picks up the matching mutation, and a mutated egg can hatch a pet carrying it.
Where your pets are sitting decides whether they benefit:
- Pets placed in your Pen have a chance to catch the active mutation.
- The pet you are currently riding also has a chance to mutate.
- Pets sitting in your inventory cannot mutate at all.
- Eggs placed in the Pen can mutate, so park high-rarity eggs there before hatching them.
A pet carries one weather trait at a time. A stronger one overwrites a weaker one, so a Shocked pet struck during Volt weather becomes Volted. That’s the argument for saving mutations for keepers: a 100x Eternal on a mount you’re about to replace is wasted, while the same roll on a Kitsune shortens every route you run afterwards.
Hatch Luck, food, gear, and Index rewards
Once your mount situation is stable, these four systems control how fast the next tier arrives. Spend in roughly this order.
- Nests — keep every slot loaded; idle nests cost you hatches.
- Hatch Luck — buy a level at the ranch altar whenever you can afford one, ideally before cracking a batch.
- Radars — upgrade through Jewel, Royal, Magic, Angelic, and Eternal to track rarer egg tiers.
- Food — Bone, Meat, Magic Apple, and Dragonfruit grant XP; Dragonfruit is the one you feed to level keepers.
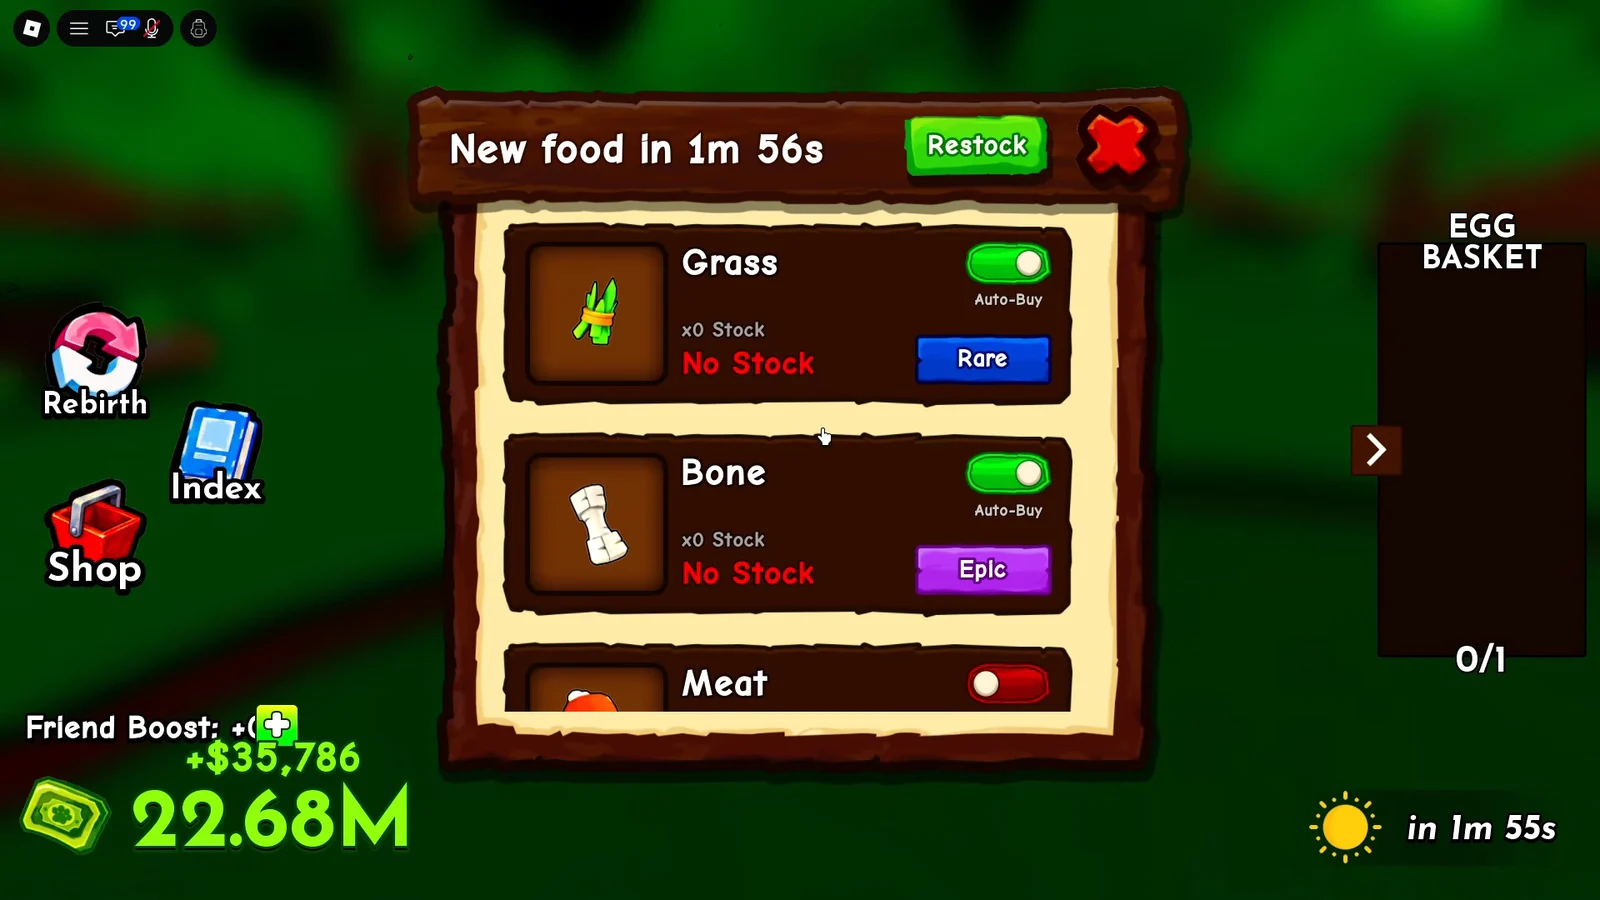
Gear inventory replenishes according to a timer, and the “Restocked Gear Shop” notice confirms the refresh. Better radars become increasingly valuable as you advance, since the Eggs Index reaches 1T rarity and players compete for its rarest spawns—a top-speed mount paired with a high-tier radar lets you arrive first.
The Index is the source of free cash players skip most often. Each newly discovered species adds an entry, and milestone claims provide payouts, including $1,000 and $5,000 early on. Check the Pets tab before selling anything: register a pet if it fills a new entry; sell it when it is a duplicate, then spend the proceeds on Hatch Luck.
Progression mistakes that cost the most time
- Wandering the map instead of running a fixed egg route.
- Keeping a slower mount because you prefer how it looks.
- Mutating weak starter pets you’ll replace within the hour.
- Leaving nest slots empty while you’re out collecting.
- Selling a pet before checking whether it’s a new Index entry.
- Rebirthing the moment the button unlocks rather than when recovery is quick.
Boiled down, the route from Snail to Dragon is one repeating exchange: ride the fastest thing you own, run a route you can clear without failing jumps, keep nests and Hatch Luck working while you’re away from the plot, and hold the Rebirth pets until the button is ready. Save mutations for the mounts you intend to keep, and the seven Rebirths stop being a grind and start being a checklist.