Dungeons are where Project Slayers 2 stops being a levelling game and starts being a scoring game. Every run hands you a stream of cards that change your stats, change the enemies, or change how many points you bank per floor, and the difference between a 50,000-point run and a 100,000-point run is almost entirely about which of those cards you took and when. The floor you die on matters far less than the multipliers you were carrying when you got there.
Quick answer: Reach level 65, unlock the portal past the bridge near the Forgotten Ruins, then build every run around permanent point multipliers — Lucky Draw, Streak, Ascension — while taking Damage over every other stat.
Dungeon requirements in Project Slayers 2
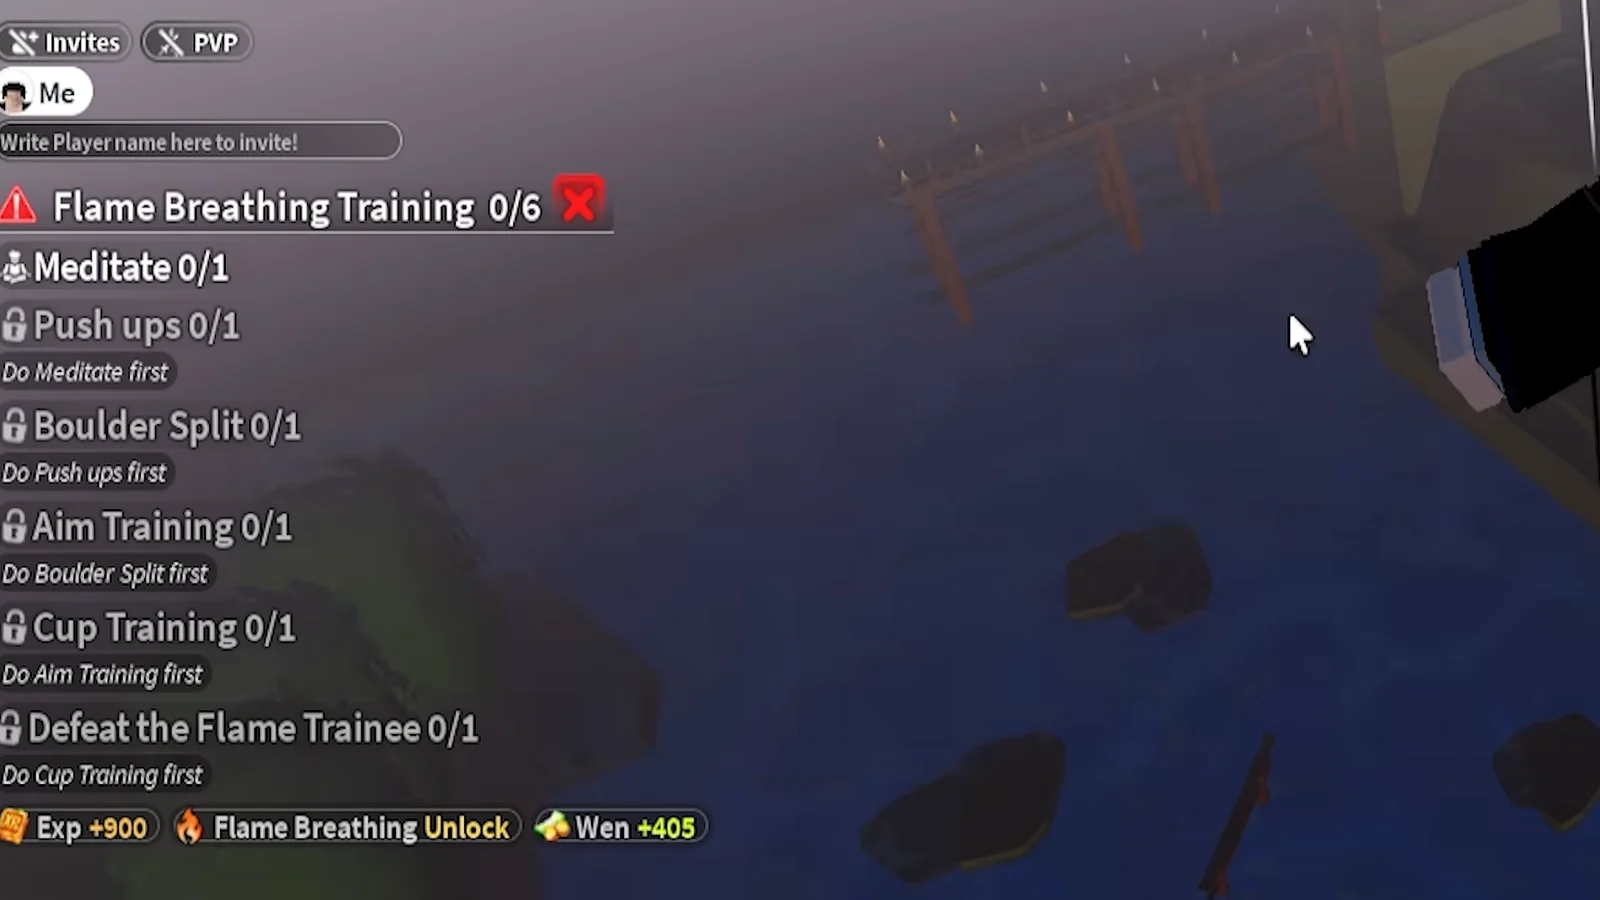
Dungeons open up around level 65, and that is the point where entering makes sense rather than a number to beat by 20 levels. Any Breathing Style or Blood Demon Art works, so there is no “wrong” build for the content.
- Level 65 or higher.
- At least one or two unlocked Breathing or BDA moves — M1 attacks alone will stall you out.
- Potions and supplies bought before you queue, since you prepare in the dungeon area itself.
- A weapon you have actually checked, because damage factor and block points carry the early floors.
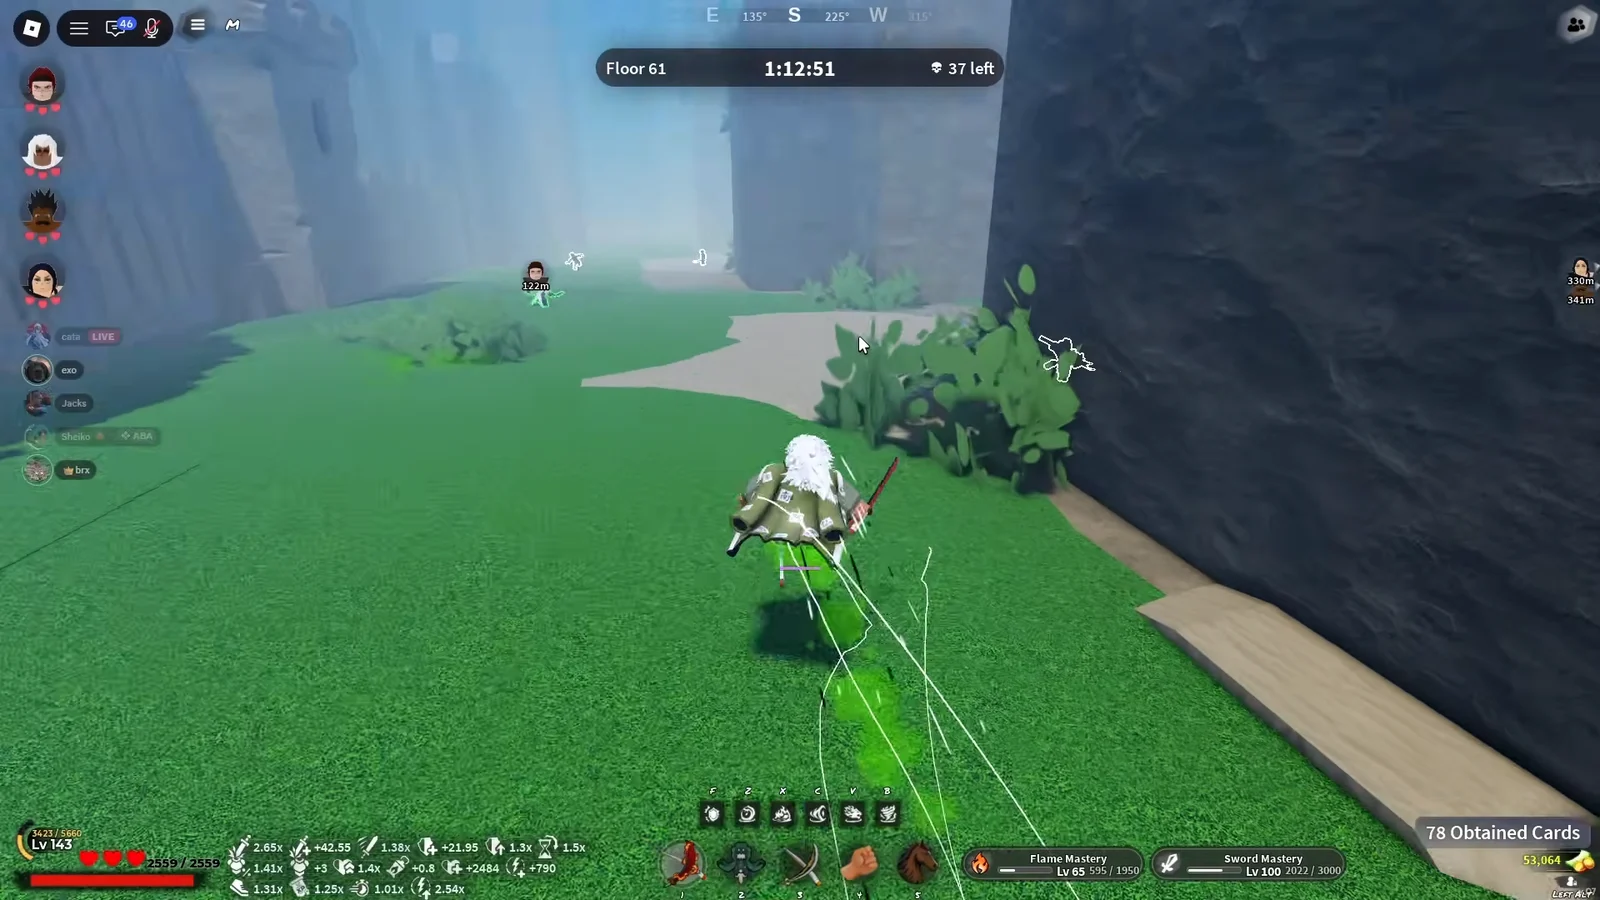
If you are still working toward that second ability, finish a trainer questline first. The Breathing trainers run you through a fixed set of tasks — meditation, pushups, a boulder split, target shooting, a cup game, then a fight with the trainee — and the move you get at the end is worth more in a dungeon than several levels.
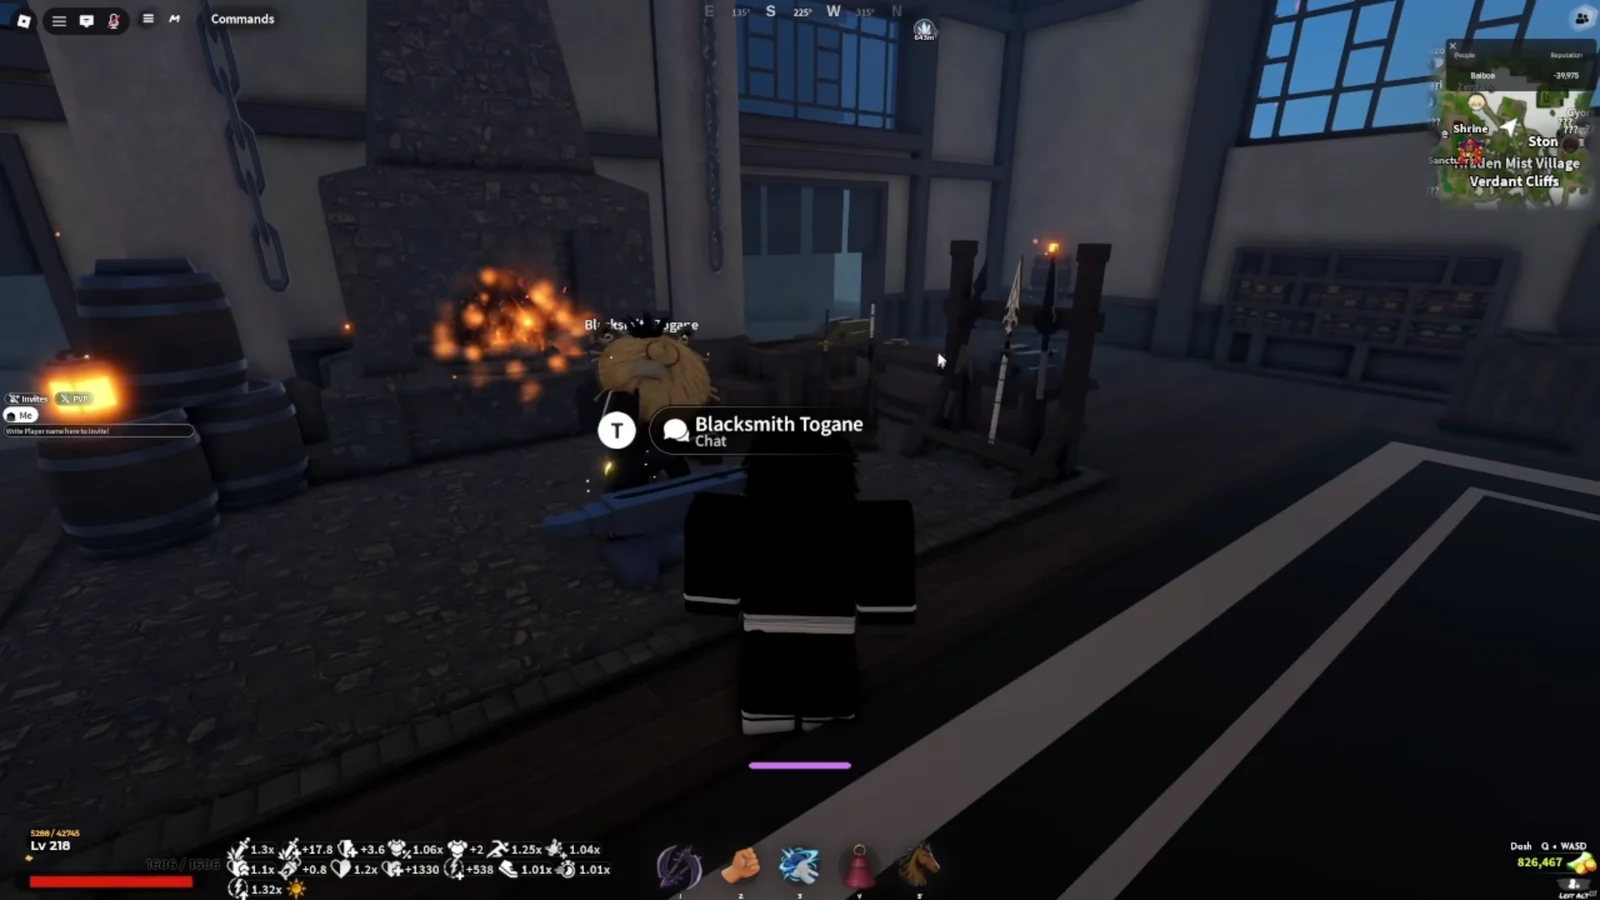
How to unlock the dungeon portal
Ranked mode and how scoring works
From the hub menu you pick Ouwigahara Normal, choose solo or group queueing, and decide whether to flip on Ranked before the countdown starts. Ranked runs feed the leaderboard in the dungeon lobby, which shows player rankings, scores, and how much time is left in the season.
The key thing about that leaderboard is that it tracks total points, not the deepest floor you touched. A player who stacked multipliers from floor one and died on floor 20 can outrank someone who ground quietly to floor 35 with nothing but stat cards. Build for points, then keep enough damage and health to survive long enough to bank them.
Ranked runs have a no-revive condition. One death ends the attempt, which is why the health-slashing cards are so much riskier in Ranked than in a casual clear.

Best dungeon cards to take
Cards split into two broad groups. Some adjust your character, some adjust the dungeon in exchange for a point multiplier. The second group decides your score, and the ones that apply to every remaining floor are worth far more the earlier you grab them.
| Card | Effect | When to take it |
|---|---|---|
| Lucky Draw | Legendary card, improves your draws | Top priority, as early as possible |
| Vampiric | Heals you on every kill | Any time it appears |
| Boss every floor | Large permanent point multiplier | Ranked pushes with strong damage |
| Streak | +5% per clean floor cleared | Early, for compounding value |
| Ascension | x1.2 points, extra elite each floor | Group runs, or solo with good clear speed |
| Blood Moon | x1.5 points, enemies hit harder but die faster | Early and mid run only |
| Fair Fight | x1.2 points, changes enemy spawns | Safe early multiplier |
| The Horde | More enemies, more points | When your damage is already high |
| Glass Cannon | Double damage, -50% health | Only with a safe playstyle |
| Heavy Hitter | +50% damage, -20% stamina | Generally worth it |
Lucky Draw is the one to watch for in the first few floors. It is a legendary card, and its value scales with the number of floors left to use it on, so a floor-three Lucky Draw is worth several times a floor-thirty one.
Blood Moon is the clearest risk-reward trade in the pool. Enemies lose a big chunk of health but hit considerably harder, which is efficient while their damage is low and genuinely dangerous once scaling kicks in. Take it early, think twice about it late.
You’ll find The boss-spawn modifier with the black multiplier cards, not the standard stat picks, which makes it easy to overlook when scanning the stat column. Taking it adds a boss to each floor for the remainder of the run, but grants a major multiplier; no other score card is as aggressive.
Stat priority for dungeon runs
Once the run-wide multipliers are locked in, the stat cards are what keep you alive long enough to use them. The order below holds for almost every build.
| Priority | Stat | Why |
|---|---|---|
| 1 | Damage | Faster clears fix every other problem |
| 2 | HP | Survives late-floor mistakes |
| 3 | Cooldown Reduction | More ability uptime |
| 4 | Block Points | Extra defence on hard floors |
| 5 | Stamina Regen | Useful, never urgent |
Both flat and percentage damage bonuses count, and Damage Reduction is worth grabbing alongside HP when it shows up. Attack Speed is the trap here: it looks like more damage, but a straight damage increase or a damage multiplier improves clear speed more reliably. When both are on the table, take Damage.
Check your equipped gear before queueing. Damage Factor and Block Points on a katana stack with everything you pick up inside, and a weak weapon quietly caps how far your stat cards can carry you.

Cards to skip or handle carefully
- Because Grounded disables movement tools like dashing and double jumping, avoid choosing it at the start. It makes the entire run slower.
- Elite Guard — +1.15 points for the next floor only. Temporary bonuses lose to permanent ones on any long run.
- Half-health modifiers — survivable on early floors, dangerous once enemy damage scales, fatal in Ranked.
- +50% enemy health — fine early if the point reward is good, punishing later when kills already take too long.
- Trophy cards — not worth the slot when you are committing to a long run.
- Permanent Movement Speed and Attack Speed — take them only when nothing better is offered.
Solo versus group dungeon runs
Solo is the stronger default for score. You keep every advantage the run offers instead of splitting it, you control which cards get picked, and you set the pace on each floor. That matters most when you are chasing a Ranked placement.
Group runs work, but only if you find the cards that improve shared points. Without them, three players clearing together can end up with less individual value than the same players running separately. Ascension is the obvious multiplayer pick, since an extra elite per floor is much easier to absorb with backup.
Run pacing: hitting 50,000 and 100,000 points
Builds with fewer than two abilities
Target around 50,000 trophies and play conservatively. Clear the standard waves with M1 attacks and save your move for glowing NPCs and bosses, which carries most builds comfortably to about wave 20 before resource problems start.
Pushing 100,000 points and wave 60 or deeper
Past wave 60 the answer is ability spam rather than patience. Scale up how often you cast, lean on high-impact crowd control — a wide V move on Flame Mastery is the classic example — and stop trading M1s with enemies that hit hard enough to end a Ranked attempt in two swings.
Floor-by-floor priorities
Floors 1 to 5 are for Lucky Draw, cheap multipliers like Fair Fight and Fog of War, and any meaningful Damage card. Floor 10 ends with the Yeti Demon boss and a milestone card upgrade. From floor 11 onward the run shifts into the ice biome, where Ascension and Streak are the picks worth holding out for, and where HP finally becomes as important as damage. Another Yeti boss waits on floor 15.
What to spend dungeon points on
Points are spent in the dungeon lobby, which is also where the run’s real rewards live. The Tower Crystal at the Training Boosters converts points into experience and mastery, letting you max out Flame Mastery, Sword Mastery, or fist and BDA mastery far faster than grinding it in the open world. Dungeons are also the route to Tier 2 gear.
| Spend | Cost | What you get |
|---|---|---|
| Training Boosters | Varies | EXP and mastery levels |
| Ouwigahara Chest | 30,000 points | Legendary gear rolls |
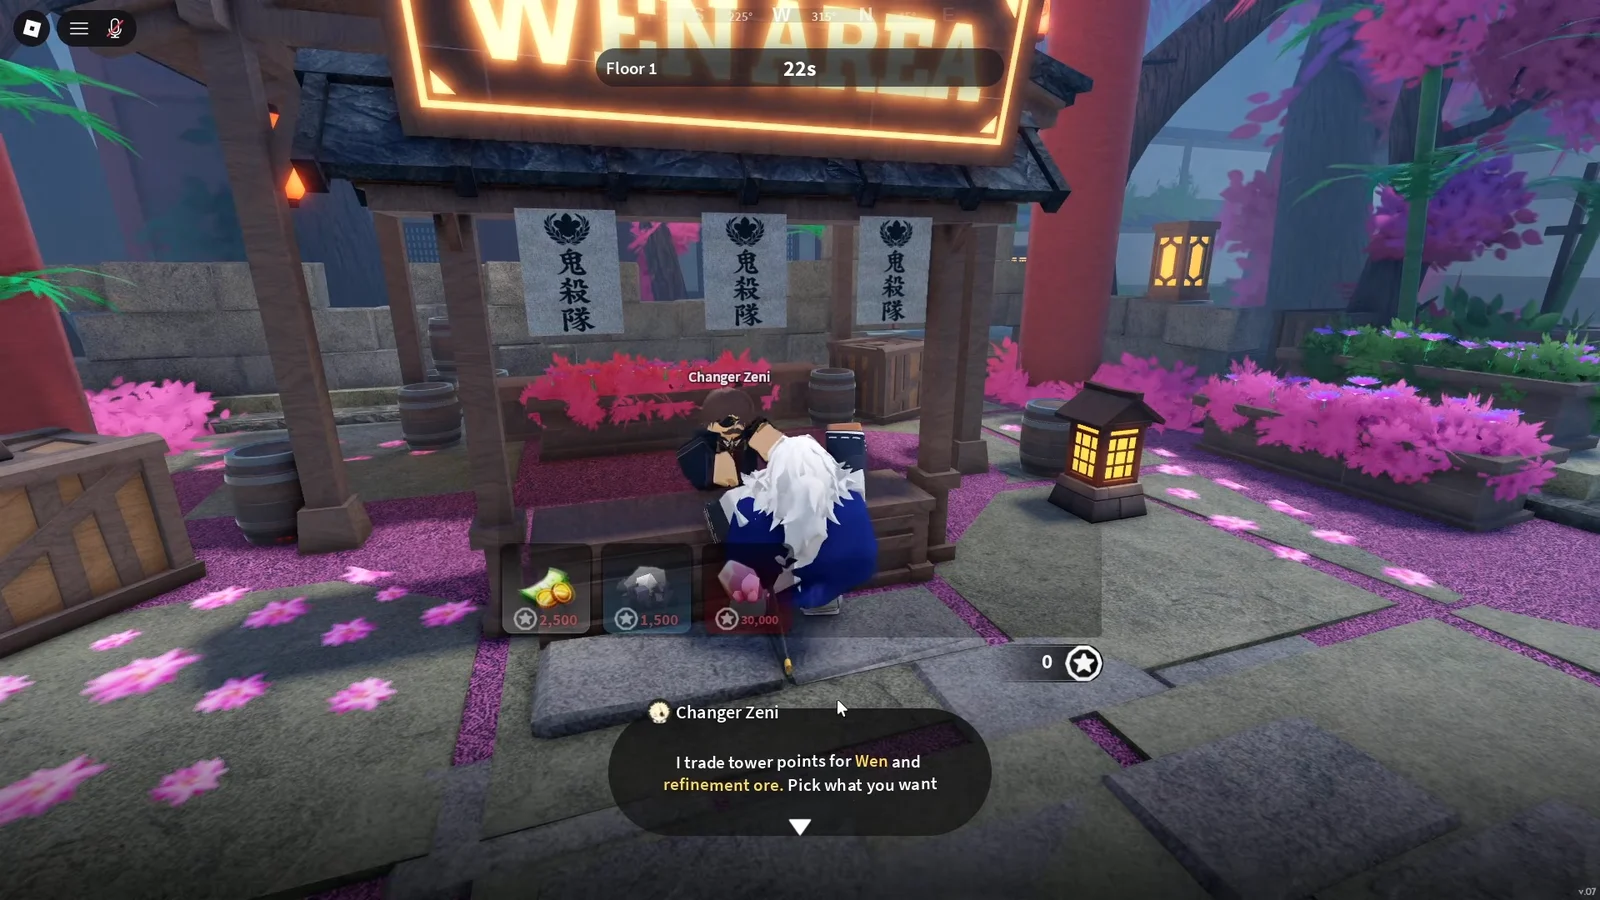
| Changer Zeni | 30,000 points | One Mythic Refinement Ore |
| Nichirin Forge | 90,000 points + materials | V2 weapon crafting |
The Ouwigahara Chest is where drops like Demonic Horns II and the Silver Fang Mask come from. Changer Zeni sells Refinement Ore, but at 30,000 points each it is an expensive way to gather all ten — completing Denzo’s quest to unlock salvaging lets you break down Mythic-rarity items for the same ore instead.
The Nichirin Forge is the end point for most of this. Its recipes cover V2 weapons like the Butterfly Katana, the Damascus weapons, and the Volcanic Katana, and a basic V2 needs 90,000 Dungeon Points, 500 Metal Scraps, Silk Thread, and 10 Mythic Refinement Ore, plus that weapon’s own dungeon materials. Reaching roughly floors 60 to 70 in a single run is generally enough to cover the point cost, which is the practical reason to care about any of the card advice above.