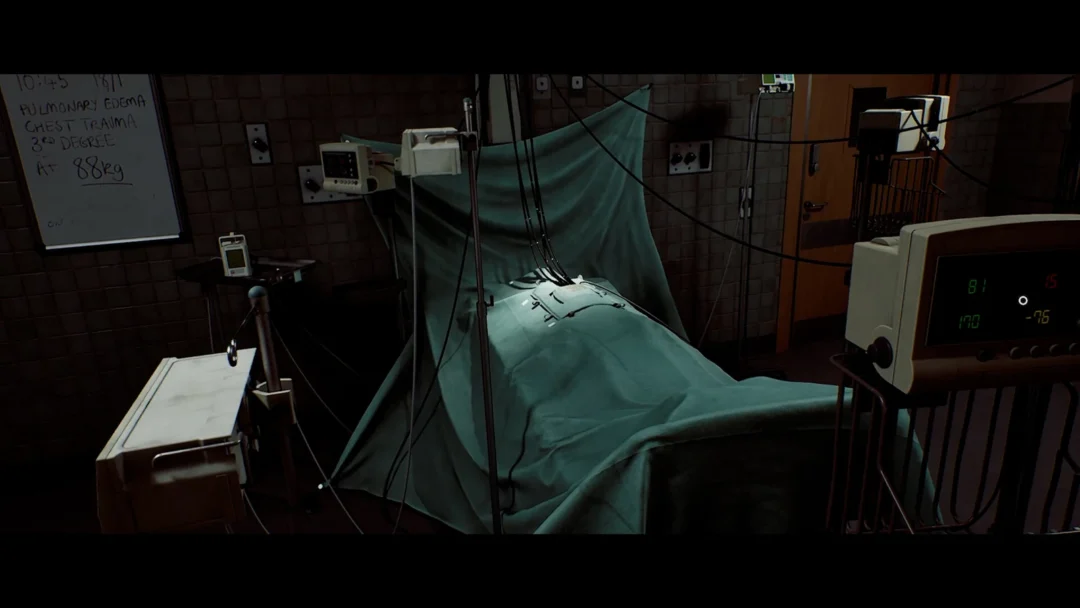
At St. Amelia, a metal shutter and wall-mounted electronic card reader block the Shorefront Family Clinic. Only nurse Zoe Ellis’s access ID can release it. Her card is in a cooler marked “HUMAN ORGAN IN TRANSIT” on apartment 2A’s kitchen table, protected by two three-digit padlocks and an outage. Every part of the route must be completed.
Quick answer: Set the cooler’s left lock to 956 and the right lock to 133, take Zoe’s Lanyard, then hold it against the card reader beside the clinic shutter.
What Zoe’s Lanyard is and what it opens
The lanyard holds a medical ID card, so the game treats it as both a story object and a door key. It has two separate jobs: raising the clinic’s shutter, and later filling one of the three electronic scales in the clinic’s back storage room.
| Detail | Value |
|---|---|
| Item type | Key item (access ID card) |
| Card holder | Zoe Ellis, Clinic Nurse |
| Issued | 3rd March 2002 |
| Found in | Human Organ in Transit cooler, apartment 2A |
| Used on | Clinic shutter scanner, then the right-hand scale |
Restore power in Zoe’s apartment to reveal the cooler codes
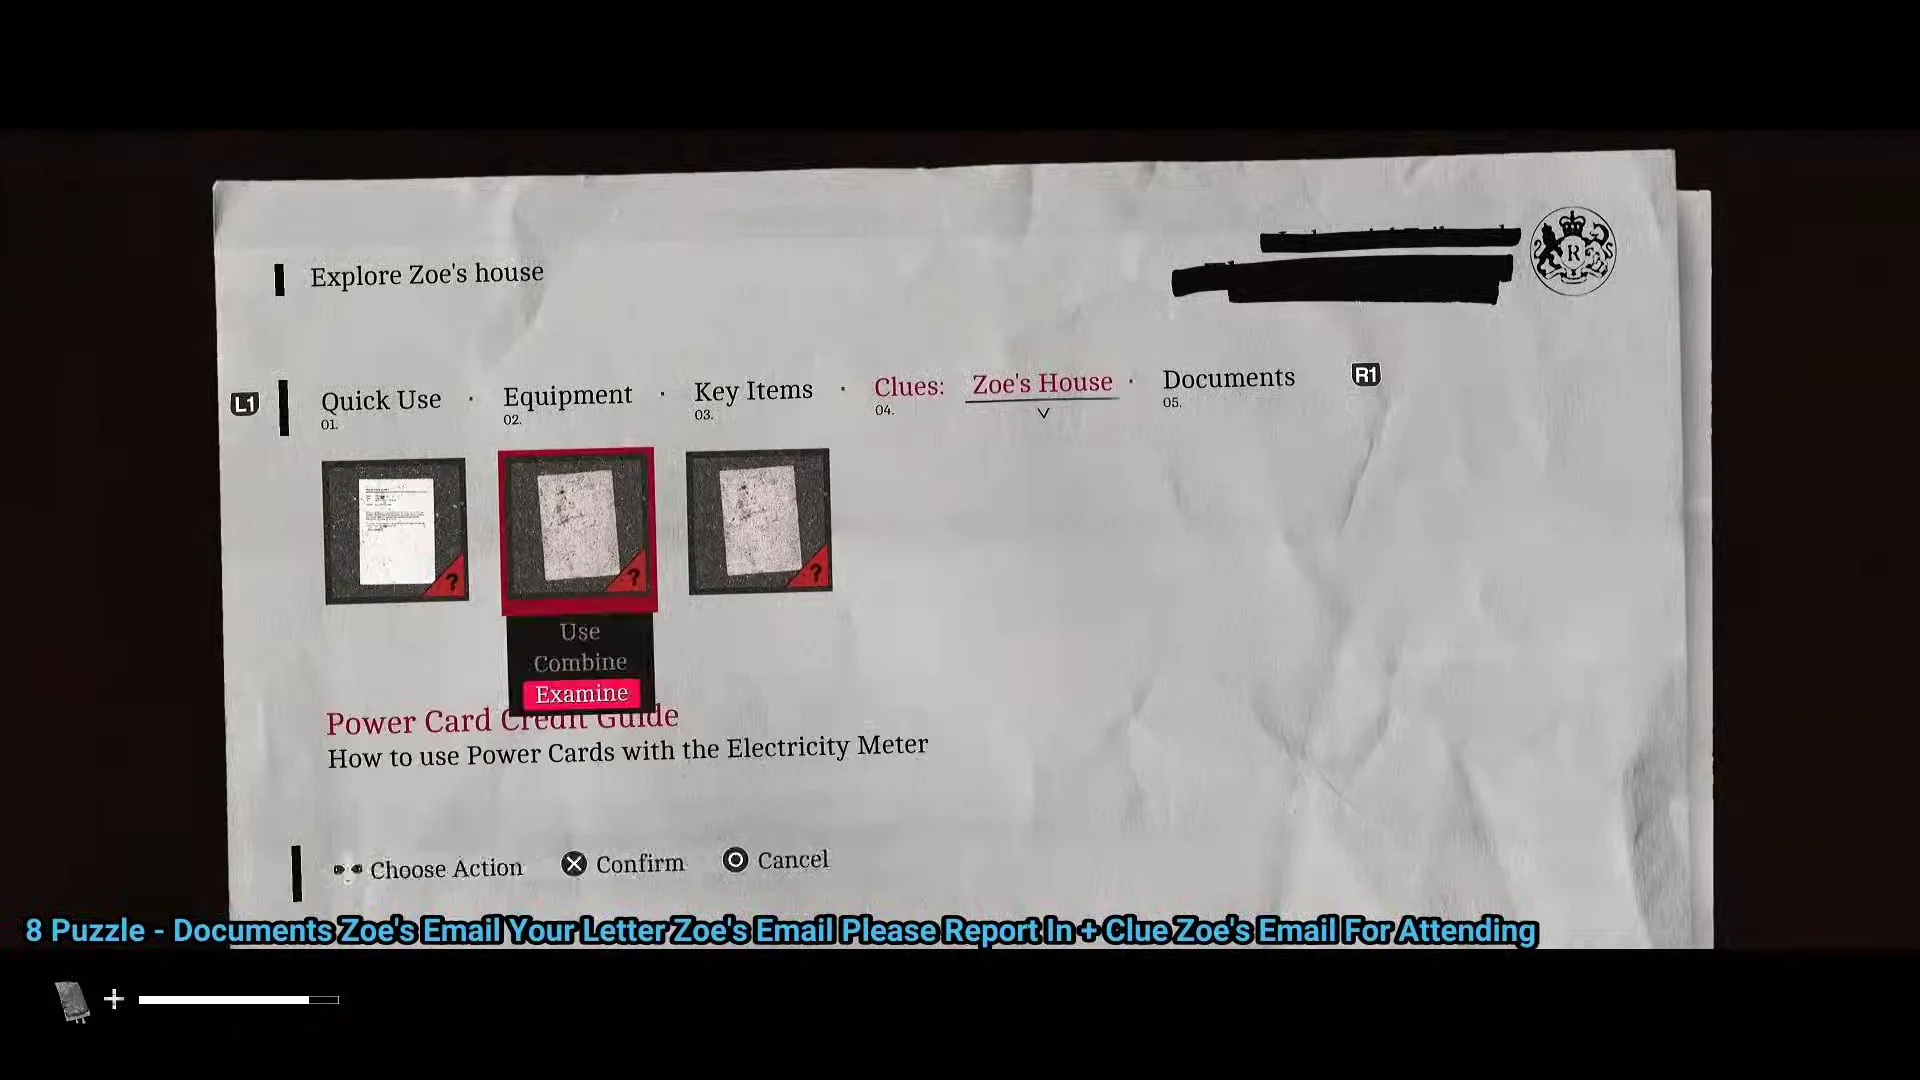
The combinations live in Zoe’s inbox, and the computer in the living room is dead until the meter under the stairs has credit on it. Before you can even see the meter, you need a working flashlight.
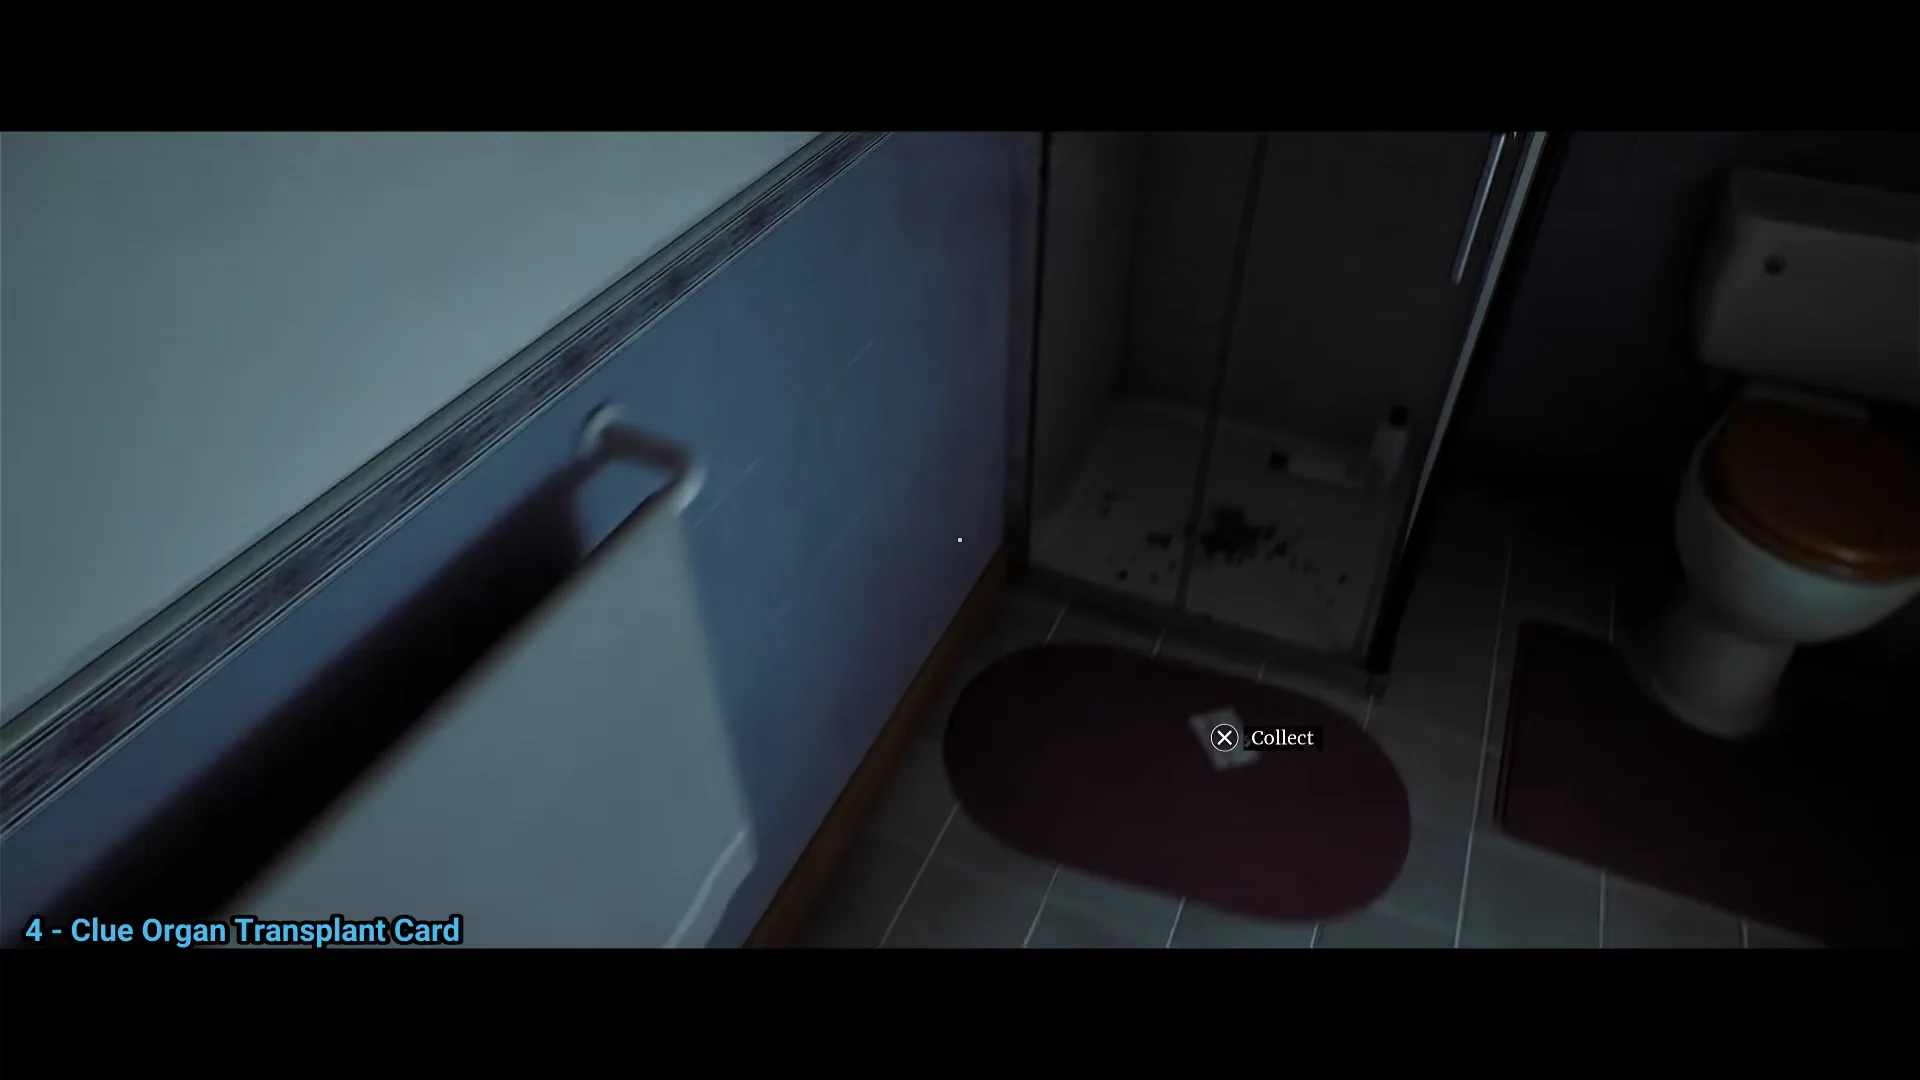
Human Organ in Transit cooler codes: 956 and 133
Two separate three-digit tumblers secure the cooler, with one half of the ET number assigned to each. You can bypass the calculation because the values never change.
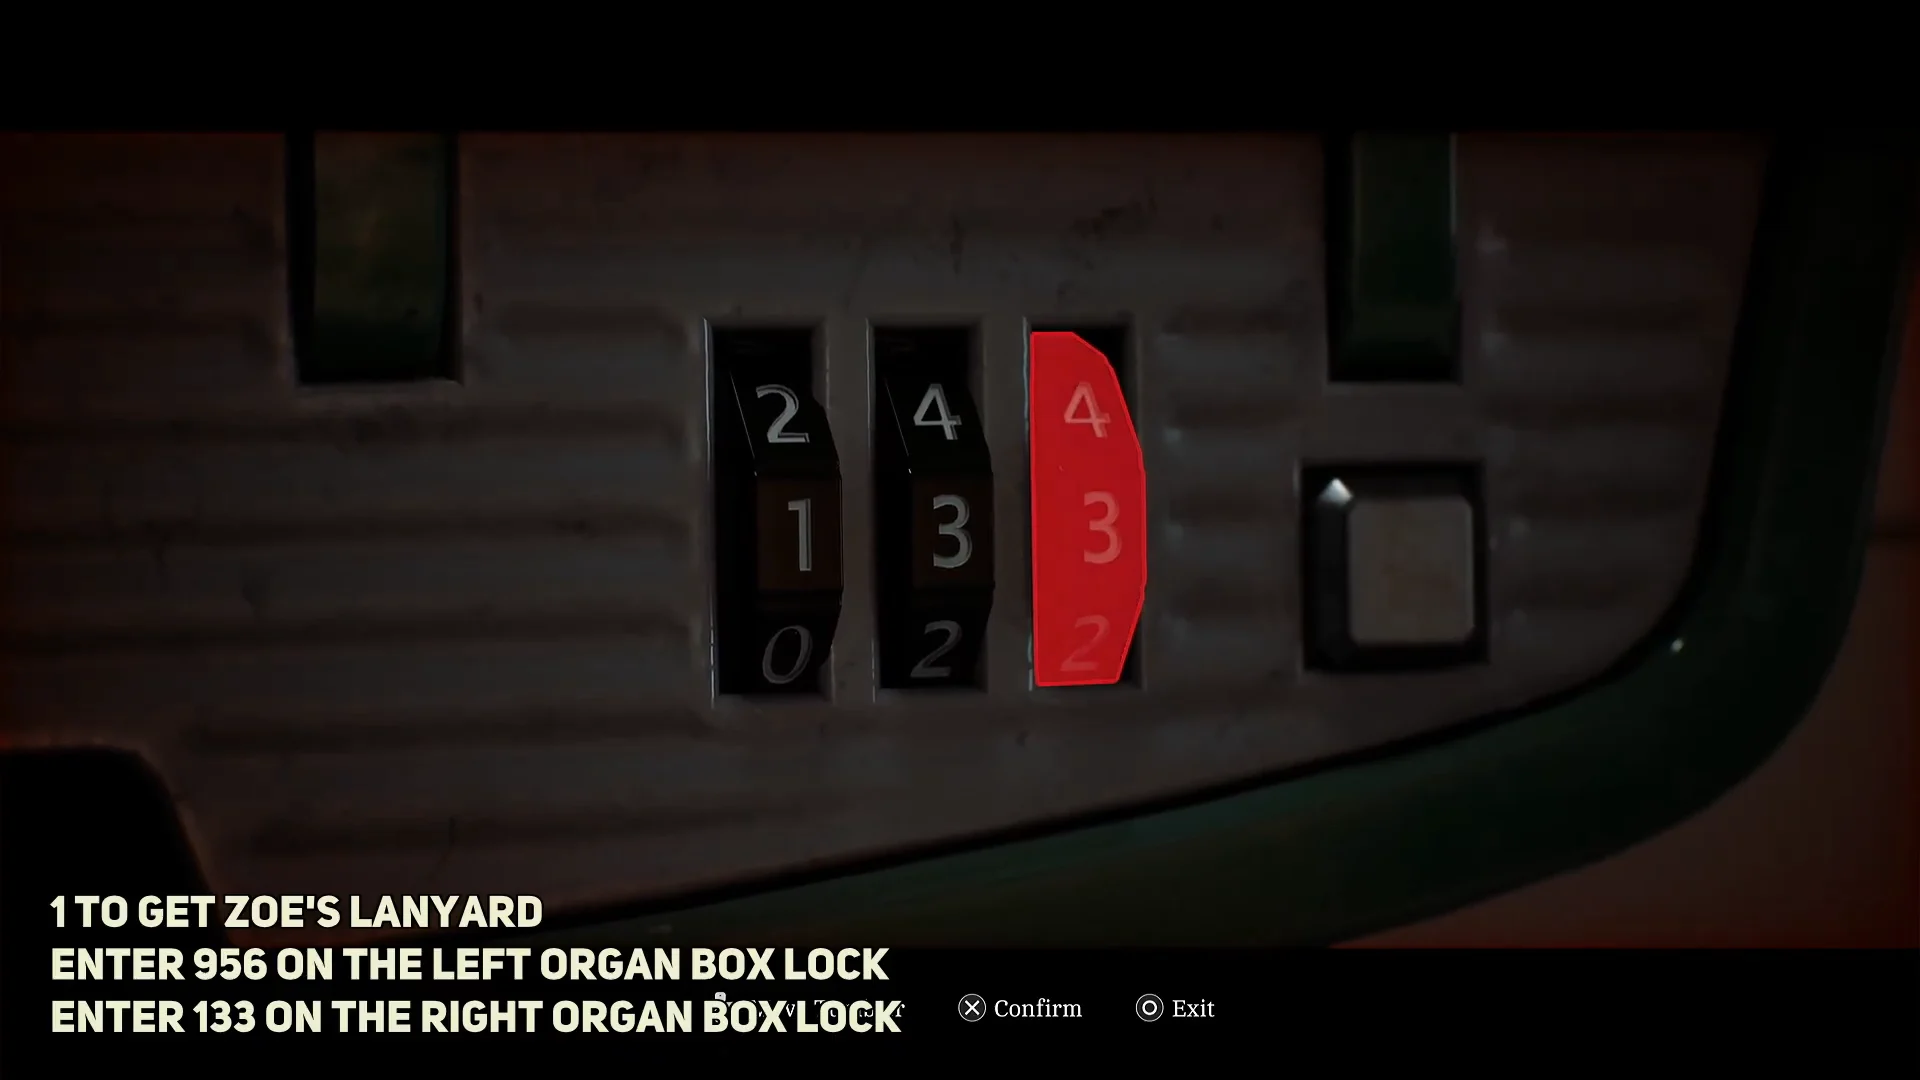
The box will not show an opening option until both combinations are right. Accept that option; a brief scene shows the lid being forced open and Zoe’s Lanyard being removed, which places the clinic on your map.
Reaching the clinic shutter and scanning the lanyard
The clinic sits northeast of the town square, and the route crosses the market itself, where creatures patrol the gaps between stalls. Crouching behind the barriers and waiting for patrols to turn gets you across without a fight.
At the entrance, use the lanyard on the card reader mounted beside the shutter. The reader accepts it and the shutter rolls up, opening the reception area behind it.
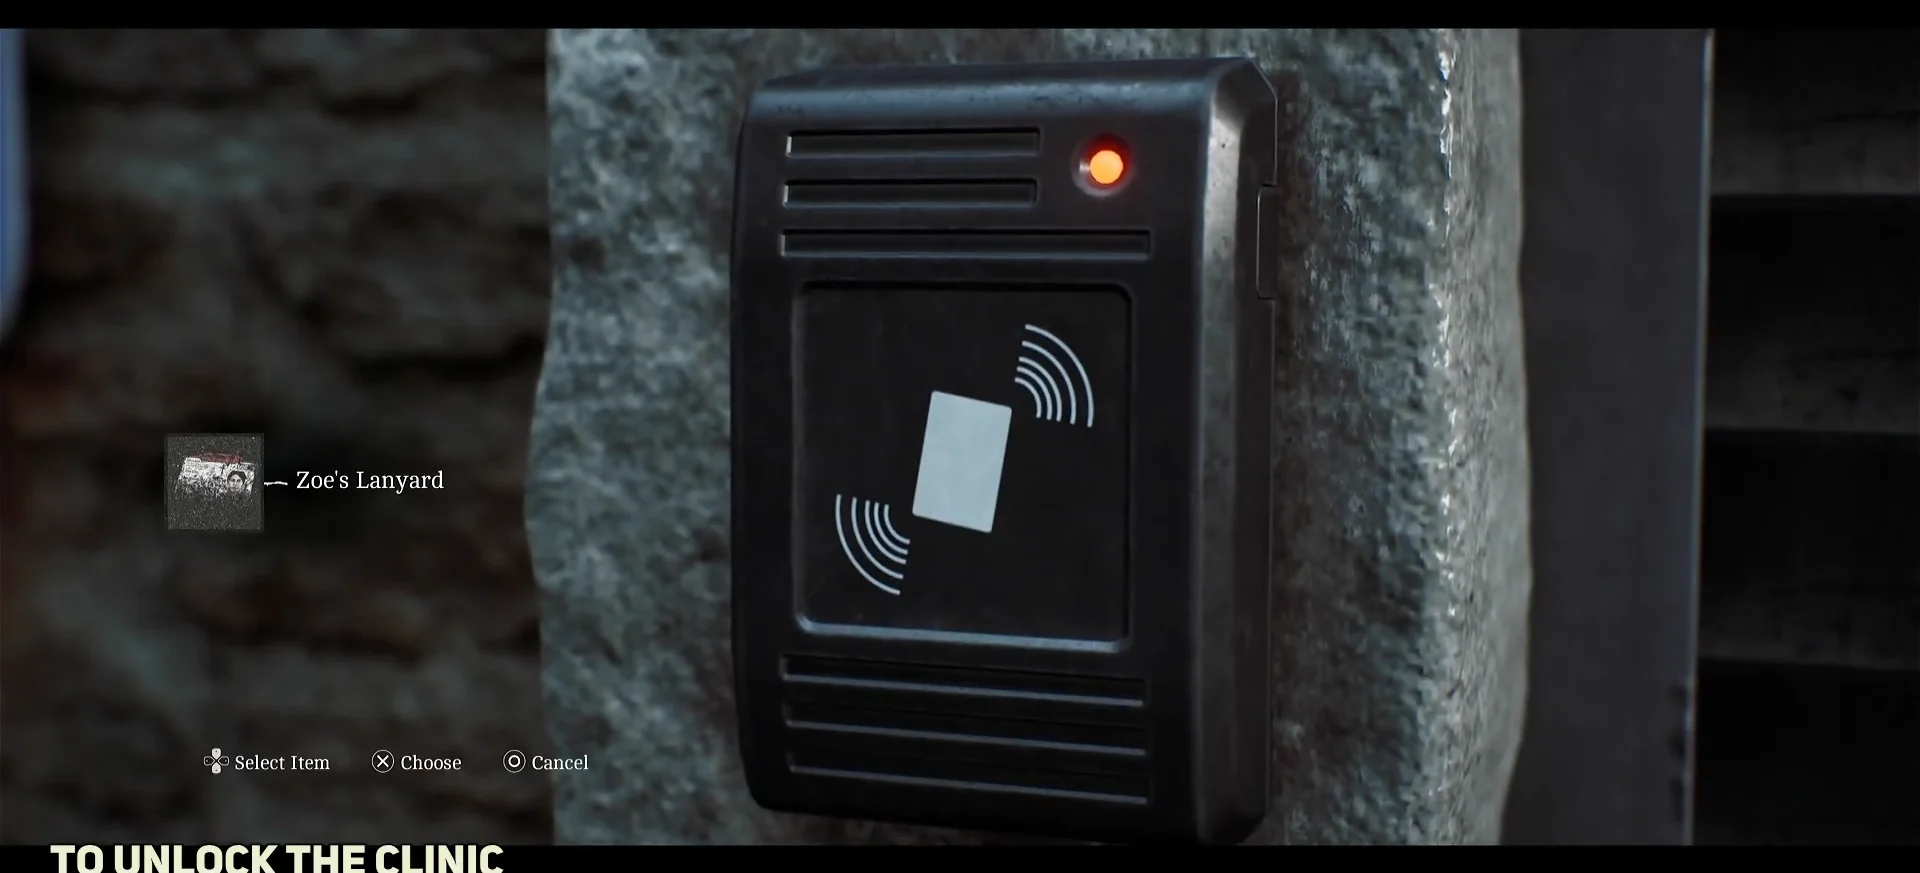
A skinless humanoid lunges out of the doorway the instant the shutter lifts, so have the wooden board equipped before you scan rather than after.
Clinic Reception door code: 2896
Past the entrance, the Reception door is locked behind a four-digit keypad. The code is 2896, and you can find it yourself by following the corridor to the office marked “Z Ellis” — despite the black goo seeping under the door, nothing is waiting inside — and reading the Post-it note stuck to the computer.
Reception is worth the detour. It holds a phone for manual saves, the Nurse’s Rounds Form document, and an answering machine message that points you toward the pharmacy.
Where Zoe’s Lanyard goes in the clinic scales puzzle
A rear storeroom deeper in the clinic contains three electronic scales among stacks of cardboard boxes, with one required object per scale. The Resignation Letter found there provides the sequence: its three lines correspond to the three objects in order.
| Scale | Item | Source |
|---|---|---|
| Left | Broken Stethoscope | Bed in Jess’s House |
| Middle | Prescription Dosage Error Note | Pharmacy locker, code 6539 |
| Right | Zoe’s Lanyard | Cooler in apartment 2A |
The first line, which says she did not listen closely enough, indicates the stethoscope. Its middle line about mistakes indicates the dosage error note, while the final admission that she is no longer fit for the position indicates the ID card.
The same tool is needed to obtain both missing items. In the Z Ellis office, remove the Scalpel from the medical case; this opens St. Amelia Park and the pharmacy. Building 16 is opposite Building 14 in the park. Go upstairs in Building 16, take the 21 Farrow St. – Back Door Key from Room 1/2, use it at Jess’s House’s rear entrance in the alley beside Building 14, and collect the stethoscope from the bed. At the pharmacy locker, enter 6539 to get the note.
How to confirm each stage worked
- Power: the meter’s display comes on, the red master switch shows On, and the living-room terminal starts.
- Cooler: the box presents an option to open, and the cutscene places Zoe’s Lanyard in Key Items.
- Clinic: presenting the lanyard makes the reader accept it, then the shutter lifts.
- Reception: the keypad opens the moment you enter the fourth digit.
- Scales: Balance all three plates to unlock the “Resignation” trophy; a cutscene then takes you into the next Part.
If the scales refuse to react, the cause is a missing object rather than a wrong placement order — the lanyard on its own will not resolve the room, and neither will two of the three.