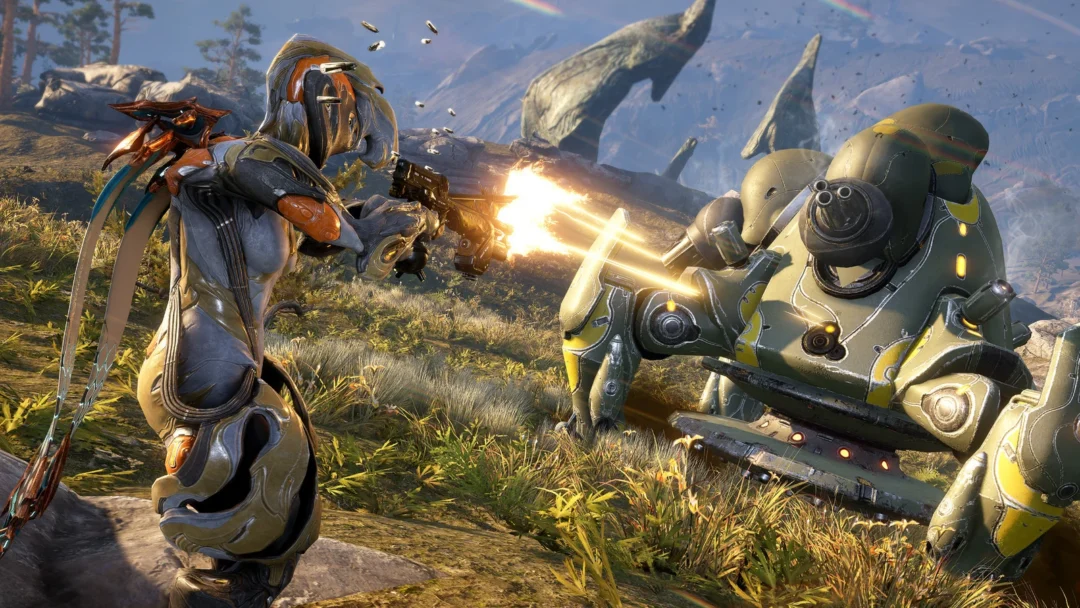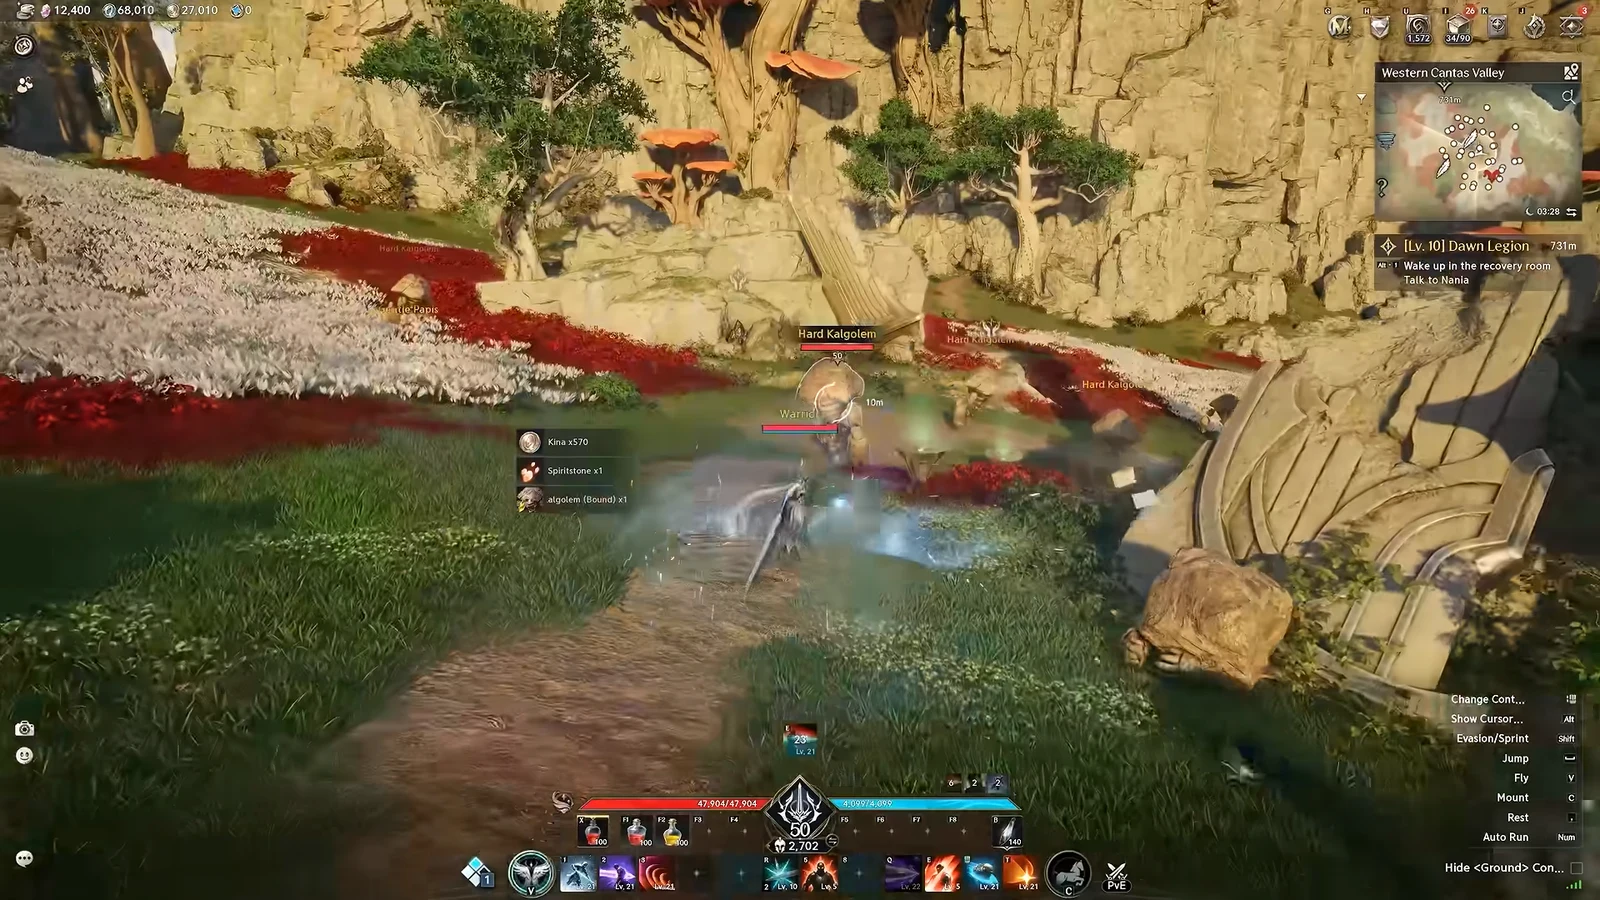
Urugugu Canyon is a party expedition in Aion 2, set in a canyon held by the Urugugu tribe who worship Ishtar and guarded by Auldor, a sacred winged beast. A Templar tank clears the Conquest version here with a five-slot party, holding threat through three boss fights, riding windstreams up the canyon walls, and finally cracking open the reward chest after the last boss falls.
Quick answer: Urugugu Canyon is a 2–5 player expedition with three bosses — Guardian Captain Raur, Judge Urahum, and Divine Auldor — and two difficulties, Exploration and Conquest. Conquest adds an enrage timer on the final fight; Exploration does not.
What Urugugu Canyon is in Aion 2
The expedition runs the same layout in both difficulties: a village approach, two mid-bosses, a vertical windstream climb, and a final boss arena at the top. The fight window is capped at 60 minutes, and the instance scales its level and gear requirements by difficulty.
| Difficulty | Level req. | Item level req. | Players |
|---|---|---|---|
| Exploration | 28 | 300 | 2–5 |
| Conquest | 45 | 1,400 | 2–5 |
Entry costs Odyle Energy, the shared expedition currency. You can bank up to 560 Odyle Energy normally, rising to 840 with membership, which sets how many runs you can hold in reserve before it stops accruing.
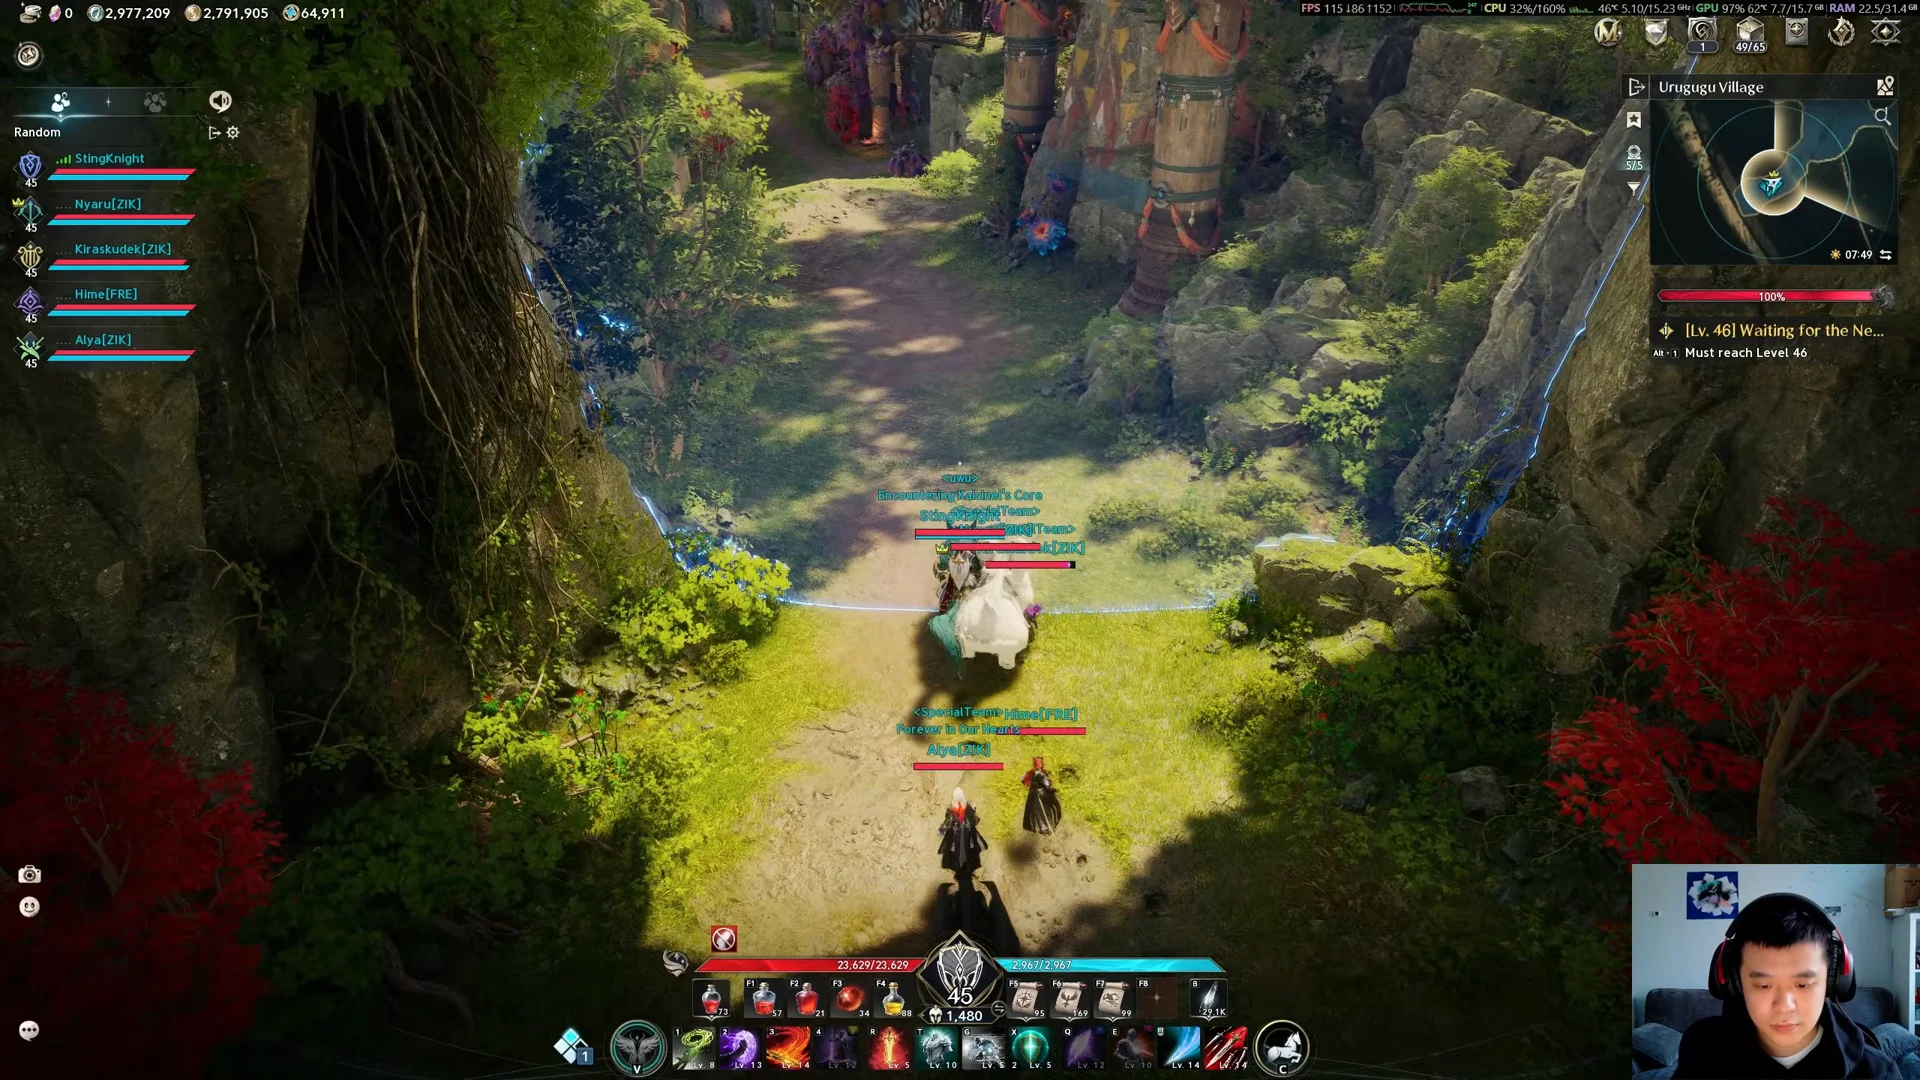
Guardian Captain Raur, the counter-stance boss
The party mounts up and rides through Urugugu Village to reach a wooden platform where the first boss waits. Guardian Captain Raur mostly leans on telegraphed slams and ground AoE, but one pattern defines the fight.
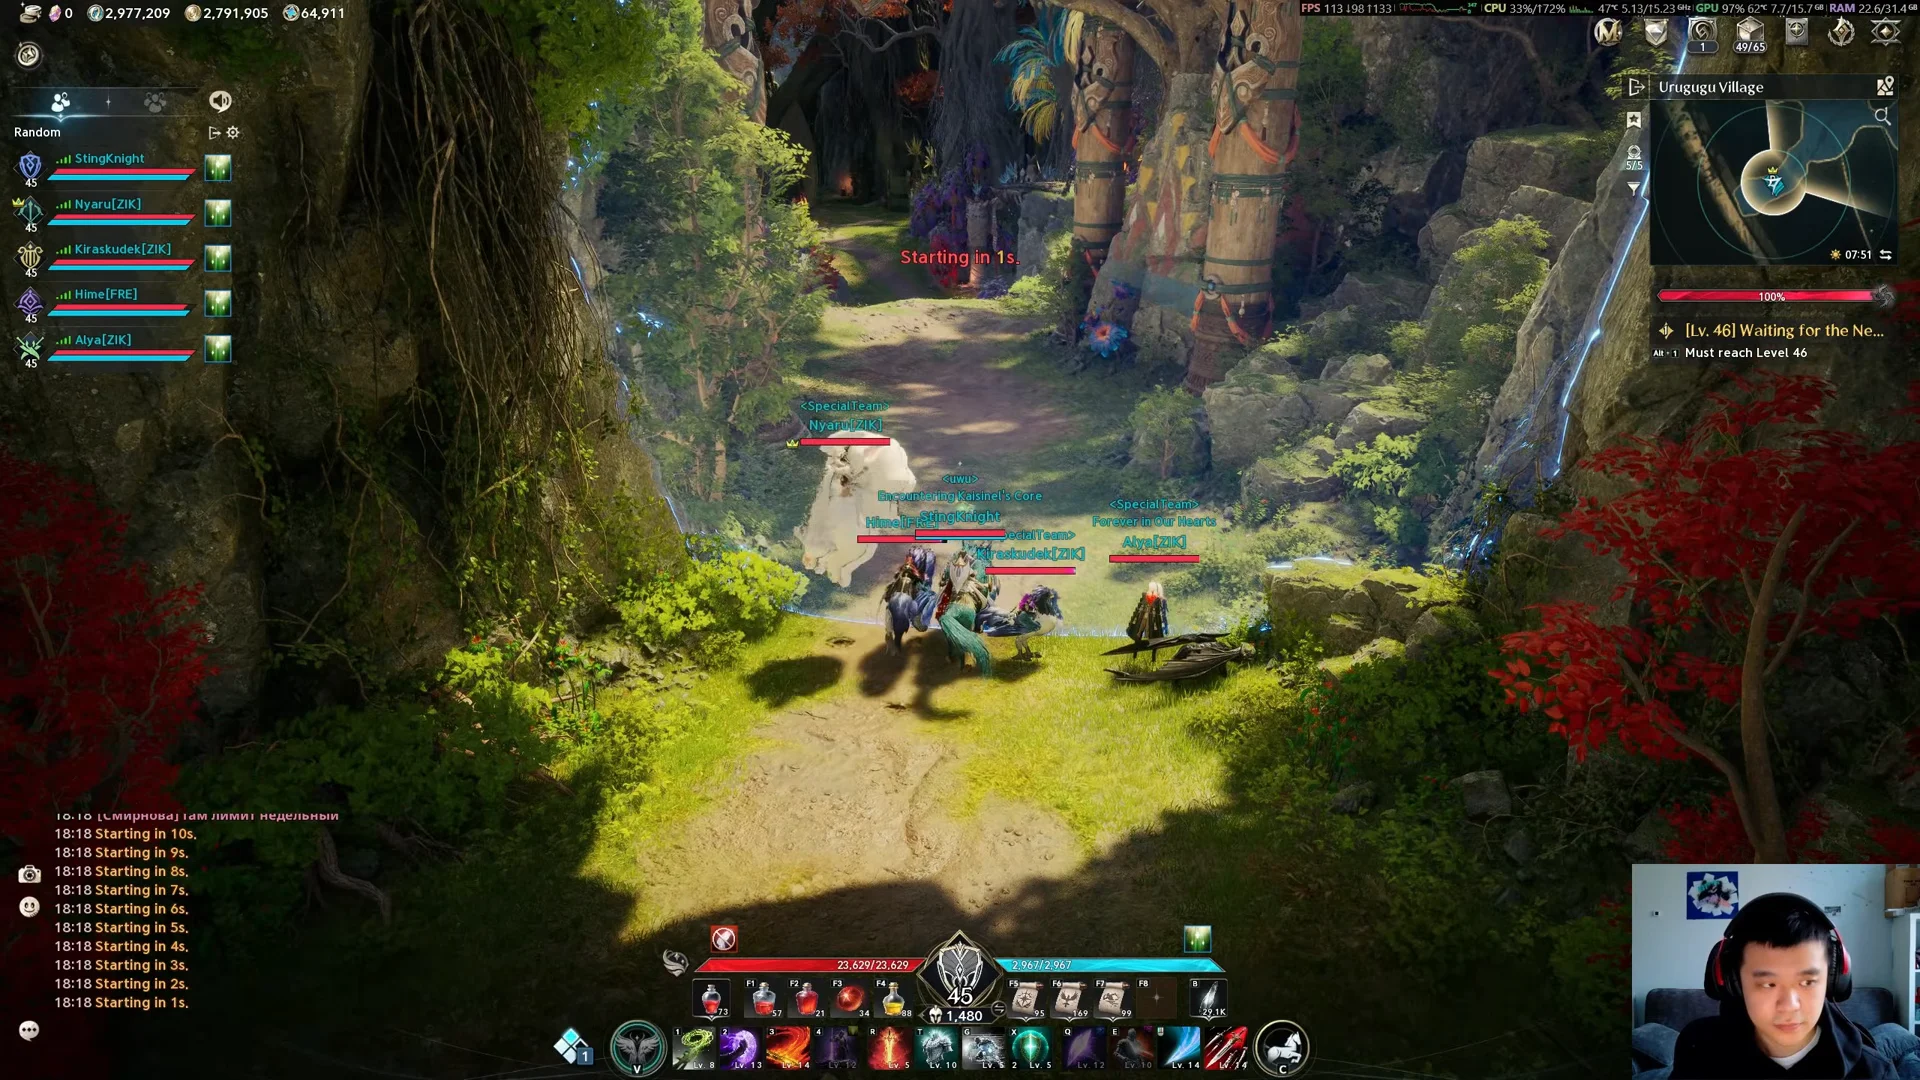
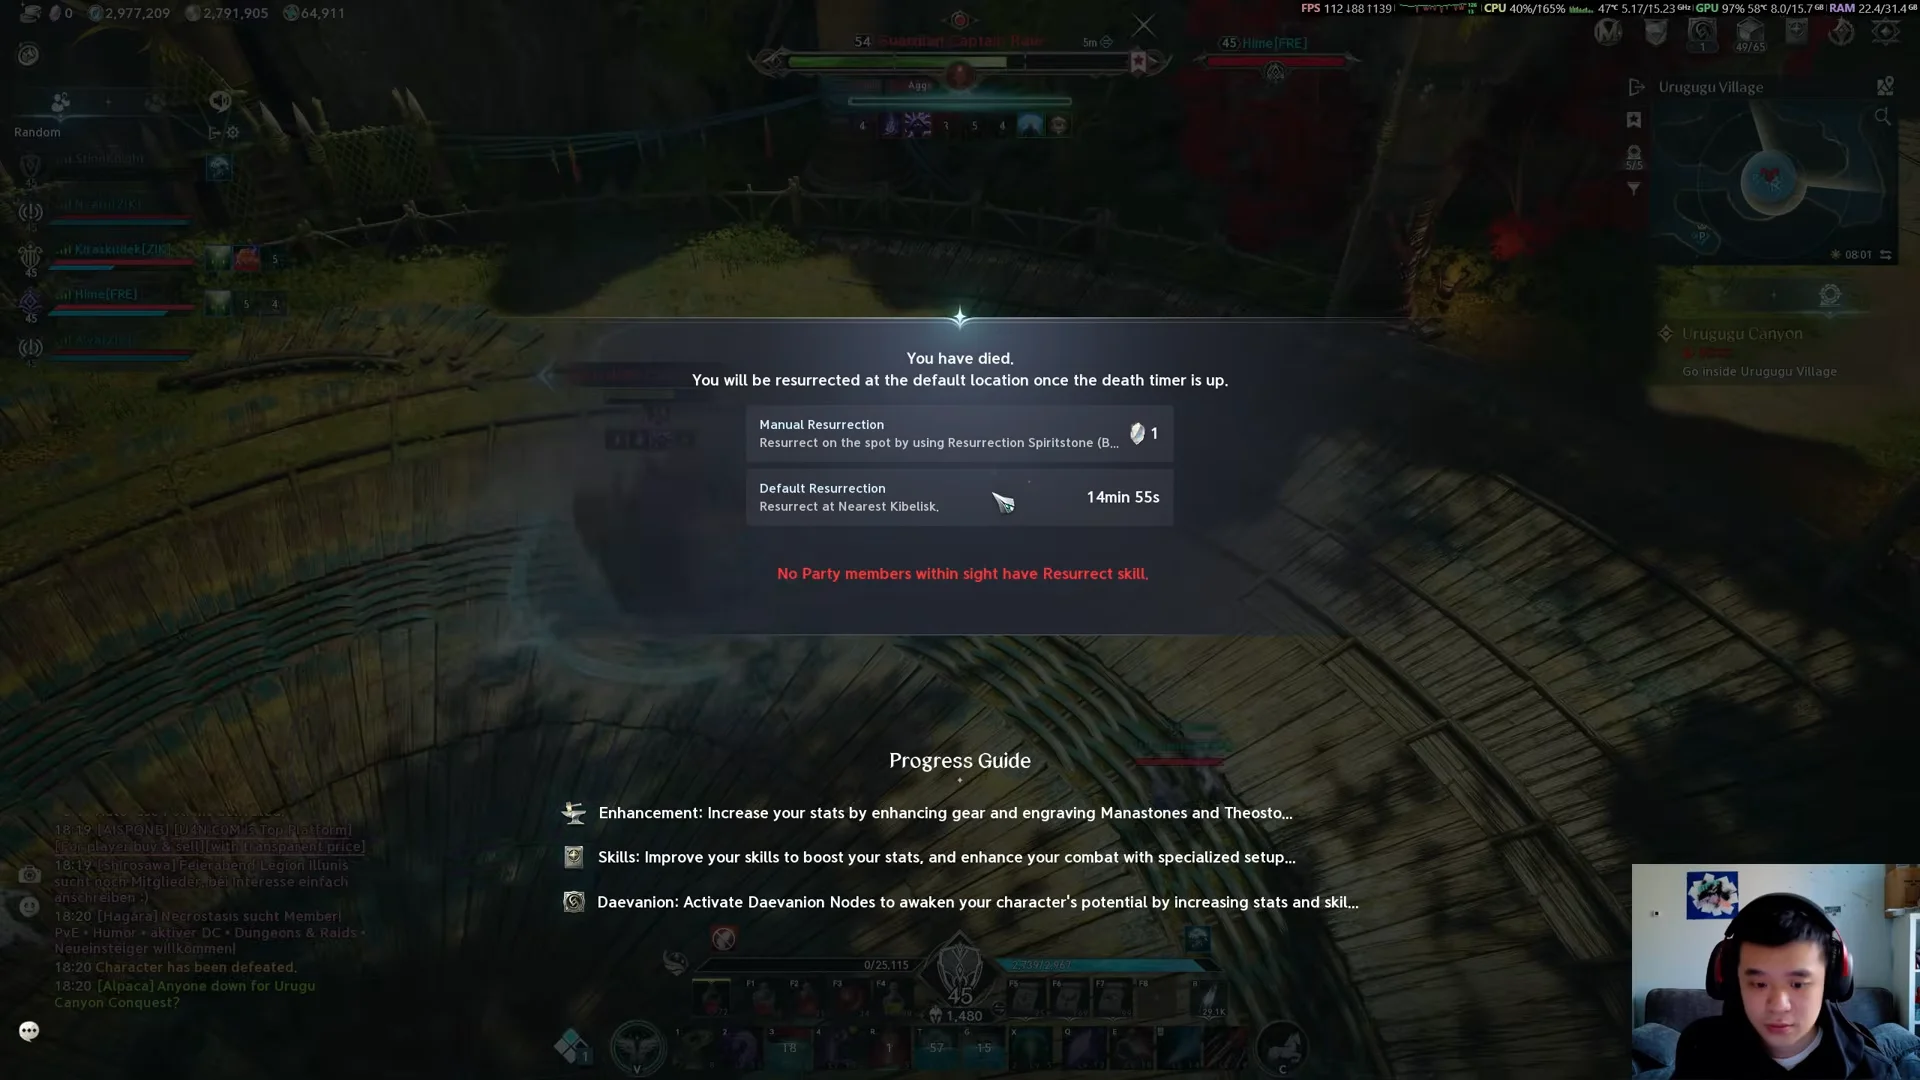
At around 70% health, Raur plants his shield and shouts “Feel your strength turned against you! Strike me!”, gaining a four-second counterattack stance. Any hit landed during the stance is reflected and feeds the boss a damage stack. When the stance ends, he releases a wide point-blank shockwave whose size scales with the hits he absorbed. A clean party stops its damage during the window, so the follow-up shockwave stays survivable. The blast can be blocked or perfect-dodged, which plays to a Templar’s defensive kit.
The rest of the fight is filler: a leash and slow if the tank drifts too far, a dash onto the tank, a jump onto a random party member, and a quick self-centered AoE. Taking the shockwave at full stacks is the usual cause of a wipe, and in this run the tank goes down once before running back to re-establish threat.
Judge Urahum, poison puddles and beams
The second mid-boss trades reflected damage for area denial. Most of Judge Urahum’s slams apply a three-second poison, and when that debuff expires it leaves a bright pink puddle on the floor that lingers for roughly 40 seconds. The tick damage is light at first but stacks up fast if the arena fills with puddles. Blocking or perfect-dodging the hits stops the poison from applying at all.
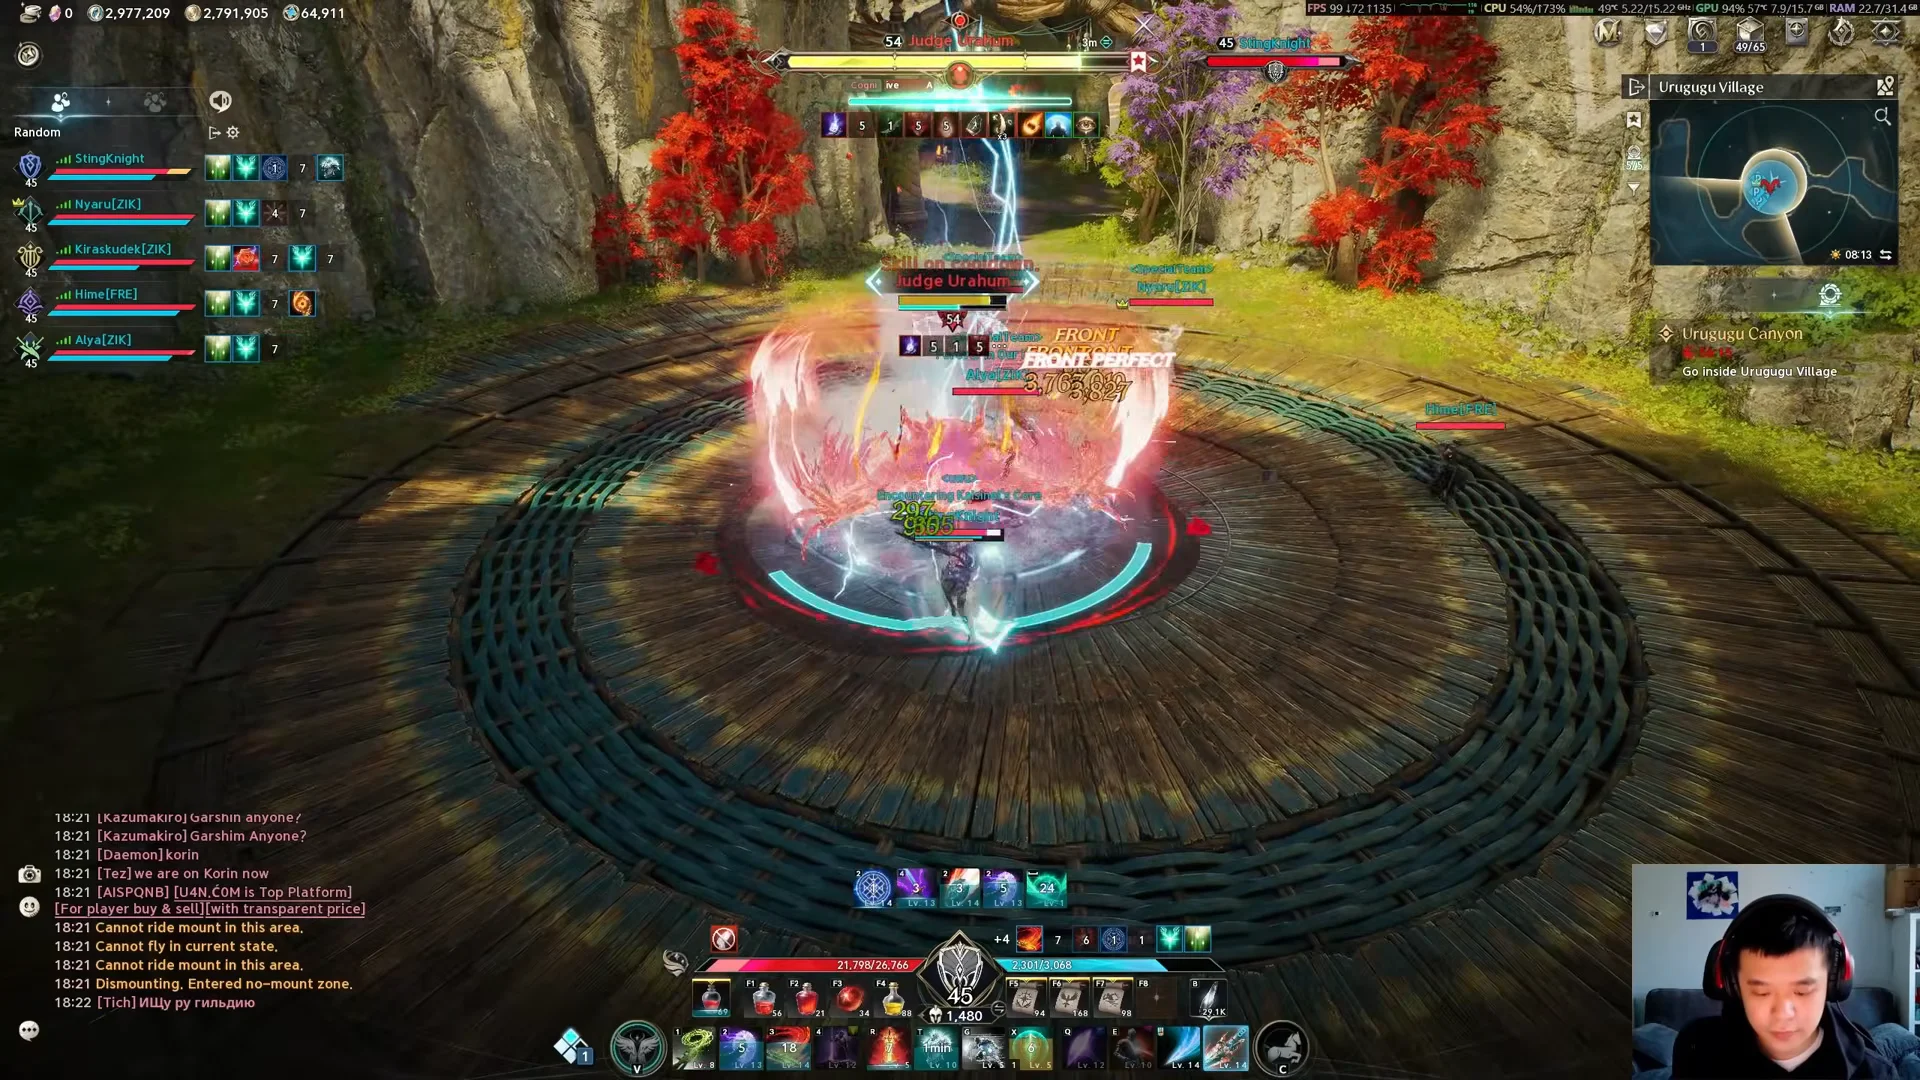
At about 65% health, Urahum gains a speed buff that sharpens both its movement and its attacks. The pattern set includes a large point-blank burst, twelve thin projectiles fired in a ring, a back-to-back small-medium-large AoE combo, and a claw dash that swipes continuously along the charge to the tank.
Crossing the canyon to Auldor’s Sanctum
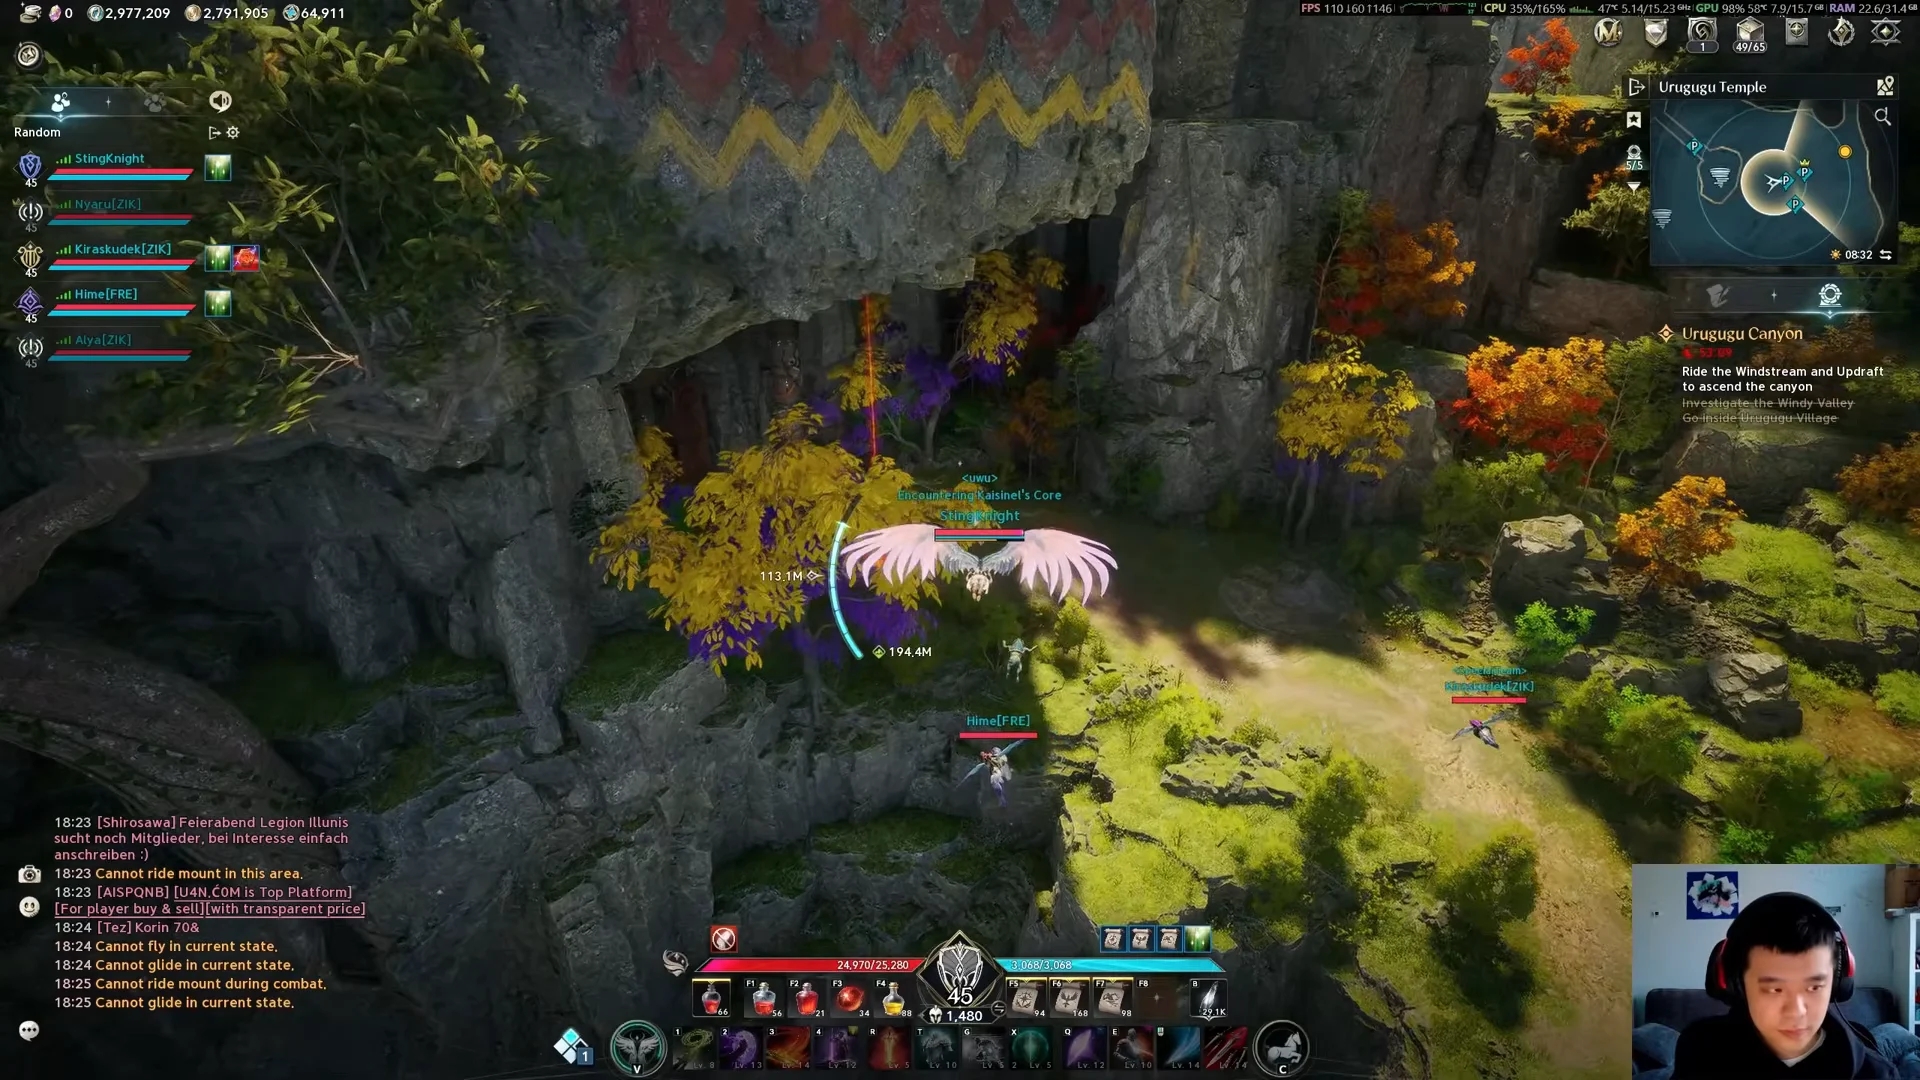
Between the mid-bosses and the finale, the route goes vertical. Defeating an Urugugu Wind Mage opens a windstream, and the party rides that updraft up the canyon walls, crosses rope bridges, and glides between ledges toward Urugugu Temple. In the Exploration version an Auldor Sanctum Gatekeeper blocks the way, and a nearby kibelisk seal must be cleared before the final chamber opens. A short cave corridor of elite raiders stands between the party and the arena.
Divine Auldor, the stack-and-dodge finale
Divine Auldor is the reason the expedition needs a group. At least two players have to be alive for its signature mechanic, so the final fight cannot be soloed even if the rest of the dungeon can be. Everyone must be inside the arena before the fight starts, since the entrance can lock latecomers out.
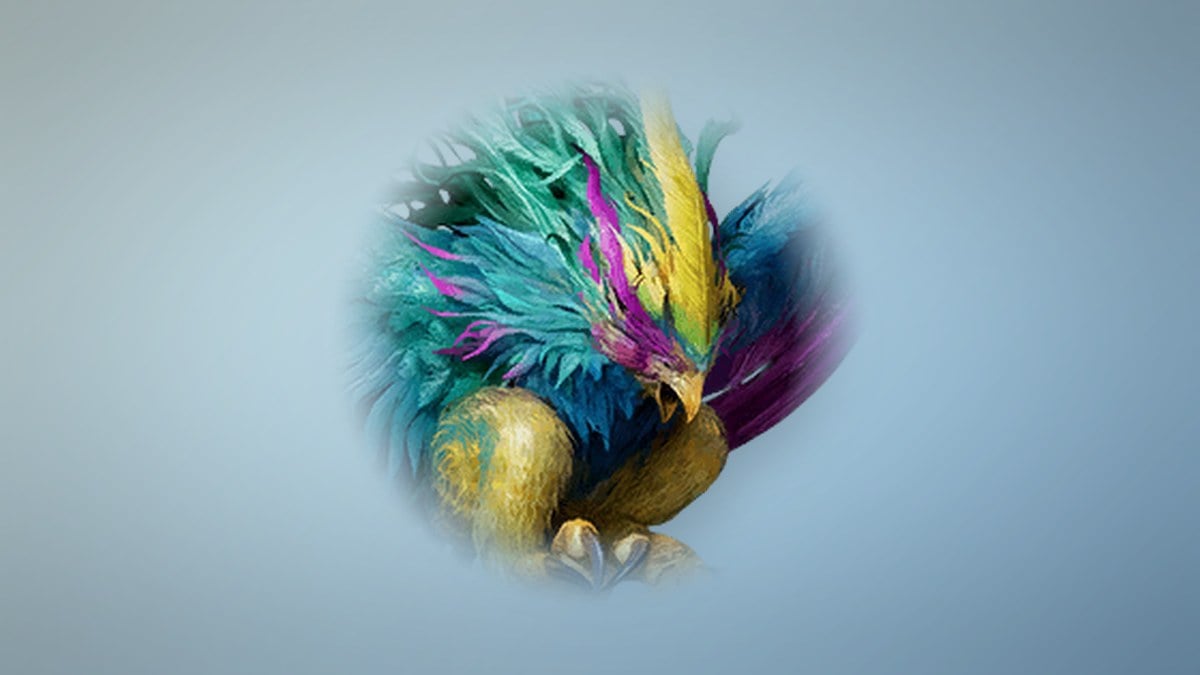
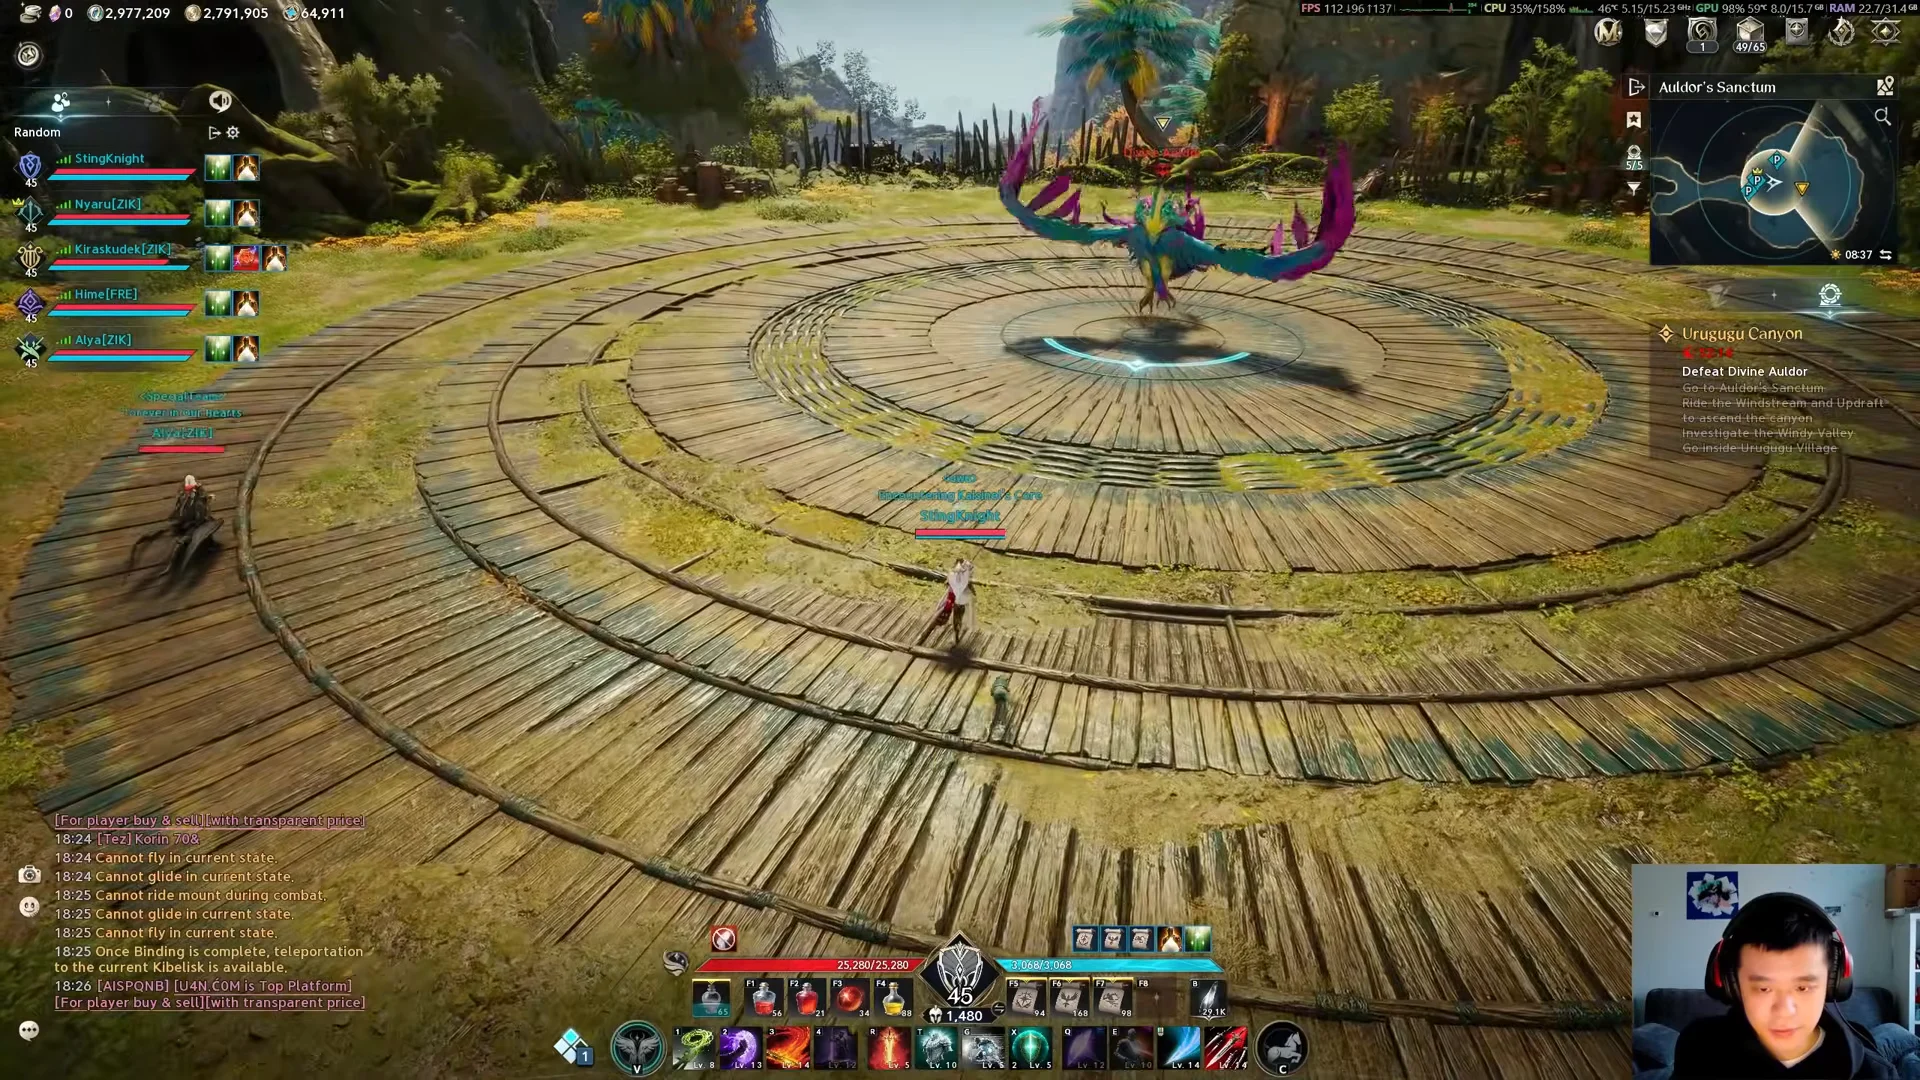
Tempest Strike is the hit that defines the encounter. At roughly 75% and again at roughly 30% health, Auldor flies to the center and marks one player while tornadoes begin crossing the arena. The marked player gets a red circle, and the boss dives onto them. The damage splits by how many bodies share it: a single player takes about five times their max HP and dies through any defense, two players take 70% each, three take 30%, and four or five take 10%. Stacking on the mark is the whole point, and the shields on the targeted player are stripped first.
The tornadoes complicate that. Each one binds anyone it touches for about three seconds, which is enough to keep a player from reaching the stack in time. Auldor also fires fan-shaped projectile lanes at a random target, and getting clipped launches you airborne for a grab-and-slam that detonates into expanding rings. Below 30%, a burning ring of storm covers the arena’s outer edge for the rest of the fight, shrinking the safe zone to the center.
Conquest runs an enrage at about five minutes, after which Auldor moves twice as fast and hits far harder. Every tornado that binds a damage dealer costs time against that timer, which is why the Conquest version fails on the enrage more than on any single mechanic. Exploration has no enrage.
What a Templar tank brings to the fight
The Templar is Aion 2’s Longsword-and-shield tank, with 36 skills total including 13 stigma options. The threat and control tools that carry this run are its damage skills, which also build Enmity to keep bosses facing the tank. The figures below are at maximum skill level.
| Skill | Damage type | Cooldown | Damage (max level) |
|---|---|---|---|
 Judgment | Physical | 5s | 4,936 |
 Debilitating Smash | Physical | 10s | 4,112 |
 Shield Smite | Physical | 10s | 3,780 |
 Pummel | Physical | — | 2,545 |
 Flash Rampage | Physical | — | 2,368 |
 Vicious Strike | Physical | — | 2,024 |
 Poach | Magic | 15s | 1,845 |
Vicious Strike and Pummel are the no-cooldown builders that raise Enmity and keep threat locked onto the tank, with Vicious Strike restoring MP on use. Judgment is the heaviest single-target hit and the main threat generator. Shield Smite carries a Stun that always lands on NPC bosses, and Debilitating Smash inflicts Debilitate on a Block, cutting the target’s Defense by 25%. Poach pulls an enemy from up to 20 meters and roots it, while Flash Rampage punishes a staggered target. The class’s Block and Dodge tools matter most against Guardian Captain Raur’s shockwave, which a Templar can block outright instead of running from.
The Cleric’s Light of Protection buff
The tank in this run benefits from a Cleric’s party buff. Light of Protection, a toggle stigma available at level 22, raises PvE Damage Boost and PvE Damage Tolerance by 10.5% for the Cleric using it and party members in range; its PvP bonus is 5.25%. At skill level 10, it grants +100 Accuracy, with Max HP and Perfect Chance added at higher ranks. It cannot stack with the Chanter’s Damage Boost effect.

Rewards from the Odyle Energy Cube
When Divine Auldor dies, the run posts its “Boss Defeated” and “Expedition Complete” prompts, Odyle nodes appear across the arena floor to harvest, and the central Odyle Energy Cube becomes openable for weapons, armor, and upgrade materials. Defeating both mid-bosses first adds their loot pools to that cube, so clearing Raur and Urahum before the finale directly widens the final payout.
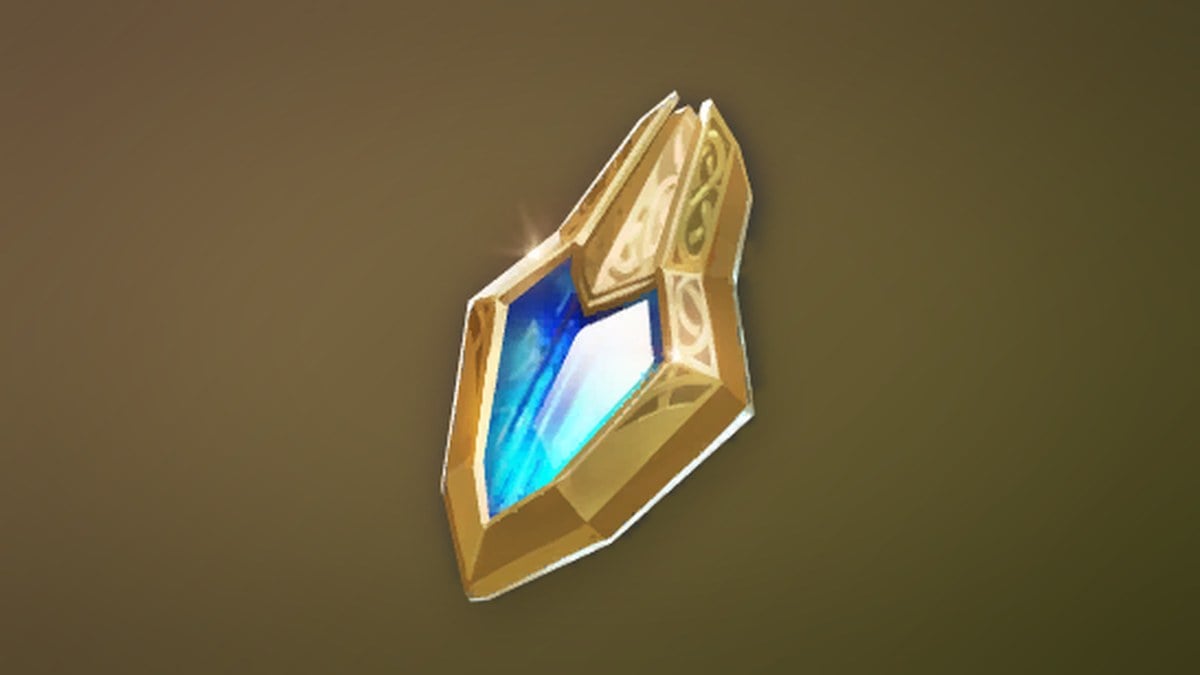
The Epic armor line from this expedition is the Faith set, and Divine Auldor is its best single source. Its drop rates:
| Divine Auldor drop | Rate |
|---|---|
 Faith Gloves (Epic) | 11.7% |
 Faith Cloak (Epic) | 11.7% |
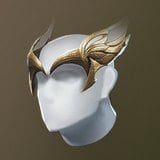 Faith Helm (Epic) | 9.3% |
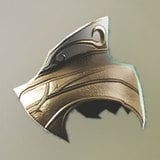 Faith Pauldrons (Epic) | 9.3% |
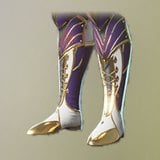 Faith Boots (Epic) | 9.3% |
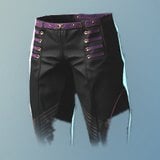 Faith Greaves (Epic) | 7.8% |
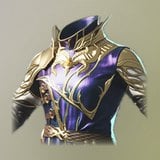 Faith Breastplate (Epic) | 5.8% |
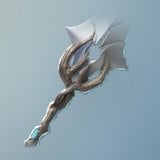 Faith Greatsword (Epic) | 3.9% |
Guardian Captain Raur and Judge Urahum share a drop list that adds Brave Warrior Earrings (5.2%) alongside their own Faith pieces, so running the full chain is what stocks the accessory slots. The broader loot table spans 112 obtainable items, including the Divine Canyon and Aulamus gear lines, Earth equipment, Amplify Stone Fragments, and refining and enhance stones.
Put together, a clean Conquest clear comes down to three moments: holding still through Raur’s counter stance, keeping the floor clear of Urahum’s poison, and landing both Tempest Strike stacks on Auldor before the five-minute enrage flips the fight. Clear those, and the Odyle Energy Cube pays out the Faith set that makes the next run faster.
Urugugu Canyon Boss Epic Drop Rates
All three bosses are level 30, and each has its own table of Epic equipment drops. Guardian Captain Raur and Judge Urahum share identical rates. Divine Auldor roughly doubles the chance on every armor piece and is the only boss that drops the Faith Greatsword. Brave Warrior Earrings drop only from the two mid-bosses.
| Epic item | Guardian Captain Raur | Judge Urahum | Divine Auldor |
|---|---|---|---|
| Brave Warrior Earrings | 5.2% | 5.2% | — |
| Faith Gloves | 5.2% | 5.2% | 11.7% |
| Faith Cloak | 5.2% | 5.2% | 11.7% |
| Faith Helm | 4.2% | 4.2% | 9.3% |
| Faith Pauldrons | 4.2% | 4.2% | 9.3% |
| Faith Boots | 4.2% | 4.2% | 9.3% |
| Faith Greaves | 3.5% | 3.5% | 7.8% |
| Faith Breastplate | 2.6% | 2.6% | 5.8% |
| Faith Greatsword | — | — | 3.9% |
The Faith Breastplate is the rarest armor piece from every boss, and the Faith Greatsword is the rarest drop from Auldor. Across the whole expedition, 112 items are obtainable, including Divine Canyon and Aulamus gear, Artisan’s Refining Stones, Balaur’s Essence and the bound Divine Auldor Mask helm skin.
Guardian Captain Raur also has a separate loot list that includes Soul Codex (Bound) at 60%, Refining Stone at 53.7% and Amplify Stone Fragment (Unique) (Bound) at 20%. Divine Canyon Ring is his most common Epic at 11.4%, followed by Balaur’s Essence at 10%.