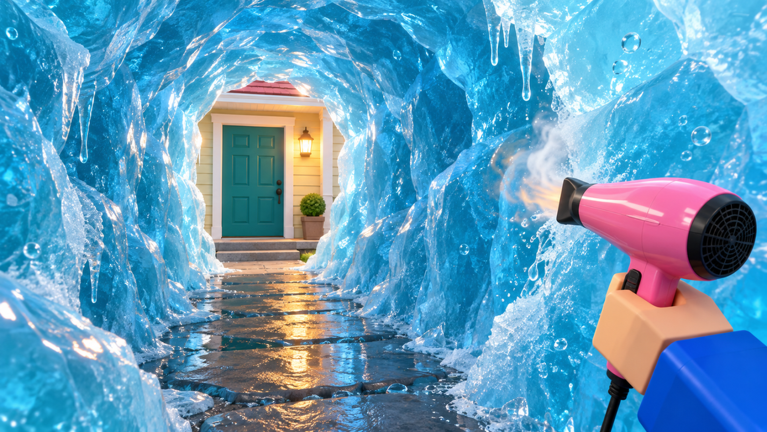
Melt all the Ice is a Roblox cleaning simulator built around one task: strip every sheet of ice off a map until you find whatever is causing it, then switch that source off. You start with a hair dryer, hold down the Left Mouse Button to blast hot air, and work your way through the frozen areas. Clearing ice pays out Coins as you go, and finishing a map hands you Gems to spend on permanent gear.
Quick answer: Melt all the ice on a map, reach and shut off the source, and the map returns to normal to mark the run complete. You keep the Gems you earn to buy permanent upgrades.
How a run works in Melt all the Ice
Every map runs on the same loop. You melt ice with your current tool, bank the Coins that drop, and spend them mid-run to melt faster. The hair dryer is your default tool, activated by holding the Left Mouse Button so it pours out hot air onto whatever ice you point it at.
Clearing ice is not the end goal by itself. The ice is hiding a source, and your job is to reach it. Once you melt enough to expose that source, clear the area around it and turn it off. The map thaws back to normal and your run is logged as complete, which is when the “run complete” message appears and your Gems are paid out.
When the on-screen prompt shows up, press F to point yourself toward the ice you still need to clear. It only works while that prompt is visible.
Melt all the Ice controls
| Action | Input |
|---|---|
| Move | W, A, S, D |
| Jump | Spacebar |
| Interact | E |
| Use tool | Left Mouse Button |
| View Class-specific boosts | C |
| Teleport to the entrance | Z |
| Open Settings | M |
| Open Upgrades menu | Tab |
| Find the Ice (when prompted) | F |
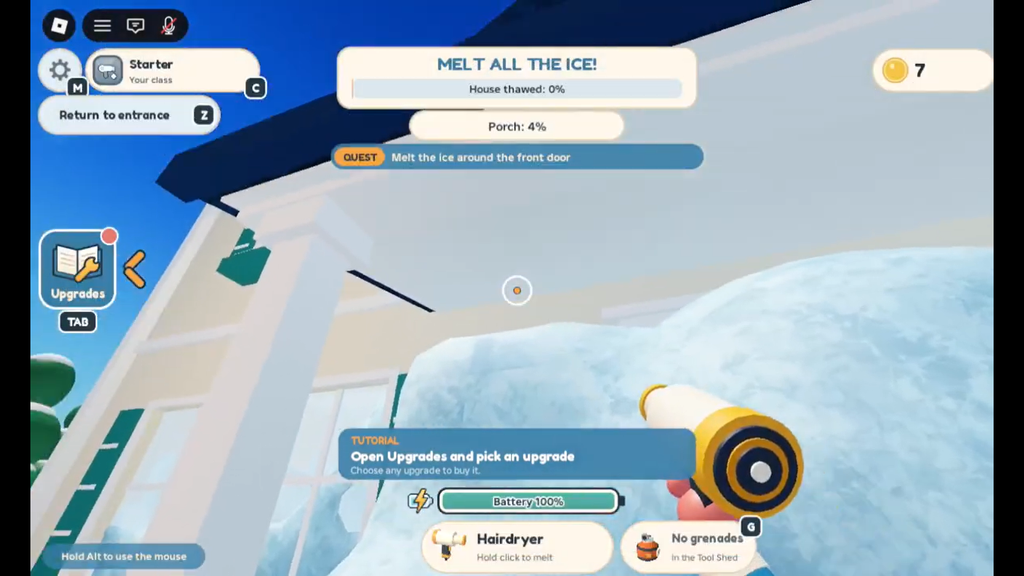
Coins and Gems: what each currency does
The two currencies behave very differently, and knowing which is which saves you from wasting a run.
- Coins are earned by clearing ice and are tied to a single run. They do not carry over, so spend them before you finish.
- Gems are the permanent currency, paid out when you complete a map, and they fund everything that sticks between runs.
Because Coins reset, there is no reason to hoard them past the end of a map. Pour them back into faster melting while you can still use it.
What to buy first with Coins
Open the upgrade menu mid-run with Tab. In the early game, push Coins into Battery Capacity and Power first. Capacity lets you keep the tool running longer before it drains, and Power speeds up how quickly ice thaws, so the two feed each other directly.
Once both are comfortably leveled, save toward a new tool from the Tool Shed. The Heat Gun and the Steam Blaster both clear ice far faster than the starting hair dryer, so grabbing either one is the single biggest jump in clear speed you can buy early. Either is worth prioritizing as soon as you can afford it.
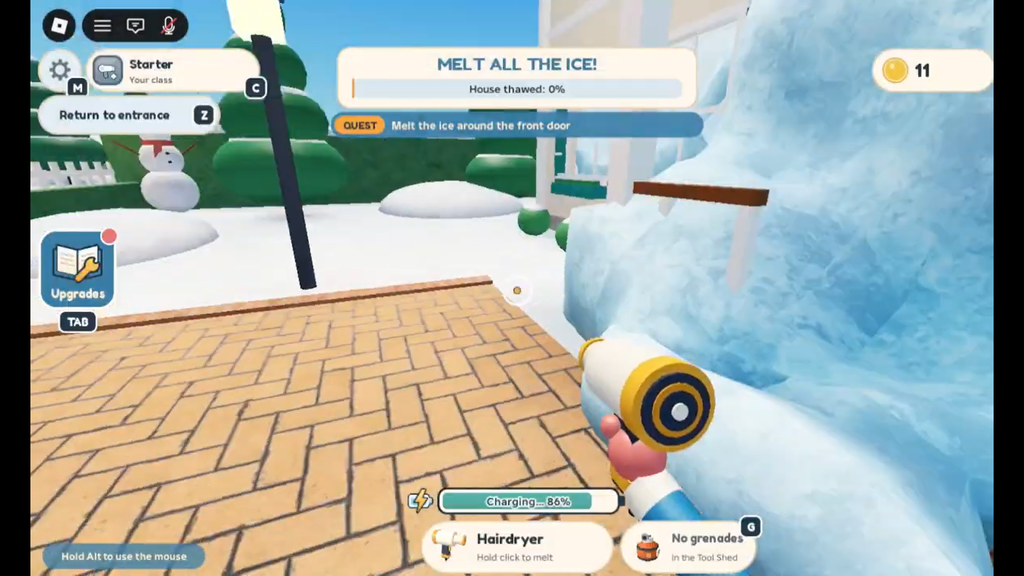
Spending Gems on Classes, upgrades, and pets
Gems unlock everything permanent, and they all stack together, so a strong setup combines several of these at once. Here is where they go in the hub area.
Classes
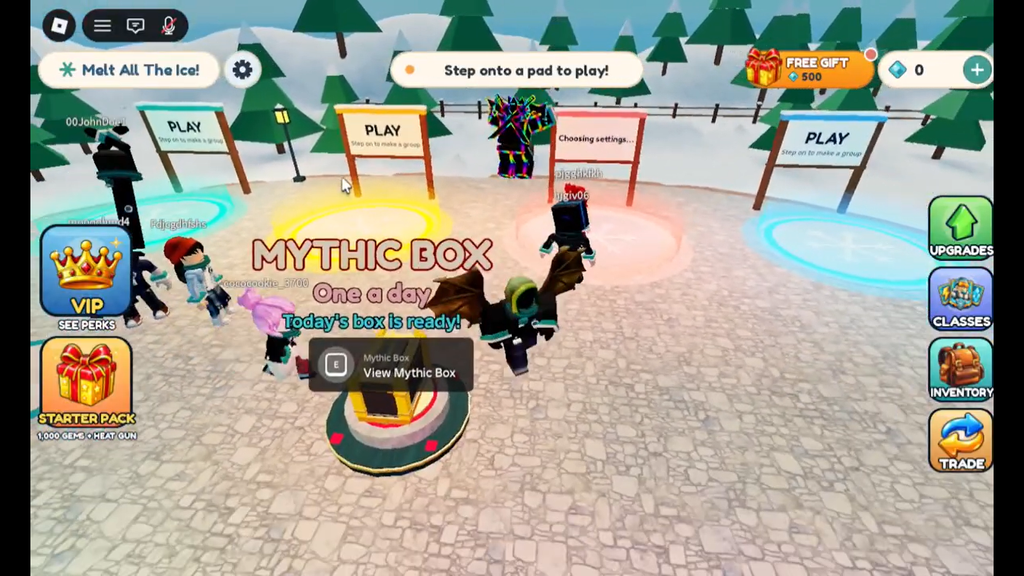
Classes are playstyle archetypes, each with its own stat bonuses and gameplay changes. You roll a random one through a Class Spin, which costs 100 Gems per spin. The options are sorted by drop rate, and the rarer the Class, the better it tends to be at clearing ice quickly. Press C in a run to check the boosts your current Class provides.
Permanent upgrades
The Upgrades menu in the hub sells boosts that stay active across every run and stack on top of your Class and in-run abilities. If you already have a good Class, buying these out is usually the most reliable way to cut your clear times further.
Pets
Pets are bought from the Pet Plaza and apply large stat boosts for the rest of a run. They are expensive, but they can raise Gem earnings, Coin earnings, and tool performance, making them a strong long-term investment once you have the Gems to spare.
Cosmetics
Mystery Boxes, also opened with Gems, hand out skins for your gear. These are purely visual and change nothing about how your tools perform. Given the cost, it is worth holding off on them until your build is finished and you are not planning further changes.
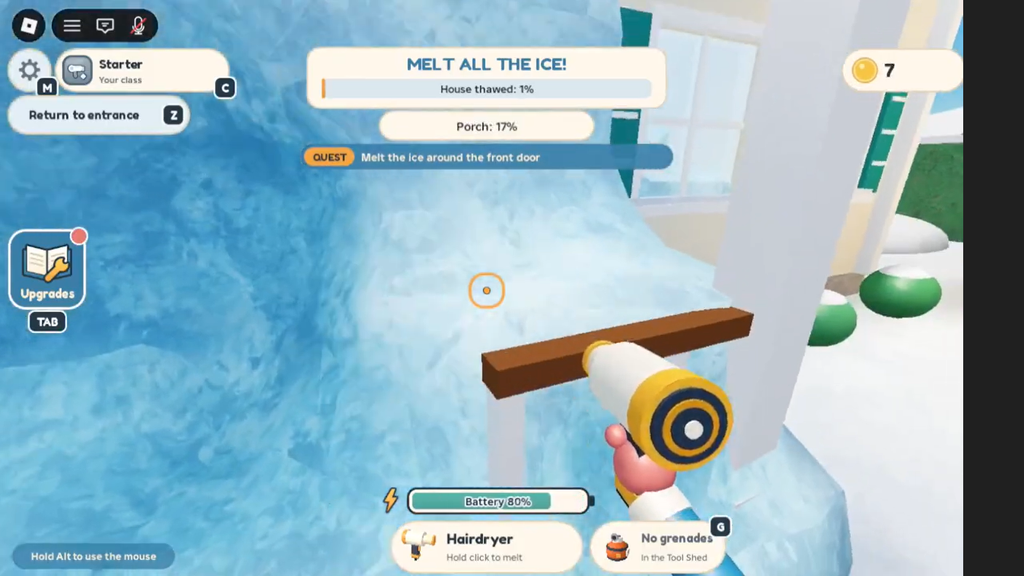
Official Levels vs Community Levels
When you start a map, you choose between Official Levels and Community Levels. Official Levels are made by the developers with a set progression path and act as the game’s baseline experience. Community Levels are built by other players and can run much harder than the official ones.
If you are new, work through the Official Levels first to learn the loop and build up your Gems, then move over to Community Levels once you have a tool and a Class you trust. Any player can create their own maps through the Community Levels system, so the difficulty there varies widely.
From there it is the same rhythm every time: melt, upgrade, find the source, shut it off, and bank the Gems toward a setup that clears the next map even faster.