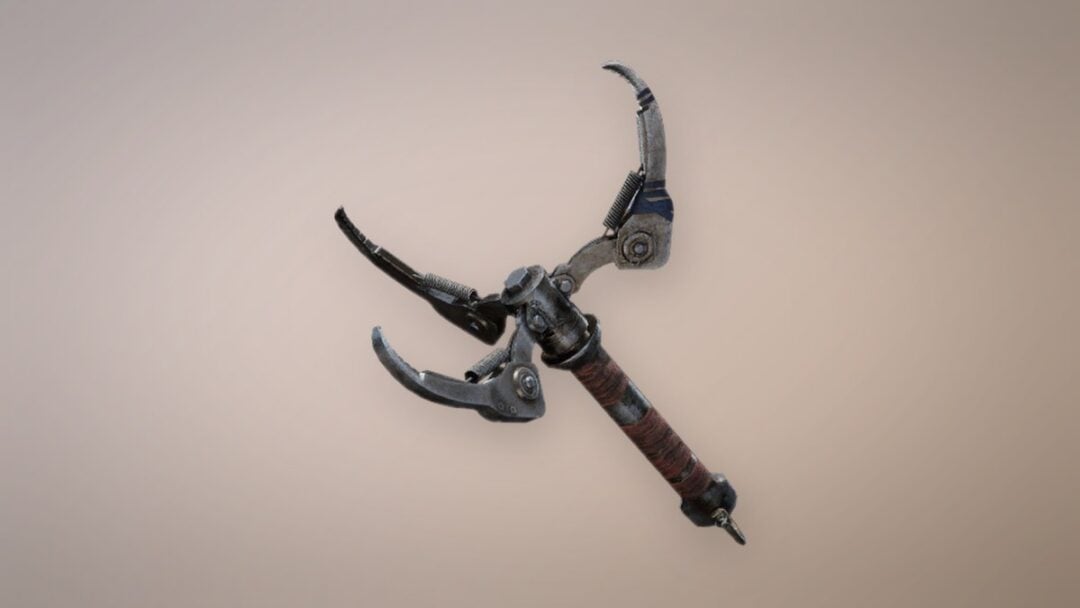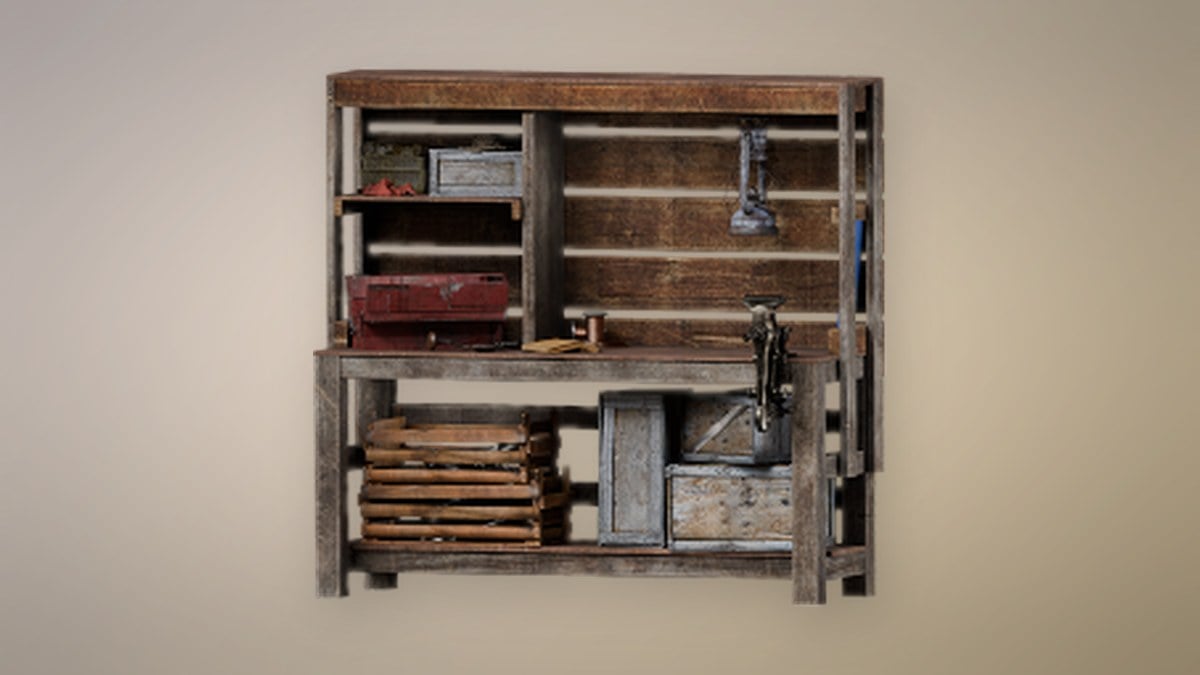
Tools in Permafrost grind down fast, and a half-broken Stone Axe mines slower and sells for less. The Repair Bench in Horizon fixes that in a couple of button presses, pulling the right material straight out of your backpack and snapping the tool back to full.
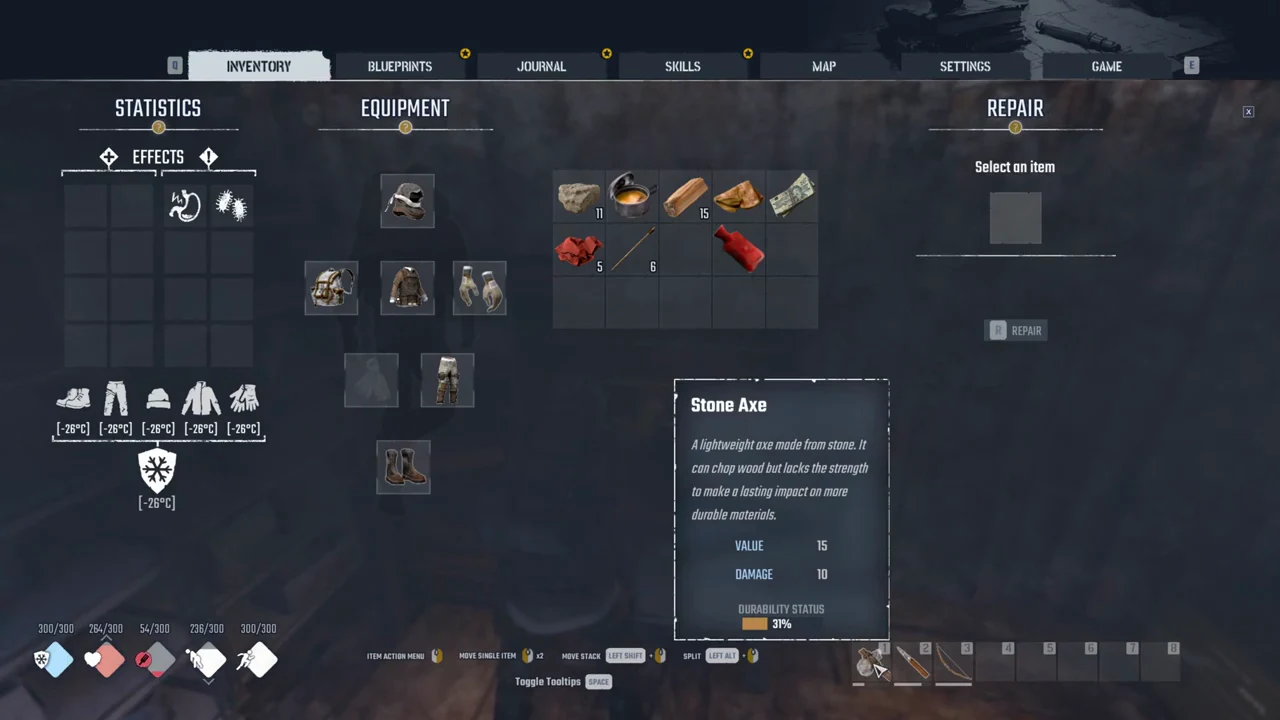
Quick answer: Stand at the Repair Bench in Horizon’s workshop, press F, double-click a worn tool into the Repair panel, then press R. It jumps to 100% and takes 1 Stone for the Stone Axe and Stone Shiv.
Where to find the Repair Bench in Horizon
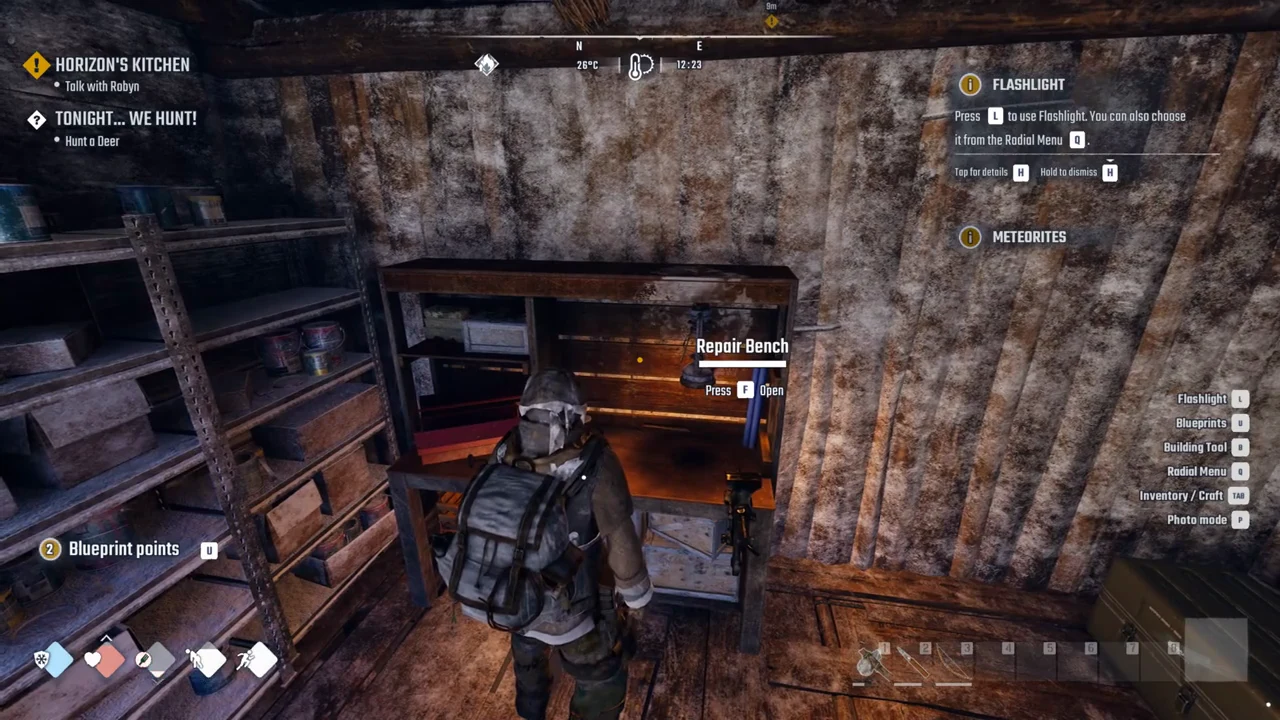
Locate the bench in Horizon’s workshop, recognizable by the wrench sign on the building’s front. It’s just right of the leader’s log cabin, which has the green hand banner flying above it. The room is dark; press L to turn on your flashlight if the bench is difficult to see.
Walk up to the bench until the prompt reads “Repair Bench, Press F Open.” That’s your cue that you’re in range and can start.
How to repair a tool
You don’t need to drop the tool from your hotbar first, and you don’t need to craft anything. The whole thing happens on the inventory screen.
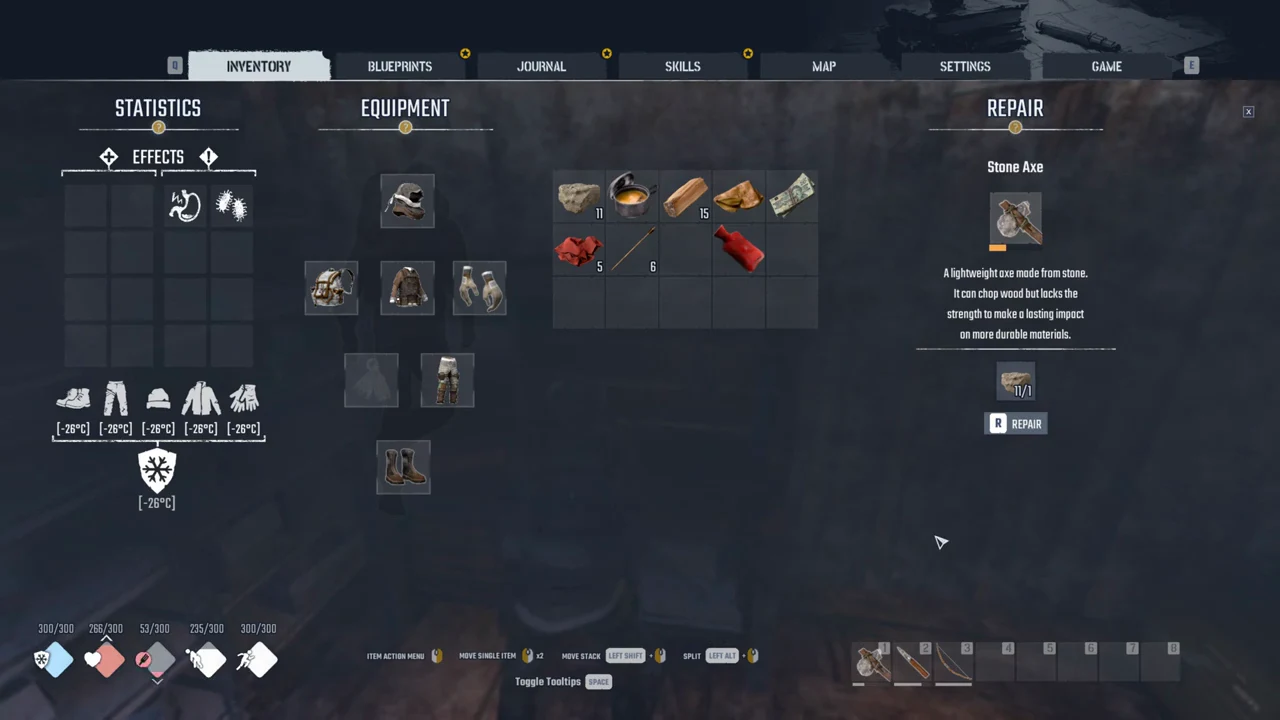
The repair completes immediately. For the Stone Axe and Stone Shiv, the durability meter reaches full and a floating “-1 Stone” indicator shows the material was used. The tool’s tooltip then displays full durability. At 100%, REPAIR turns gray because no repair is needed.
What repairing tools costs
The Stone Axe and Stone Shiv use Stone. A Stone Axe costs 1 Stone to go from 31% back to 100%, and a Stone Shiv costs 1 Stone to go from 75% to full. The cost was the same single unit of Stone in both cases, regardless of how worn the tool was.
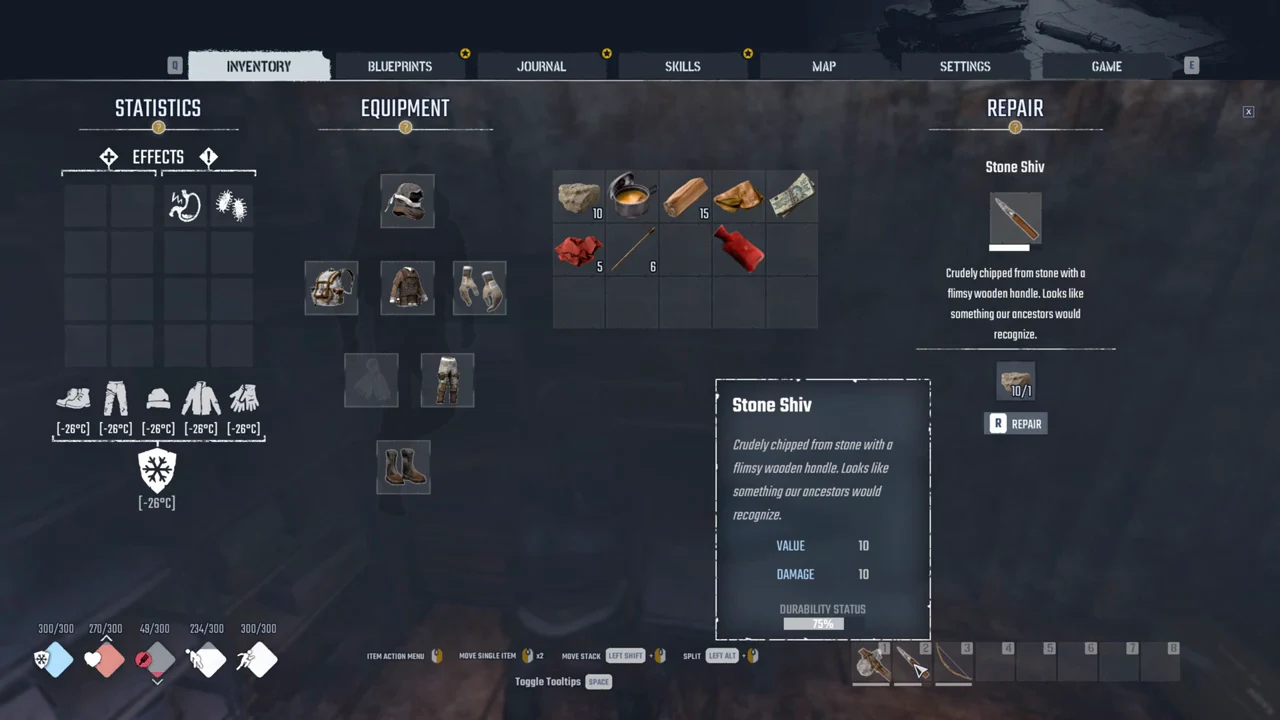
Check the listed repair material for each tool. Here’s what the common tools ask for when you bring them to the bench.
| Tool | Repair material |
|---|---|
| Stone Axe, Stone Shiv, Refined Stone tools | 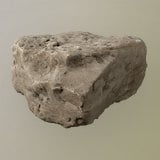 Stone Stone |
| Flint Sledgehammer, Refined Flint Pickaxe, Refined Flint Shiv | 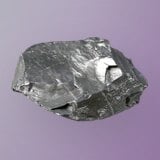 Flint Flint |
| Refined Copper Pickaxe, Copper Sledgehammer | 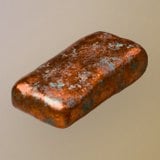 Copper Ingot Copper Ingot |
| Refined Iron Pickaxe | 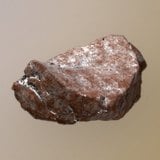 Iron Iron |
| Moonrock Sledgehammer | 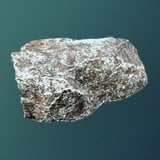 Moon Rock Moon Rock |
| Survivor’s Uniform (clothing) |  Cloth Cloth |
Keep a small stock of your base material on hand, and the whole repair cycle stays cheap. The Refined Copper Pickaxe and Copper Sledgehammer use Copper Ingot; the Refined Iron Pickaxe uses Iron.
Tools already at full durability
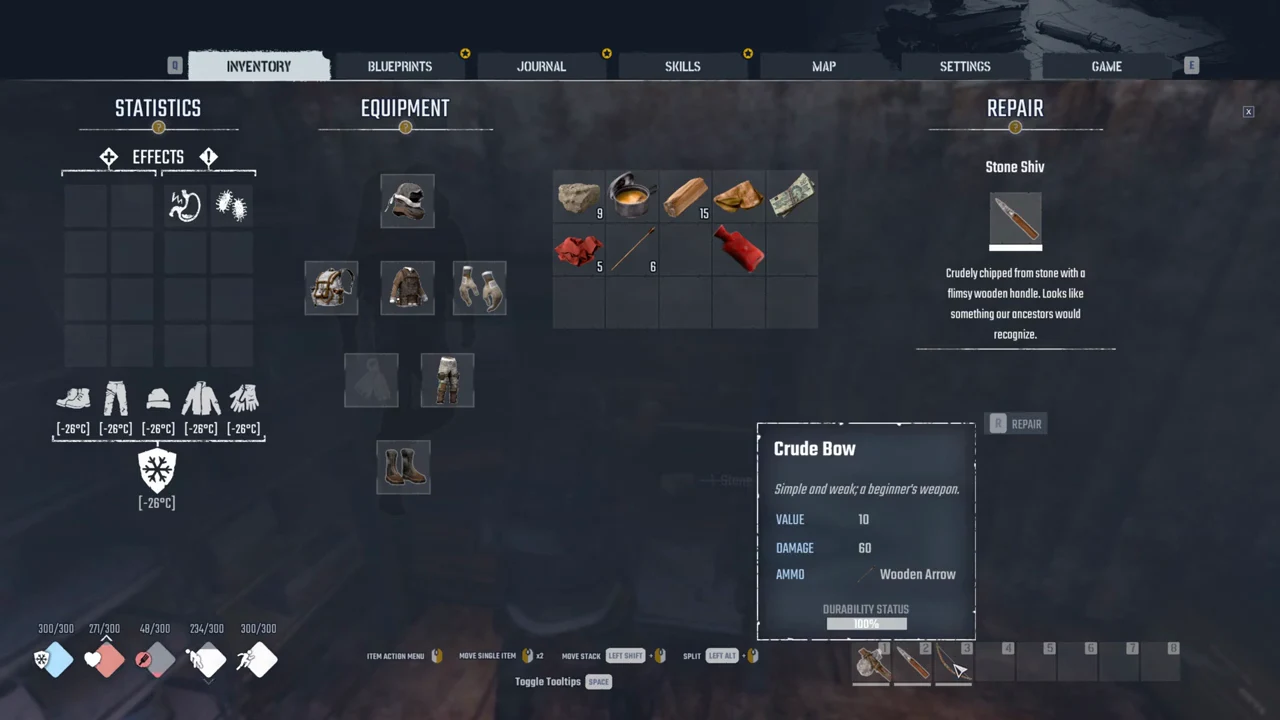
If a tool is already at 100%, you can still drop it into the Repair panel, but the button won’t light up. A Crude Bow at full durability can be placed in the Repair panel, but REPAIR stays greyed out. There’s simply nothing for the bench to do.
Clothing carries its own durability bar too. The Survivor’s Uniform shows a DURABILITY STATUS reading alongside its VALUE 21, ARMOR 1 and COLD RES. 26 stats, and worn gear uses the same tooltip bar as tools.
Why worn tools are worth fixing
Stone-tier gear wears out quickly. A Stone Axe drops to around 69% after a tree and a few planks, and to 31% after clearing the stacks of pallets in Horizon, which is roughly 15 Wood from four stacks. Letting it keep sliding means slower work and a tool that could eventually break.
Condition affects resale, too. Traders offer less for damaged gear: the Stone Pickaxe at 48% durability had a $10 price tag, compared with a tooltip value of 15. A Stone Pickaxe at 48% durability had a $10 price tag, compared with a tooltip value of 15.
Building your own Repair Bench
You don’t have to rely on Horizon’s workshop. The Repair Bench is a building recipe you can unlock and place at your own base.
It sits on the Building blueprints page at tier 2 for 1 blueprint point. Its build cost shows on the blueprint card, and placing one is not covered here.
With a bench at home and a handful of Stone in storage, keeping your tools at full durability becomes part of the routine rather than a trip back to Horizon.