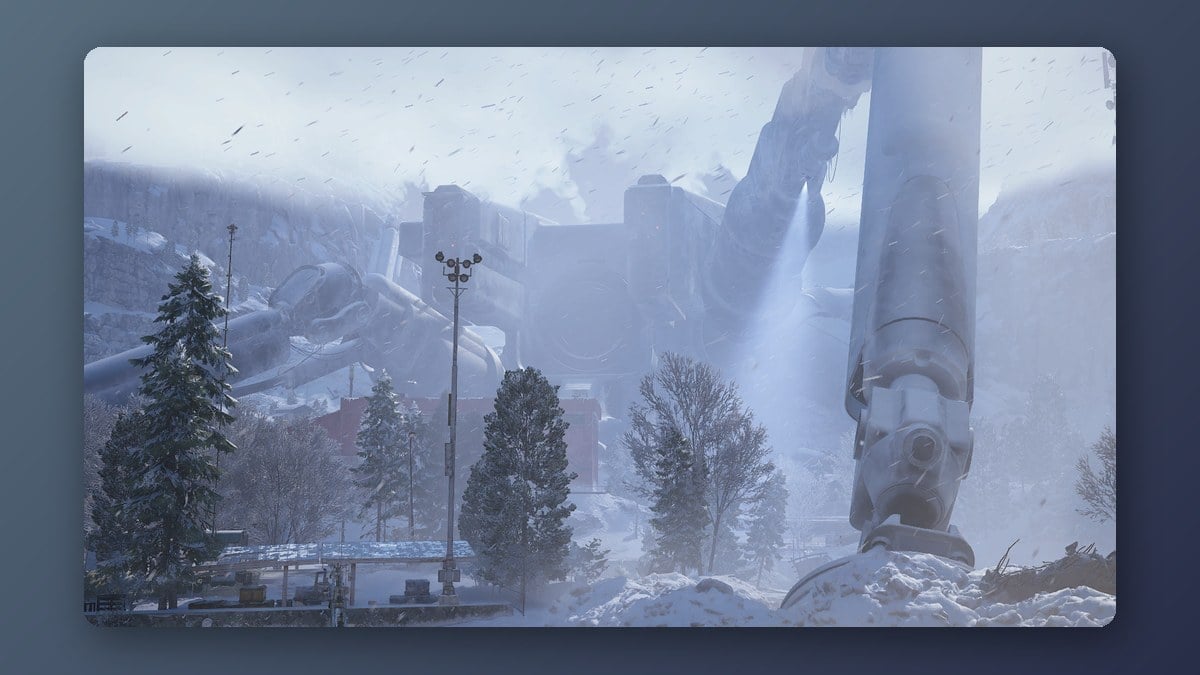
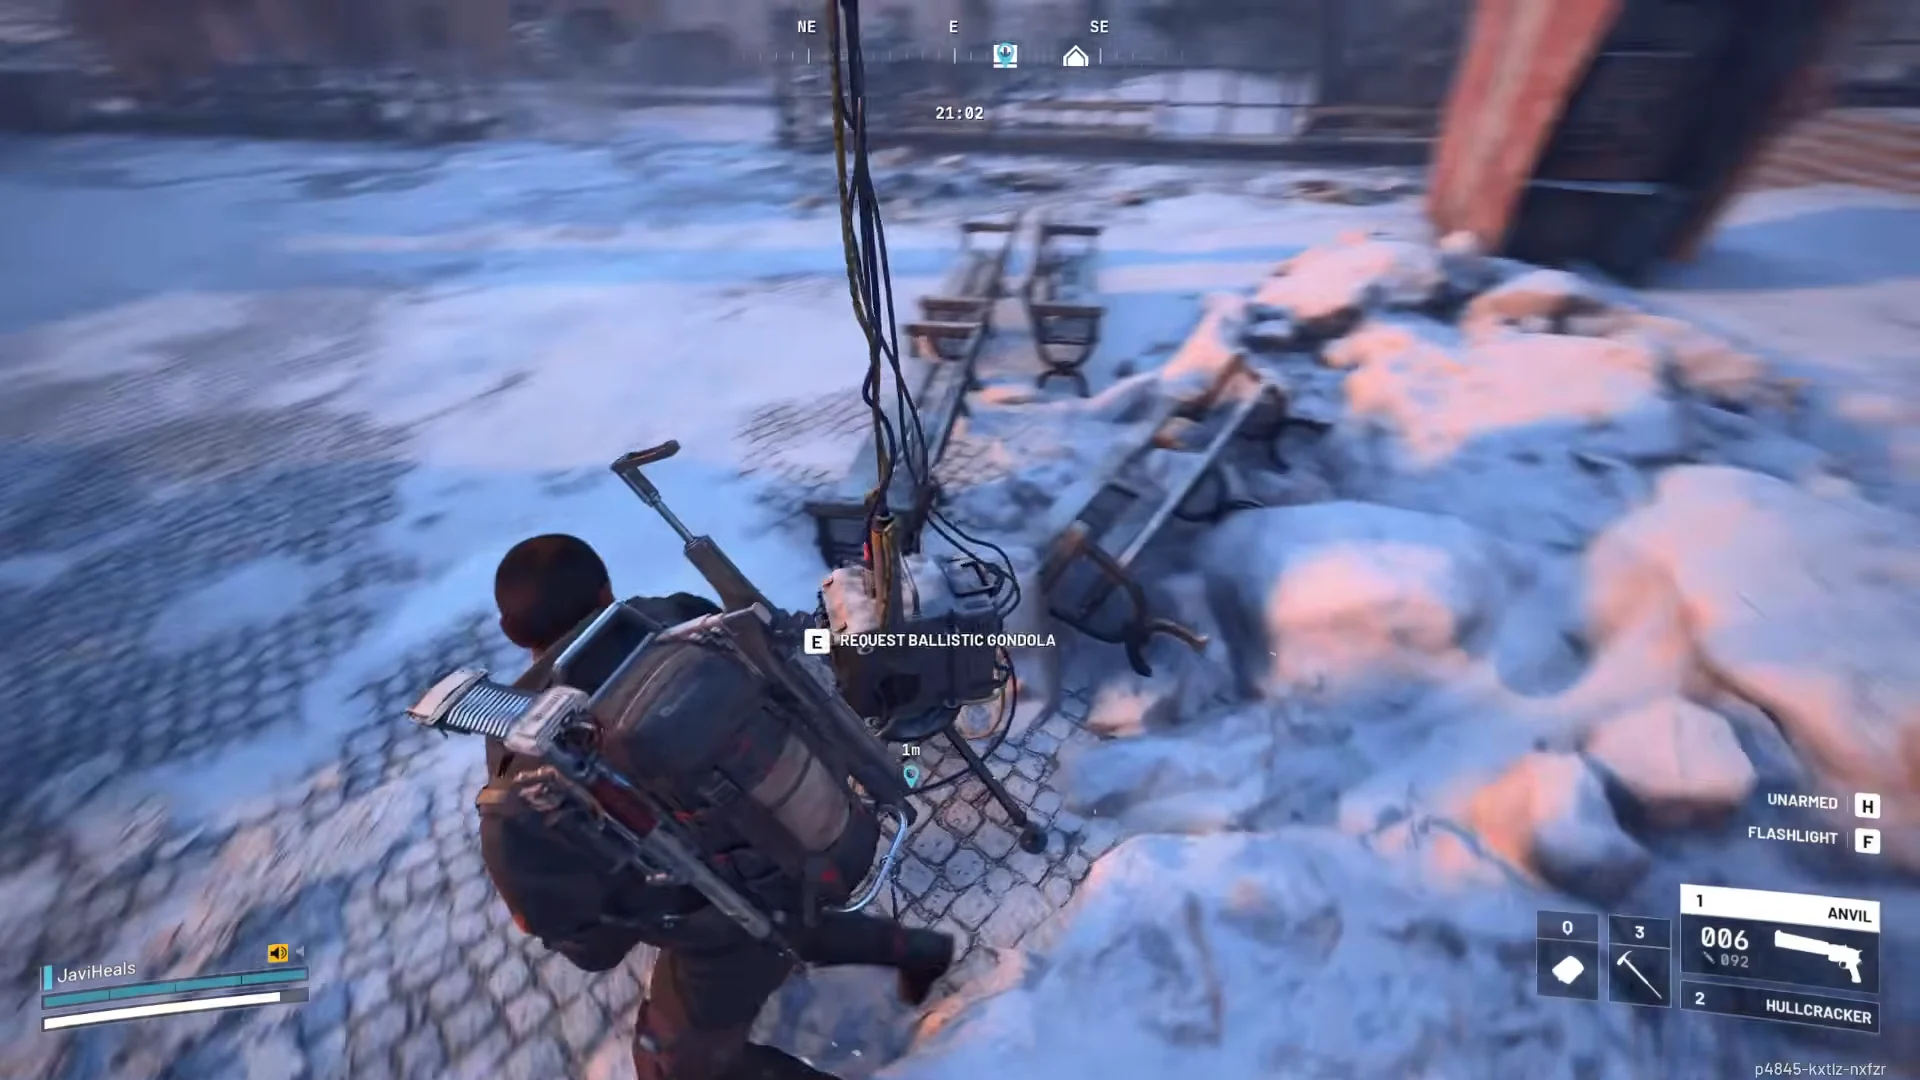
Pendola Pass sits beyond the Rust Belt’s tube network, so the usual hatches and elevators do not exist here. You leave on the Ballistic Gondola instead. You call it from a transceiver, it drops out of the sky a short distance away, and it launches you back to Speranza once you board a pod and wait out its timer.
Quick answer: Interact with a Gondola Transceiver to request the Ballistic Gondola, check your map for the green “Ballistic Gondola (Incoming)” marker, run to the landing zone, pry open a pod, and stay inside until the departure countdown hits 0:00.
How to call and board the Ballistic Gondola
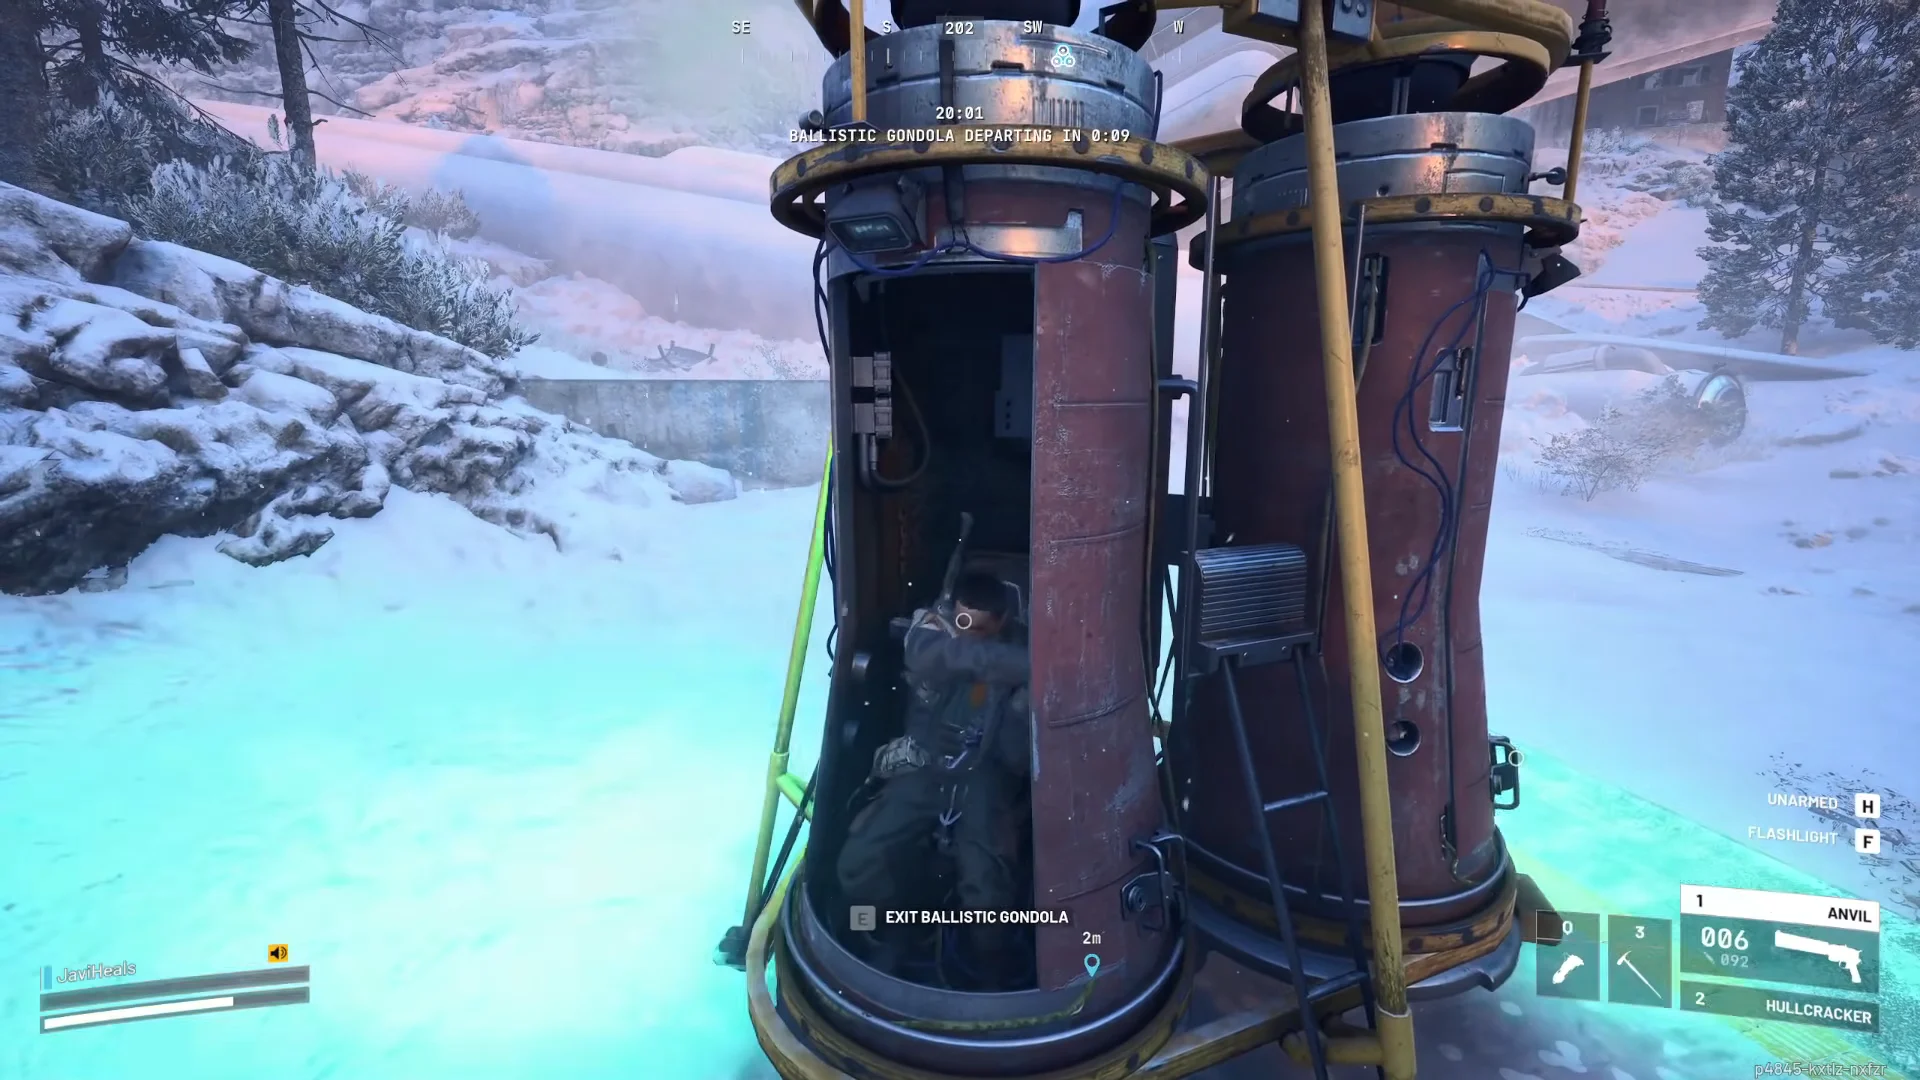
The extract runs as a short loop: call it, find where it lands, get there, and lock yourself inside a pod. Each pod seats one raider, and there are three pods per gondola, so a full three-stack fits in one car.
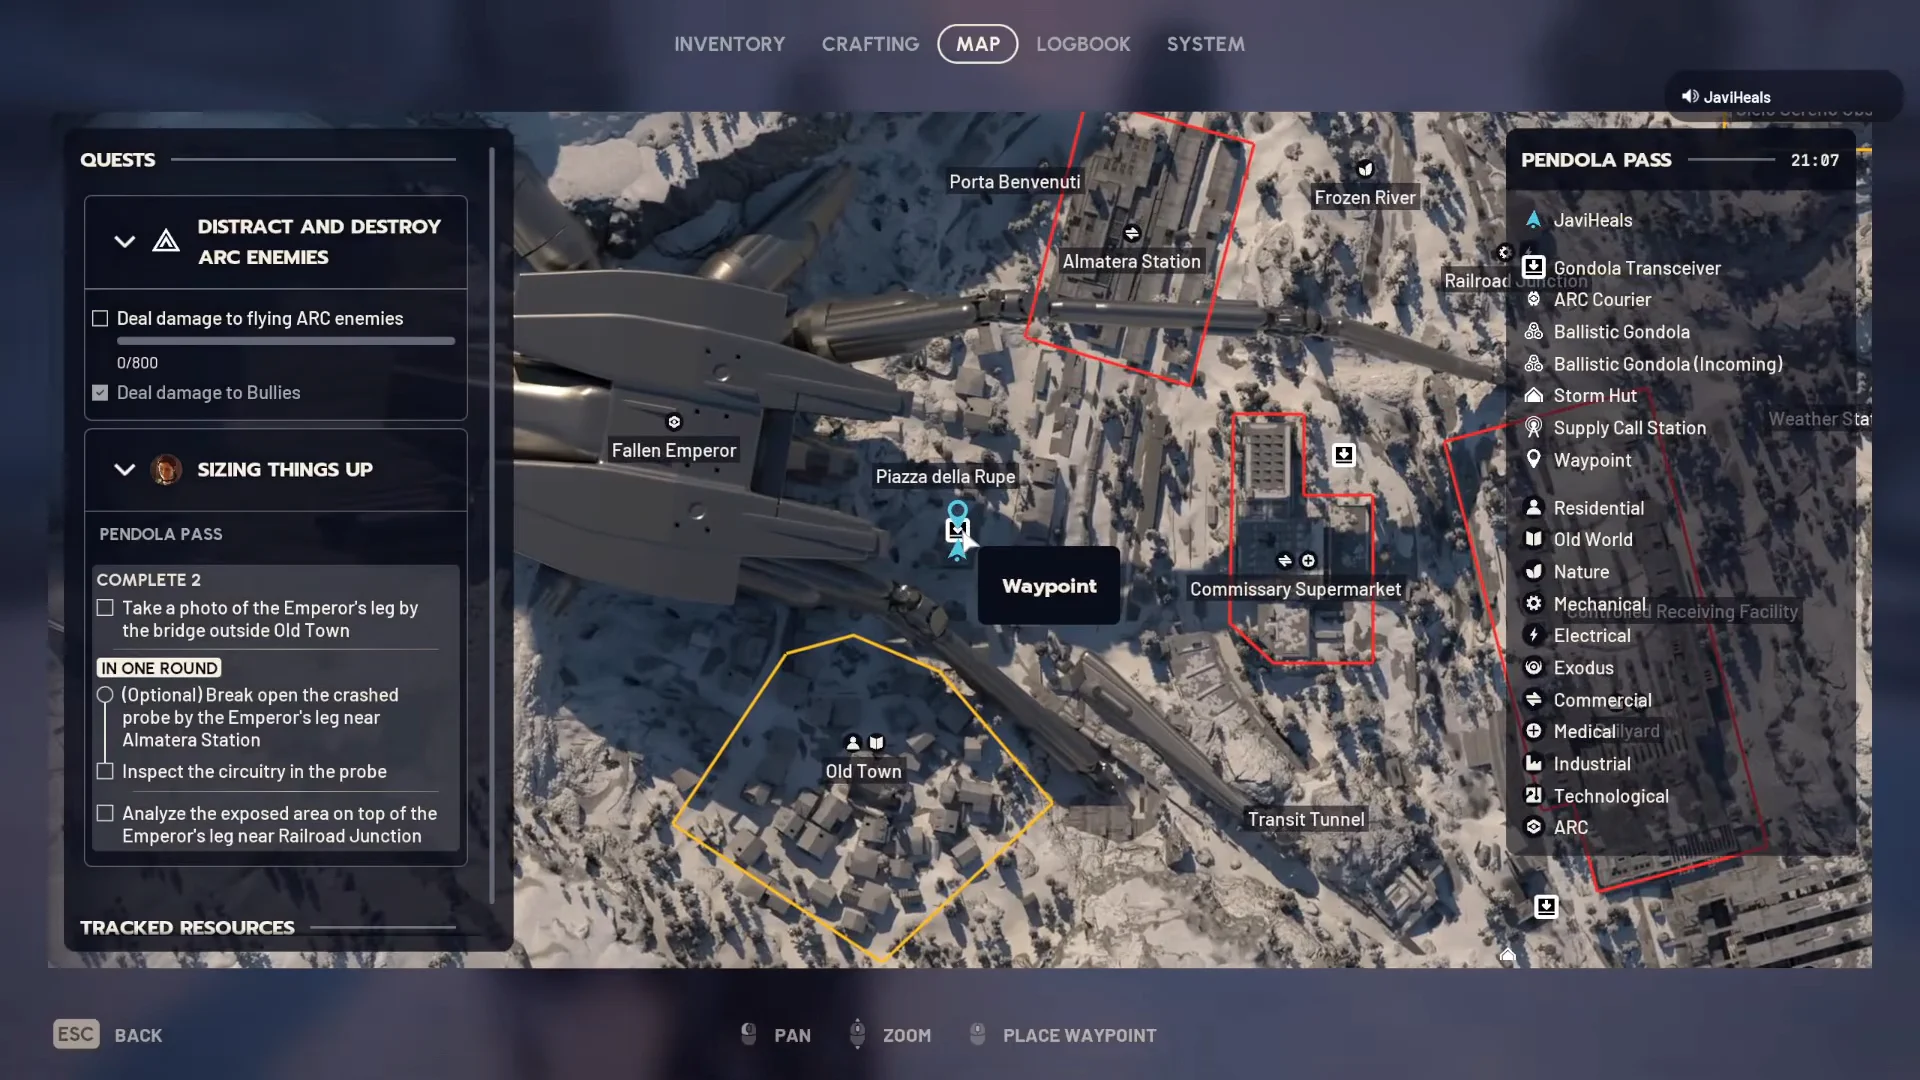
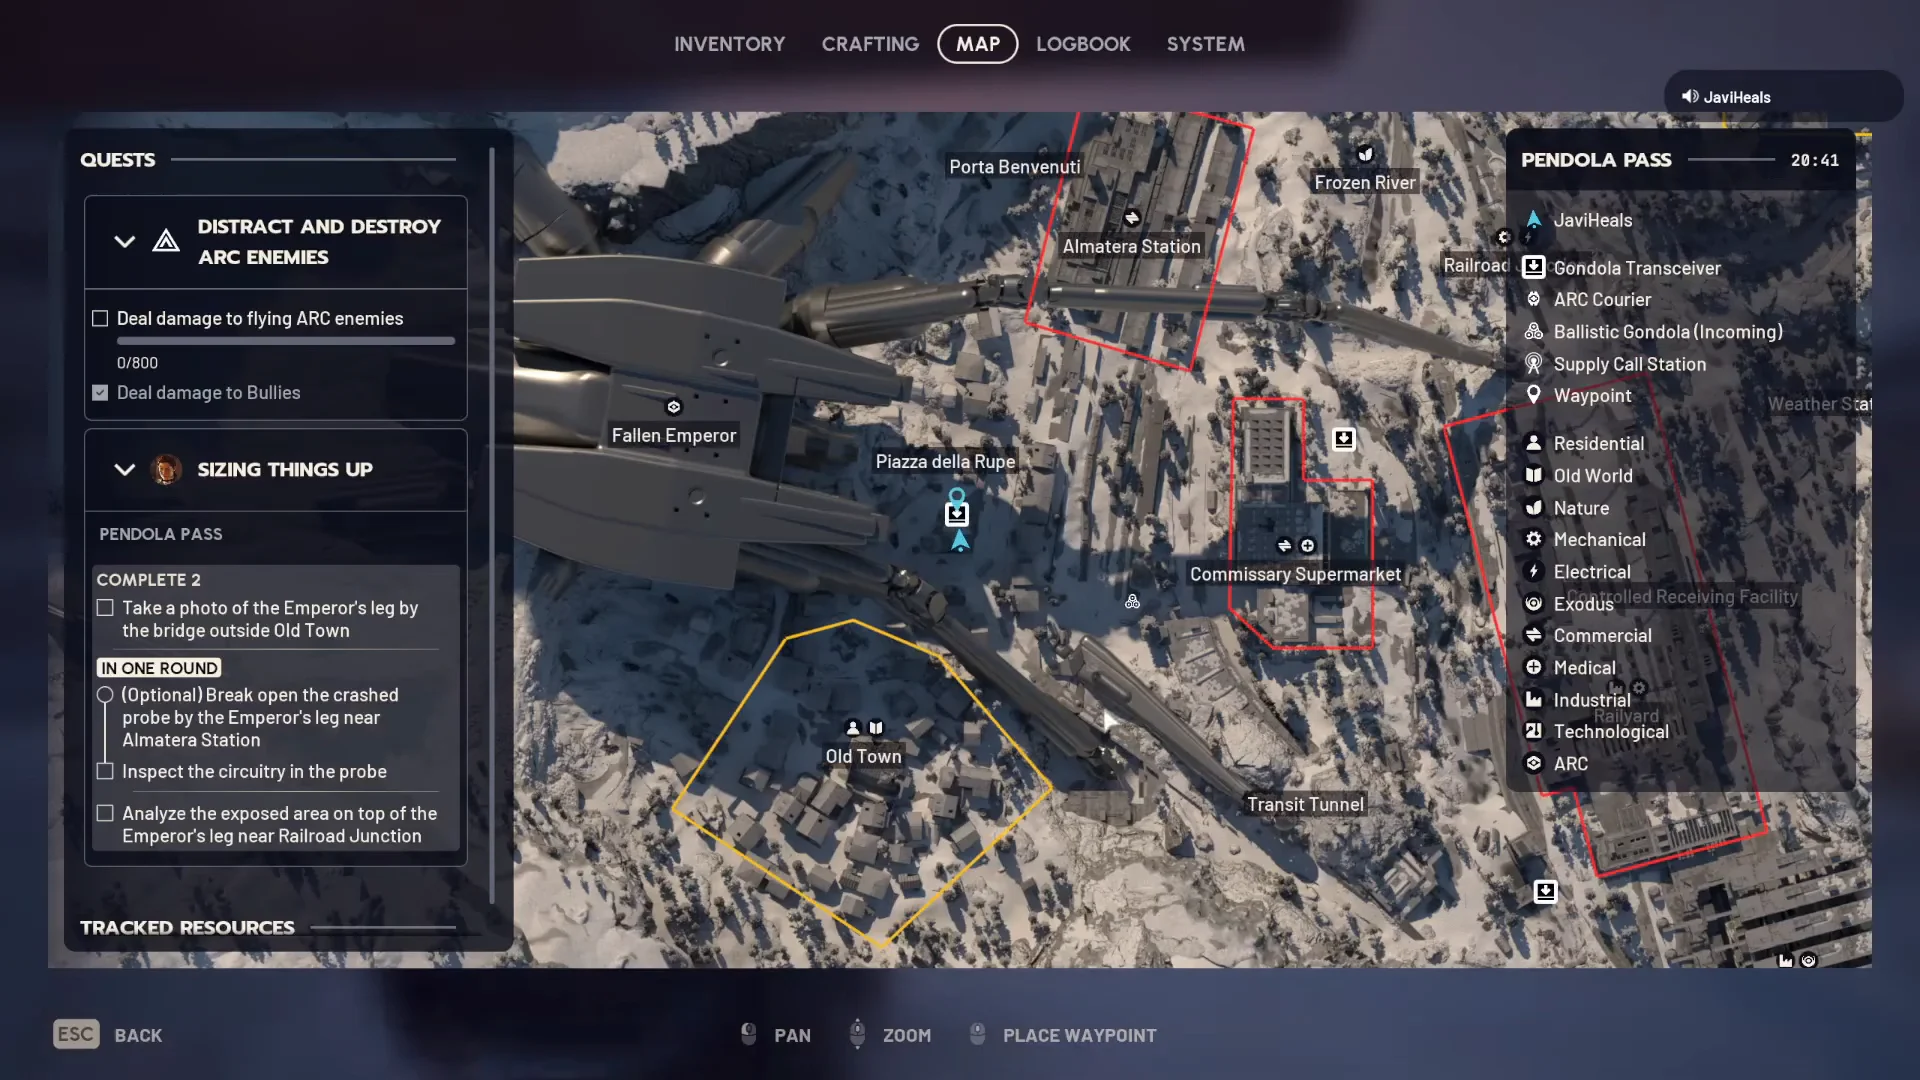
Gondola Transceiver locations on Pendola Pass
Pendola Pass is a difficulty 3 of 5 map that unlocks after you have played 25 rounds, and any raid counts toward that total. Four transceivers call a gondola, and each sits at a different corner of the map so you can pick an exit that suits your route.
| Transceiver | Where it sits |
|---|---|
| Glacial Transceiver | Northern side of the map |
| Northern Transceiver | Out on an open plain |
| Reckless Transceiver | In the shadow of the Fallen Emperor |
| Supermarket Transceiver | Near the Commissary Supermarket |
The Reckless Transceiver is handy right after an Emperor run, but it is also the most exposed spot to call from. The Northern Transceiver sits in open ground, which gives you clean sightlines but little to hide behind while the car arrives.
ARC reliably shows up at a called gondola, and it is not always the same group each time. A Bully in particular can wander into your landing zone, so be ready to fight or reposition rather than planting yourself on the pod.
Getting more than three raiders out
The pods hold just three players, but anyone secured to the gondola by grappling hook departs with it. Attach your hook to the car, climb aboard, and remain connected during launch to ride on top to Speranza.
- Reel your rope in before the launch so you are not left dangling.
- Riders on top have no pod walls for protection, so throw smoke before you climb and again once you are up.
- Downed teammates can still be loaded into a pod.
- Do not start entering alone, since that 10-second countdown fires the instant one person boards.
How you know the extract worked
The HUD timer reading “BALLISTIC GONDOLA DEPARTING IN” counts down to 0:00, the pod’s thrusters fire, and the car launches into the sky to carry you and your loadout back to Speranza. If you need to back out before that, the pod shows an “[E] EXIT BALLISTIC GONDOLA” prompt, though stepping out and back in restarts the launch window, so once you are committed it is best to sit tight until the gondola leaves.