Gaming How-To

How to Reach Lorade Castle Through Snowfall Valley Cavity (Dragon’s Dogma 2: Dark Arisen)

Take the pit below the Hook Tether Post for the quest route, and save the breakable blue ice walls for the loot detour.

Take the pit below the Hook Tether Post for the quest route, and save the breakable blue ice walls for the loot detour.

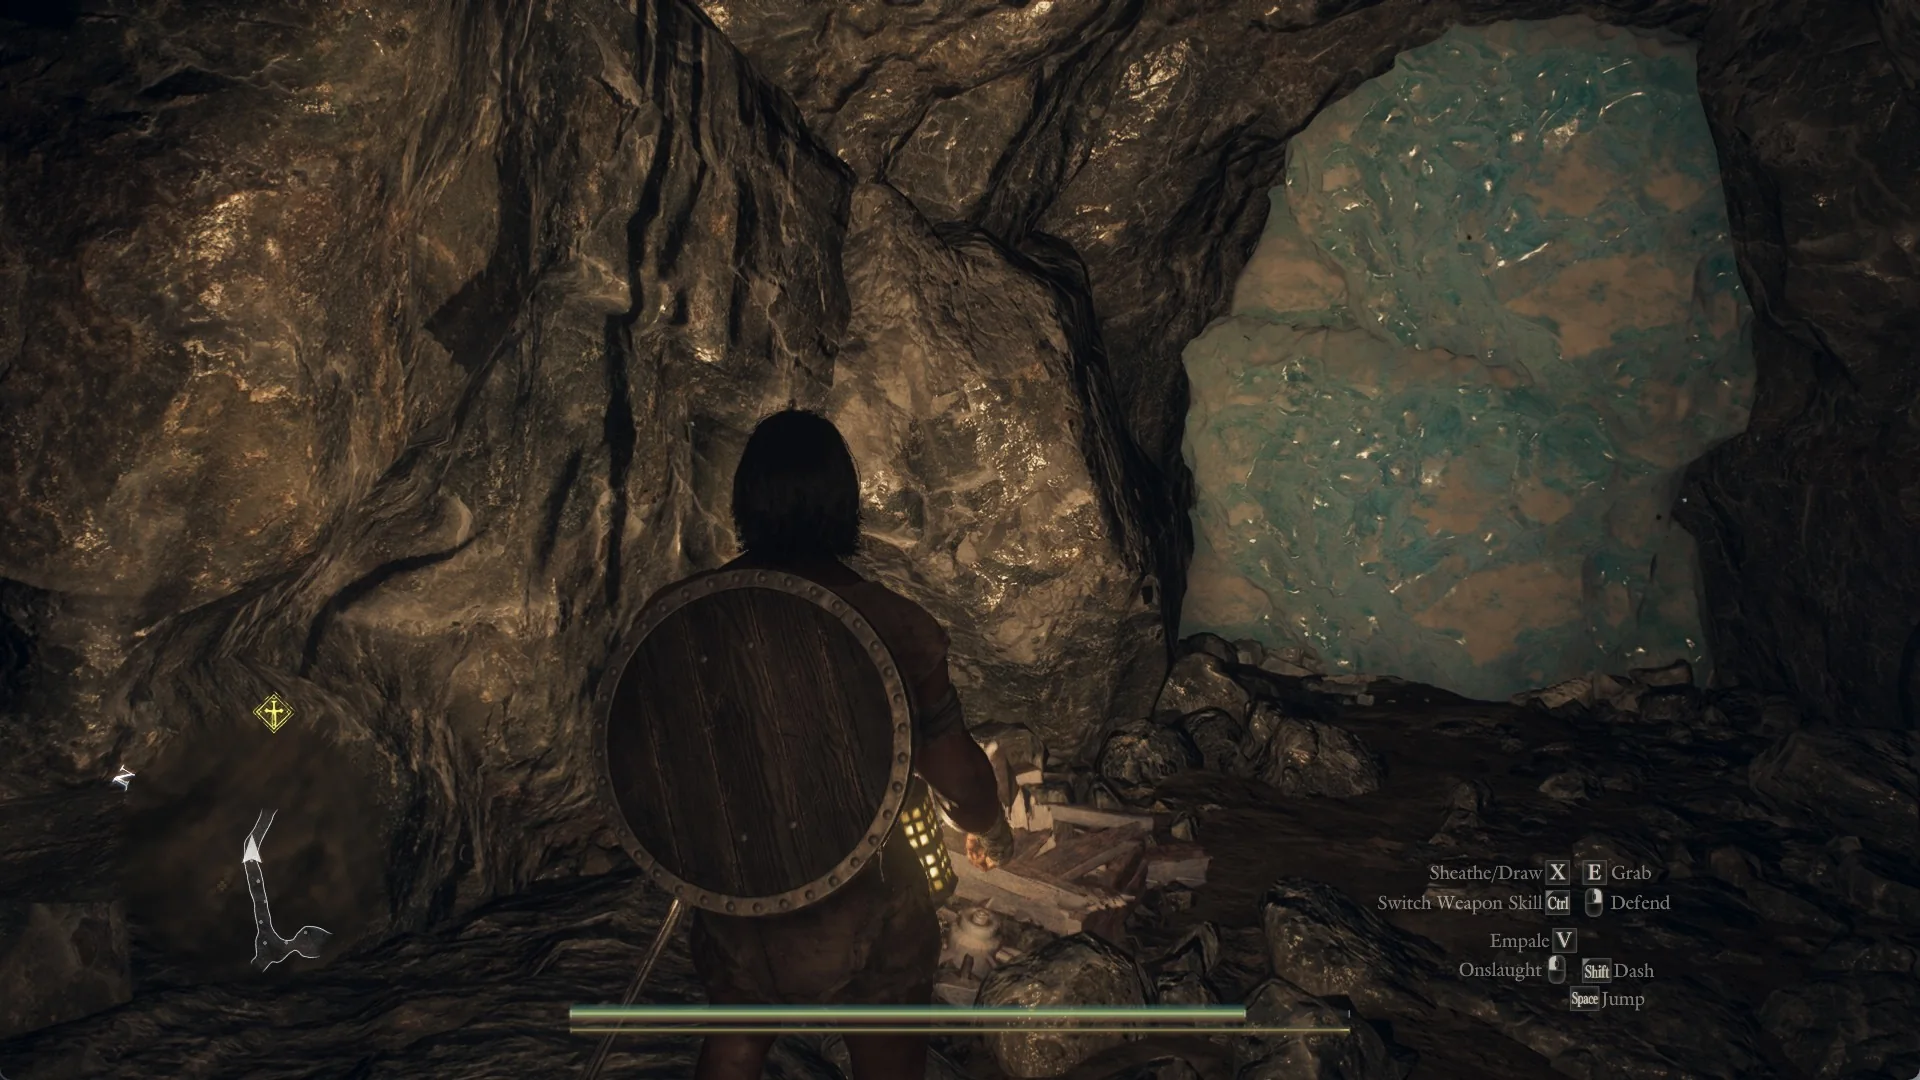
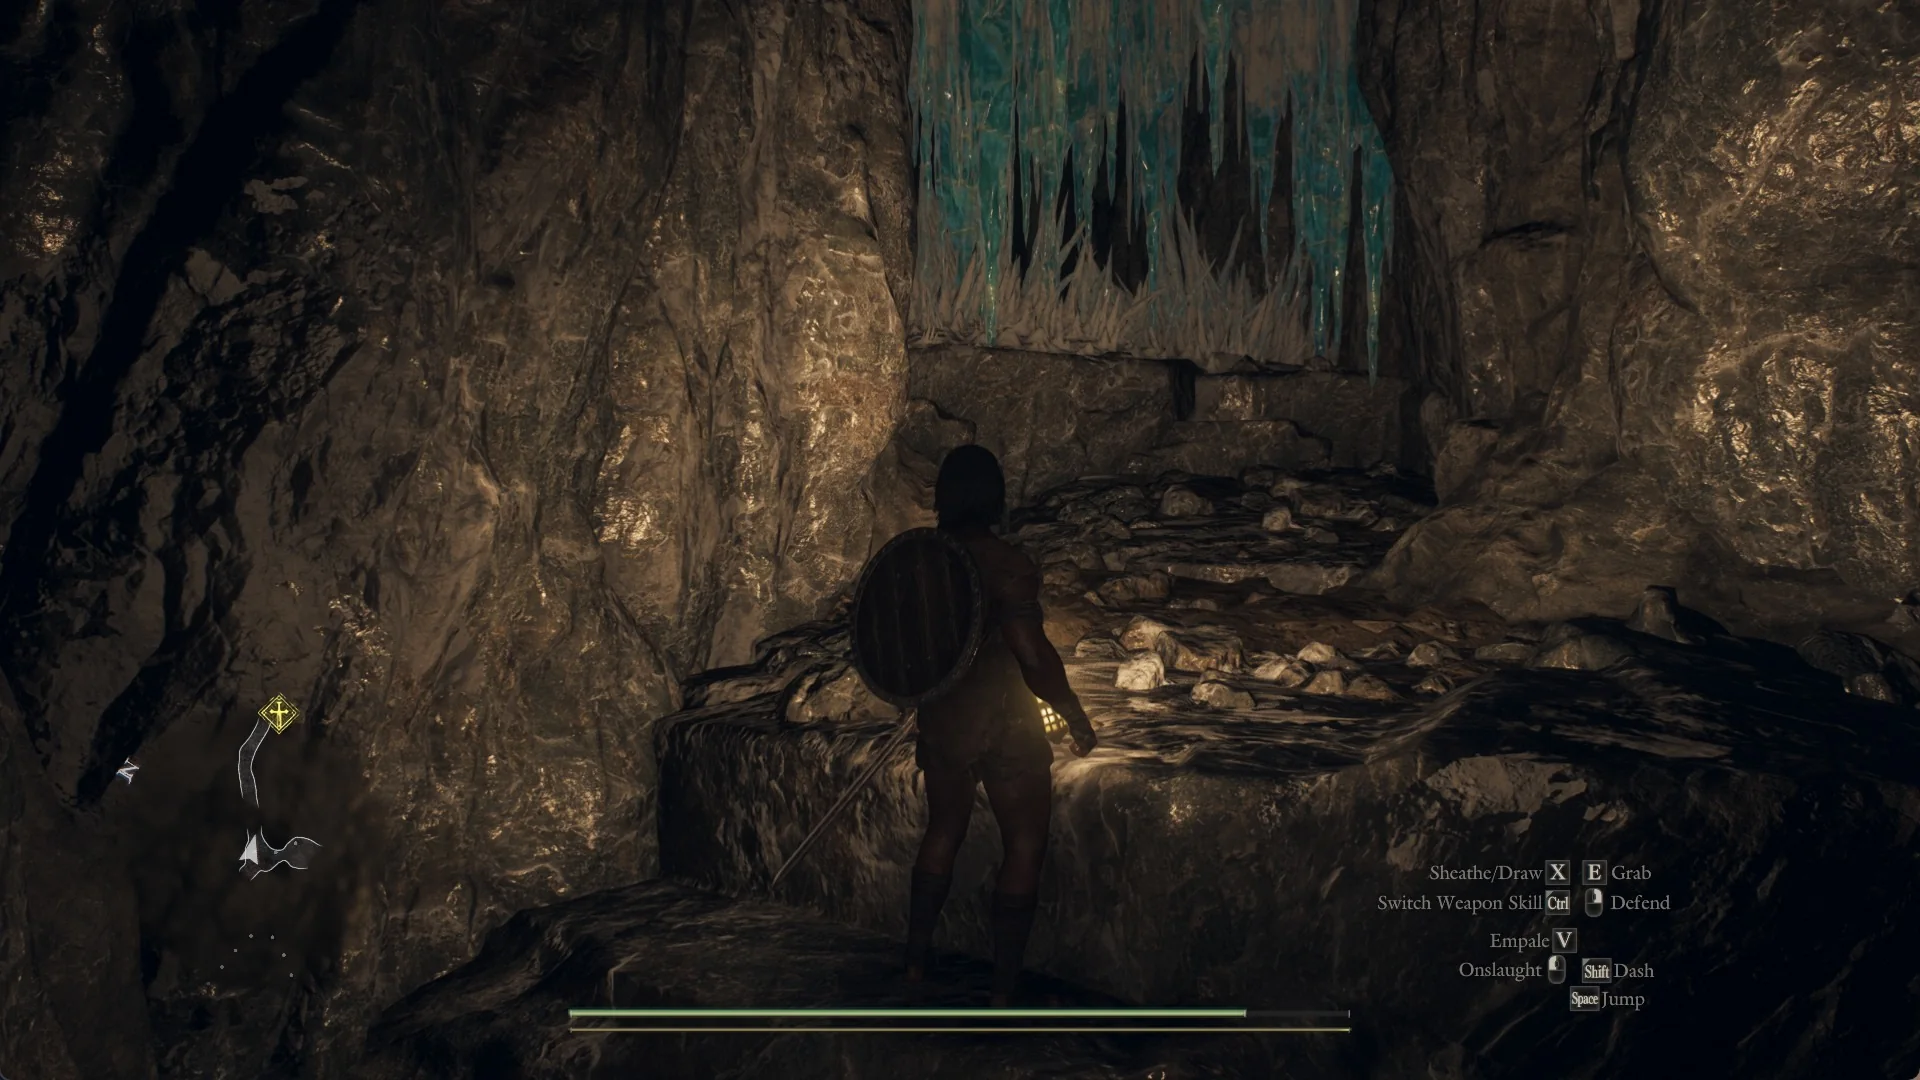
The Arisen with a lit lantern climbs rock steps toward a wall of clear blue ice in the Snowfall Valley Cavity

The objective “Seek Lorade Castle within the snowfield cavity” drops you into a dark, multi-level cave called the Snowfall Valley Cavity. Past the first chamber it splits two ways, and only one of them leads to Lorade Castle. The other is an optional side route gated by walls of blue ice that you have to break with weapon hits.

Quick answer: Head to the Hook Tether Post and go down the pit below it to continue toward Lorade Castle. The upper passage with the blue ice walls is a detour for loot, not the way forward.


Before you enter the Snowfall Valley Cavity

Icicles fringe the entrance; on entering, the location label “Snowfall Valley Cavity” appears. Darkness fills the interior, so switch on your lantern before searching.

Beyond the first chamber, the cave branches in two directions. One route drops into a pit beside a carved Hook Tether Post; the other rises by rock steps to a solid blue-ice wall. Keep the routes straight, since the icy passage can look like the way to the quest.


The route to Lorade Castle: the pit at the Hook Tether Post

The way to Lorade Castle runs down through the pit, not up through the ice. Follow these steps in order.
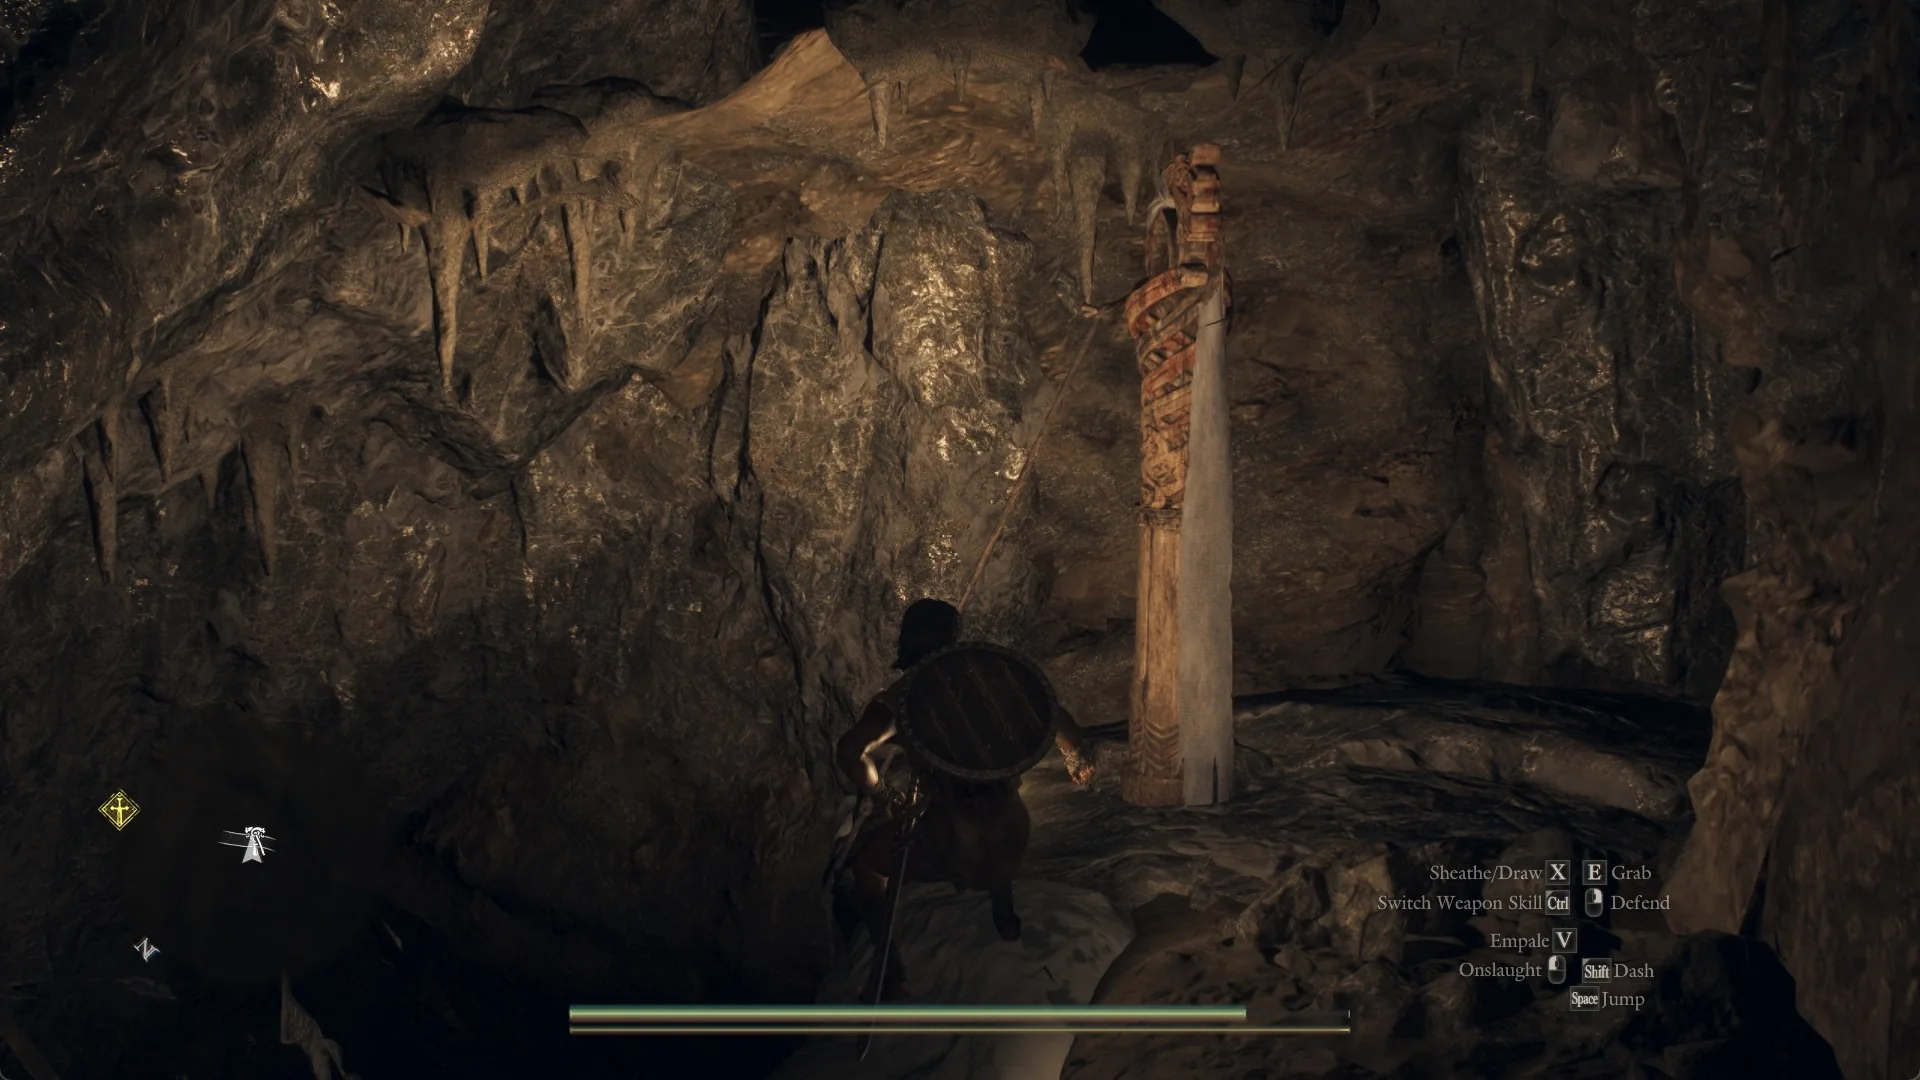
Find the carved post set in a circular rock hollow at the edge of a pit, with a rope fastened near the top. This is the Hook Tether Post.
The Arisen with a lit lantern stands before the carved Hook Tether Post in a round rock hollow, a rope tied near its top
The Hook Tether Post in its rock hollow at the rim of the pit.
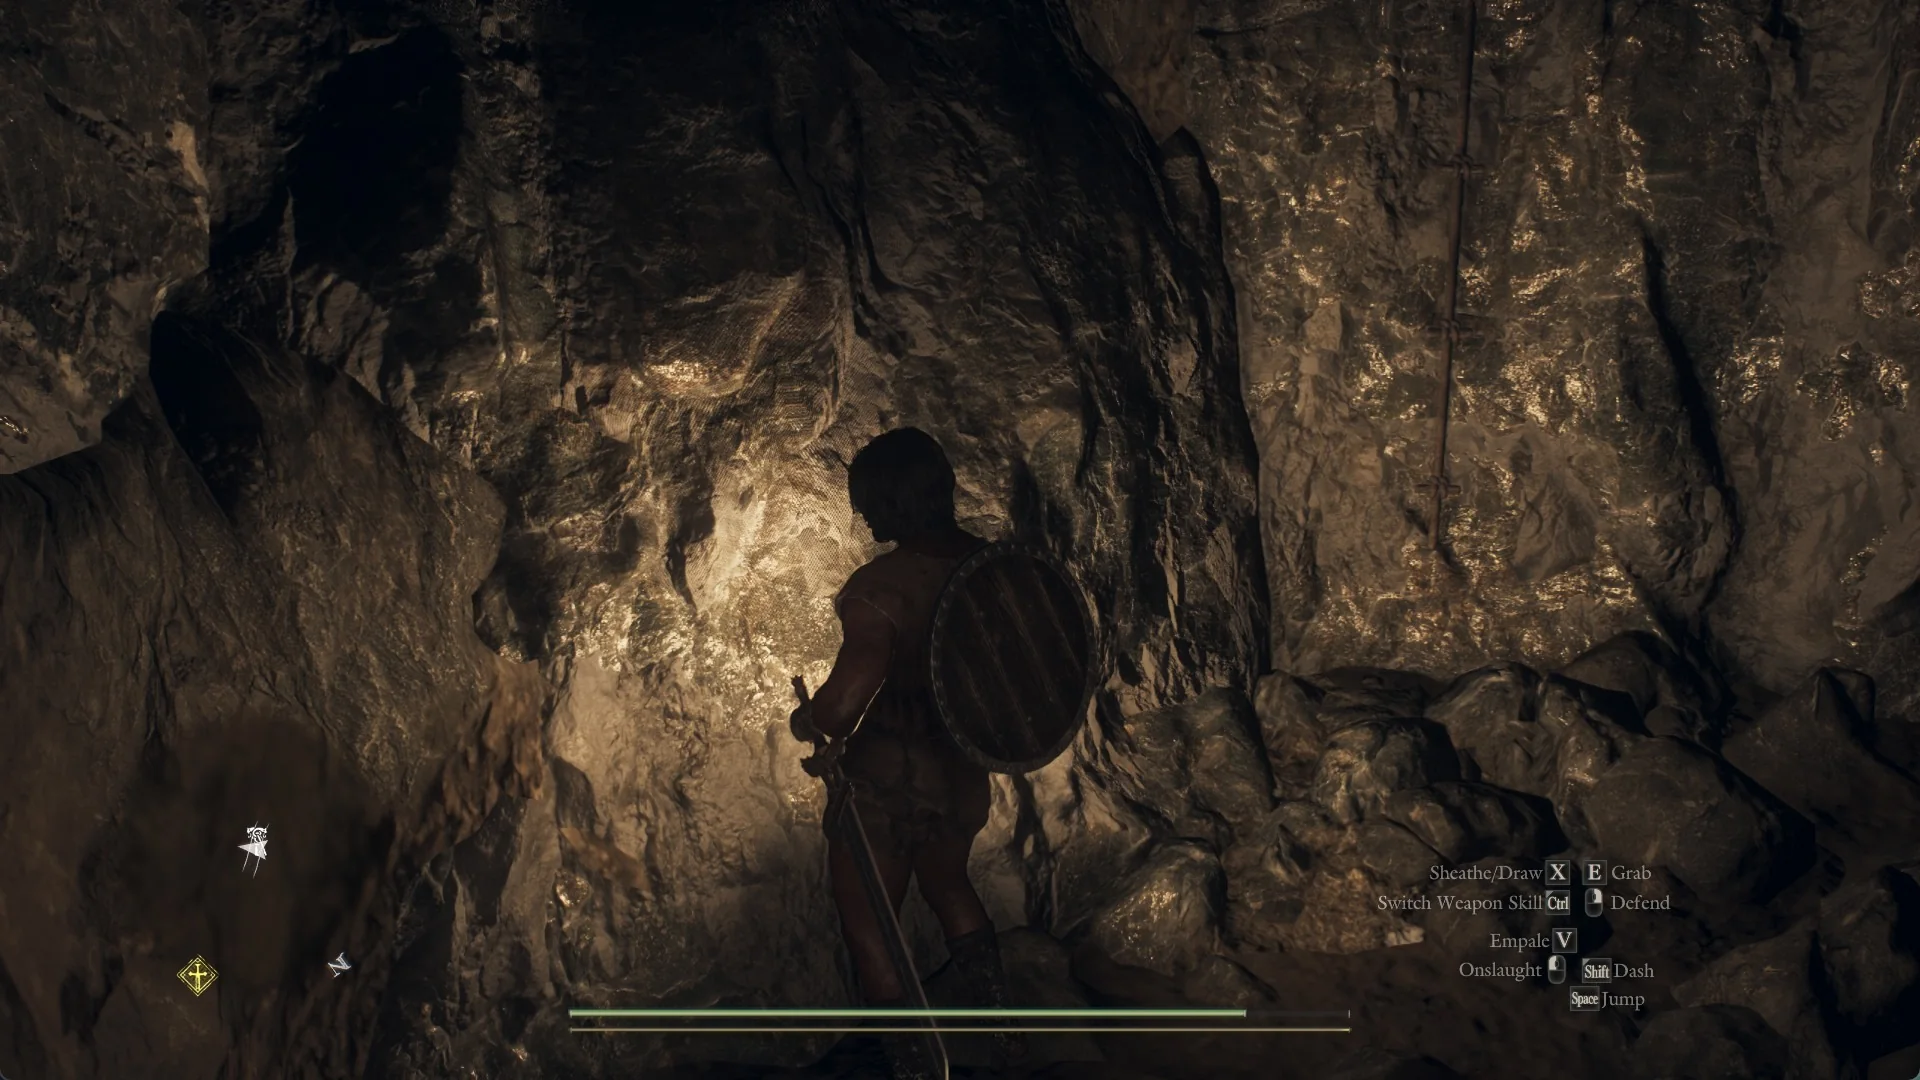
The rope runs down the wall to the bottom of the pit. Descend through the opening beneath the post to head toward Lorade Castle.
The Arisen on the rocky floor of the pit below the tether post, lantern lighting the cave wall
The pit floor below the post; the passage leads on from here.
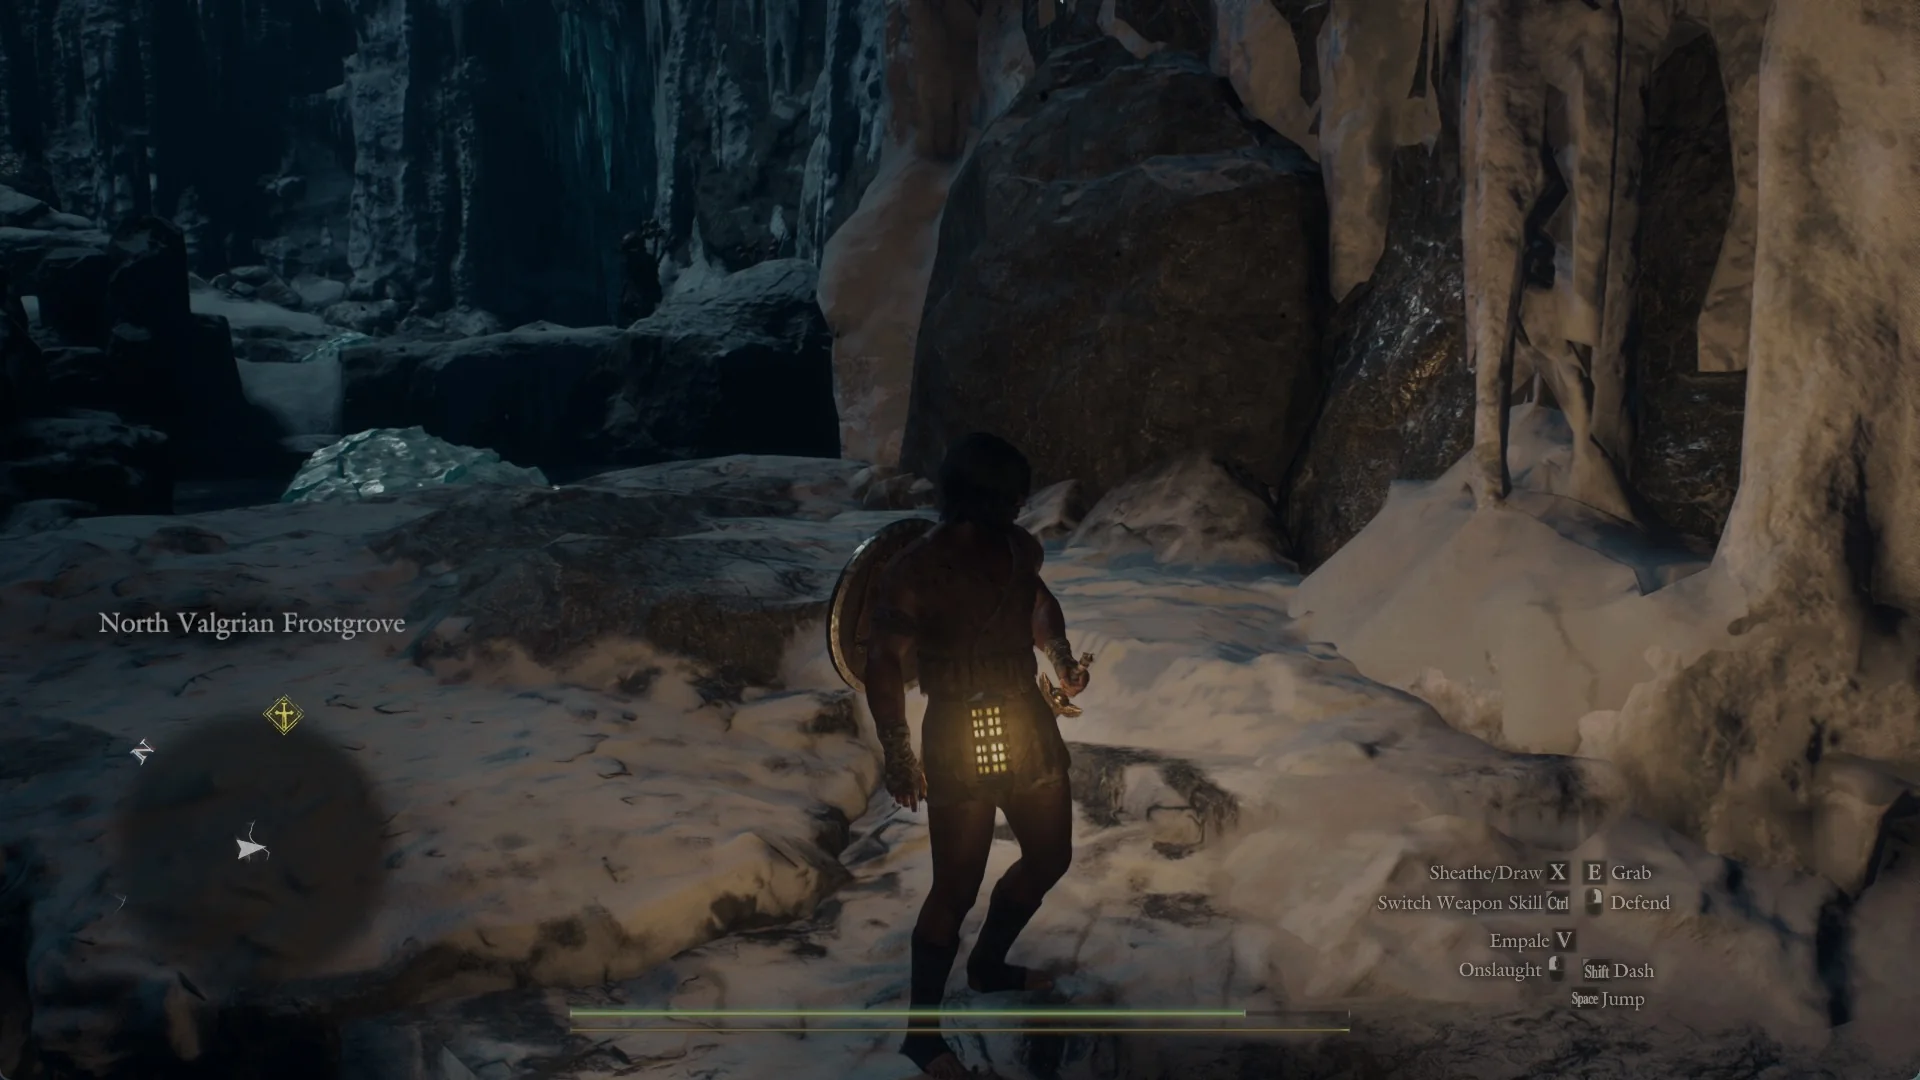
From the pit floor, take the passage to a snowy bank beside a turquoise pool, ringed by icicle columns. The location label “North Valgrian Frostgrove” appears there. Hobgoblins attack at this spot, so defeat them.
The Arisen on a snow bank among icicle columns with the area name North Valgrian Frostgrove on screen
The snow bank at the end of the passage: “North Valgrian Frostgrove”.
At the snow shelf, a scene plays in which Eir opens the way, followed by the banner “You saw Eir make for Lorade Castle.” After the scene, cross the flat sheet of turquoise ice on foot into a cave with ice rubble. The cavern holding the sunken Lorade Castle lies beyond.

Keep out of the turquoise pool by the bank until Eir’s scene has played. The water is the Brine, which drags the Arisen below whenever they enter.


How to break the blue ice walls (optional loot detour)

The upper passage is worth a quick trip for a chest and a bone pile, but it is a dead end for the quest. Only the clear, glassy blue ice breaks under weapon hits. Pale packed snow does not break no matter how many times you strike it.
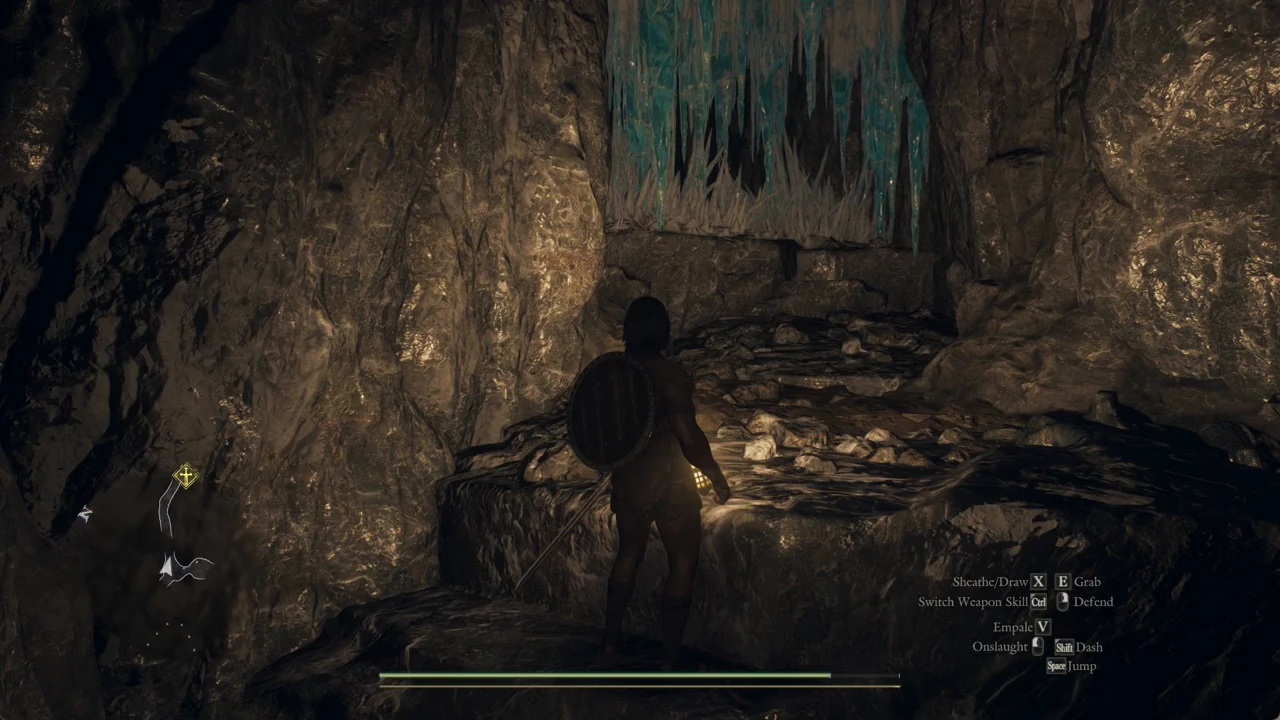
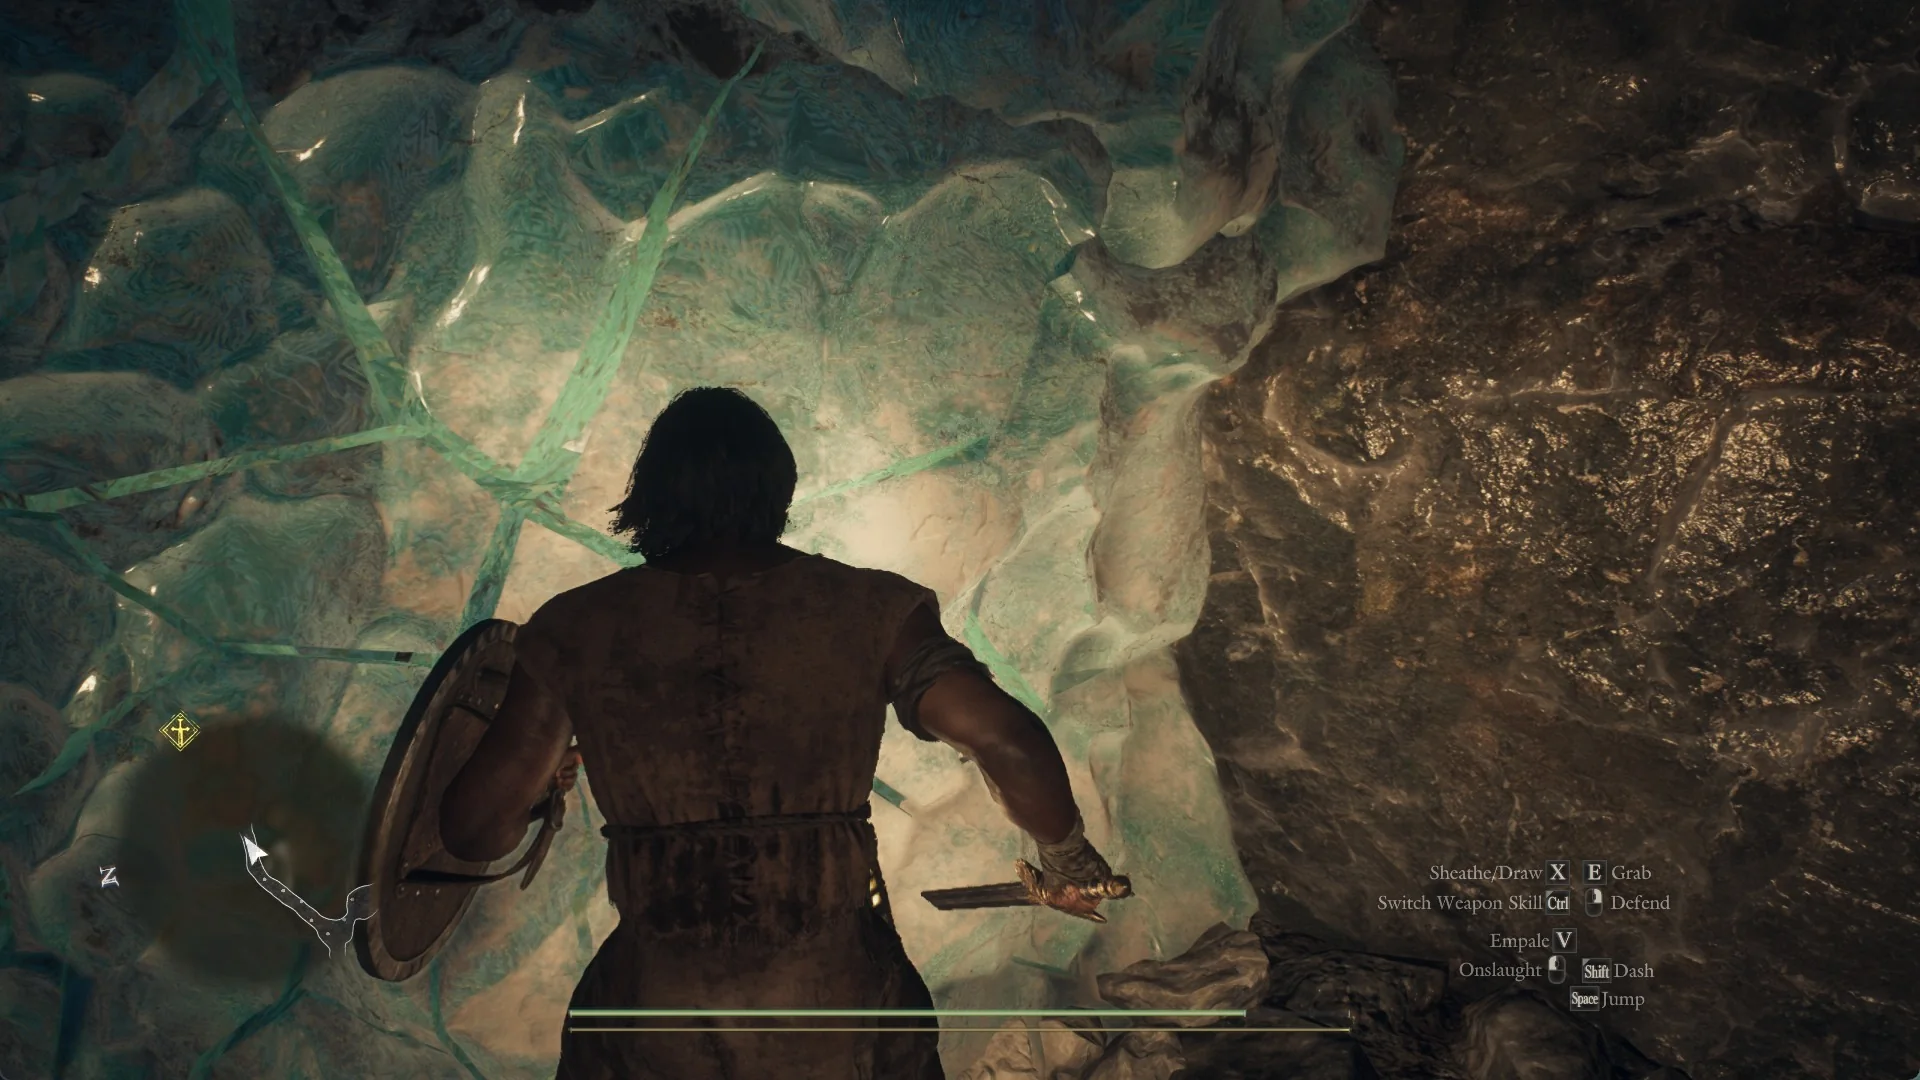
Before you reach the pit, ascend the rock steps into the tunnel. A wall of clear blue ice spans the passage, with ice spikes at its base. The minimap indicates that the tunnel continues beyond the barrier.
Character heading toward a rocky stairway beneath hanging blue ice spikes in a cave
Rock steps climb to the upper tunnel, where blue icicles hang over the way up.
There is no prompt on the ice and nothing you need to bring. Draw your weapon and attack the wall directly.
The wall does not break on the first blow. It stays whole through several hits, then bright crack lines spread across the ice before it bursts into large clear blocks and leaves a heap of rubble.
Bright crack lines spread across a mass of blue ice as the Arisen strikes it with a sword
Crack lines spread across the ice before it gives way.
Farther down the tunnel, another chunk of matching ice blocks an opening between rock walls. It fractures and bursts just as the first one did, so use the same method to get through.
A second mass of blue ice plugs a gap between rock walls at the end of the tunnel, the Arisen a few metres from it
The second ice mass, wedged in a gap between rock walls.

A pile of broken timber against the tunnel wall just before this barrier also has a “Gather” prompt.
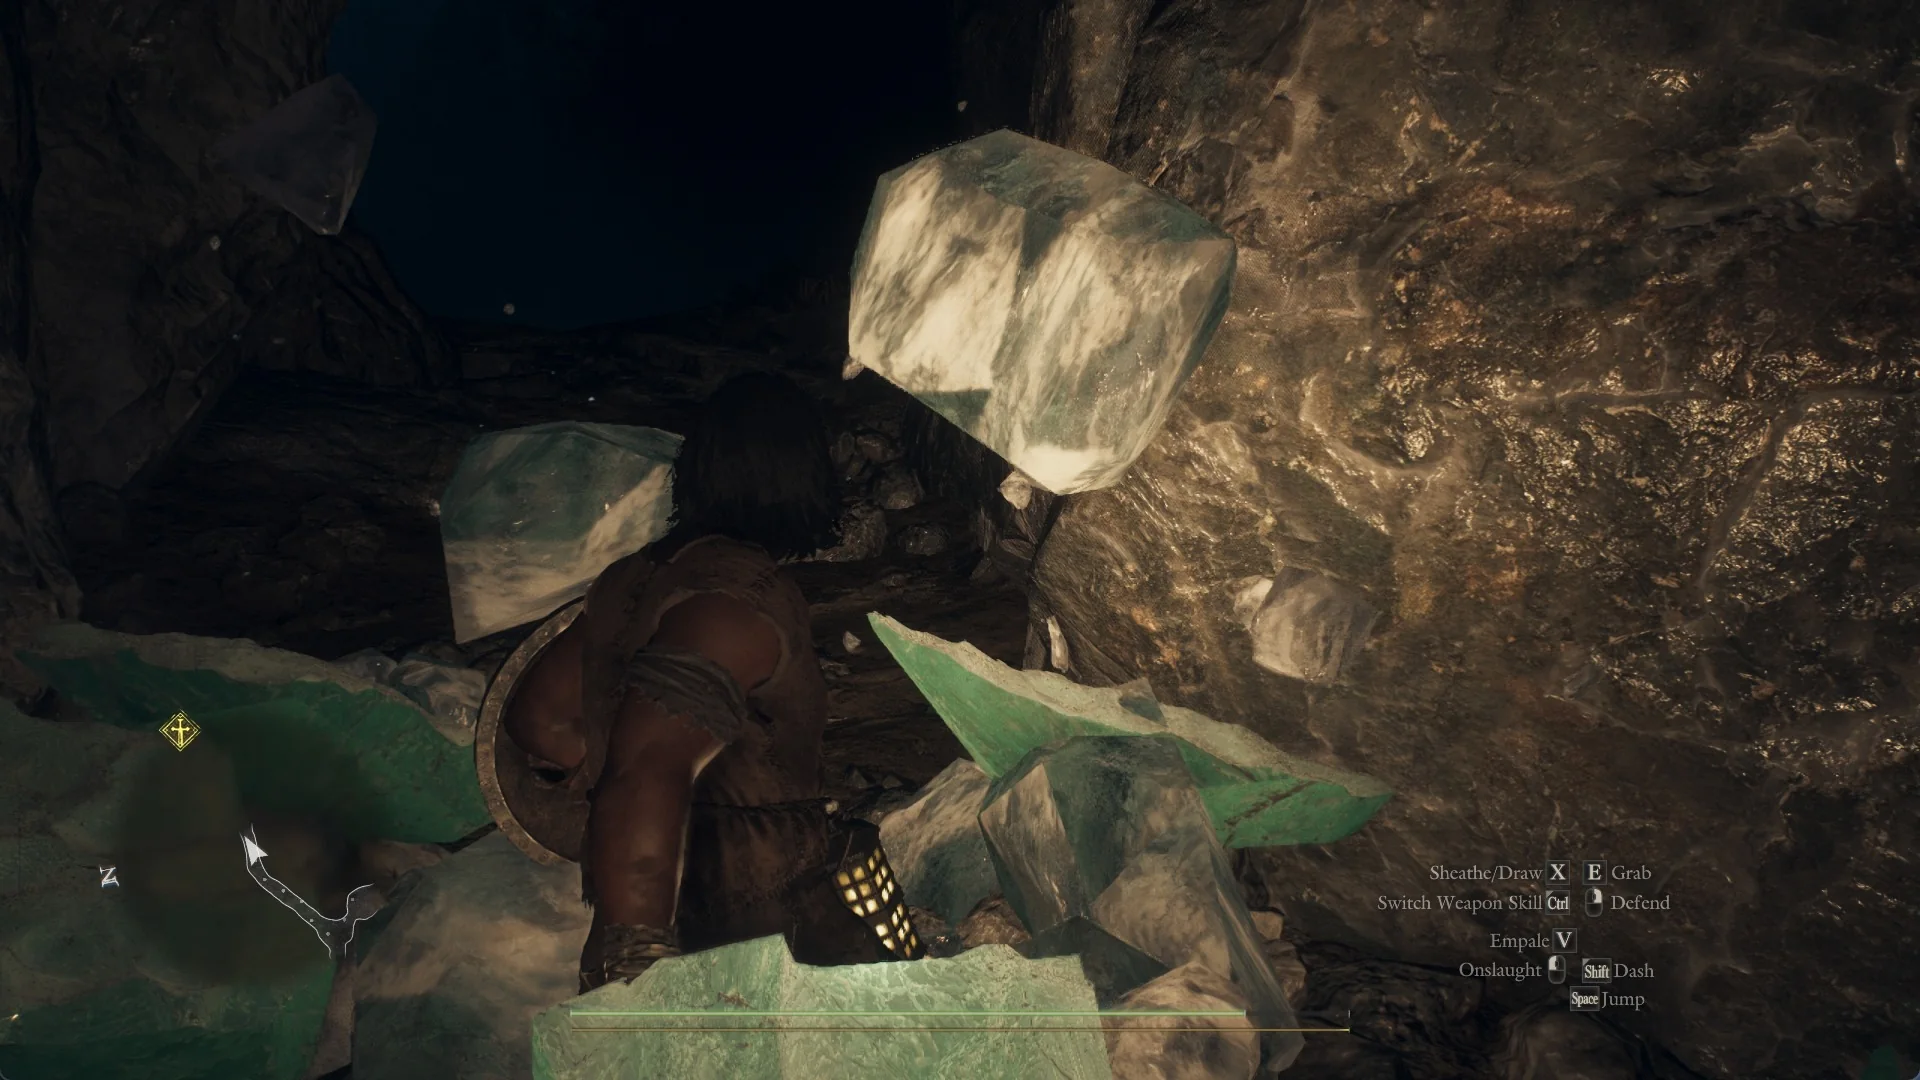
The ice plug bursts into large clear blocks around the Arisen and the dark passage opens behind it
The plug bursts into large clear blocks and the passage is open.
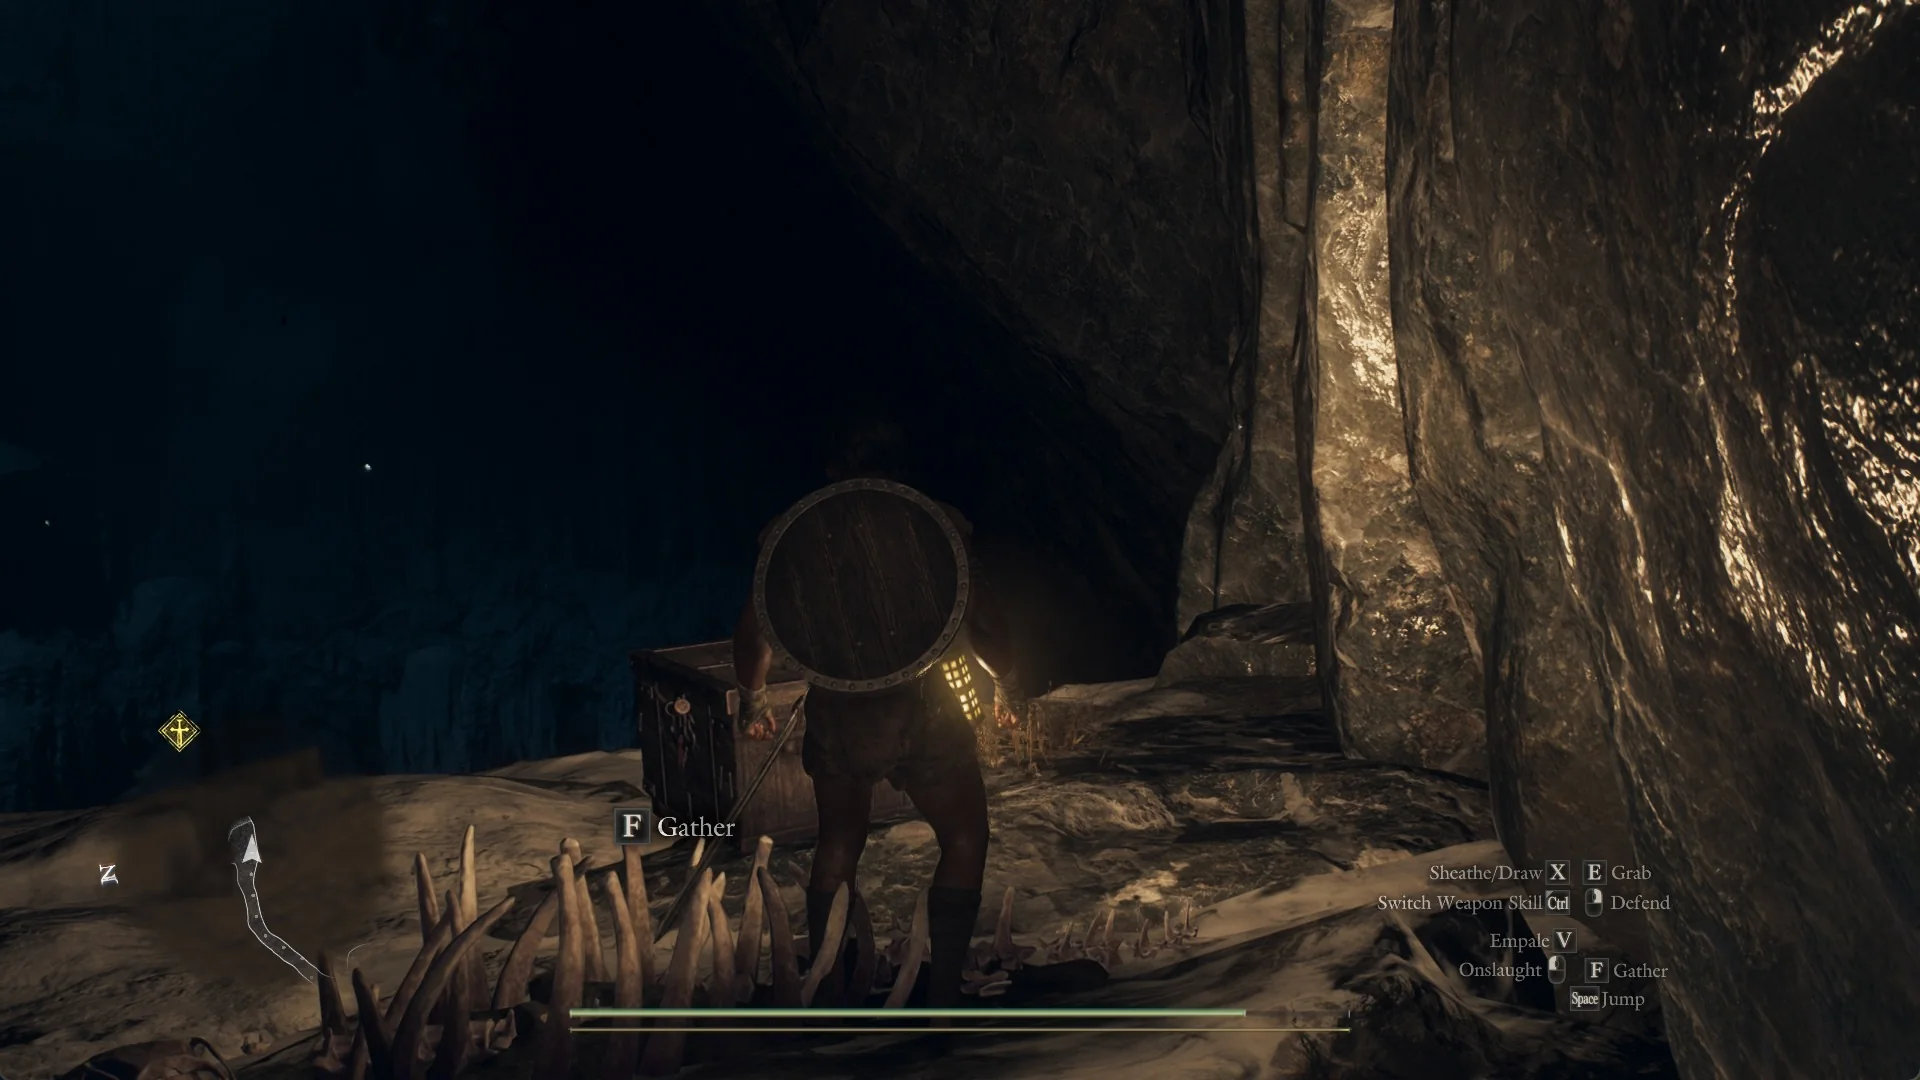
The tunnel ends on a ledge over the great cavern. On that ledge you will find a pile of bones with a “Gather” prompt and an iron-bound chest. Collect both, since this is what the detour is for.
The Arisen on a dark ledge beside a pile of bones with a Gather prompt and an iron-bound chest
The ledge at the end of the detour: a bone pile with “Gather” and a chest.

The ledge is not a way forward. Once you have the loot, head back down and take the pit at the Hook Tether Post for the quest.


Mistakes that cost you time here

  • Mistaking the blue-ice tunnel for the quest path and searching its ledge for a descent. No way down is available there, so return to the pit.
  • Searching the ice barrier for a prompt or an item is unnecessary. Equip a weapon and strike the ice.
  • Entering the turquoise pool at the snow bank before Eir’s scene is a mistake. The Brine pulls you beneath the surface.
  • Hitting the pale packed-snow wall and expecting it to break. Only the clear, glassy blue ice can be shattered.

Once Eir’s path opens and you have crossed the ice sheet, you are clear of the cavity and standing at the edge of the Lorade Castle cavern, ready to press on with the rest of the quest.