An Unheard Farewell is one of the first side quests you run into in Valor Mortis, and it hides most of its payoff behind a cave you have to go out of your way to reach. A soldier stuck in a wrecked wagon wants to know what happened to the scouts he sent ahead. Help him, and you walk away with the Sleight of Hand Amber.
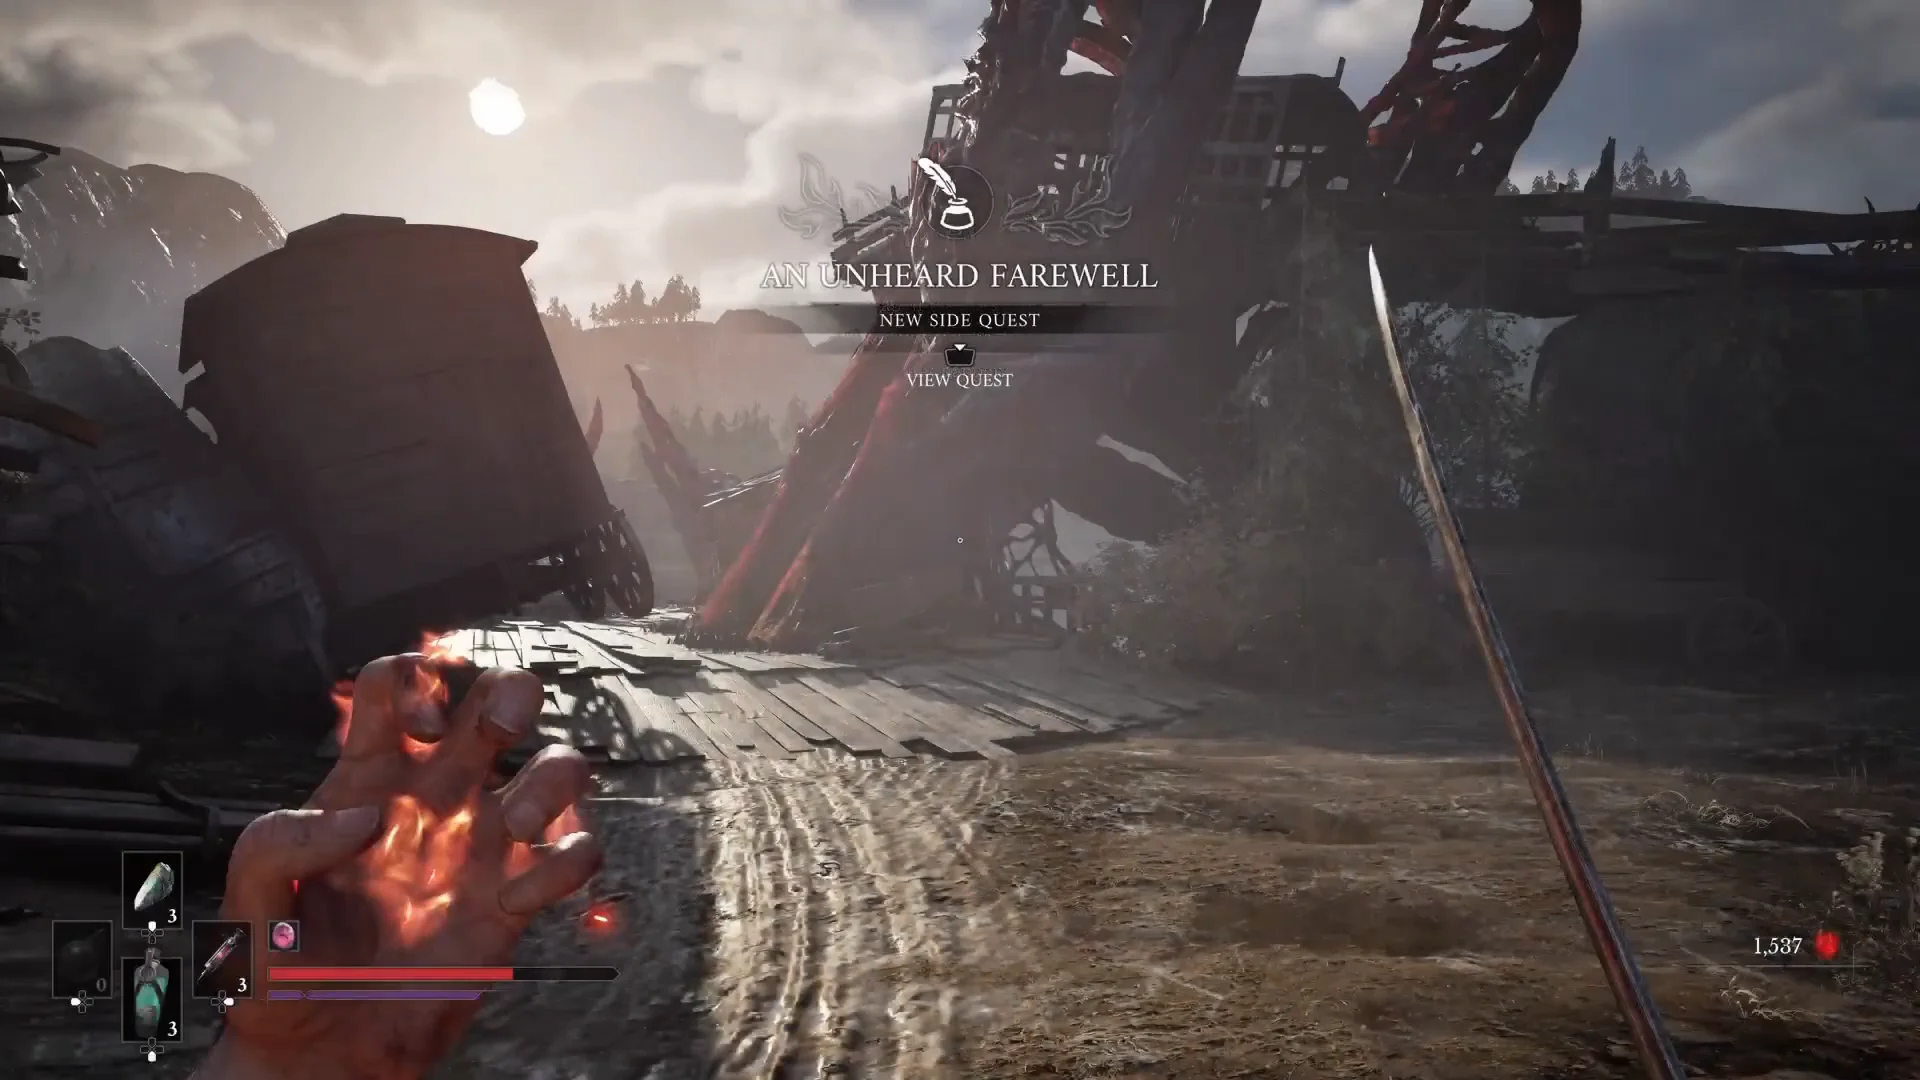
Quick answer: Talk to the Adjudant Sous-Officier in the overturned wagon in the Valley of Ashes, head down the broken bridge to the elevator, burn through the Nephtoglobin barrier to find the scout commander, defeat him, grab the orders, then return and talk to the man to earn the Sleight of Hand Amber.
Where to start An Unheard Farewell in the Valley of Ashes
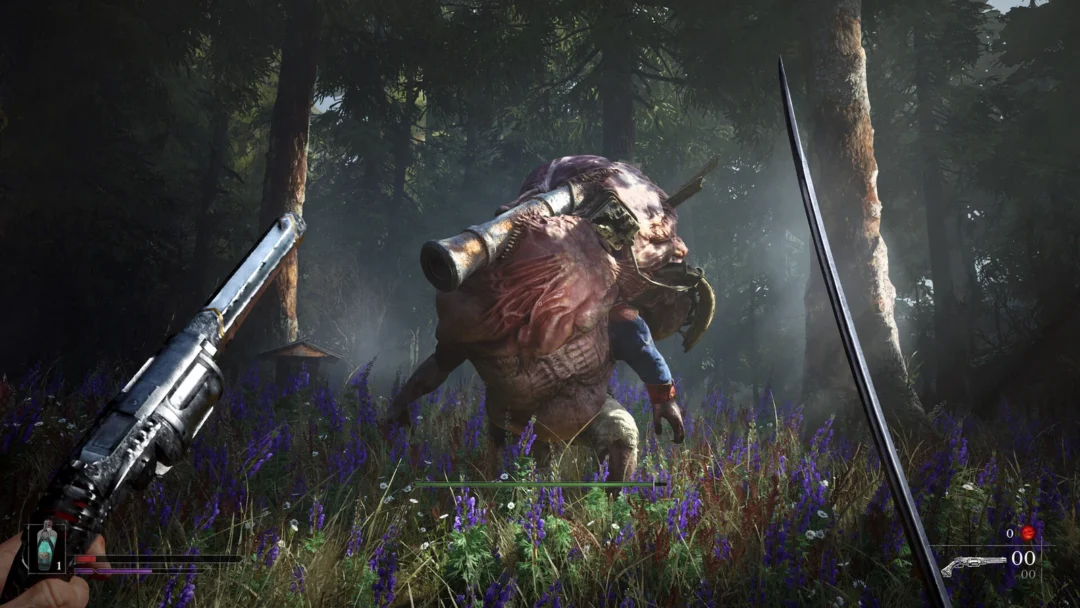
The quest lives in Chapter II, in the Valley of Ashes. This area opens up after your first fight with General Lothaire. From the Lantern in the area, follow the only road forward until you pass a Risen Grenadier, the large grenade-throwing enemy guarding the path.
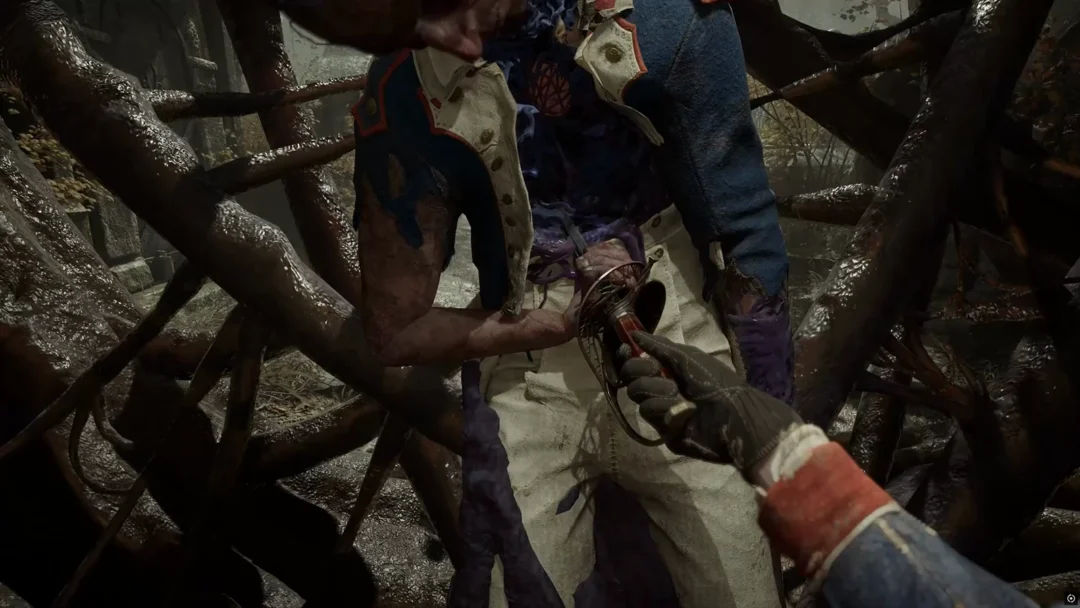
Just past it, look up. An overturned military carriage is wedged above the road, and a voice calls out from inside. That voice belongs to the Adjudant Sous-Officier. Approach and interact with him to accept the quest. He asks you to find out what became of the men he sent into the dark.
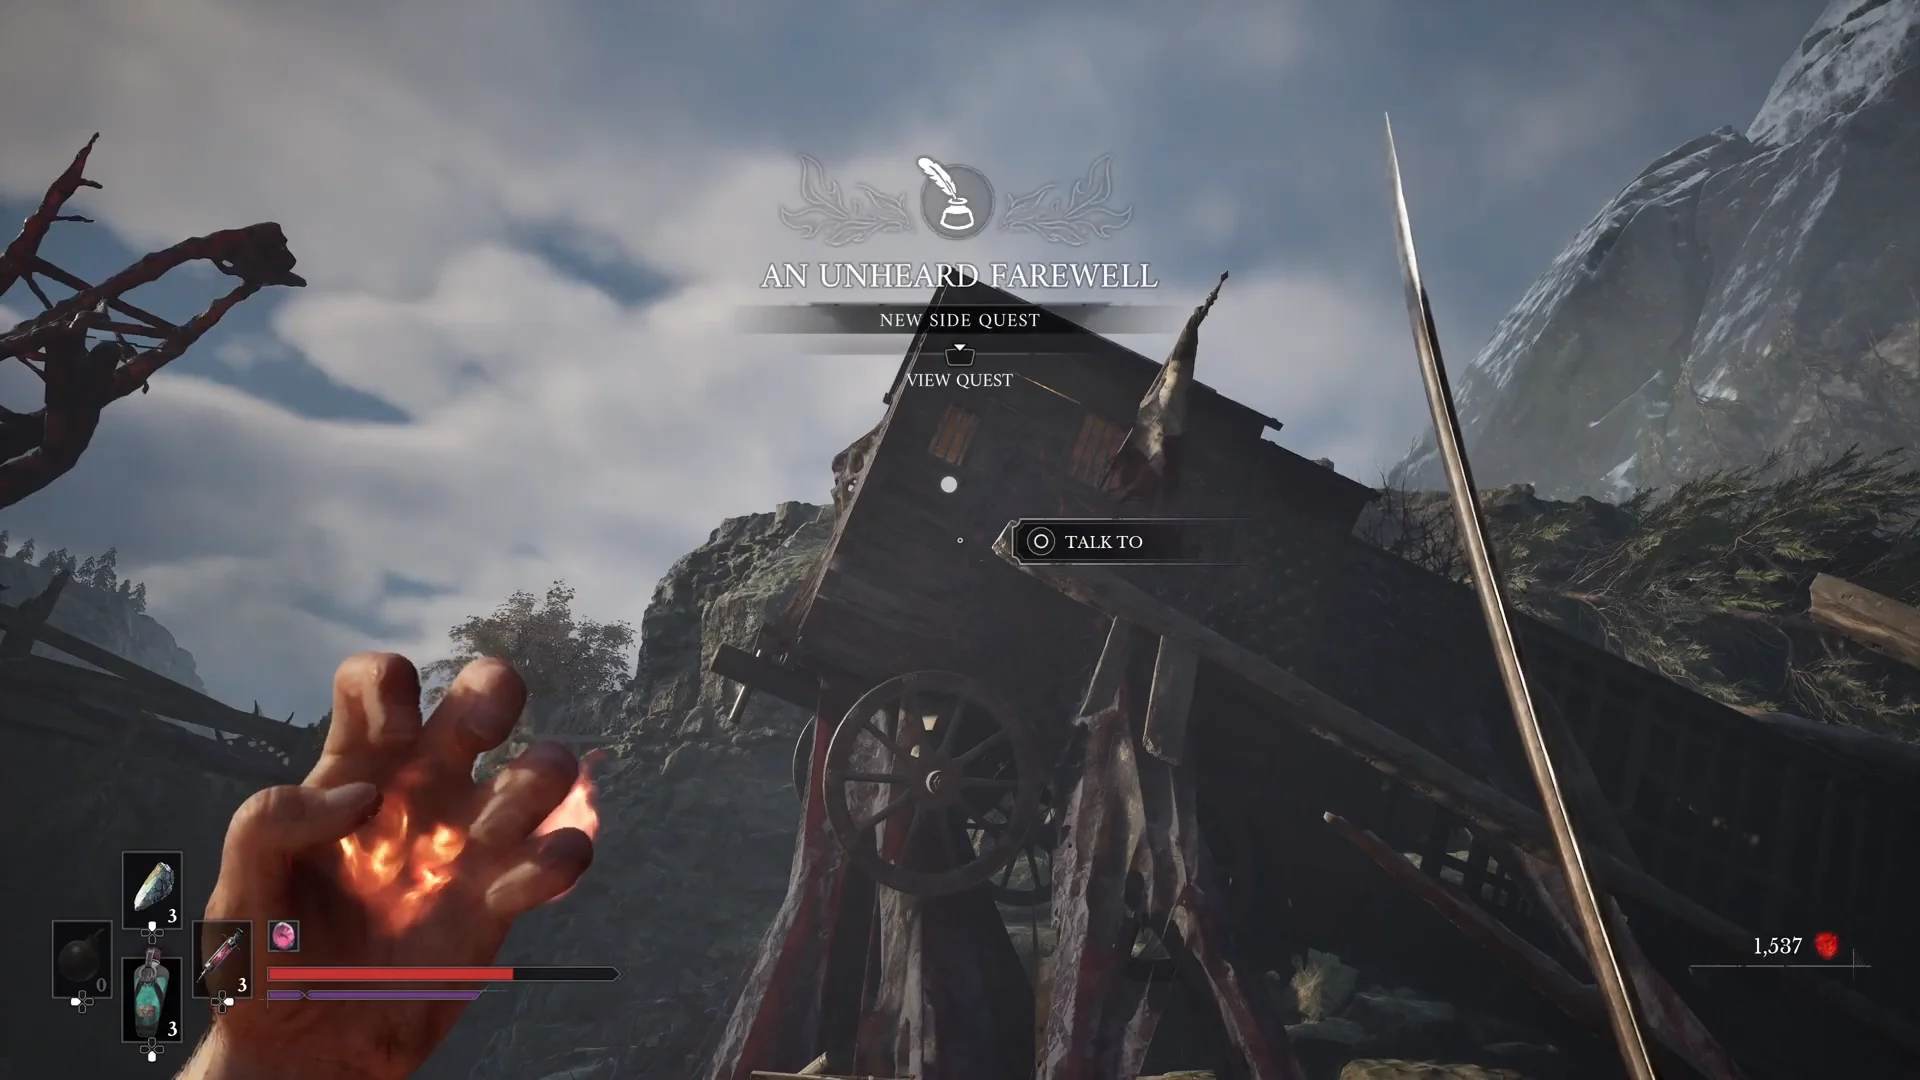
The wagon is easy to walk straight past because it sits above you. If you do not see the talk prompt, stand under the carriage and aim your view upward.
Reach the elevator and open the cave
Defeat the scout commander and collect the orders
Inside the dark, water-filled cavern stands the scout commander, a corrupted mini-boss. He is fast and carries a large health pool, so keep your distance, work in fire transmutation, and throw any grenades you have been saving. Learning his rushed attack pattern makes the fight far more manageable.
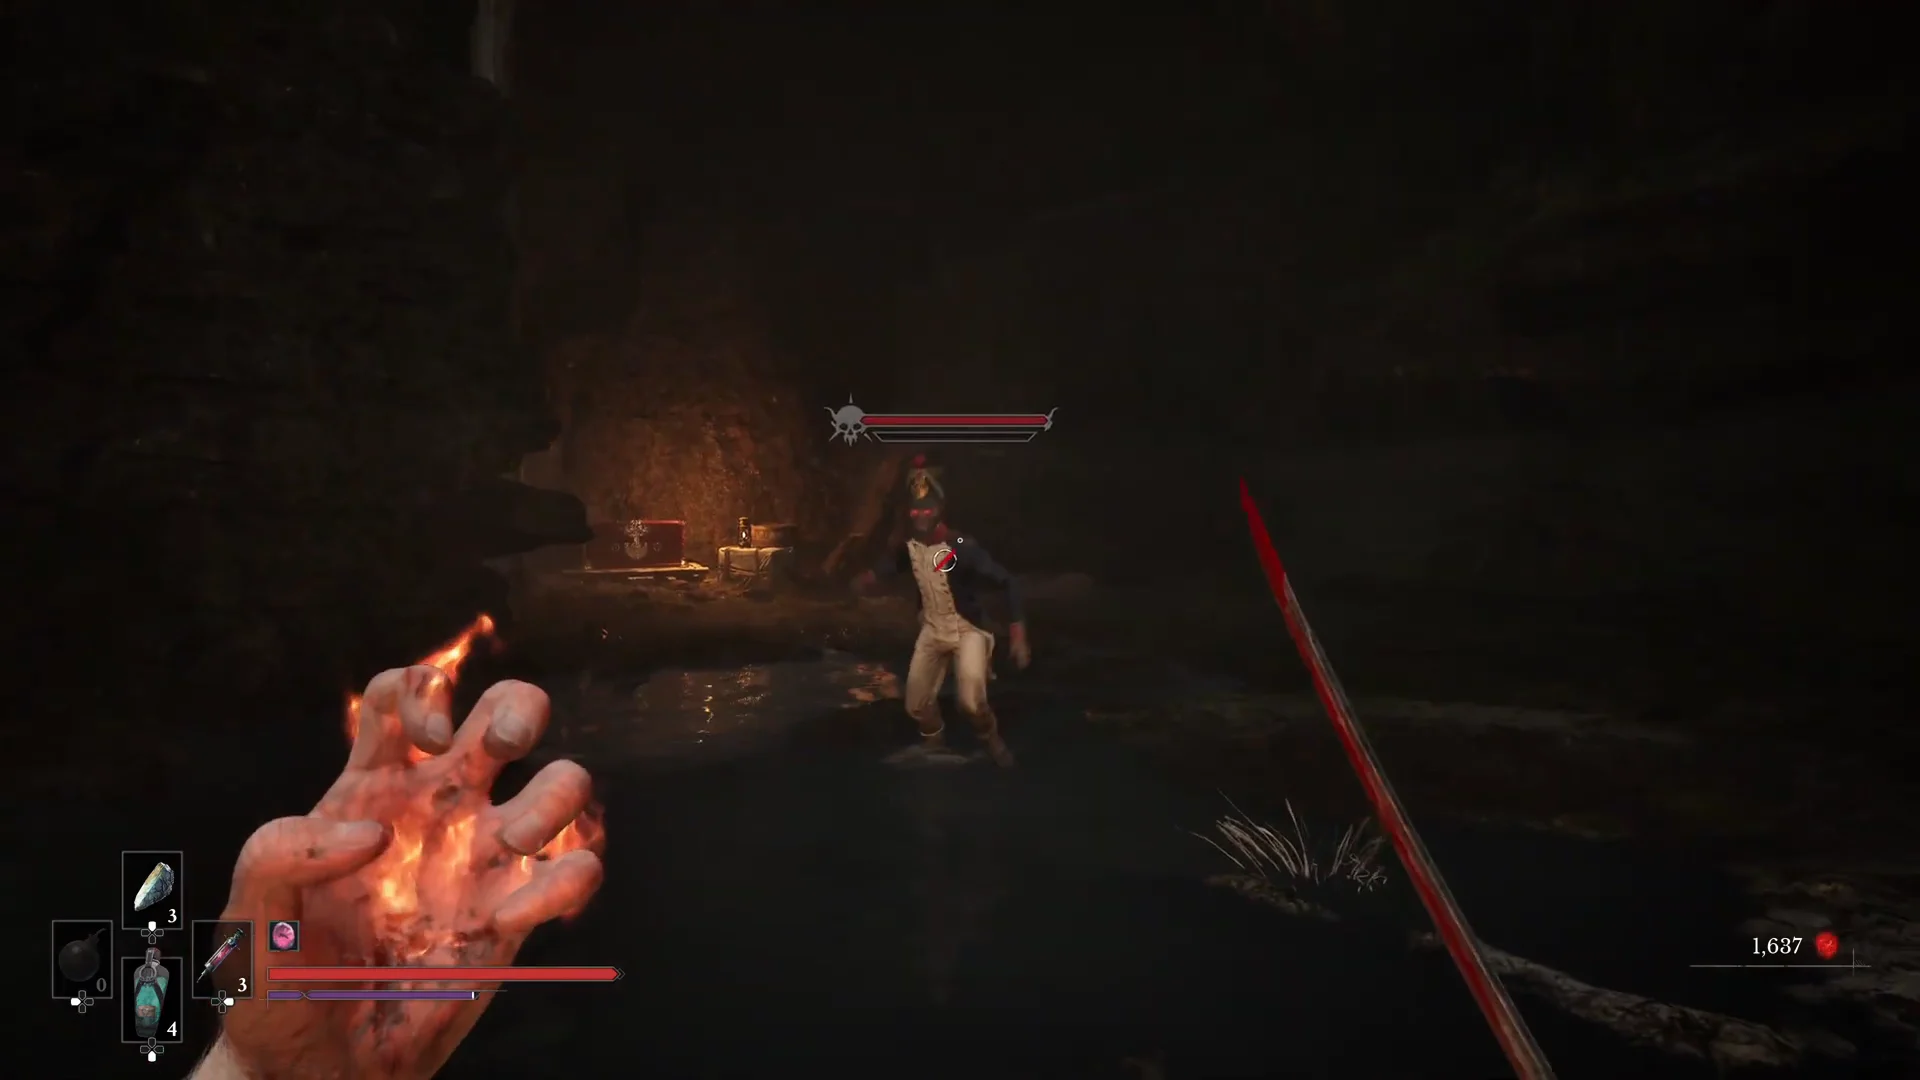
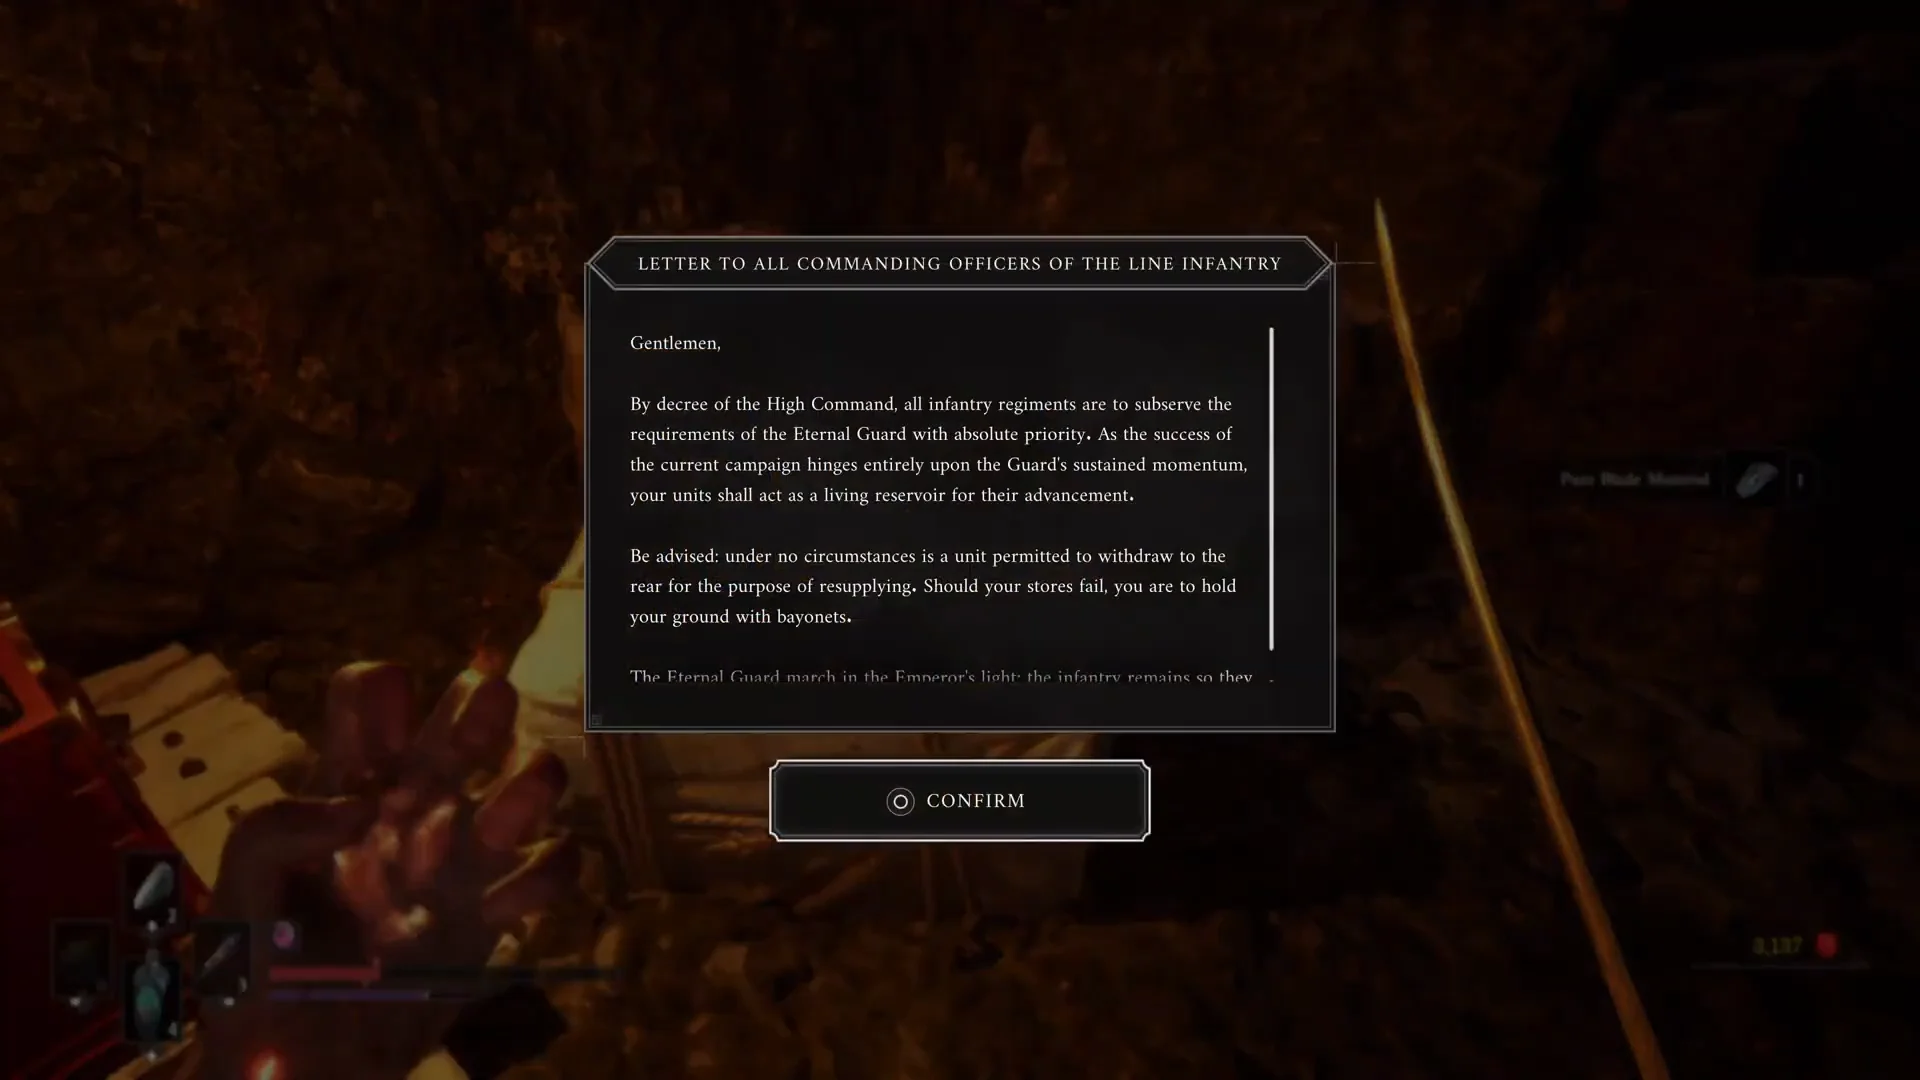
With him down, head to the back of the cave. An ornate red chest holds Pure Blade Material, and the officer’s orders sit on a crate beside the lantern. Pick up the document titled “Letter to all Commanding Officers of the Line Infantry.” This is the item the Adjudant is waiting on.
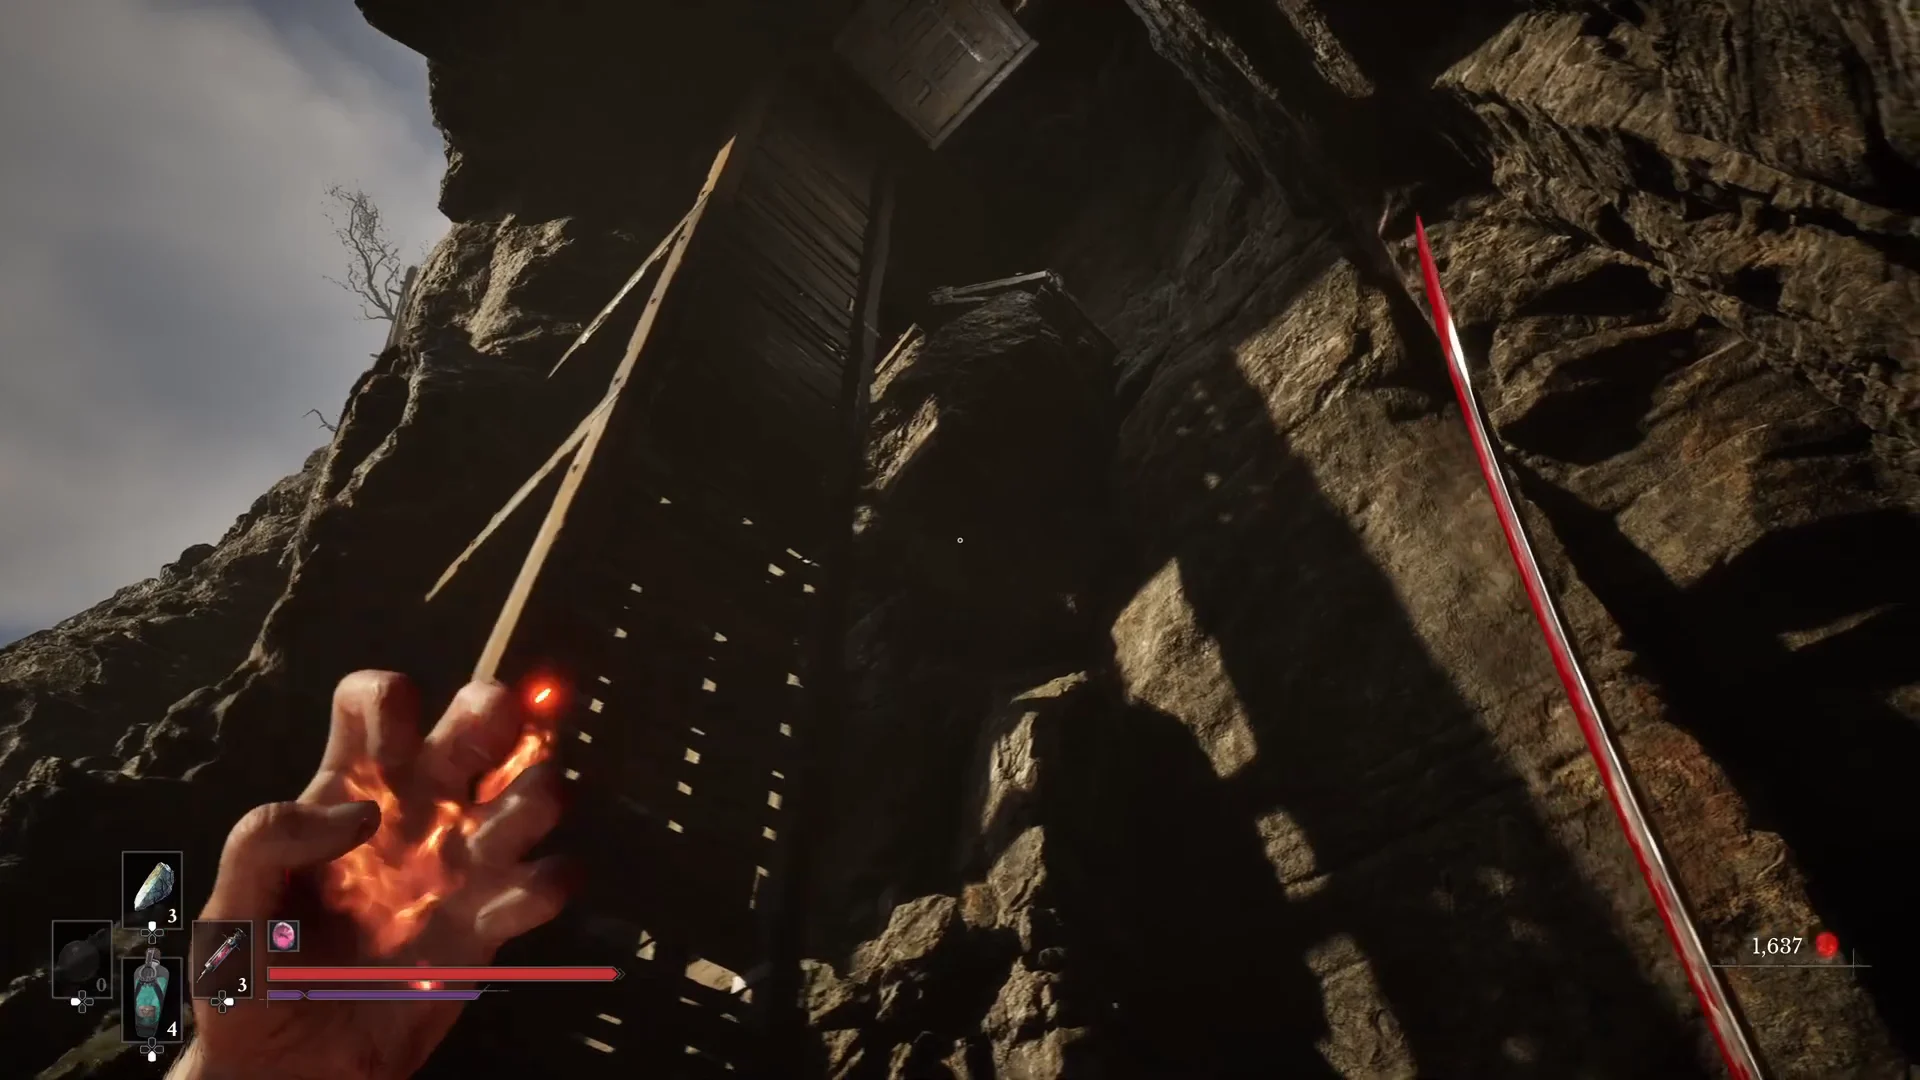
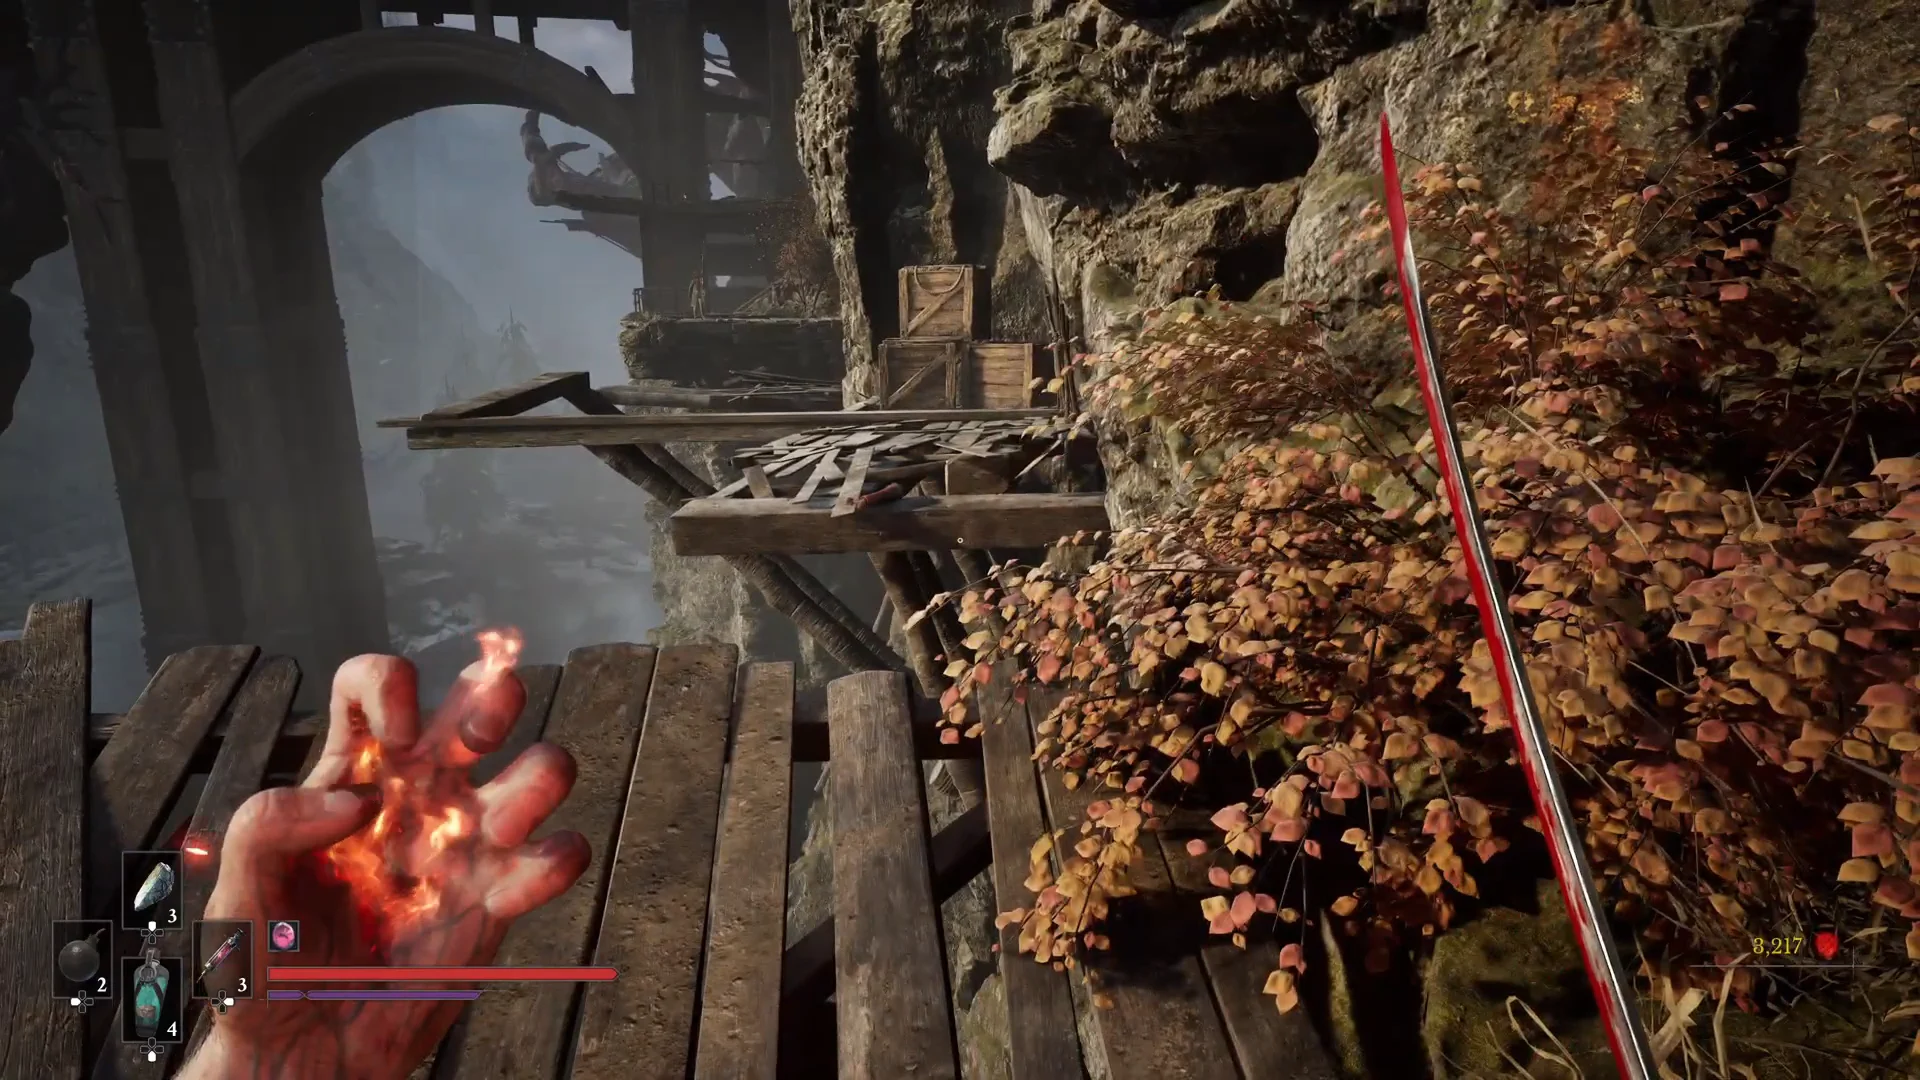
Climb the wooden ladder to the left of the note to leave the cave. Follow the scaffolding path along the mountain cliff, picking up anything you find, until you reach the top of the broken bridge again. Kick the shortcut ladder down there to drop straight back to the road beside the wagon.
Tell the truth or lie: both rewards explained
Talk to the Adjudant in the wagon and you get two dialogue options: “Tell the truth” or “Lie.” Either choice completes the quest and hands over the main reward. The difference is a second item you collect afterward, and the final tone of the exchange with the officer.
| Choice | Where to collect | Second reward |
|---|---|---|
| Tell the truth | Rest at any Lantern, then return to the wagon | Catalyst Clot |
| Lie | Rest at any Lantern, then return to the cave by the elevator | Remnant’s Return |
Remnant’s Returns are less common, but they let you reclaim a lost Catalyst without going back to where you died. For that benefit, lying is the practical choice. Whichever option you choose, rest at a Lantern first to activate the hidden follow-up; the second reward appears afterward.
Sleight of Hand Amber and how to confirm the quest finished
Once you report back, the screen shows a QUEST COMPLETE prompt and the Sleight of Hand Amber drops into your inventory. Completing the quest also unlocks the Aggressive Reconnaissance achievement. You can check the Amber by opening your inventory to see its effect listed.
Sleight of Hand reduces the reload time for Firearms and speeds up weapon switching. To use it, interact with a Lantern and slot the Amber into your loadout. If you lean on pistols or swap between your current and previous weapon often in a fight, it is a straightforward quality-of-life gain.