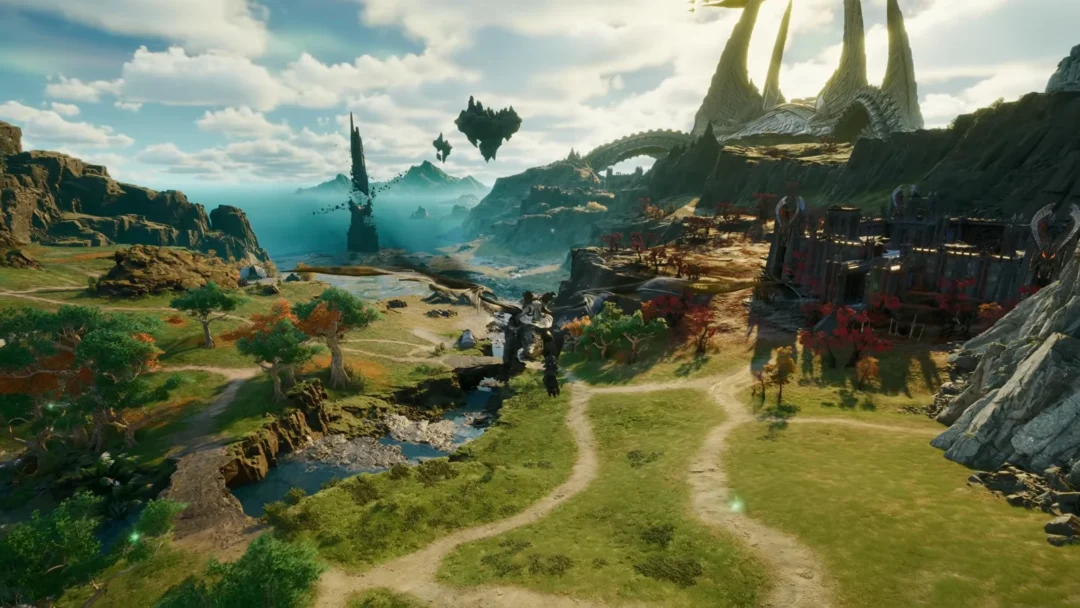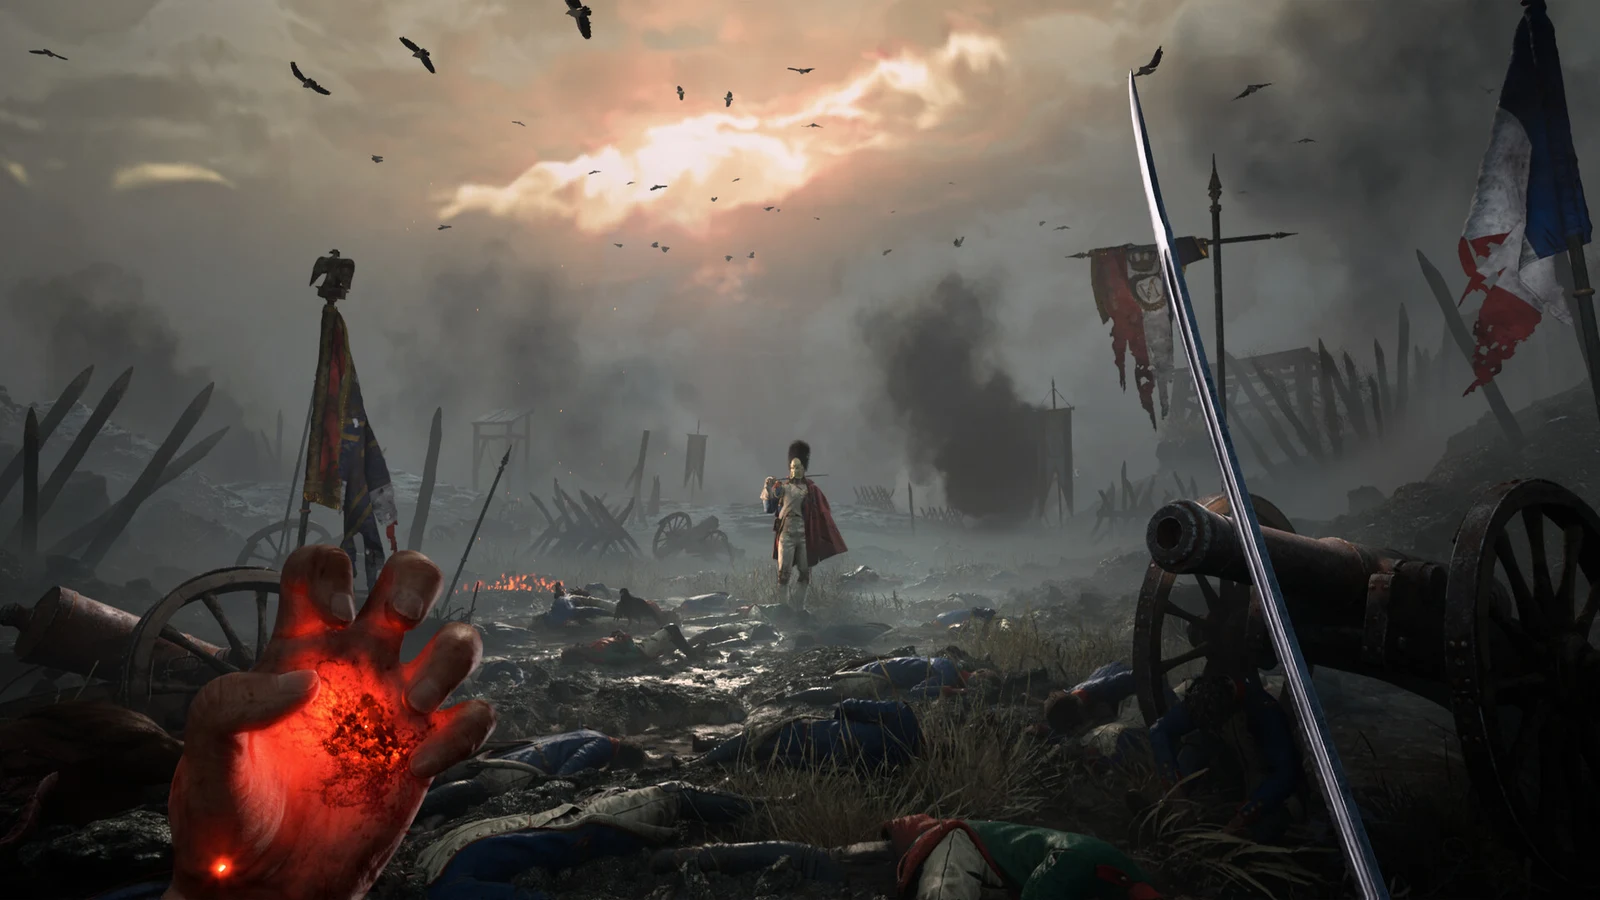
Chapter 3, Rendezvous, sends William back through the snowbound Battlefield and into the Fallen Village, an abandoned settlement packed with hostile soldiers and hidden chests. Fast travel is now available, so a stretch of the opening region that was sealed off earlier finally opens up. Everything below stays in the world permanently, which means you can return later if you walk past something.
Quick answer: Rendezvous holds six Ambers, two weapons (Rapier and Blunderbuss), two Ferrofluid Flask Power Upgrades, and one Empty Ferrofluid Flask, plus the side quests The Scarecrow and Lullaby. None of it is missable.
Chapter 3 collectible checklist
Here is the full haul for the chapter, grouped by what each pickup is. The two side quests feed their rewards directly into this list, so you collect two of the Ambers by finishing quests rather than opening chests.
- Ambers: Duellist’s Focus, Volatile End, Bountiful Harvest, Tomorrow’s Promise, Warrior’s Fury, Glass Soldier
- Weapons: Rapier (melee), Blunderbuss (firearm)
- Healing upgrades: two Ferrofluid Flask Power Upgrades, one Empty Ferrofluid Flask
- Side quests: The Scarecrow, Lullaby
- Other: Valen Duroc’s Emblem (advances The Oathbound), Storage Key, the Grappling Hook transmutation
The Battlefield backtrack: Valen Duroc’s Emblem and Duellist’s Focus
Fast travel to the Onslaught Arch lantern, the game’s first checkpoint. Turn back and use the tree branches to ascend the cliffs again. Go beyond the camp to an enemy-held fork, then take the left branch. Shoot the wall’s weak spot with your pistol to create a passage.
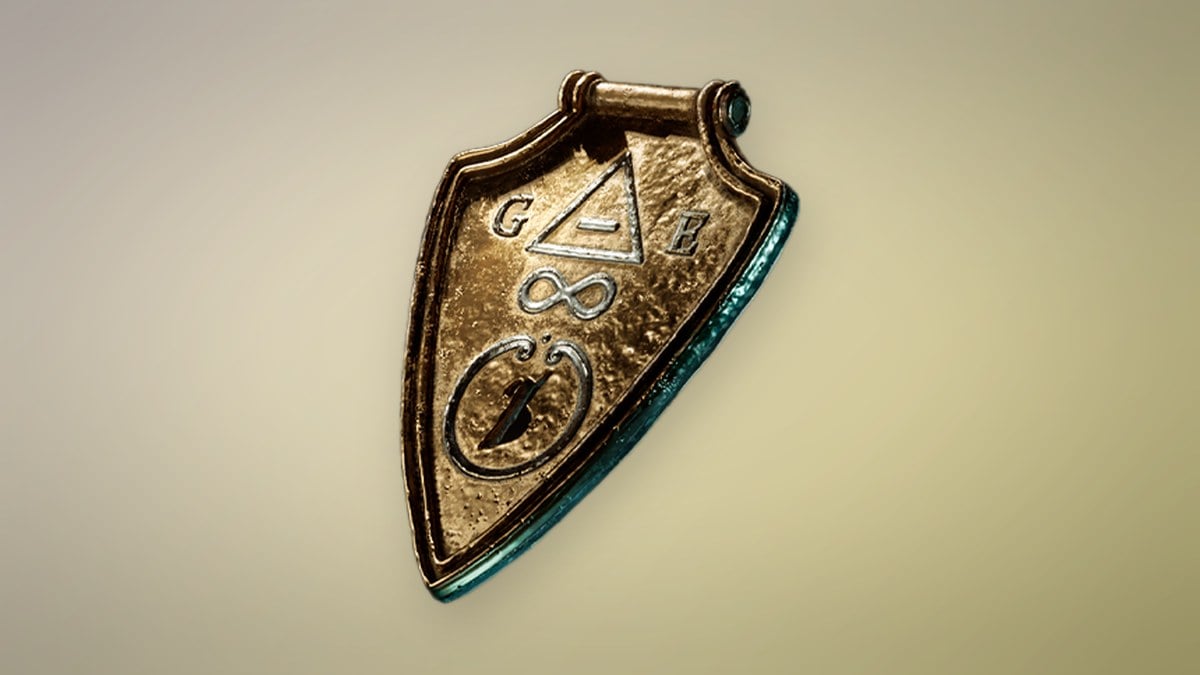
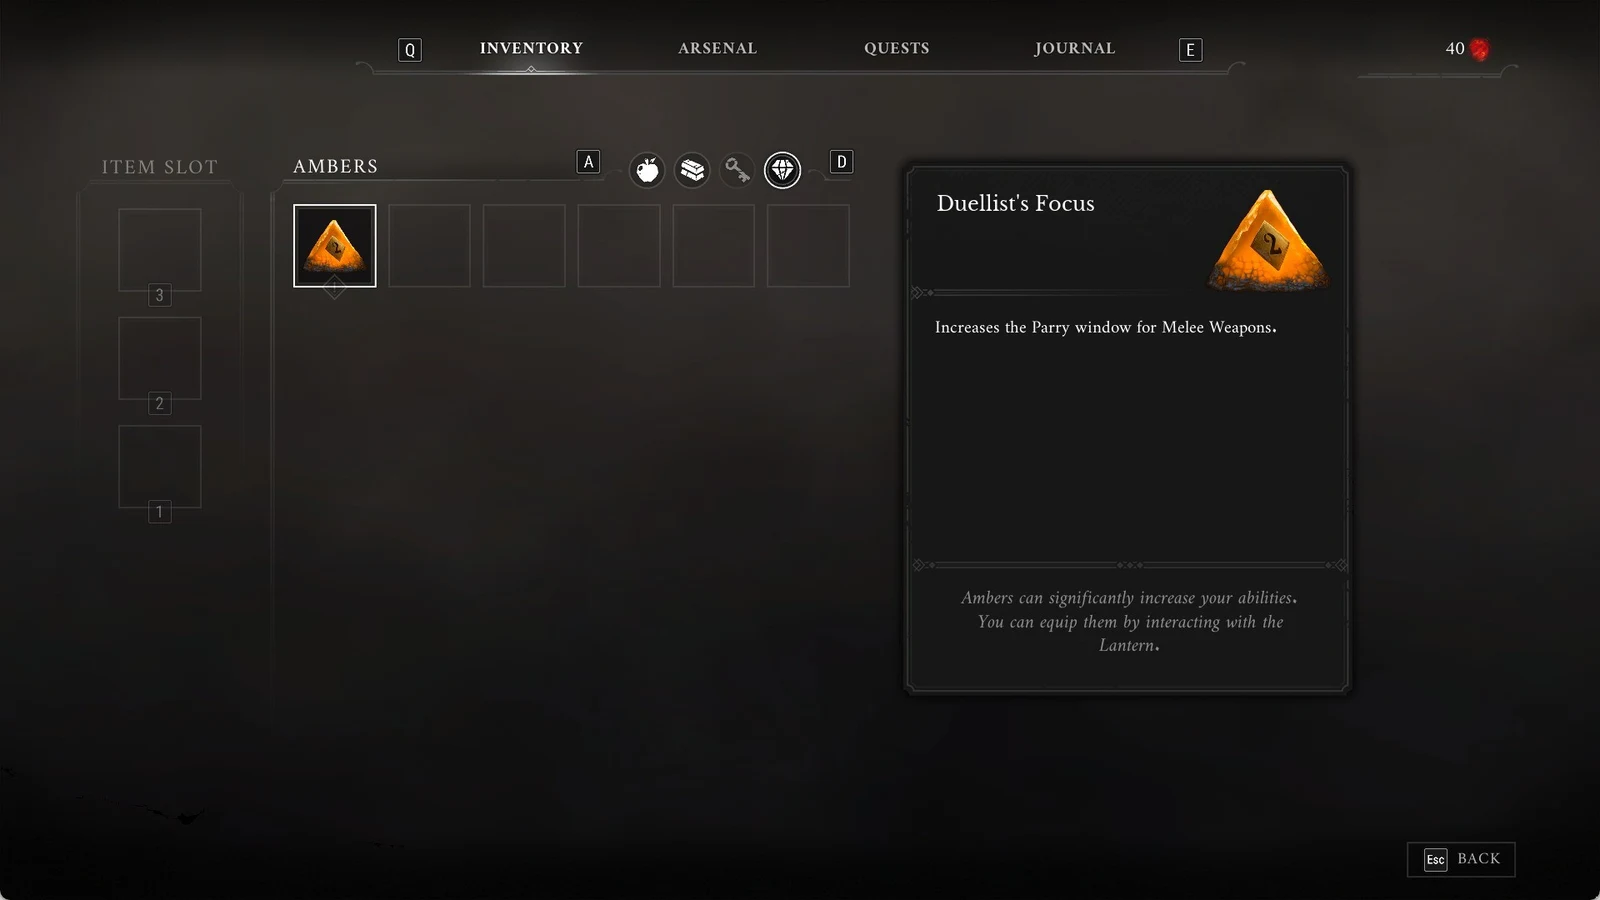
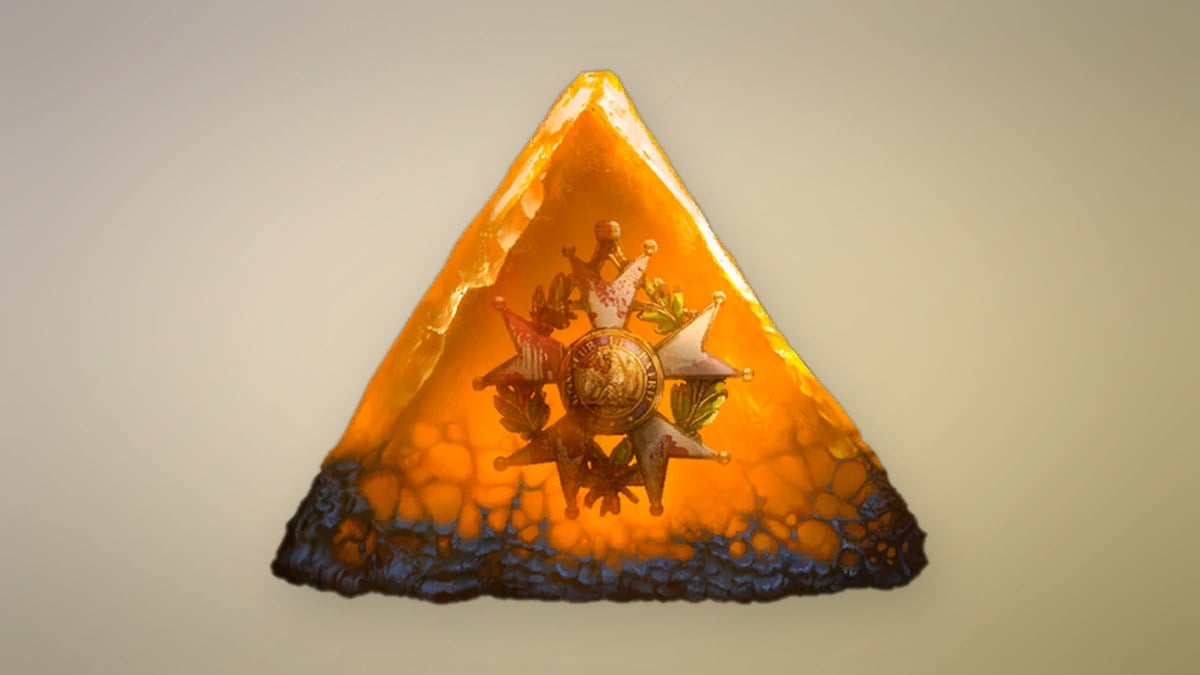
An Eternal Guardian waits on the other side. Take it down to obtain a Mysterious Stone Pyramid and Valen Duroc’s Emblem, advancing The Oathbound side quest. Behind the guardian’s position, an ornate chest contains the Duellist’s Focus Amber. Of all the Chapter 3 Ambers, this one is in the Battlefield rather than the Fallen Village.
Rapier: the Abandoned Church route
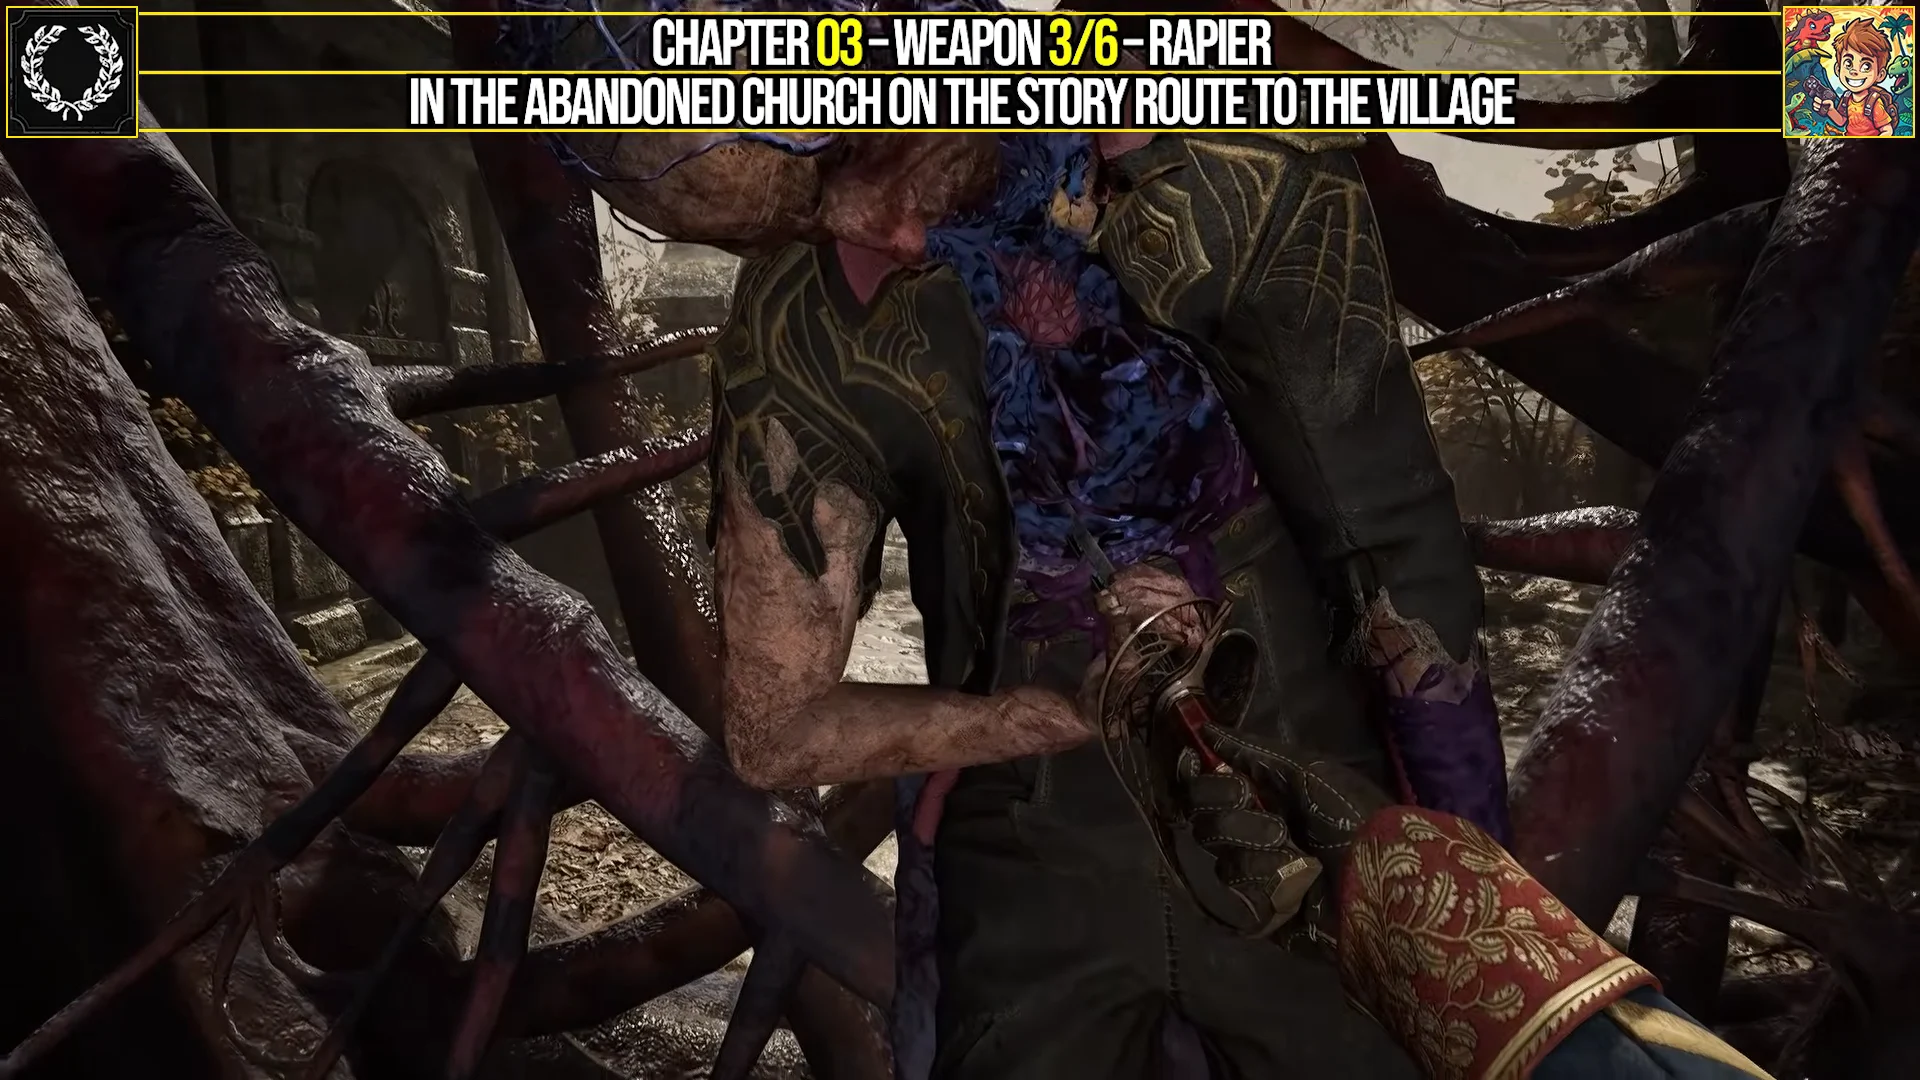
Exit the Abandoned Church and follow the story route toward the Fallen Village. Roots cover a corpse blocking the trail, with a Rapier lodged in it. Pull out the blade to open the way; this weapon is unavoidable. At the next junction, skip the right-hand branch toward the Fortress, a late-game region you cannot explore yet, and continue toward the village.

Fallen Village Fields: The Scarecrow, two Ambers, and the Blunderbuss
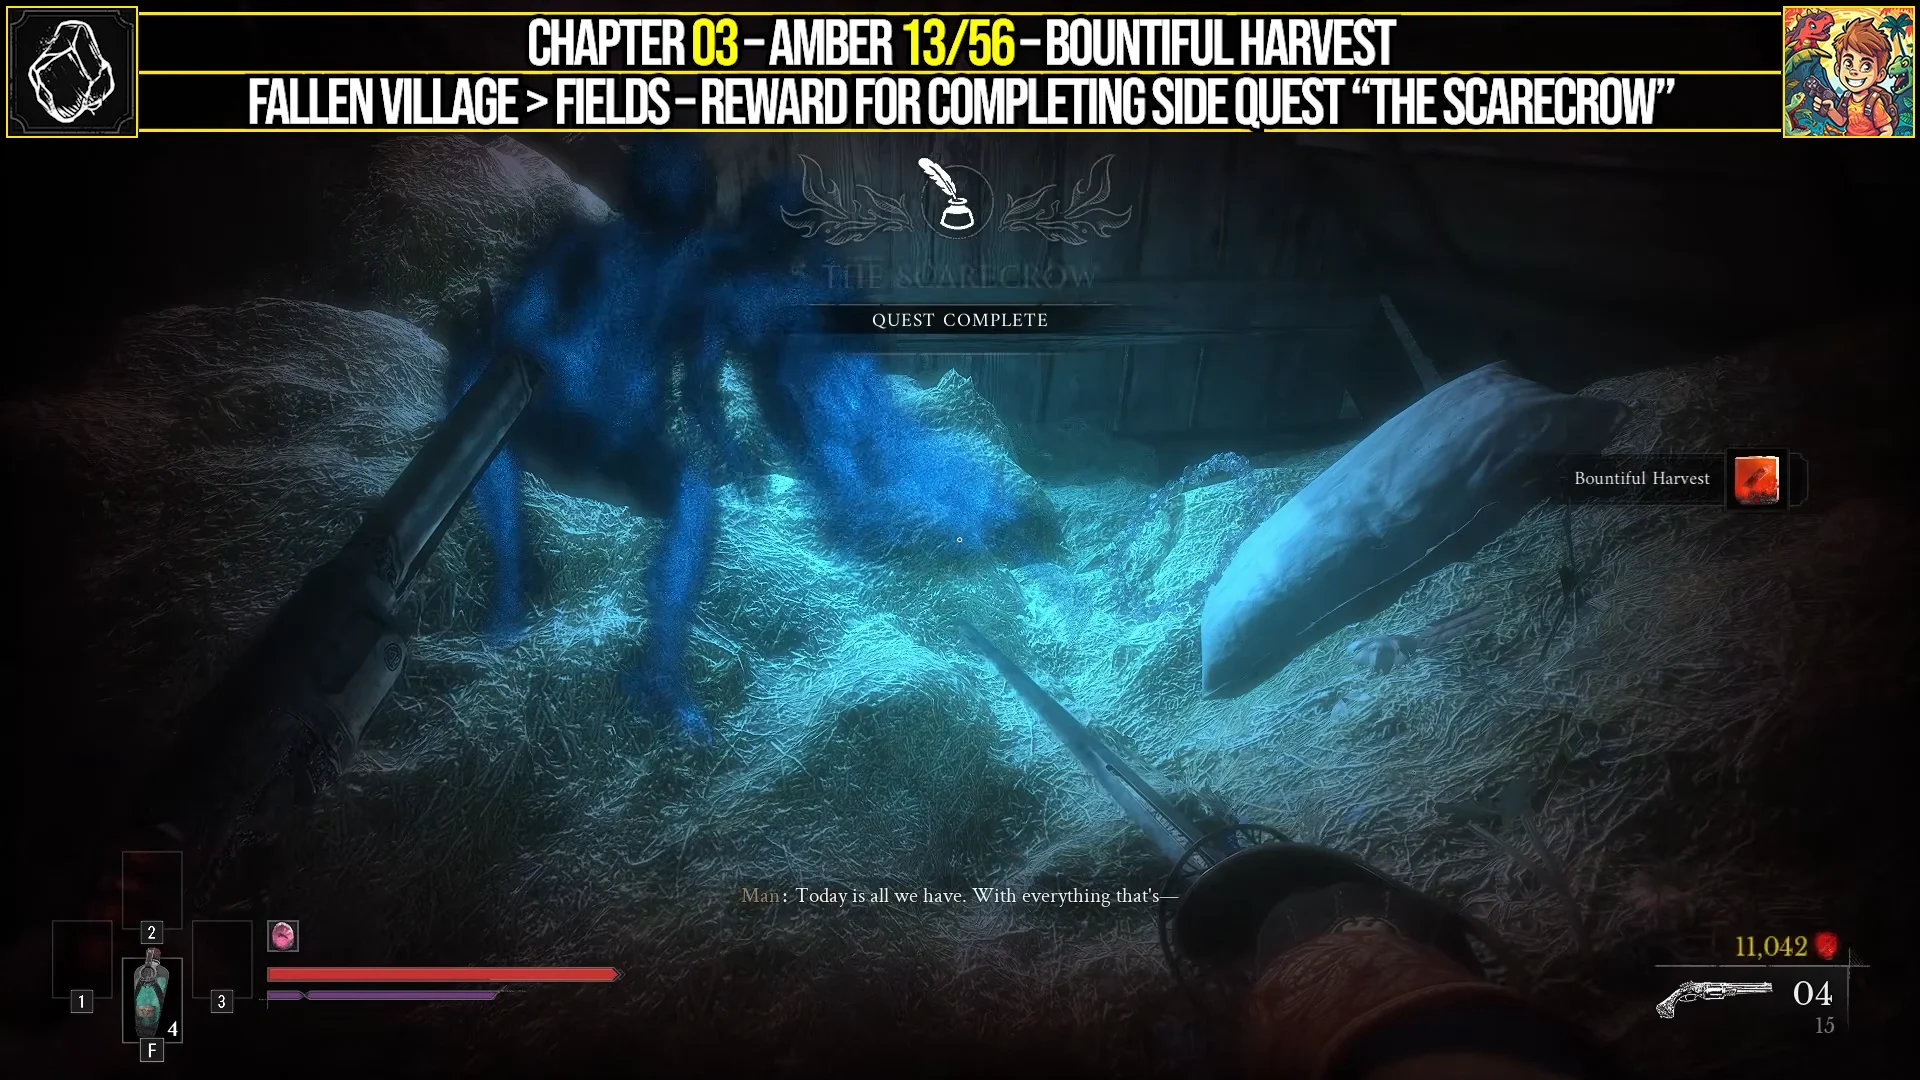
The Scarecrow walkthrough
Volatile End Amber
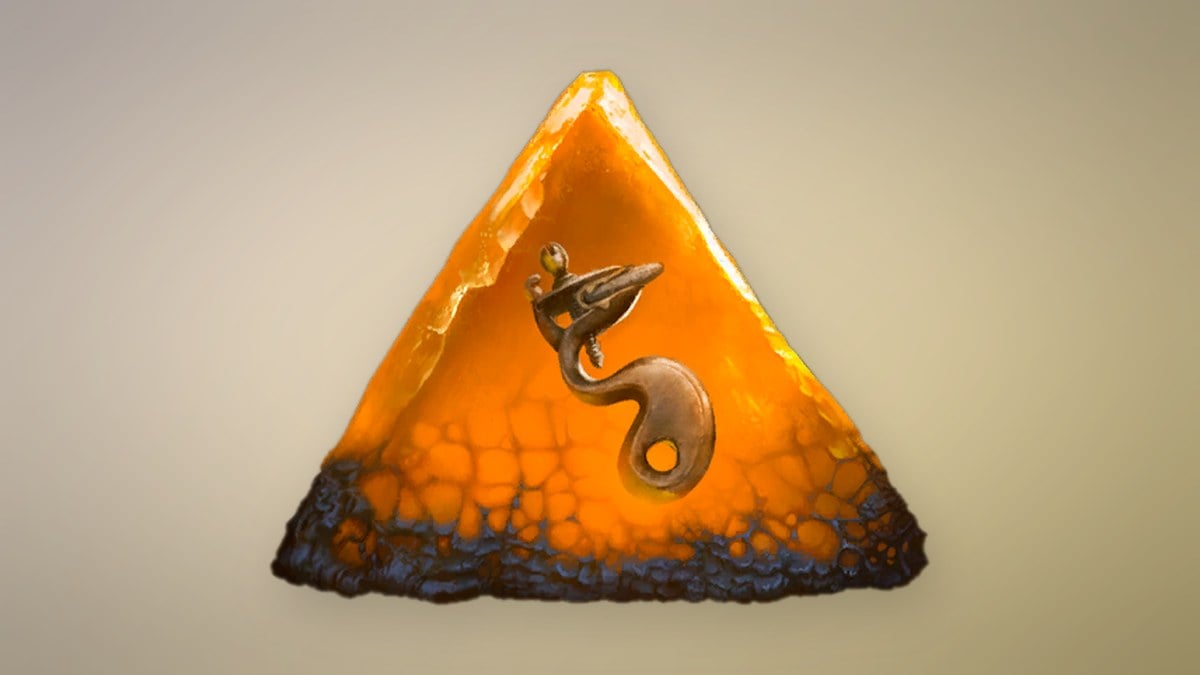
That same barn, off the right side of the main path, is packed with explosive infected bodies. Rushing in is dangerous, so pop the hazards from a distance and clear a safe route to the rear. The chest buried in the hay holds the Volatile End Amber.
Ferrofluid Flask Power Upgrade
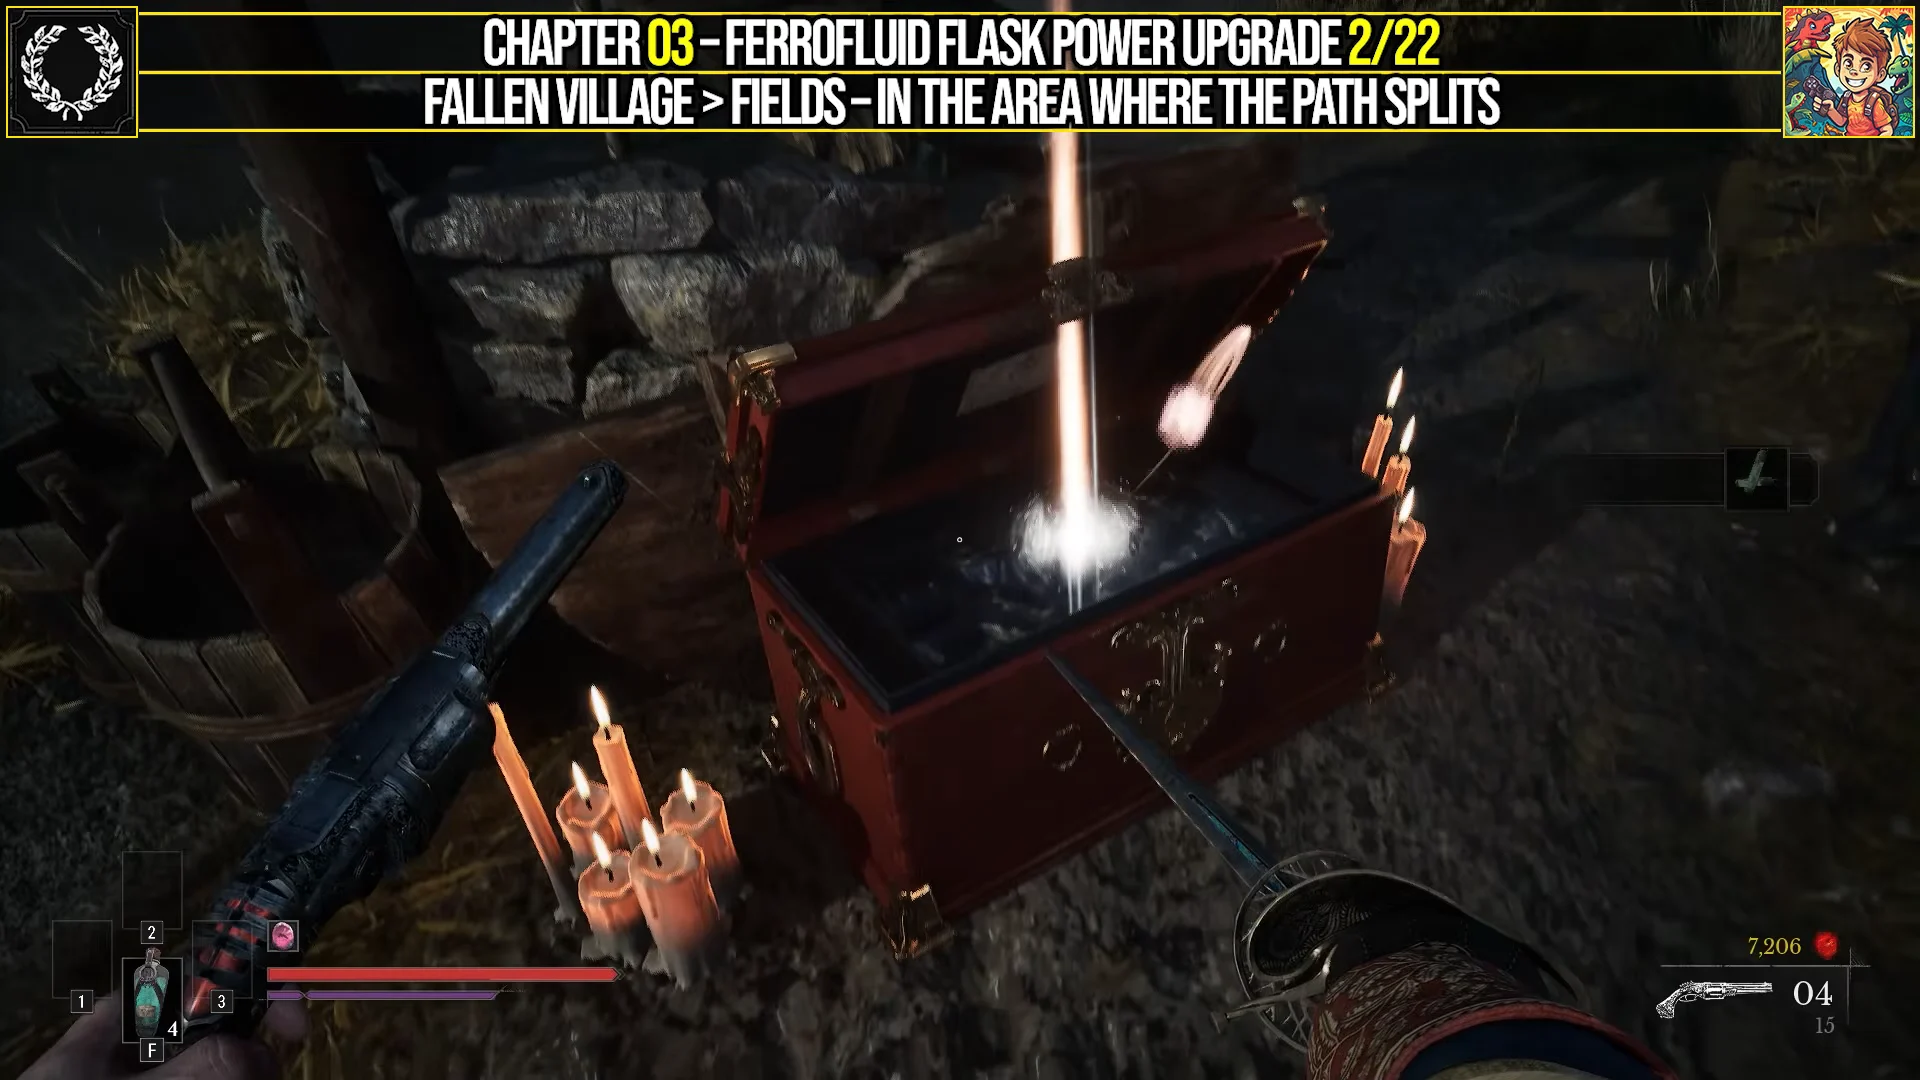
Where the field road splits, look for a red chest sitting beside lit candles next to a wooden shack. It holds a Ferrofluid Flask Power Upgrade, which raises how much health each healing charge restores.
Blunderbuss
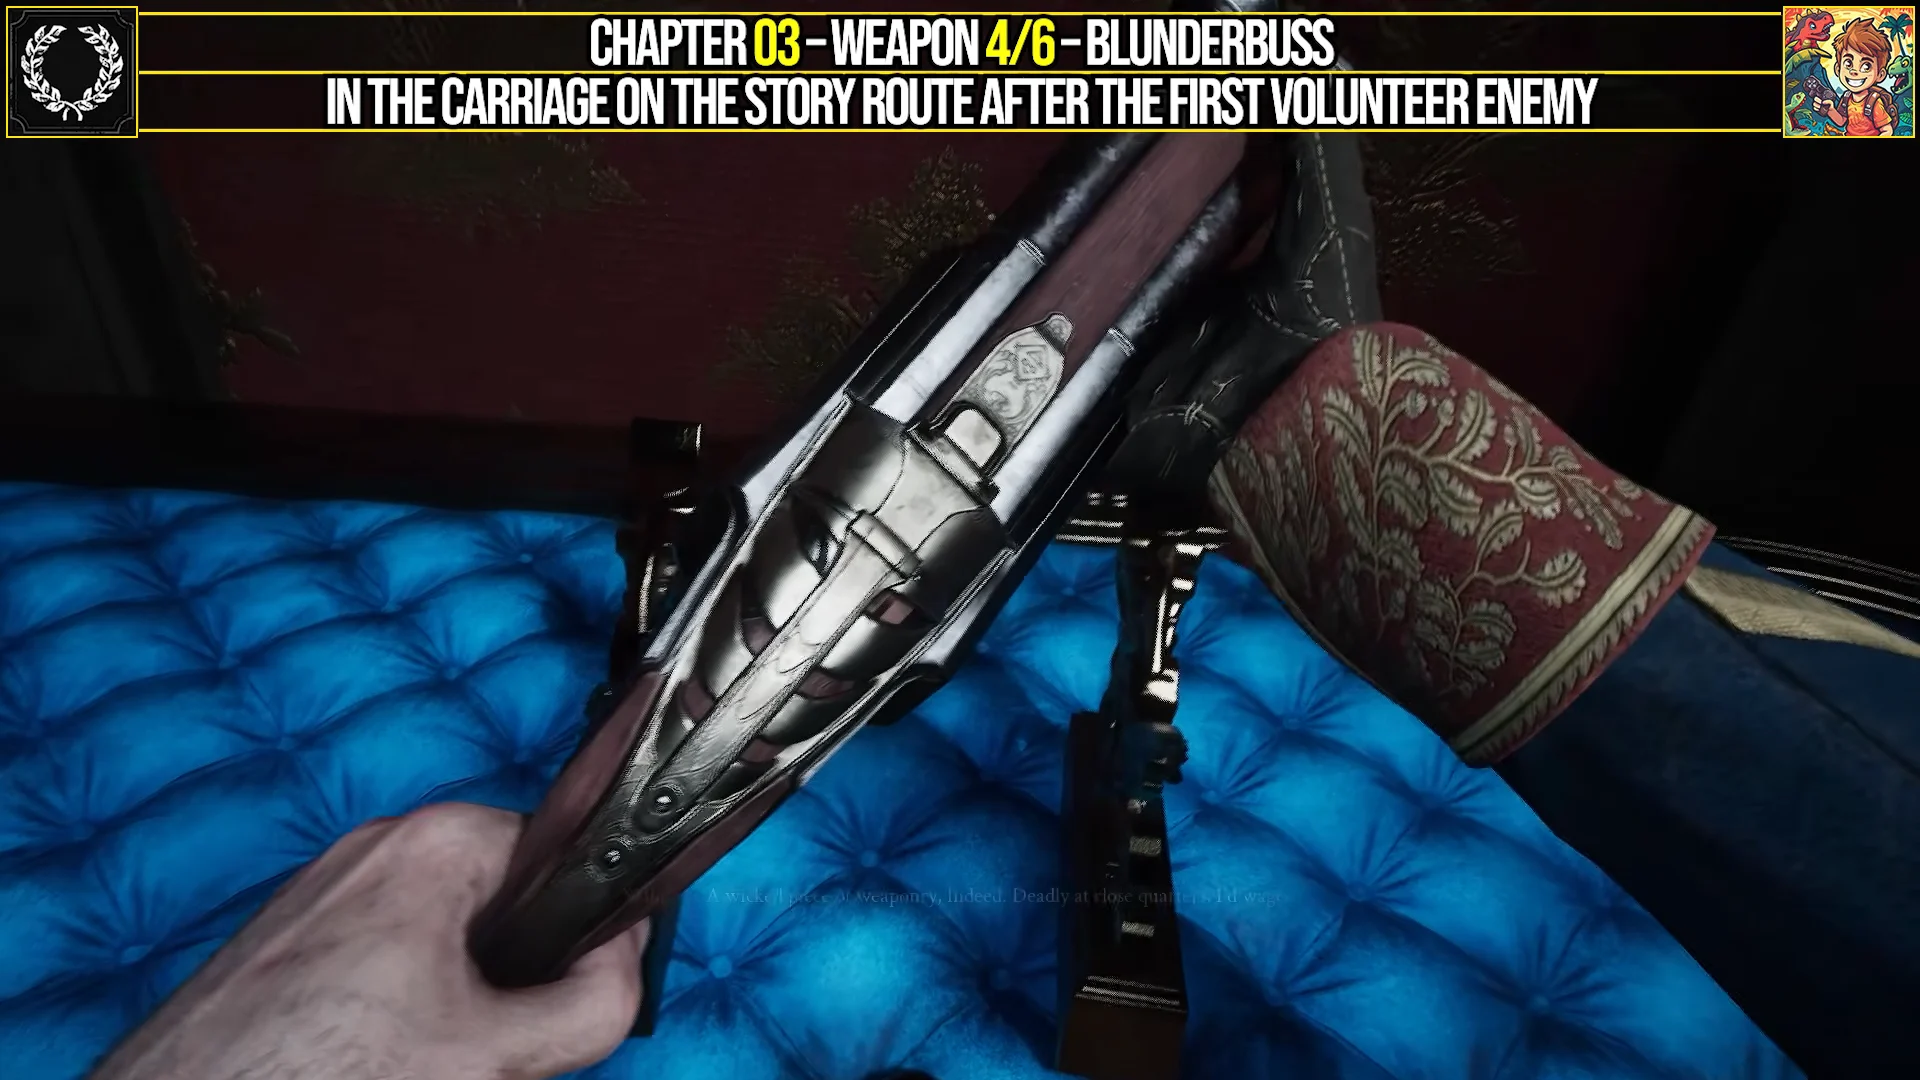
Stay on the story route until a Volunteer appears, wielding an oversized sword. Defeat this heavy foe and enter the carriage behind it. At the desk, read the Quartermaster Letter; then unlock the cushioned display case and take the Blunderbuss. This required pickup opens the passage at the carriage’s far end.
Fallen Village Marketplace: Lullaby, Tomorrow’s Promise, and more
Lullaby walkthrough
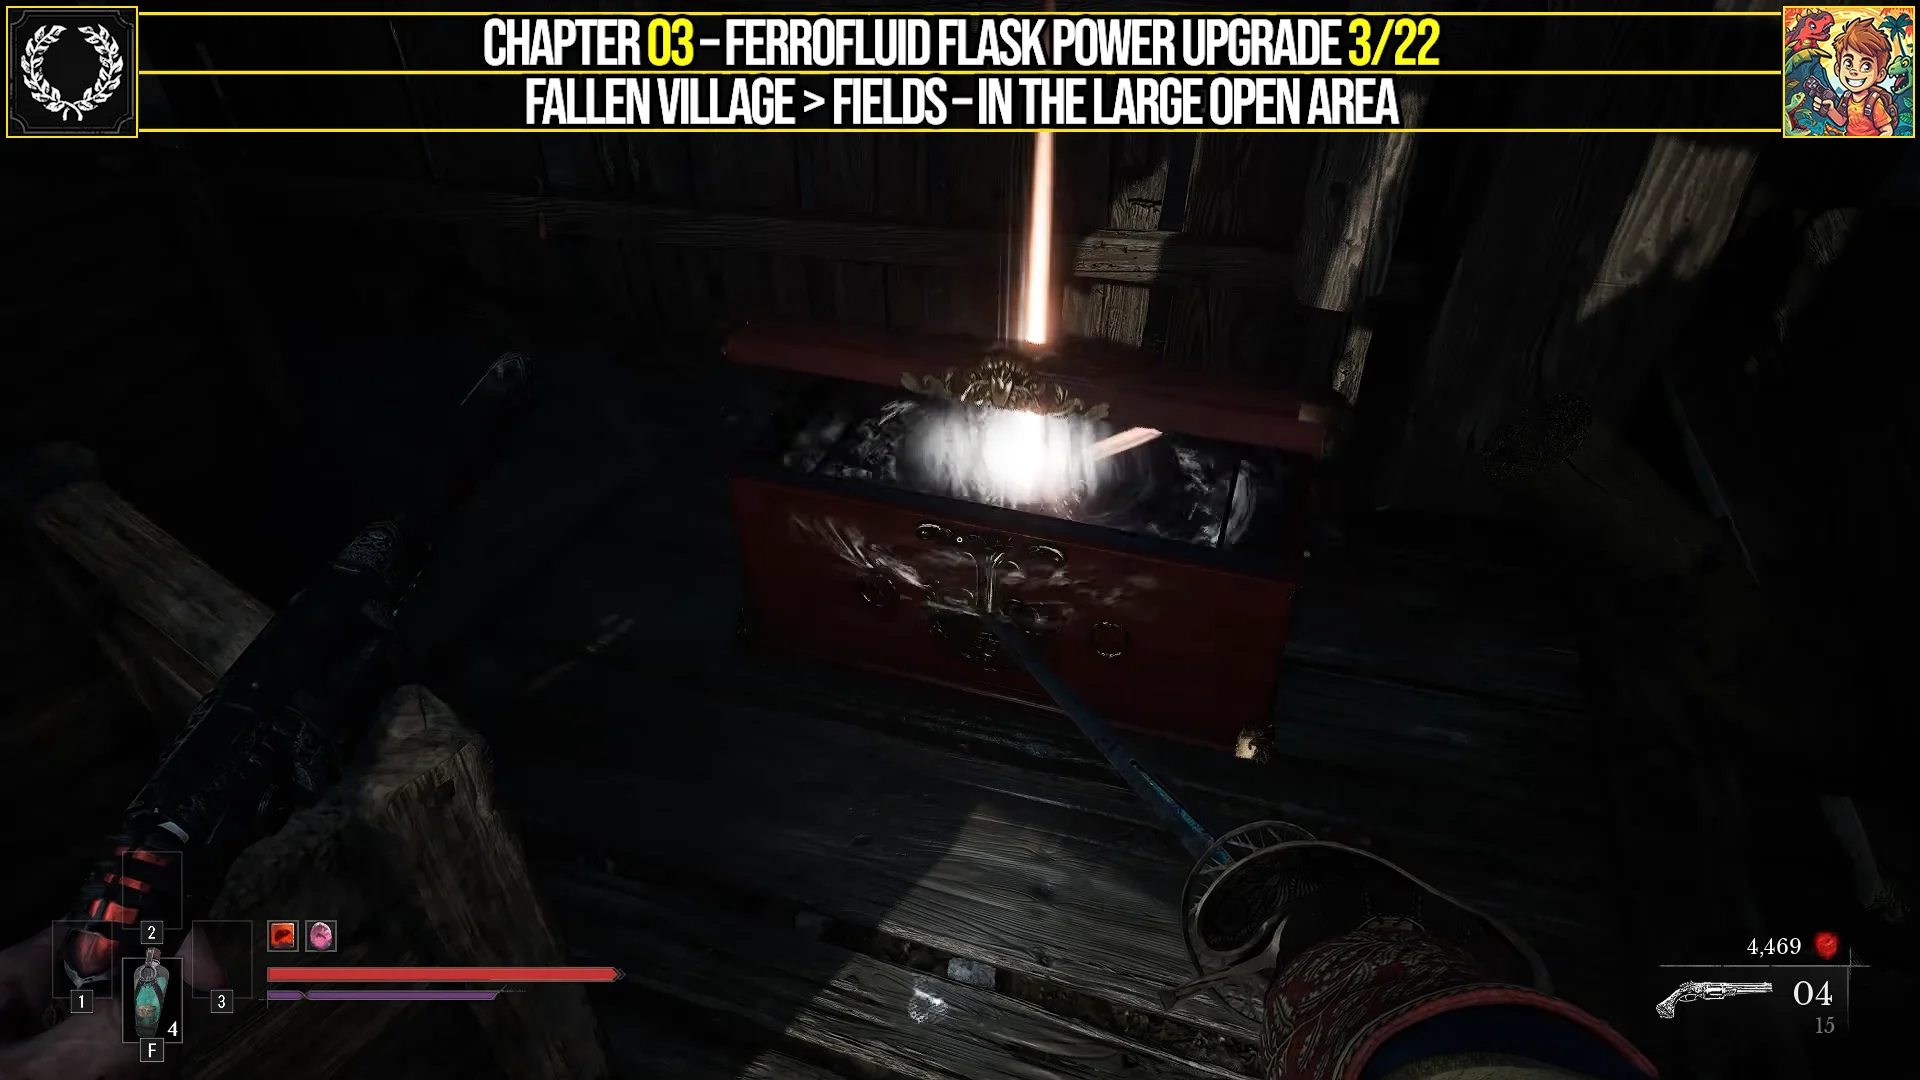
Ferrofluid Flask Power Upgrade
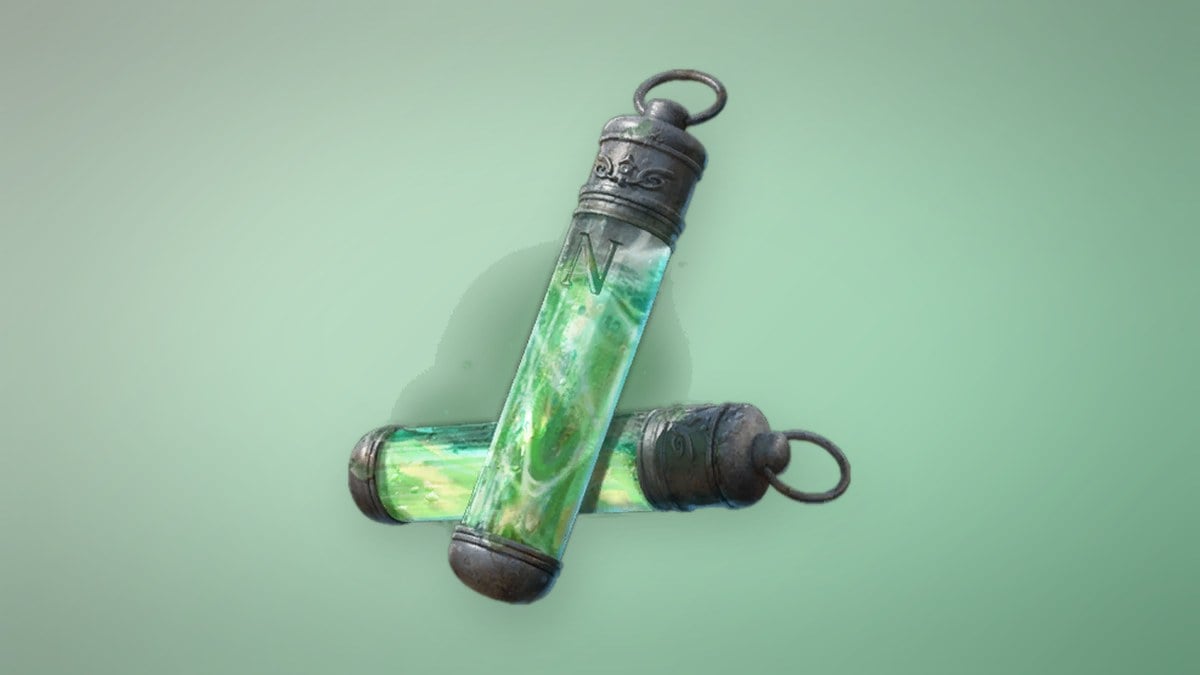
In the open village section where enemy groups patrol the streets, find the open-front shed on the ground floor. The red chest inside holds the second Ferrofluid Flask Power Upgrade of the chapter.
Warrior’s Fury Amber
Find the two-story building near the watchtower that a group of enemies is firing at. Head inside, climb to the top floor, step onto the balcony, and cross to the neighboring platform. The chest there holds the Warrior’s Fury Amber. The elevated route is the only way to reach it.
Storage Key
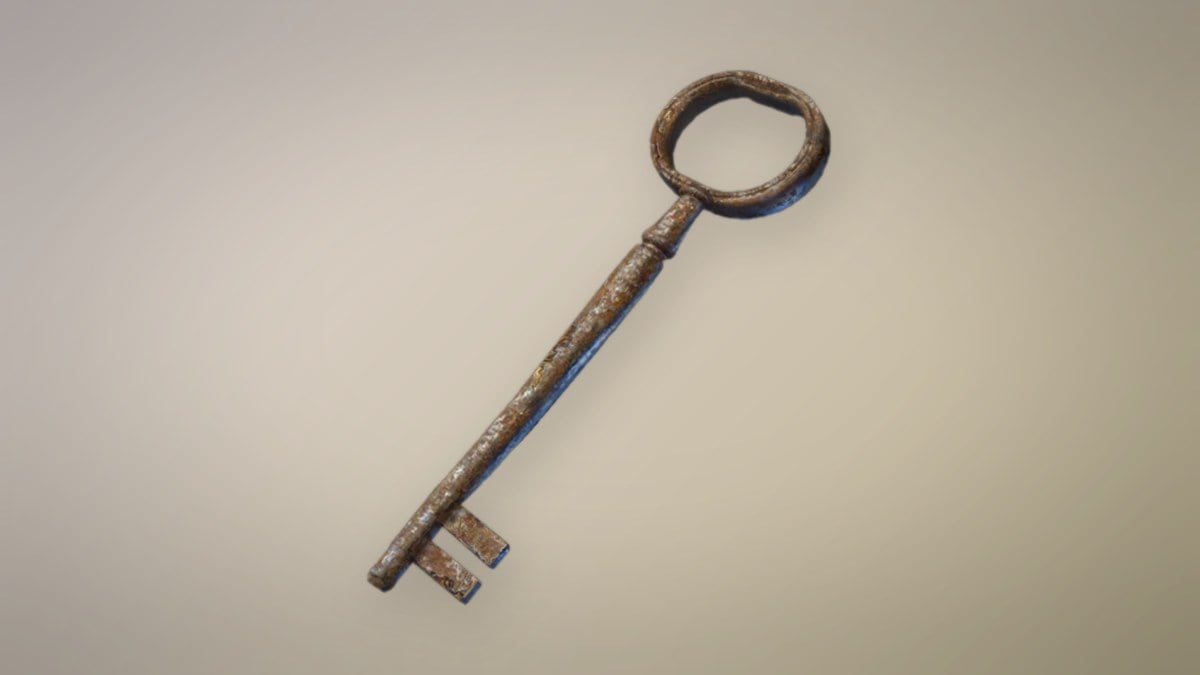
Exit through the building’s rear and descend the ladder to the underground area. At the bend by two enemies, pick up the Storage Key from a box. Unlock the nearby door with it, then break the weak point beyond to collapse the plague wall in your way.
Glass Soldier Amber and the Grappling Hook
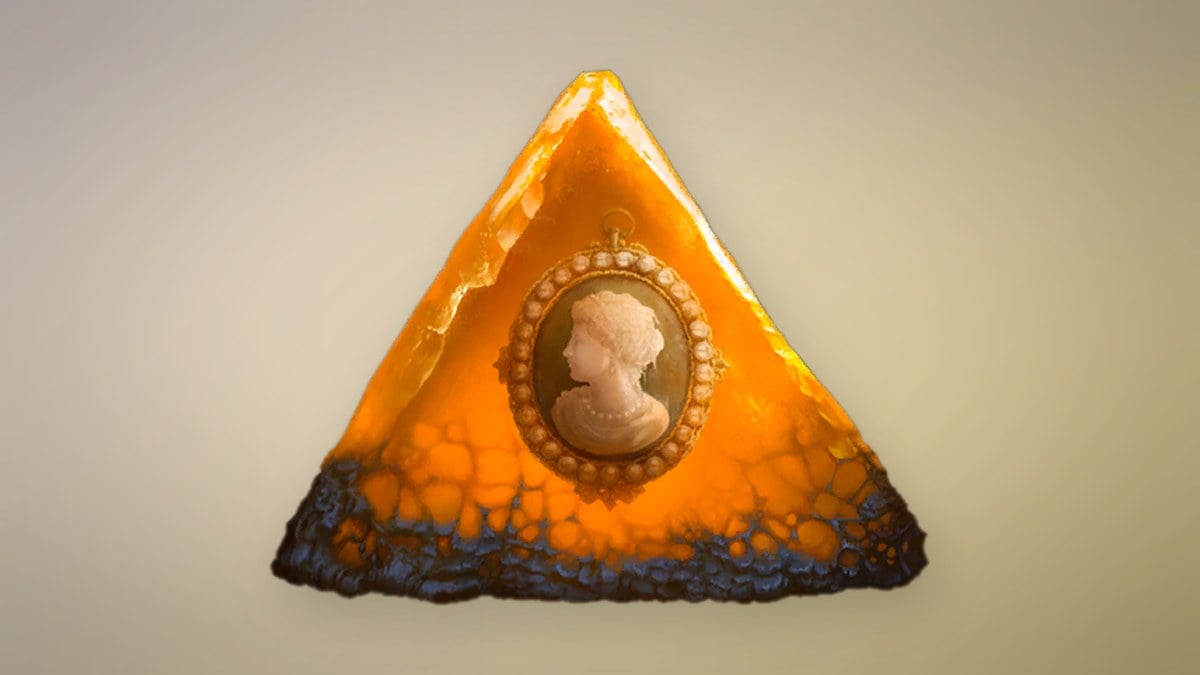
The main route brings you to a required battle against The Iron Marshall. Once the boss is defeated, enter the building on the arena’s right, break through the weak floorboards, and drop into the barricaded room below. Its concealed chest contains the Glass Soldier Amber.
In this arena, extract the glowing blue core lodged in a mutated corpse’s chest to gain the Grappling Hook transmutation. When a blue anchor point is within reach, look toward it and press the interact key to swing over.
Empty Ferrofluid Flask
At the Marketplace lantern, grapple across the water and continue to two plague pillars, both equipped with grapple points. Past the second pillar, search the burning building on the right and open its chest for the second Empty Ferrofluid Flask, which adds another healing charge. This completes the chapter’s collectible list.
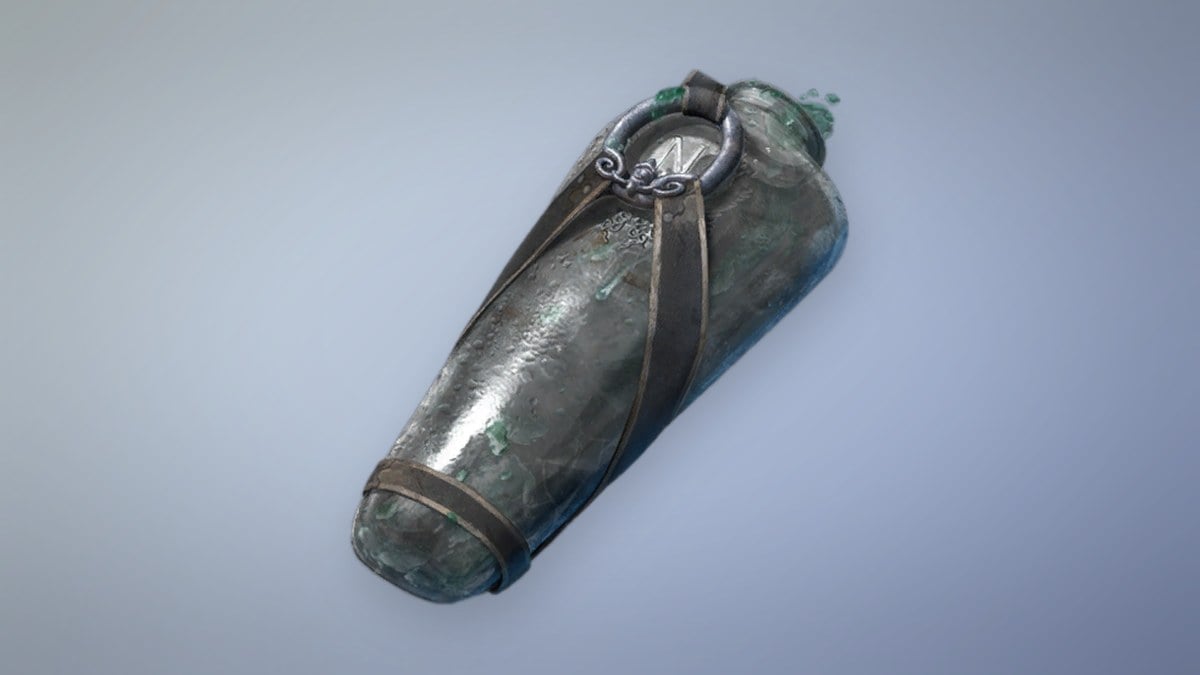
Chapter 3 Amber stats
Once each Amber is in hand, it is worth knowing what it actually does and how far it scales before you slot it for the Iron Marshall. The figures below are the shipped values for the six Ambers you collect in Rendezvous.
| Amber | Max rank | Effect |
|---|---|---|
 Duellist’s Focus Duellist’s Focus | 1 | Gives melee weapons a longer period to parry. |
 Volatile End Volatile End | 1 | Weak point hits cause an explosion (50 damage) |
 Bountiful Harvest Bountiful Harvest | 3 | Health per Nephtoglobin Remnant: 3% / 4% / 5% |
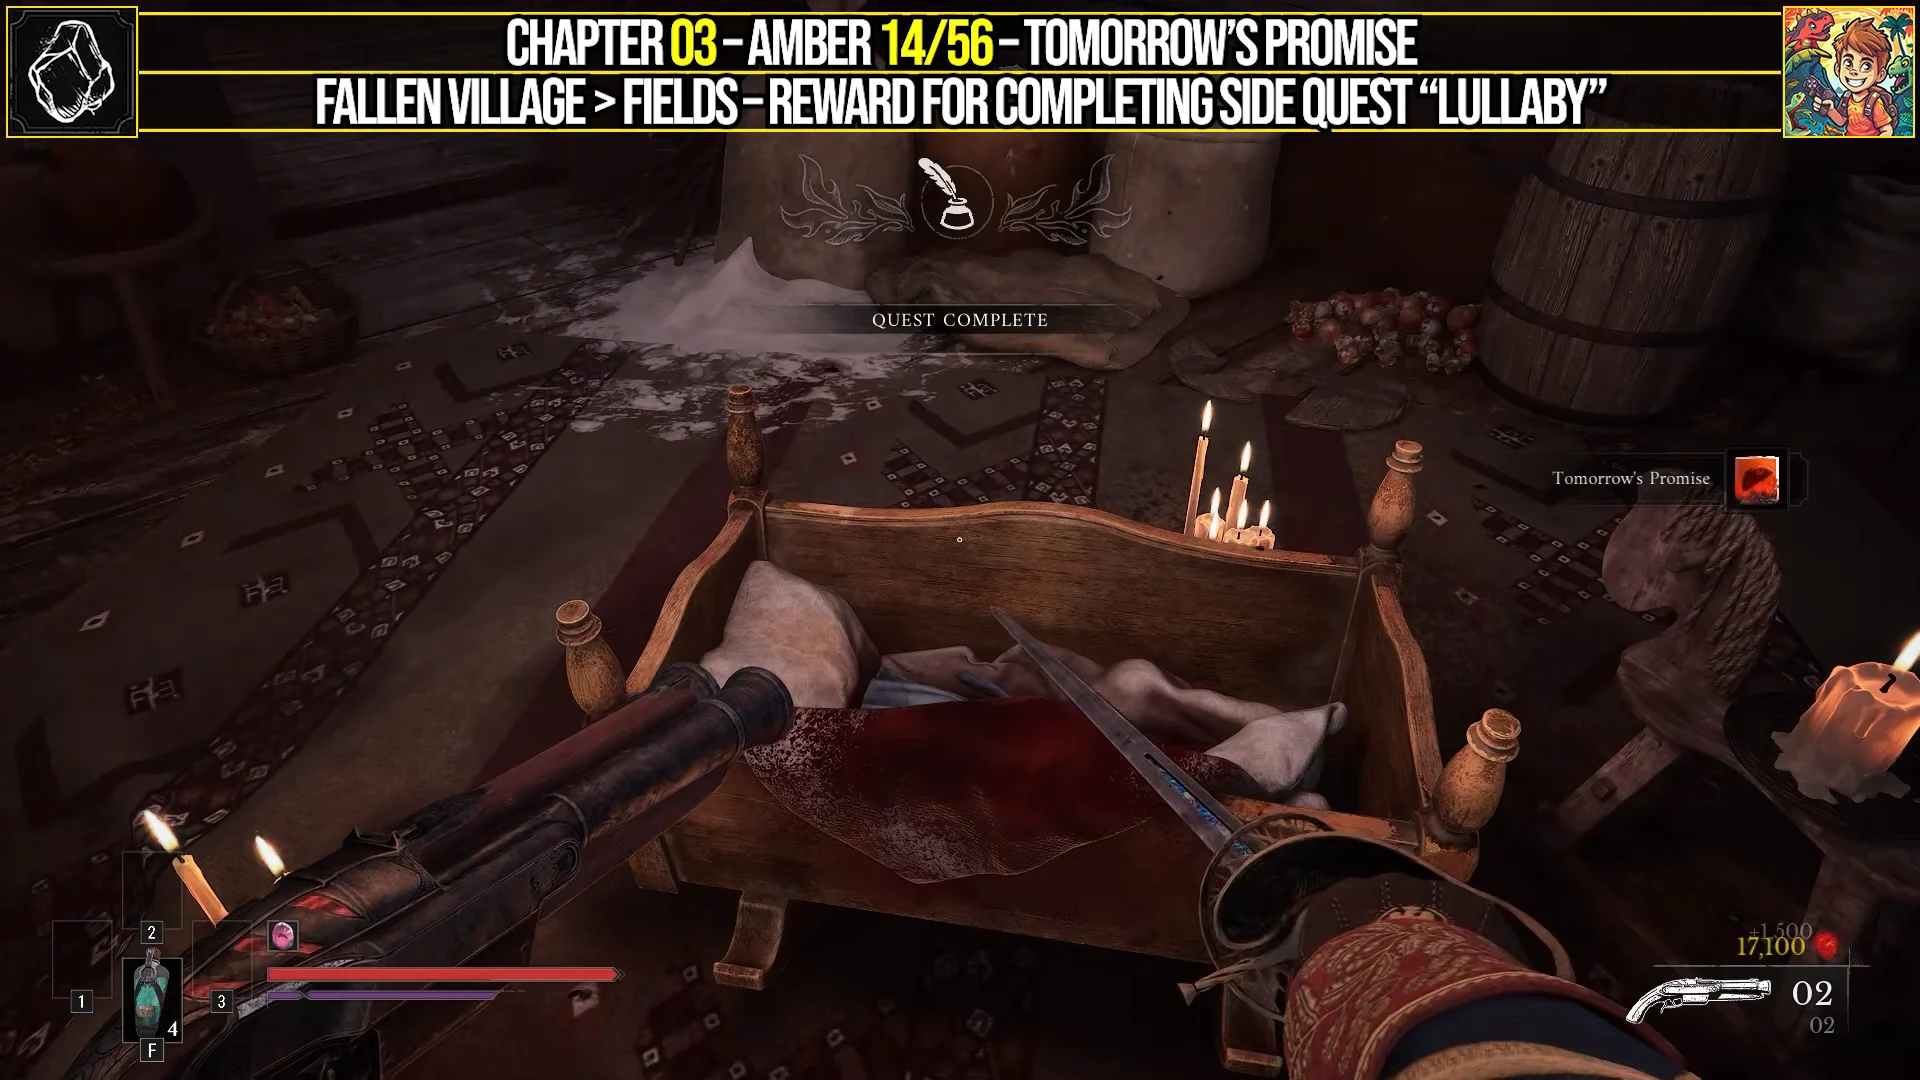
 Tomorrow’s Promise Tomorrow’s Promise | 3 | Flask grants 10s health regen; healing 1.1x / 1.2x / 1.3x |
 Warrior’s Fury Warrior’s Fury | 3 | 8s after a kill: speed 1.05x–1.2x, damage +10%–30% |
 Glass Soldier Glass Soldier | 3 | More melee damage dealt in exchange for more damage taken |
Several of these stand out in boss fights. Tomorrow’s Promise gives each Ferrofluid Flask a sustained regeneration effect. Using another flask before it ends restarts the timer instead of extending the effect, so time your healing. Warrior’s Fury and Glass Soldier both favor aggressive melee play, while Volatile End works with the new Blunderbuss and Rapier to punish weak points. Duellist’s Focus caps at rank 1, so its wider parry window is limited to that single rank.
Spending the Flask upgrades
The two Ferrofluid Flask Power Upgrades and the Empty Ferrofluid Flask are not used where you find them. Take them to a Lantern instead. A Power Upgrade raises the flask’s potency one step at a time, and the Empty Flask adds an extra charge to the five you can carry.
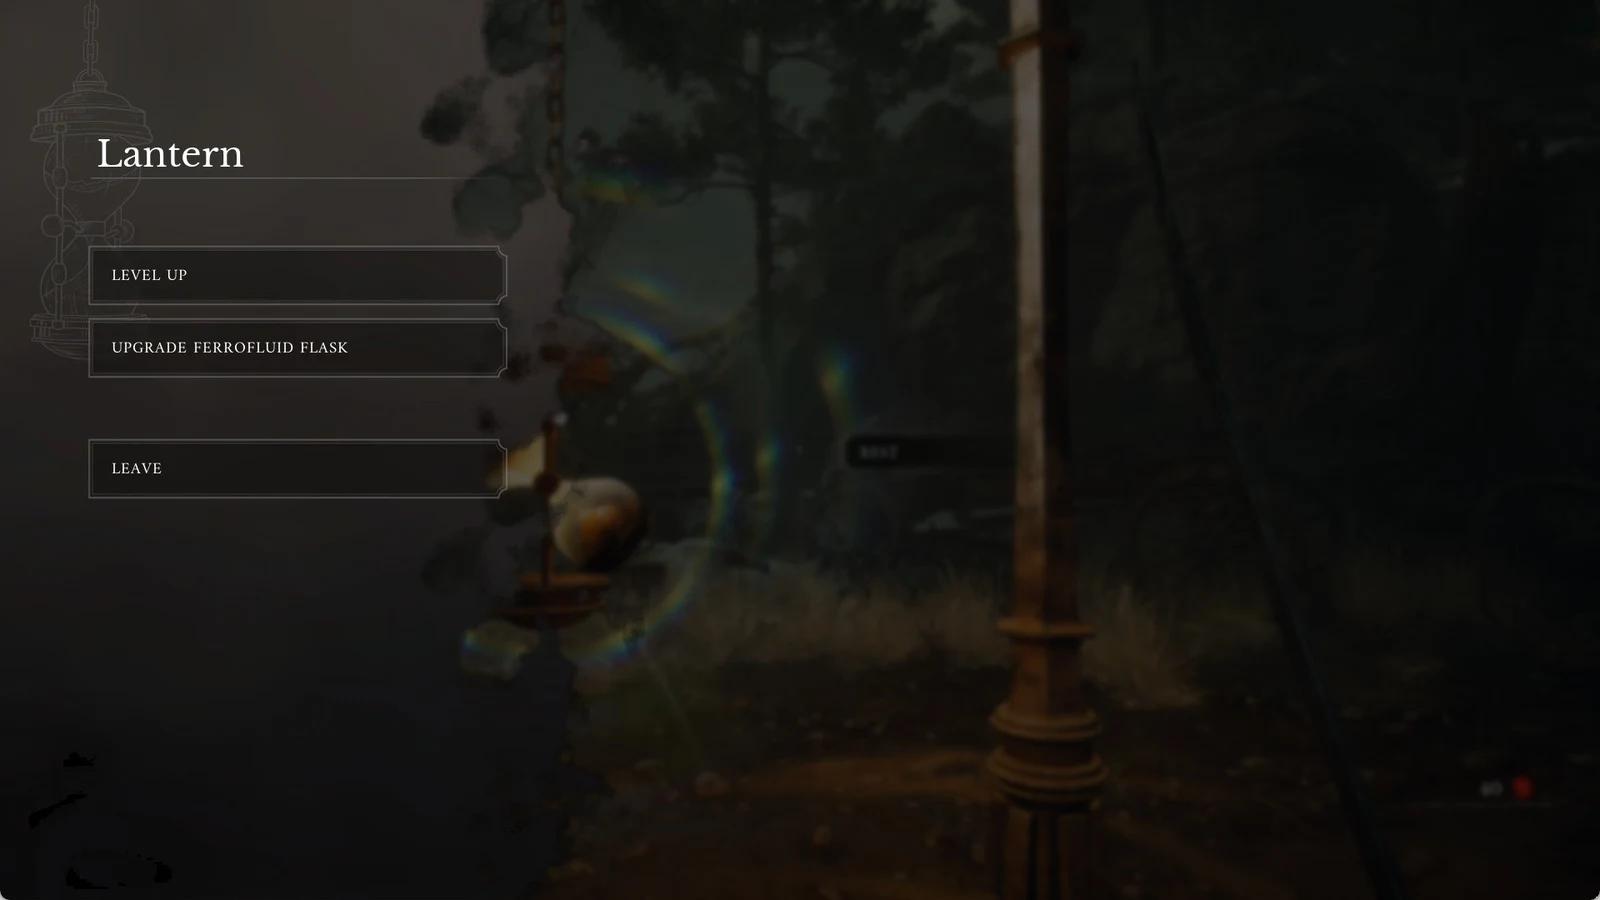
The Ferrofluid Flask starts at 50 healing. Each potency tier climbs by ten, so the first upgrade brings it to 60, and the ladder continues 70, 80, 90, 100 and upward to 140 at the top tier. Early tiers cost one Power Upgrade each, with later tiers demanding two, three, then four per step, so spend the two you find here on the cheapest available tier to feel the difference before the Iron Marshall.
Confirming a clean sweep
You know Rendezvous is fully cleared once the Empty Ferrofluid Flask is in your pack, since it is the last pickup in the Marketplace route. By then you should have the six Ambers, the Rapier and Blunderbuss, two Power Upgrades and the Empty Flask, both The Scarecrow and Lullaby marked complete in your journal, and Valen Duroc’s Emblem logged against The Oathbound. Anything you skipped stays put, so you can grapple back through the village and pick it up on a later visit.