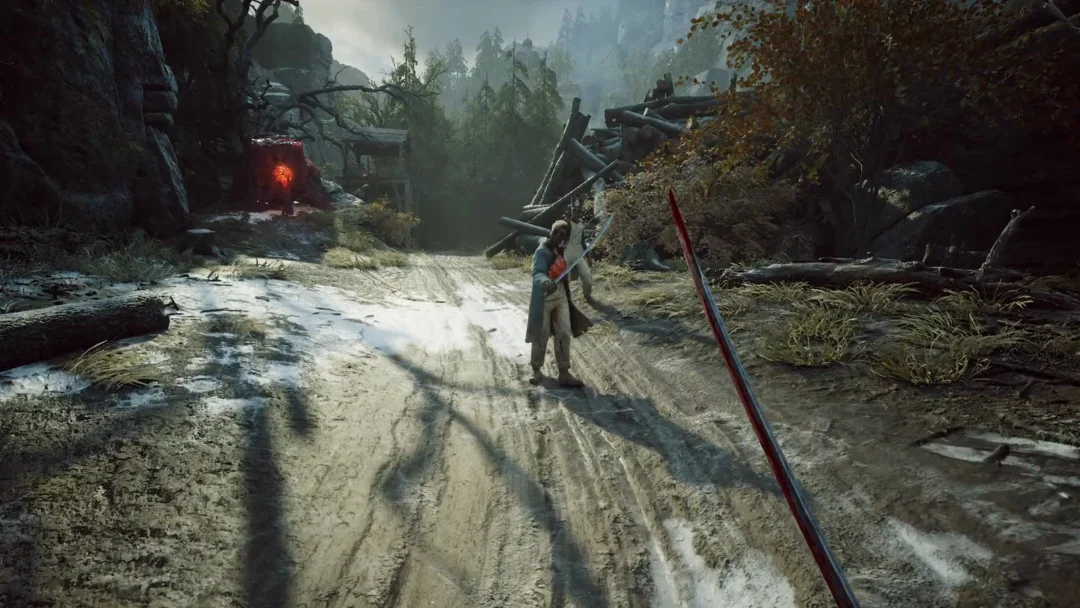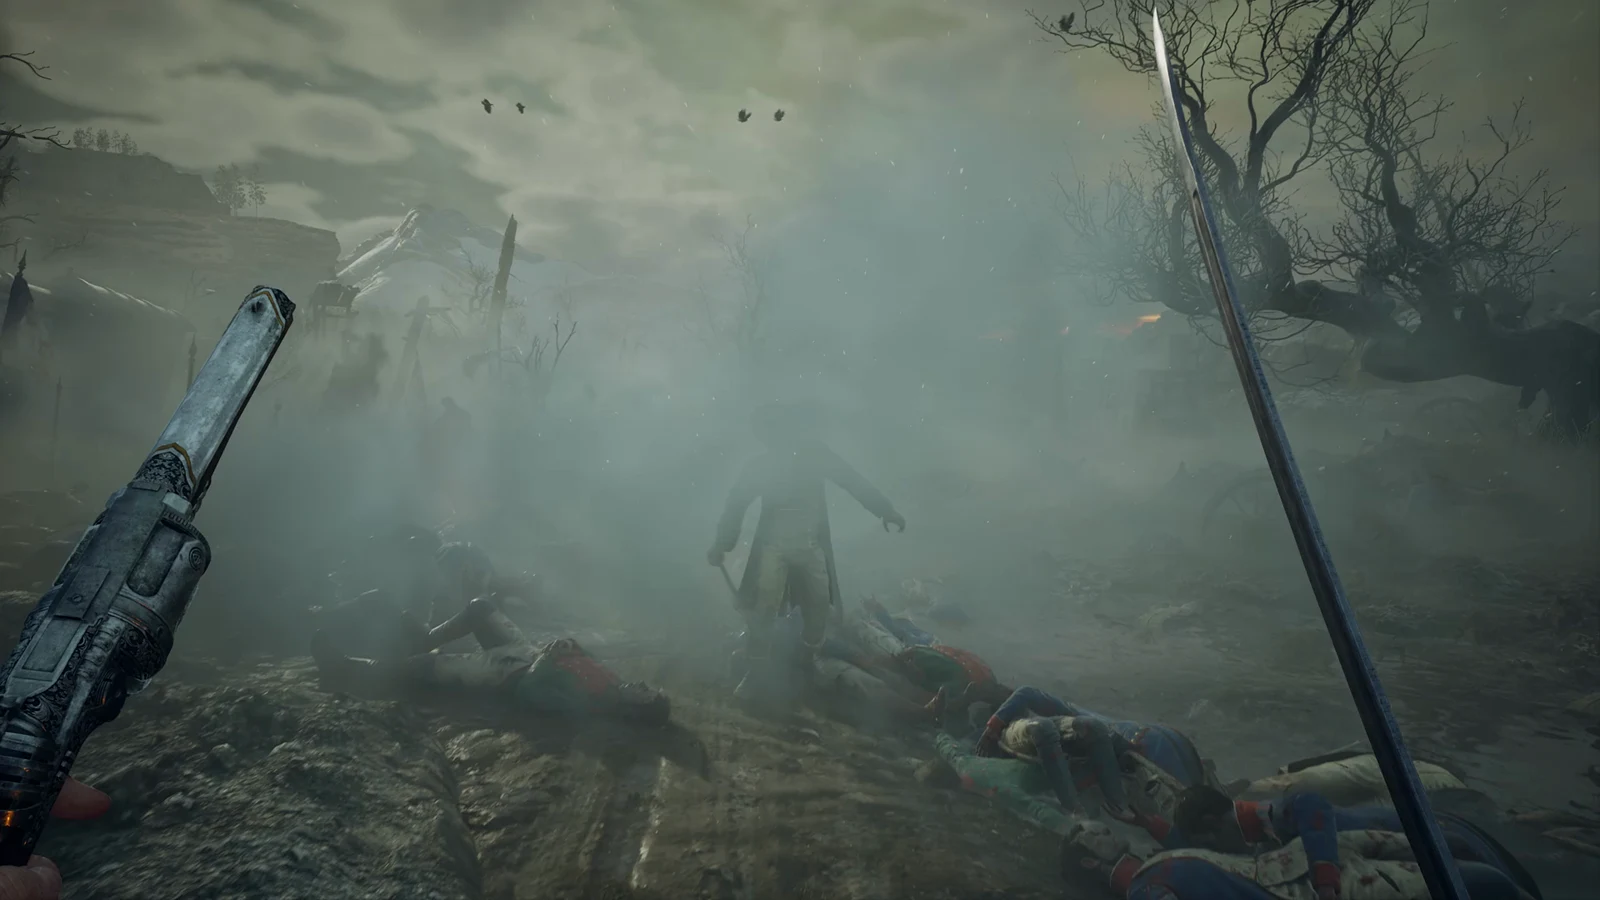
Chapter 2: Regroup drops William into the Valley of Ashes, a region packed with Ambers and healing upgrades but no in-game map. The only reliable way to navigate is by the lanterns you rest at, so every collectible below is tied to the lantern you should start from. There are six Ambers and two flask upgrades to pick up across the area, and none of them are permanently missable.
Quick answer: Work through six Valley of Ashes lanterns — Guidepost, The Climb, Demolished Path, The Other Side, Military Camp and Quarry — opening the red chest or finishing the quest tied to each to collect all eight items.
Every Chapter 2 collectible and its nearest lantern
| Collectible | Type | Nearest lantern |
|---|---|---|
 Ferrofluid Flask Power Upgrade Ferrofluid Flask Power Upgrade | Flask upgrade | Guidepost |
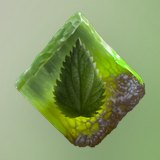 Indestructible Shell Indestructible Shell | Amber | Guidepost |
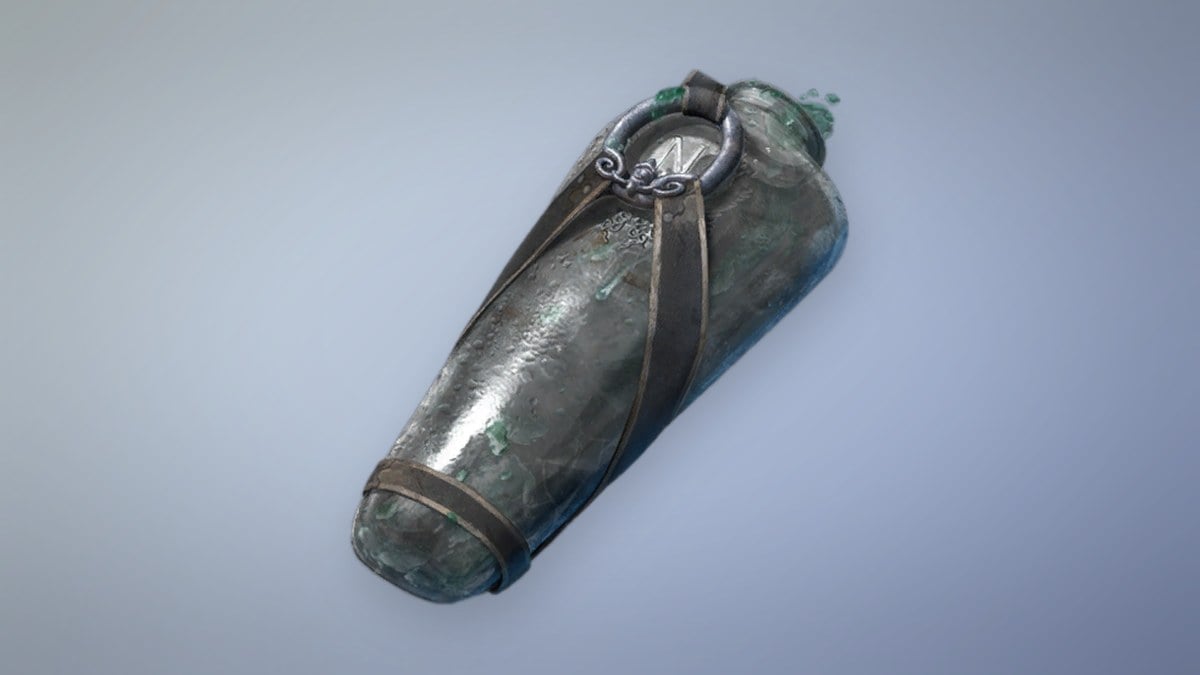
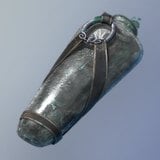 Empty Ferrofluid Flask Empty Ferrofluid Flask | Flask upgrade | The Climb |
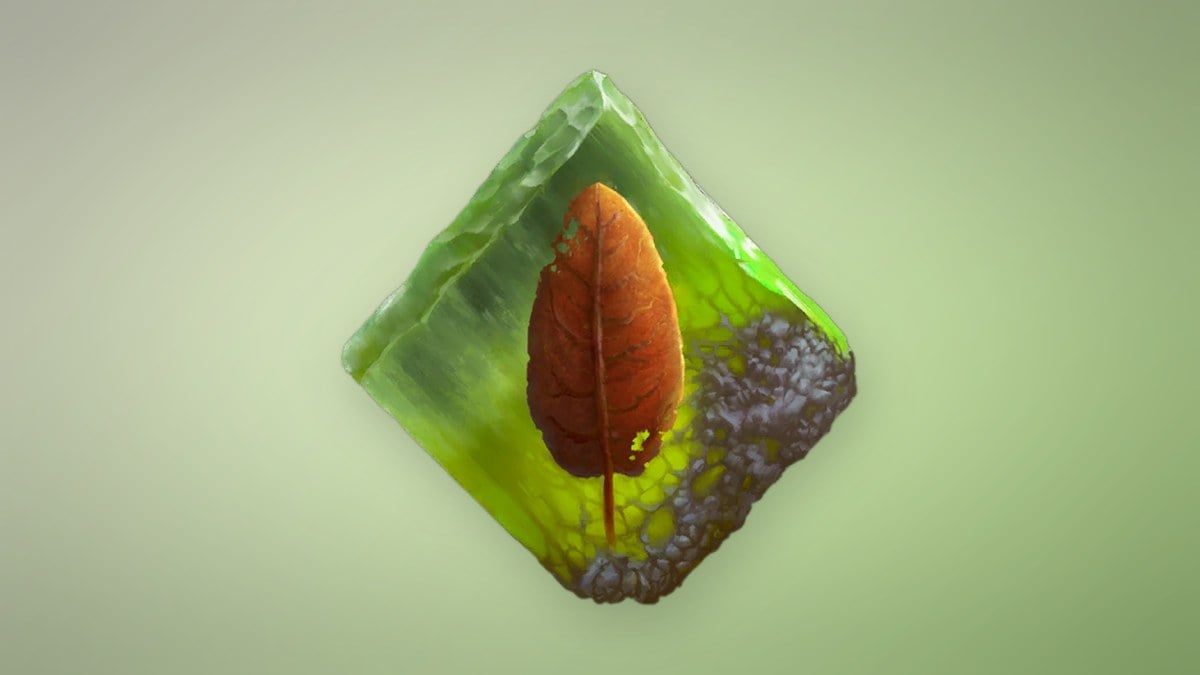
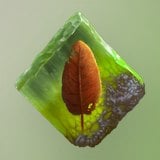 Sleight of Hand Sleight of Hand | Amber | Demolished Path |
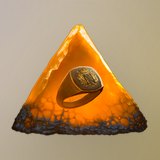 Perfectionism Perfectionism | Amber | The Other Side |
 Dominatus Dominatus | Amber | Military Camp |
 Potent Concoction Potent Concoction | Amber | Quarry |
 Marksman’s Bane Marksman’s Bane | Amber | Quarry |
Once fast travel unlocks, you can return to any explored spot to grab anything you walked past, so a missed chest is never lost for good.
What the two flask upgrades do
The Ferrofluid Flask heals for a base of 50 and you can carry up to five at a time. Both pickups in this chapter feed into the Lantern, where you apply them. A Ferrofluid Flask Power Upgrade raises how much a single sip restores, while an Empty Ferrofluid Flask adds one extra charge to your maximum.
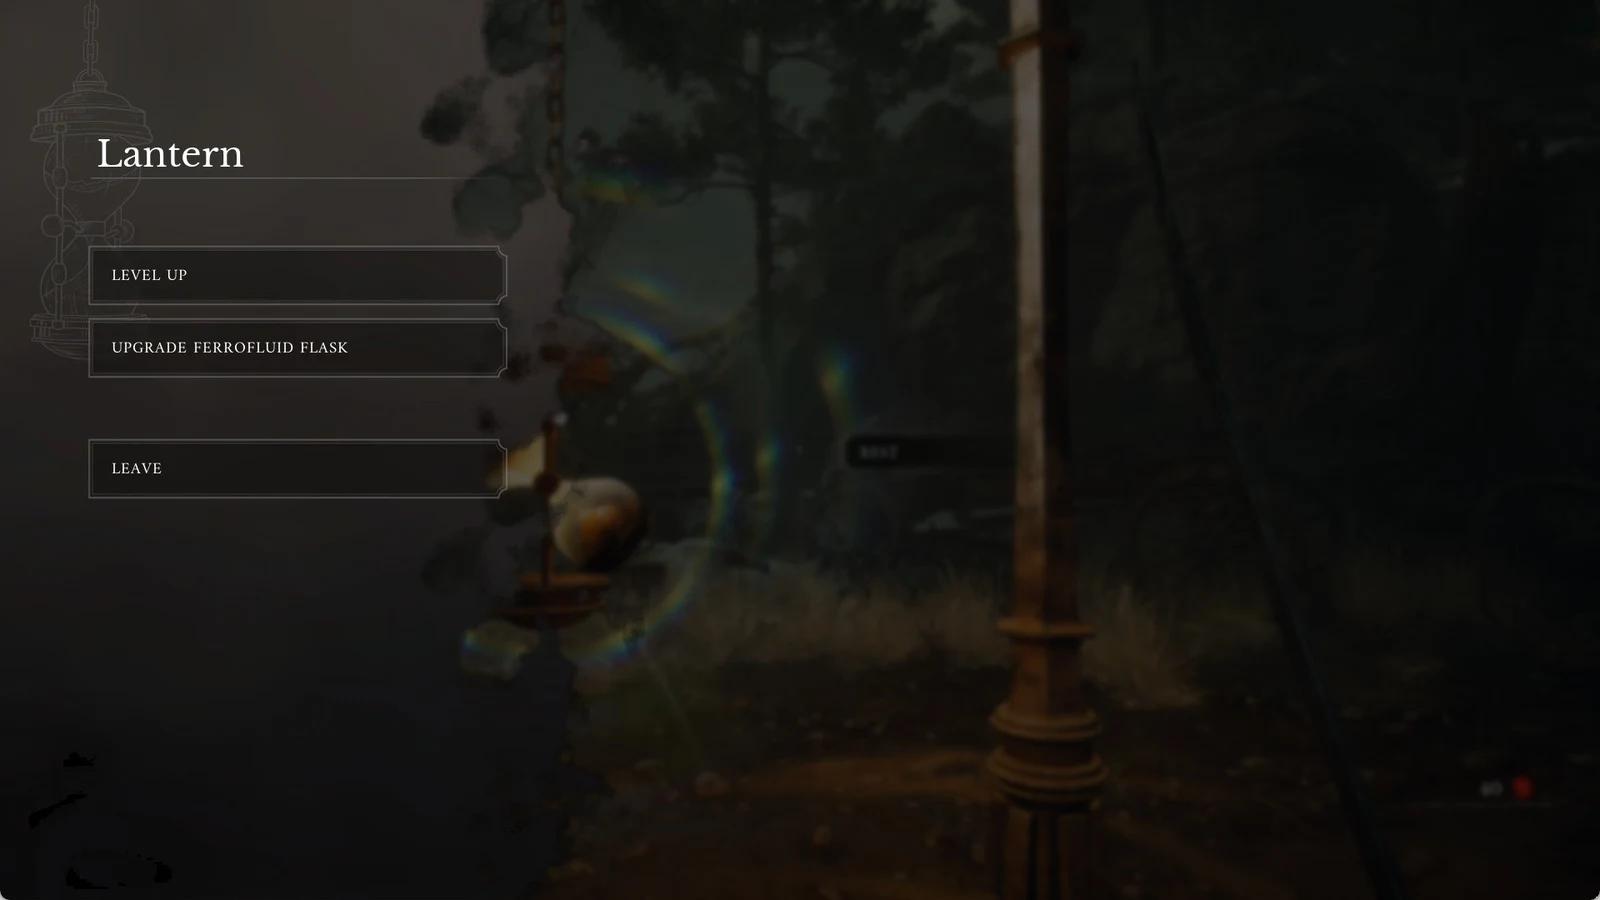
Each potency step needs a set number of Power Upgrades, and the cost climbs as you go. The full progression looks like this.
| Upgrade | Healing | Power Upgrades needed |
|---|---|---|
| 1 | 60 | 1 |
| 2 | 70 | 2 |
| 3 | 80 | 2 |
| 4 | 90 | 2 |
| 5 | 100 | 3 |
| 6 | 110 | 3 |
| 7 | 120 | 3 |
| 8 | 130 | 4 |
| 9 | 140 | 4 |
You only find one Power Upgrade in this part of Regroup, so the early tiers are all you can reach for now. If you want more, Louis’s Laboratoire sells extra Power Upgrades for $3,000 each, and an Empty Ferrofluid Flask runs $5,000.
Collectible locations by lantern
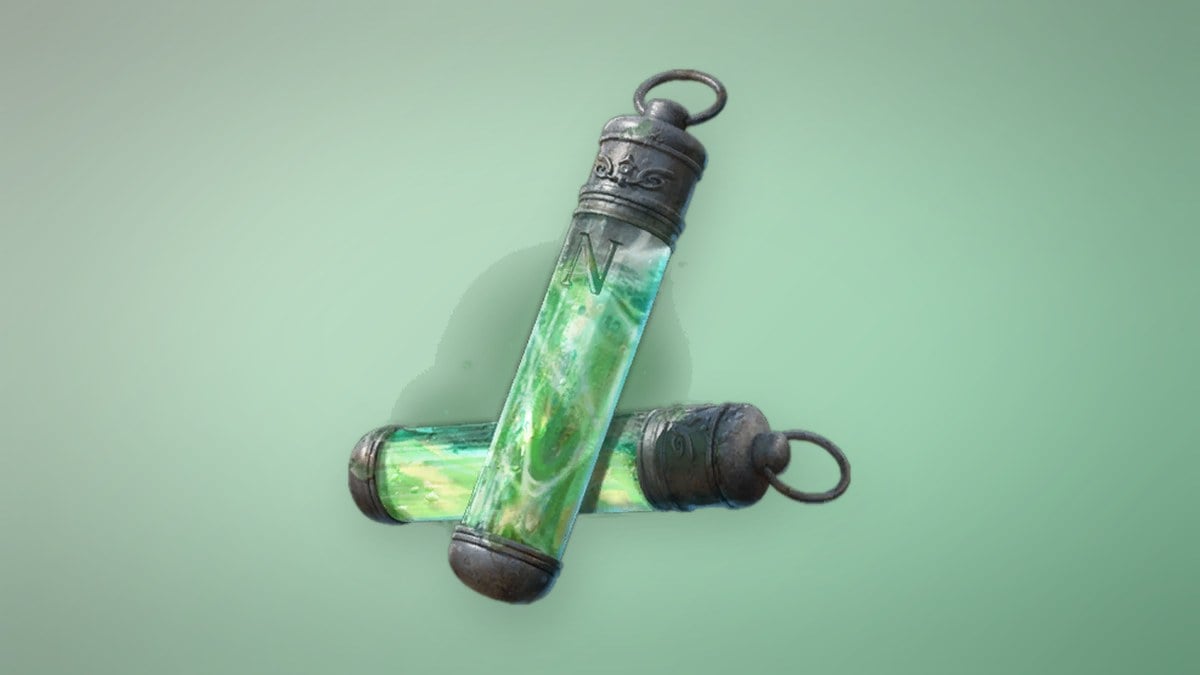
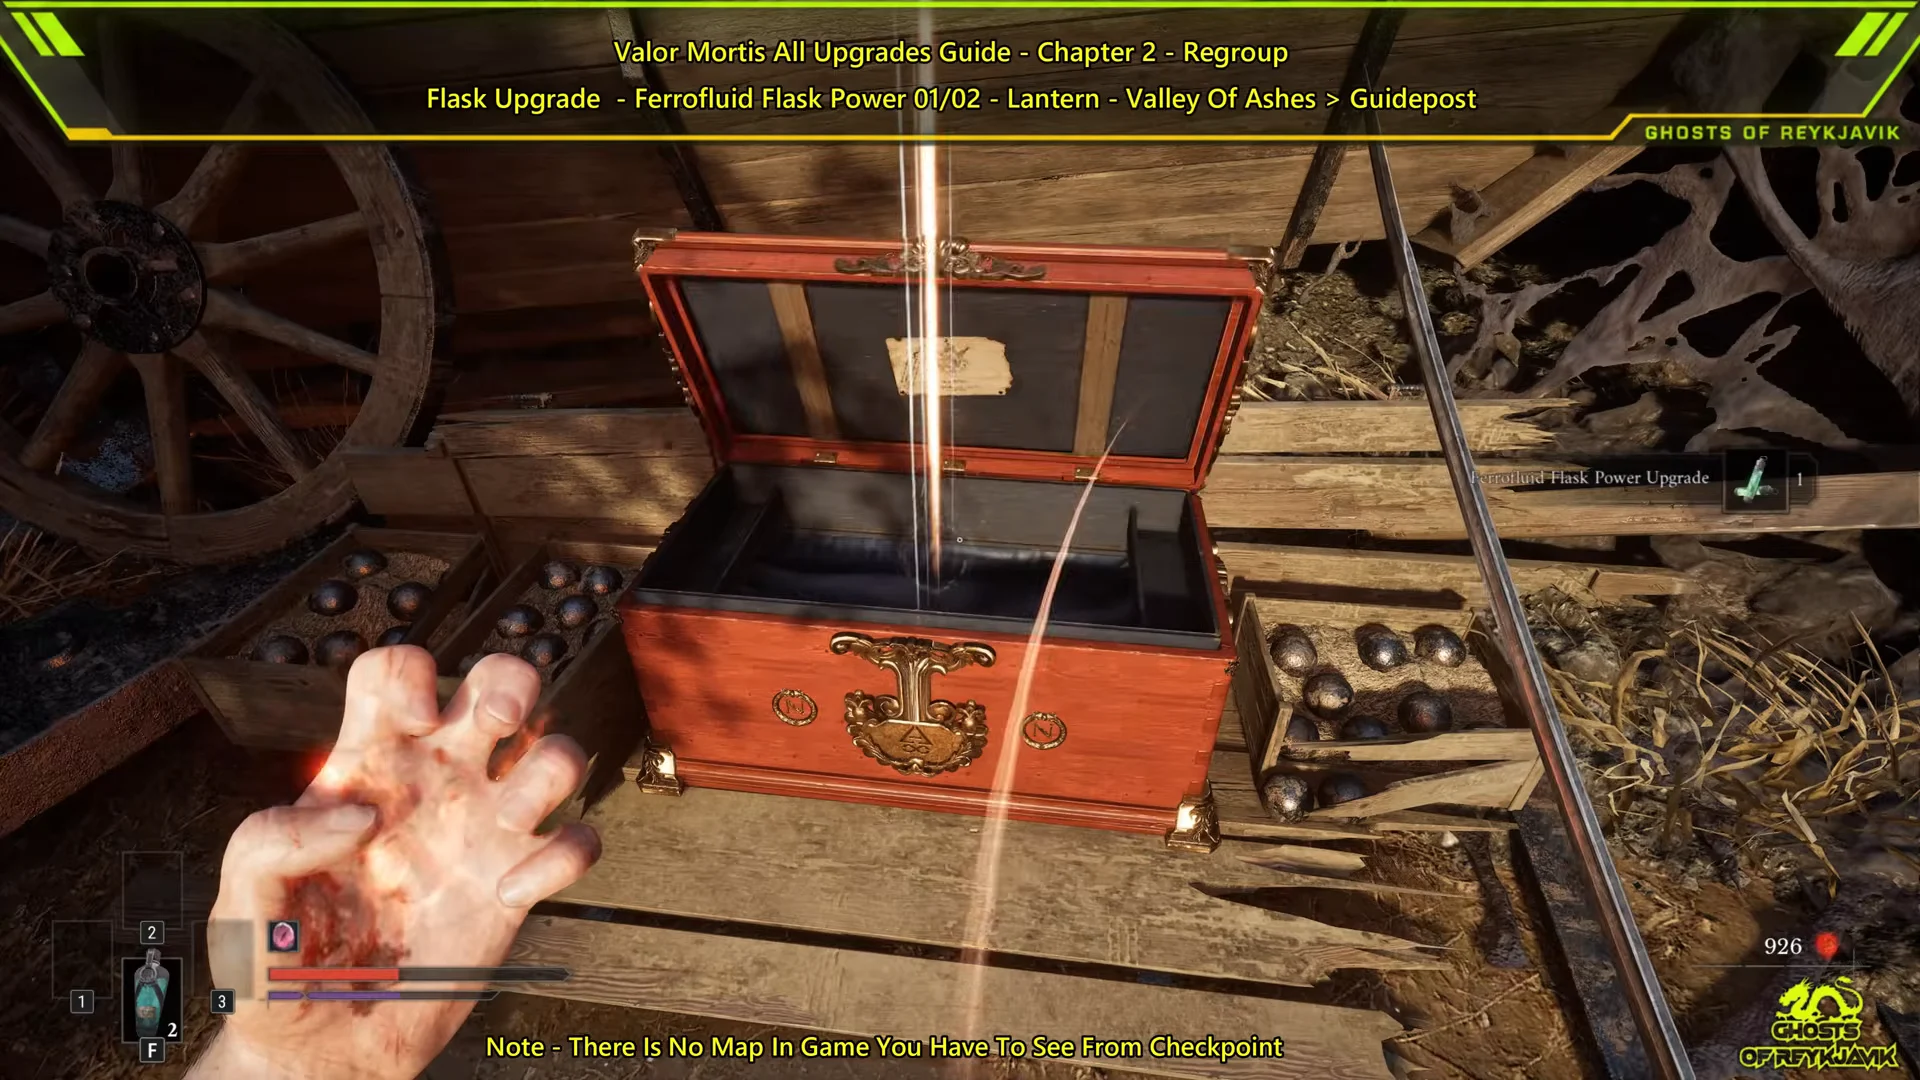
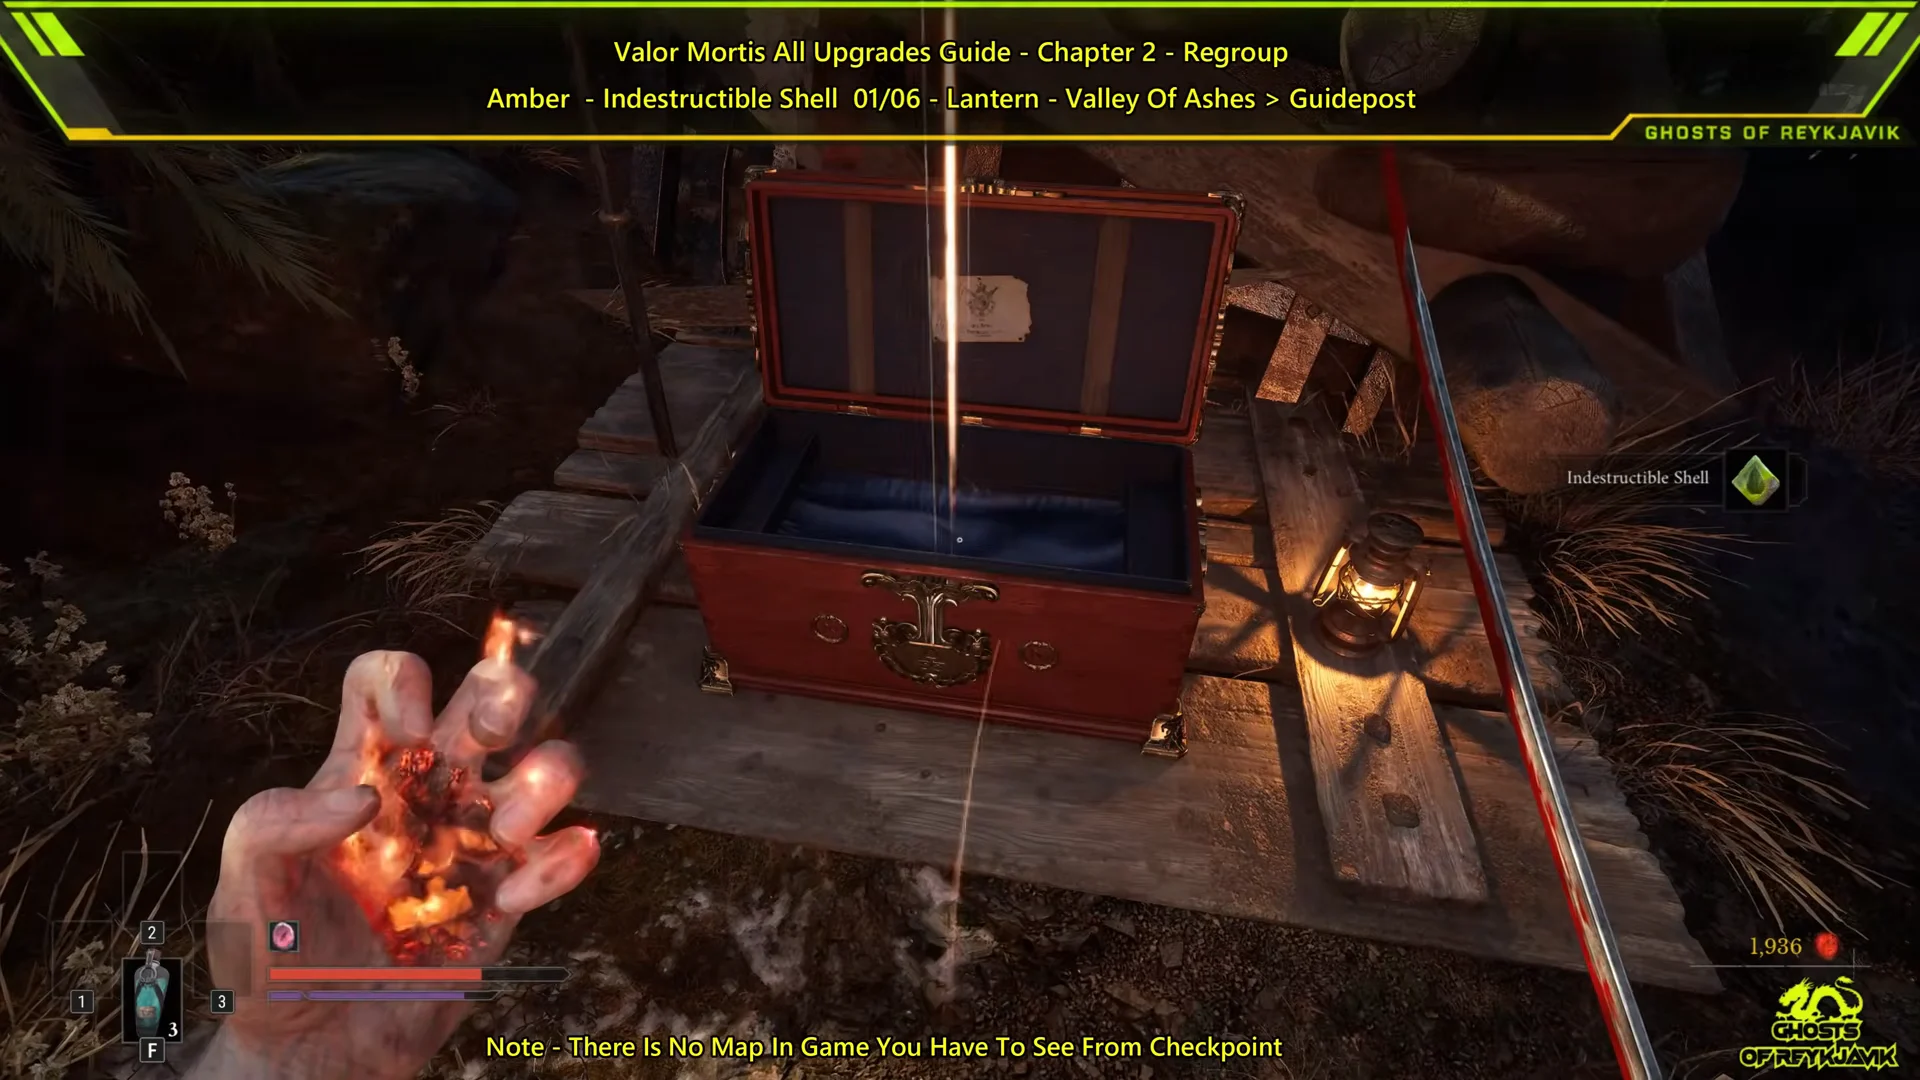
Guidepost: Ferrofluid Flask Power Upgrade and Indestructible Shell
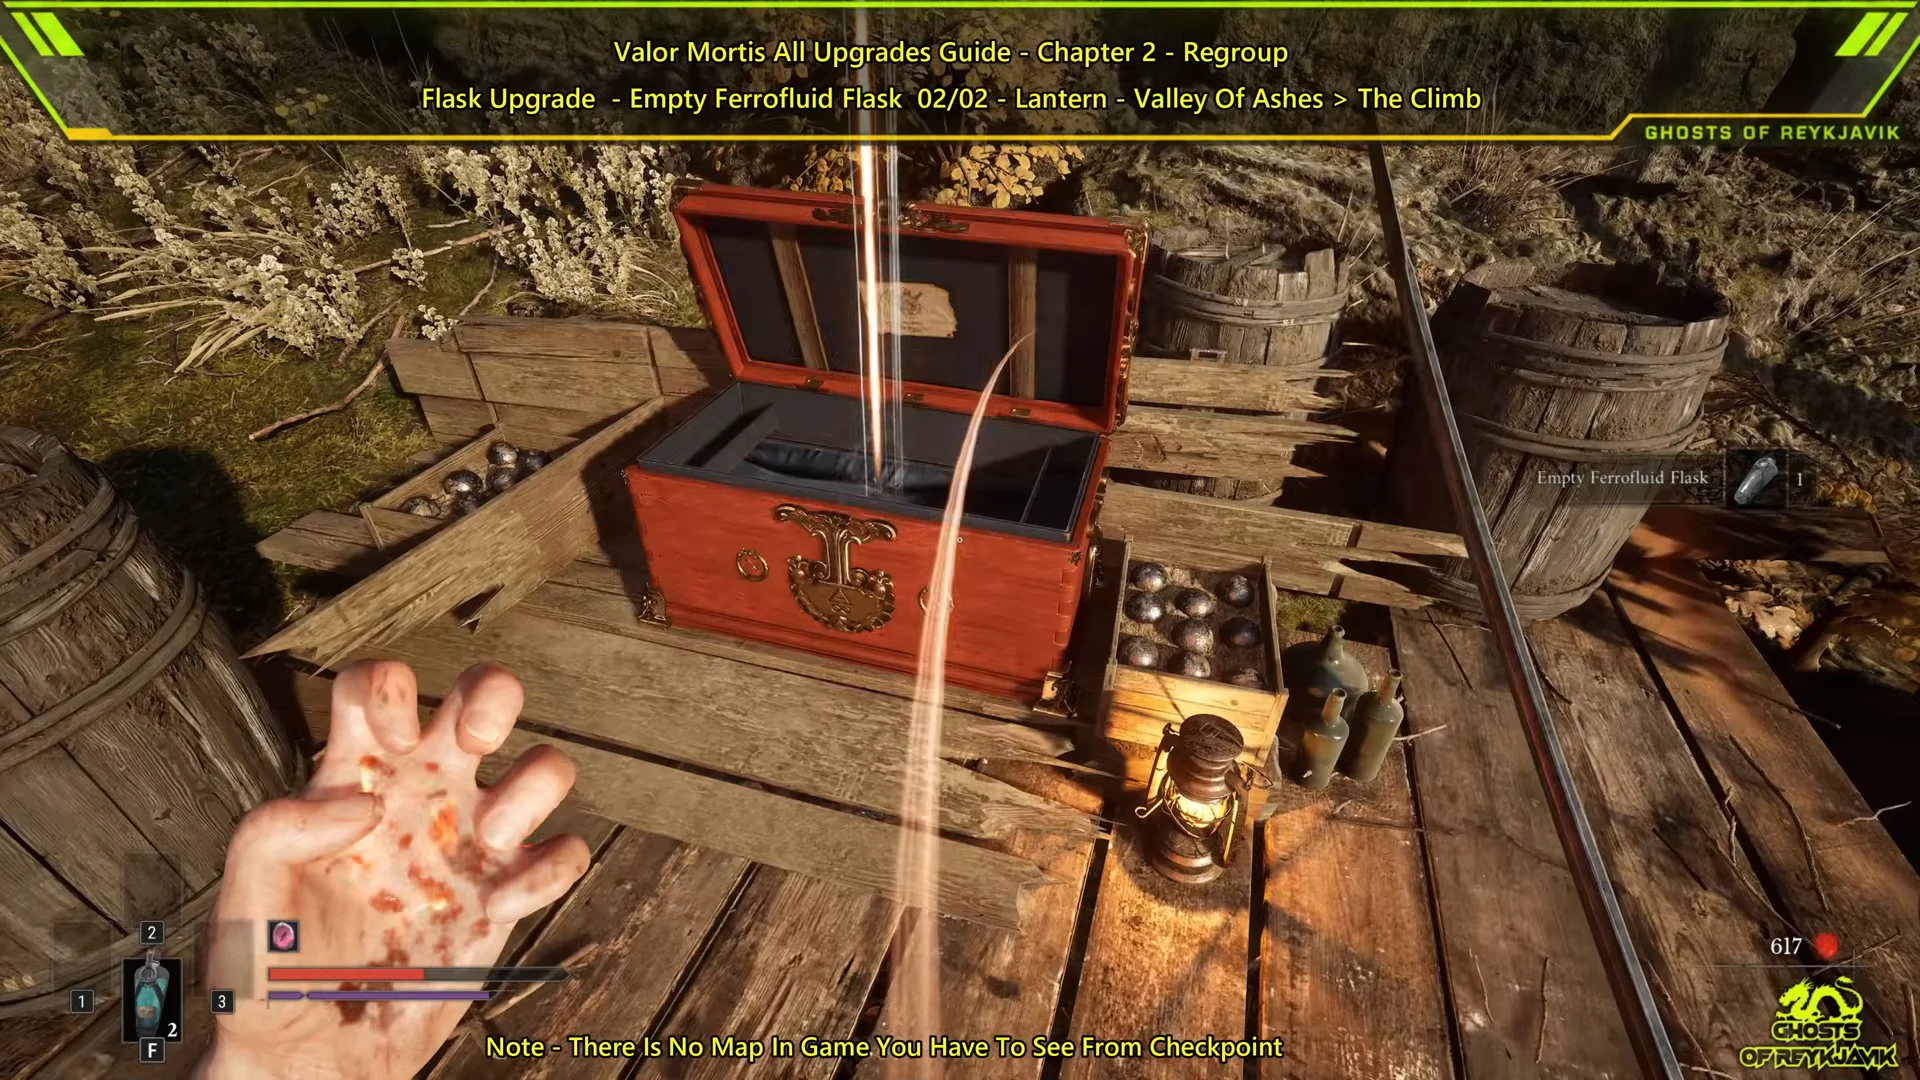
The Climb: Empty Ferrofluid Flask
Press on through the damaged bridge platforming section, where a train car on the left holds the Pistol you need for story progress. When you reach the next lantern after that sequence, check the chest immediately to its left. Inside is the Empty Ferrofluid Flask, which adds a charge to your flask count at the Lantern.
Demolished Path: Sleight of Hand
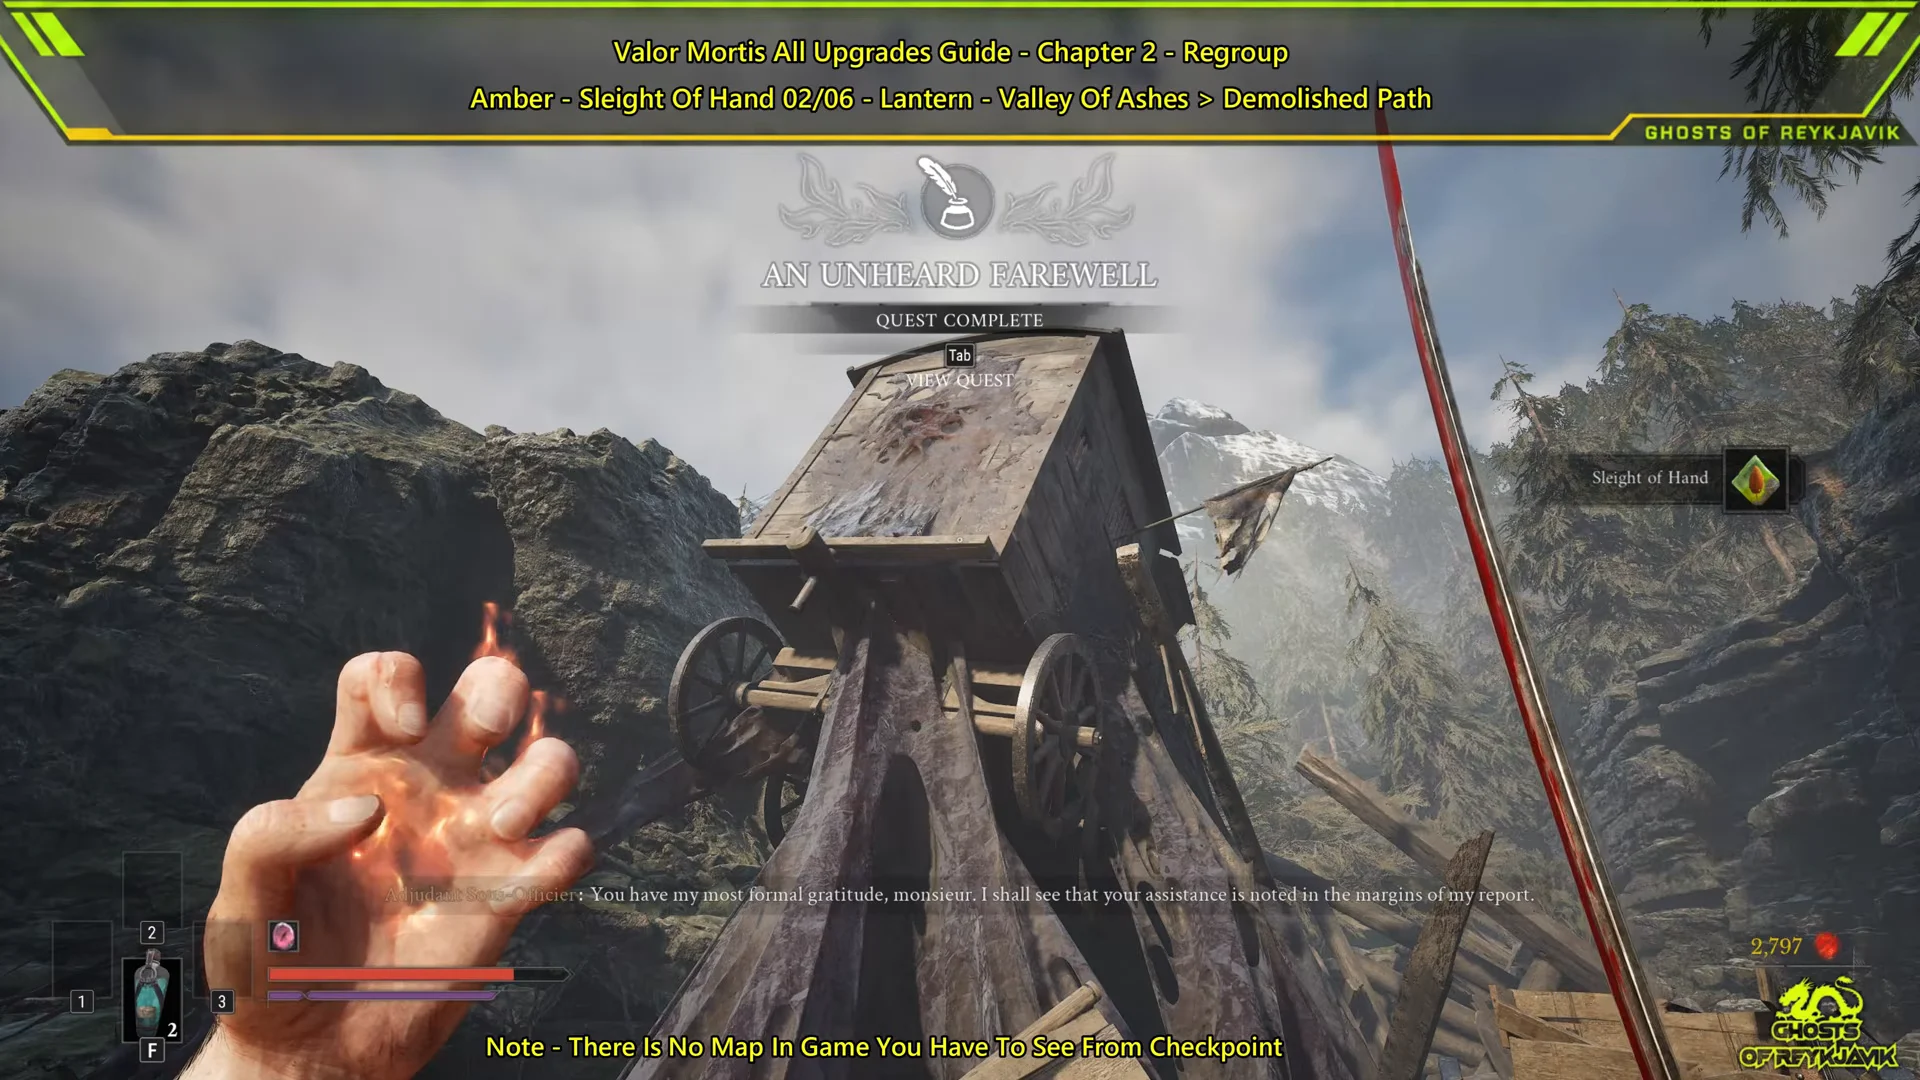
Sleight of Hand is not in a chest. It is the reward for finishing the side quest An Unheard Farewell, which starts back near Guidepost when you speak to the man calling through a carriage window just past the first Grenadier.
The Other Side: Perfectionism
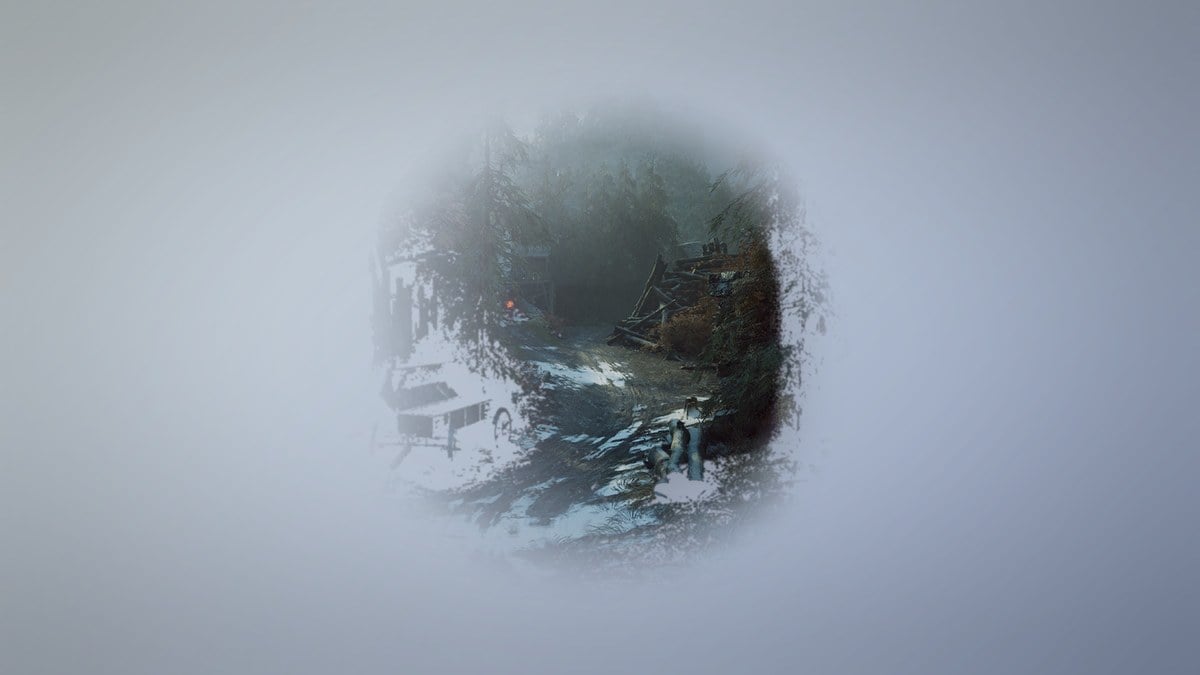
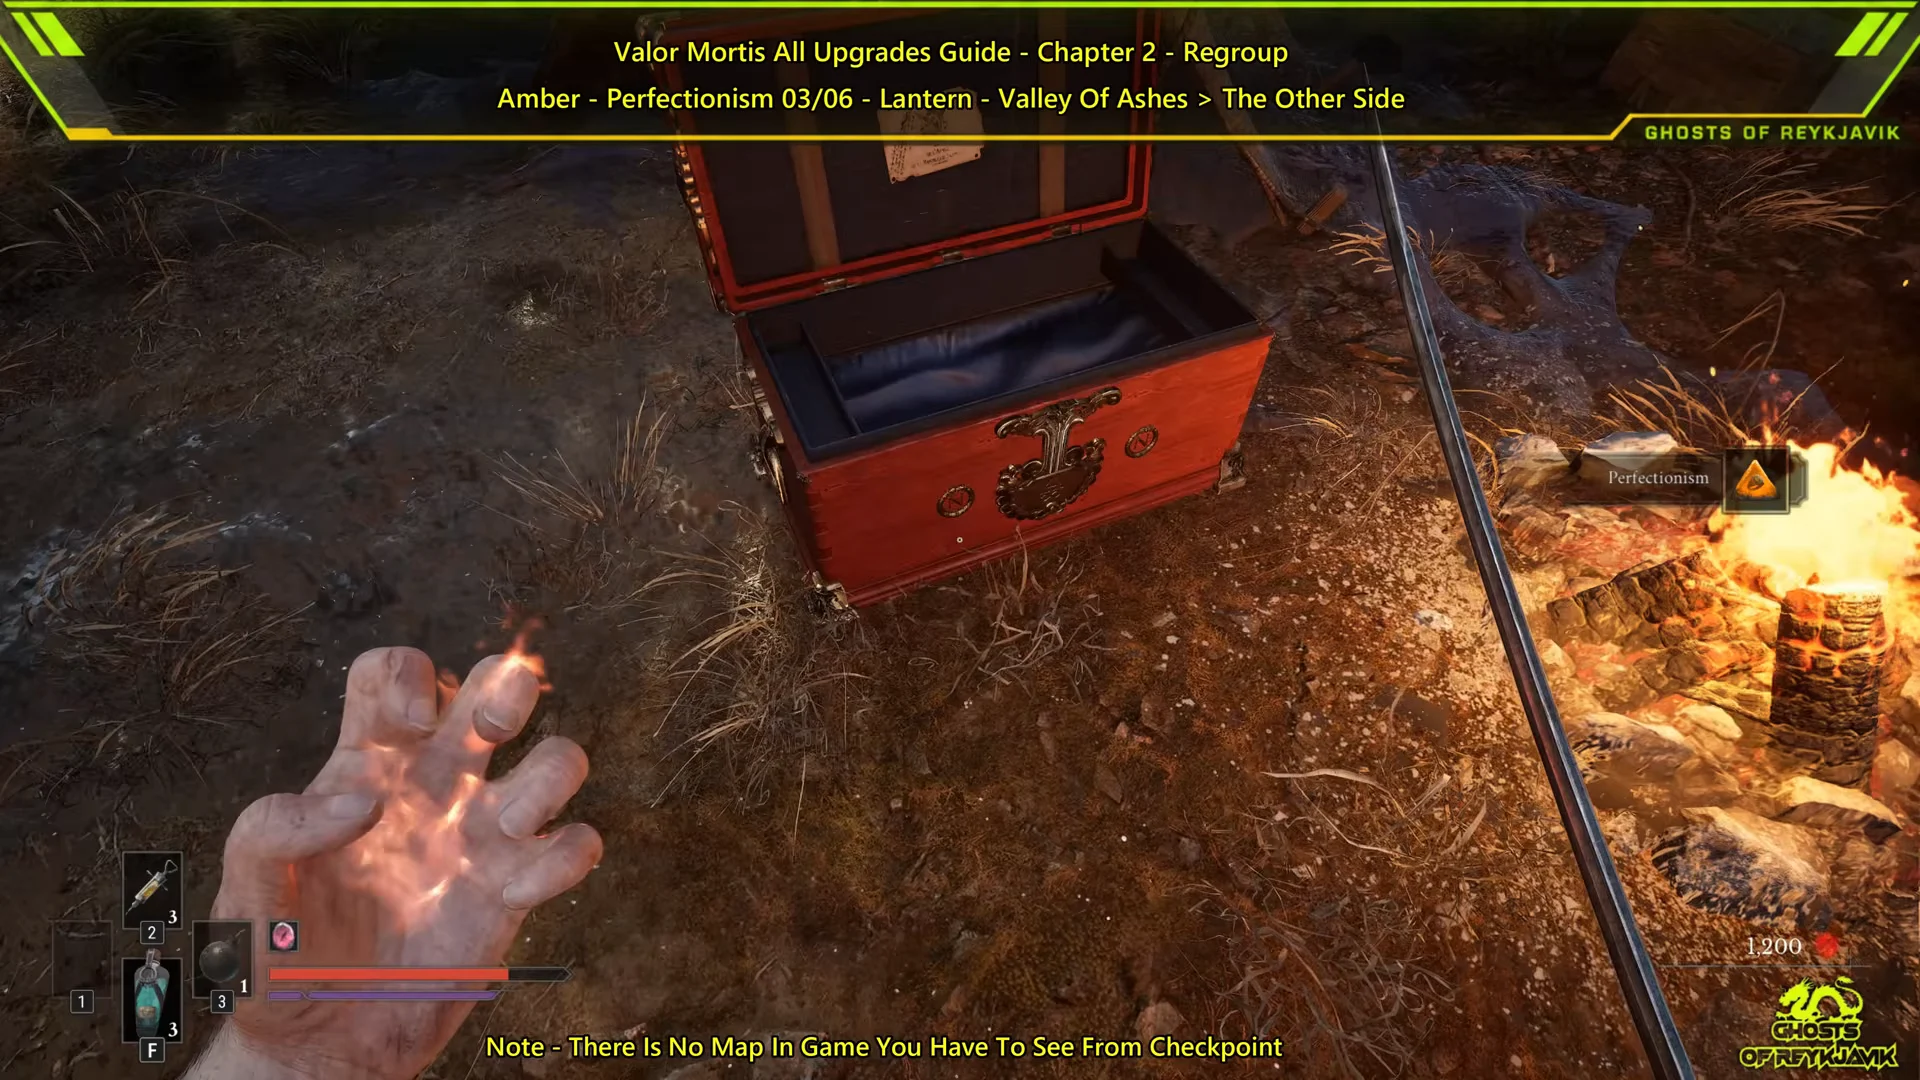
From The Other Side lantern, edge along the narrow cliff ledge and cross the broken planks that run over the large red corruption branches. Follow the rock outcroppings down to a campfire, where a chest holds Perfectionism.
Military Camp: Dominatus
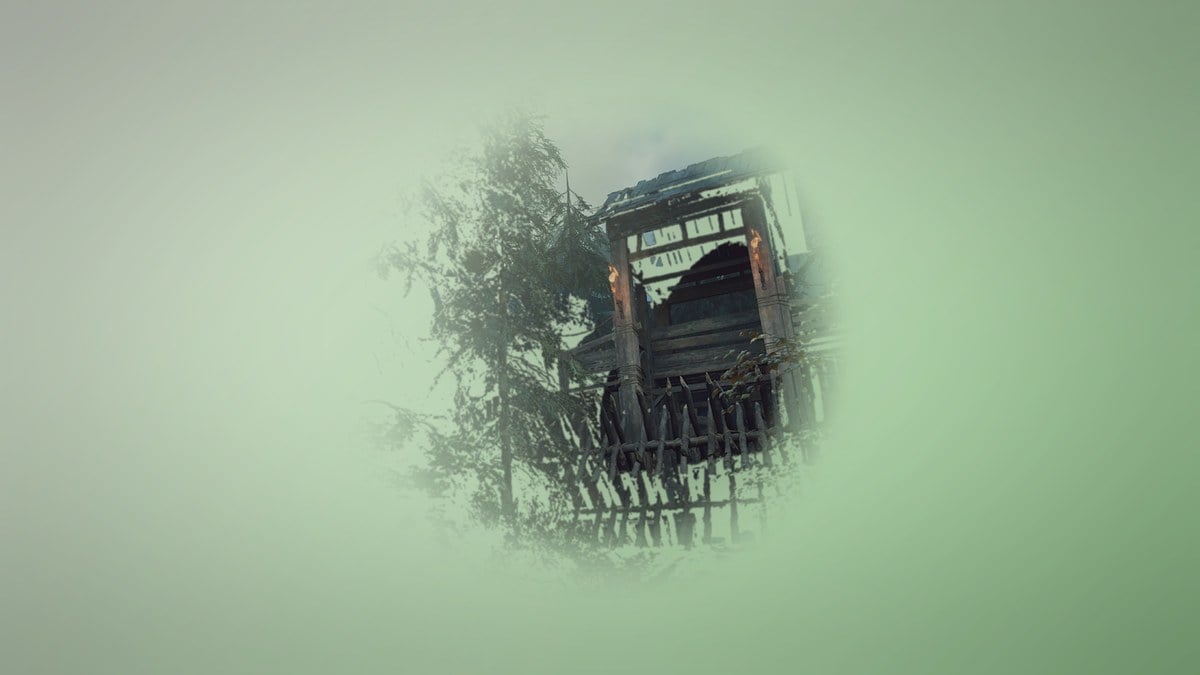
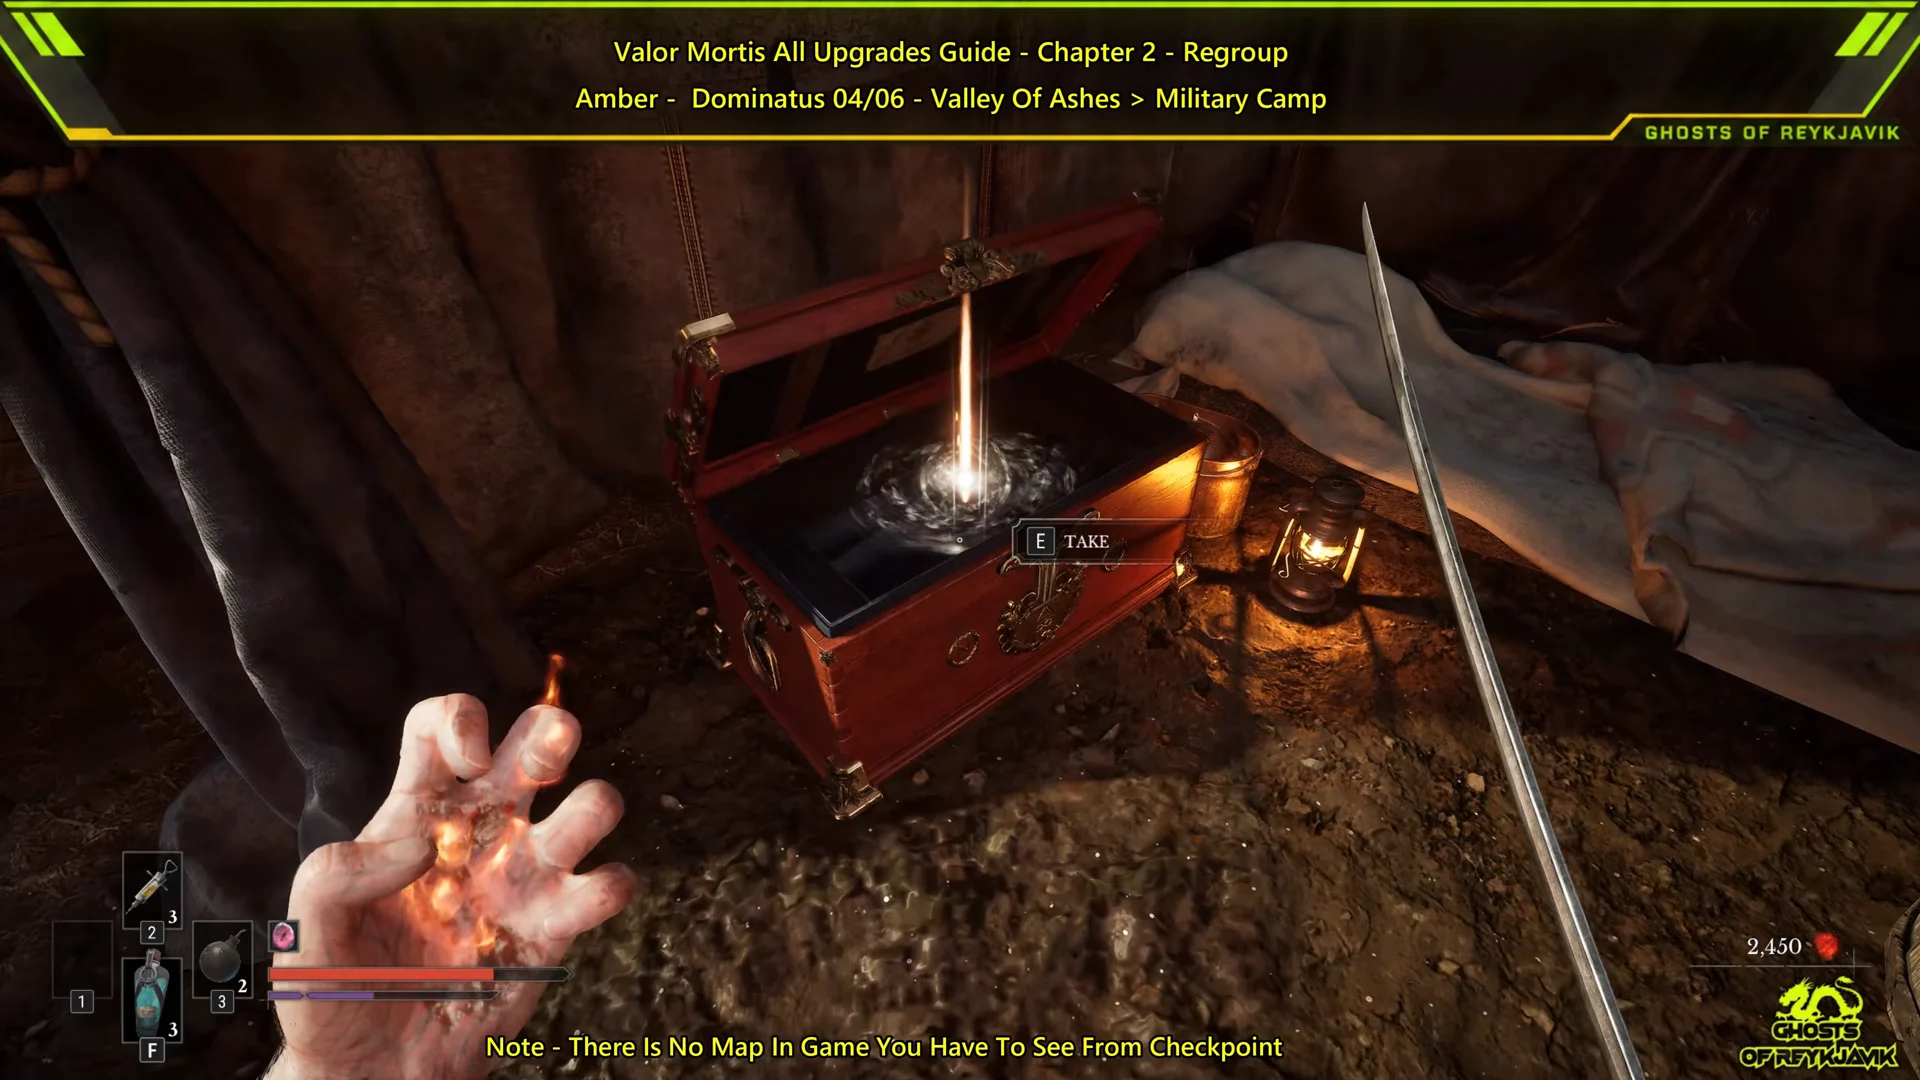
Head through the military camp along the main path. As you approach the hill that leads forward, check the corner to its left, where a tent stands slightly off the route. Step inside and open the chest next to the bed and letter to claim Dominatus.
Explosive barrels are scattered around this camp. They hurt William as well as enemies, so position yourself carefully before you start swinging.
Quarry: Potent Concoction and Marksman’s Bane
The Quarry holds the last two Ambers, both off the main route. Start from the Quarry lantern for each.
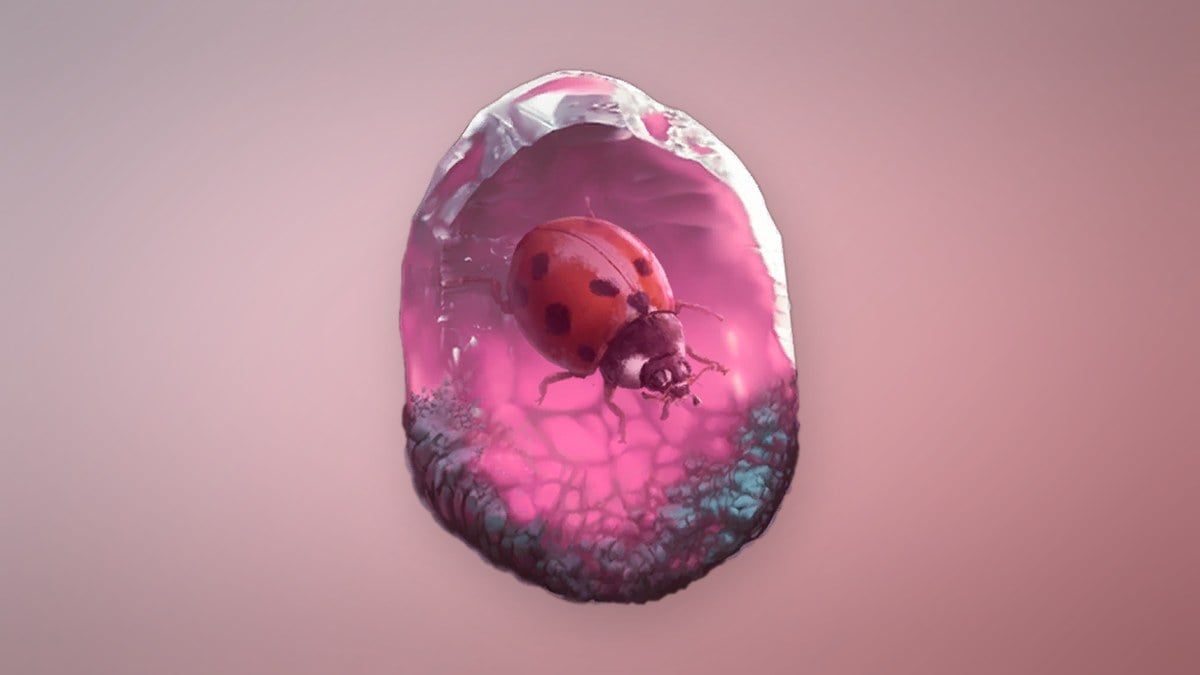
What the Ambers do
Four of the Chapter 2 Ambers carry confirmed effects and rank values. Dominatus and Perfectionism can be ranked up to three times as you find more copies elsewhere, while Sleight of Hand and Marksman’s Bane cap at a single rank.
| Amber | Max rank | Effect |
|---|---|---|
| Dominatus | 3 | Restores Health on Critical Attacks: 50% / 75% / 100% |
| Perfectionism | 3 | More melee damage at full Health: 10% / 15% / 20% |
| Sleight of Hand | 1 | Faster reloads and weapon switching (1.2x) |
| Marksman’s Bane | 1 | Successfully parrying a bullet rewards you with one Pistol round. |
Indestructible Shell lowers the explosion damage you take, which makes it a strong pick for the Grenadiers you keep running into here. Potent Concoction rounds out the set as the sixth Amber from this region.
Confirming each pickup
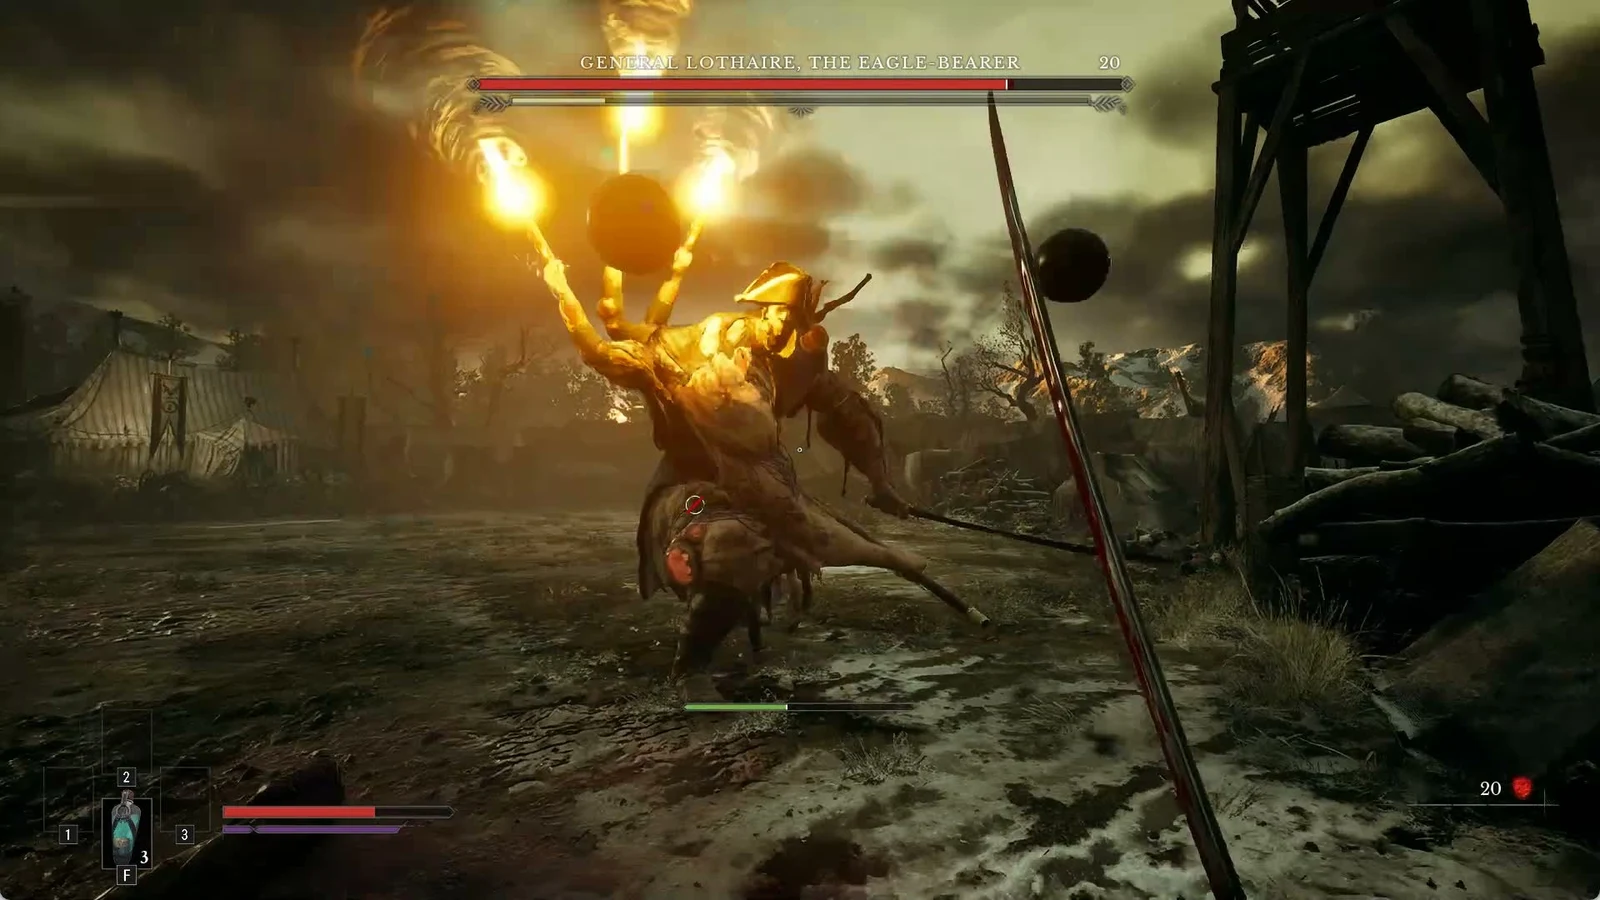
Every chest collectible triggers an on-screen notification naming the Amber or upgrade, and the opened chest sends up a bright beam of light so you can tell at a glance that you looted it. Sleight of Hand arrives differently: it registers with the “Quest Complete” prompt for An Unheard Farewell once you report back to the adjutant. When you have all six Ambers, both the Power Upgrade and the Empty Flask, you have cleared the Valley of Ashes before the fight with General Lothaire, the Eagle-Bearer.