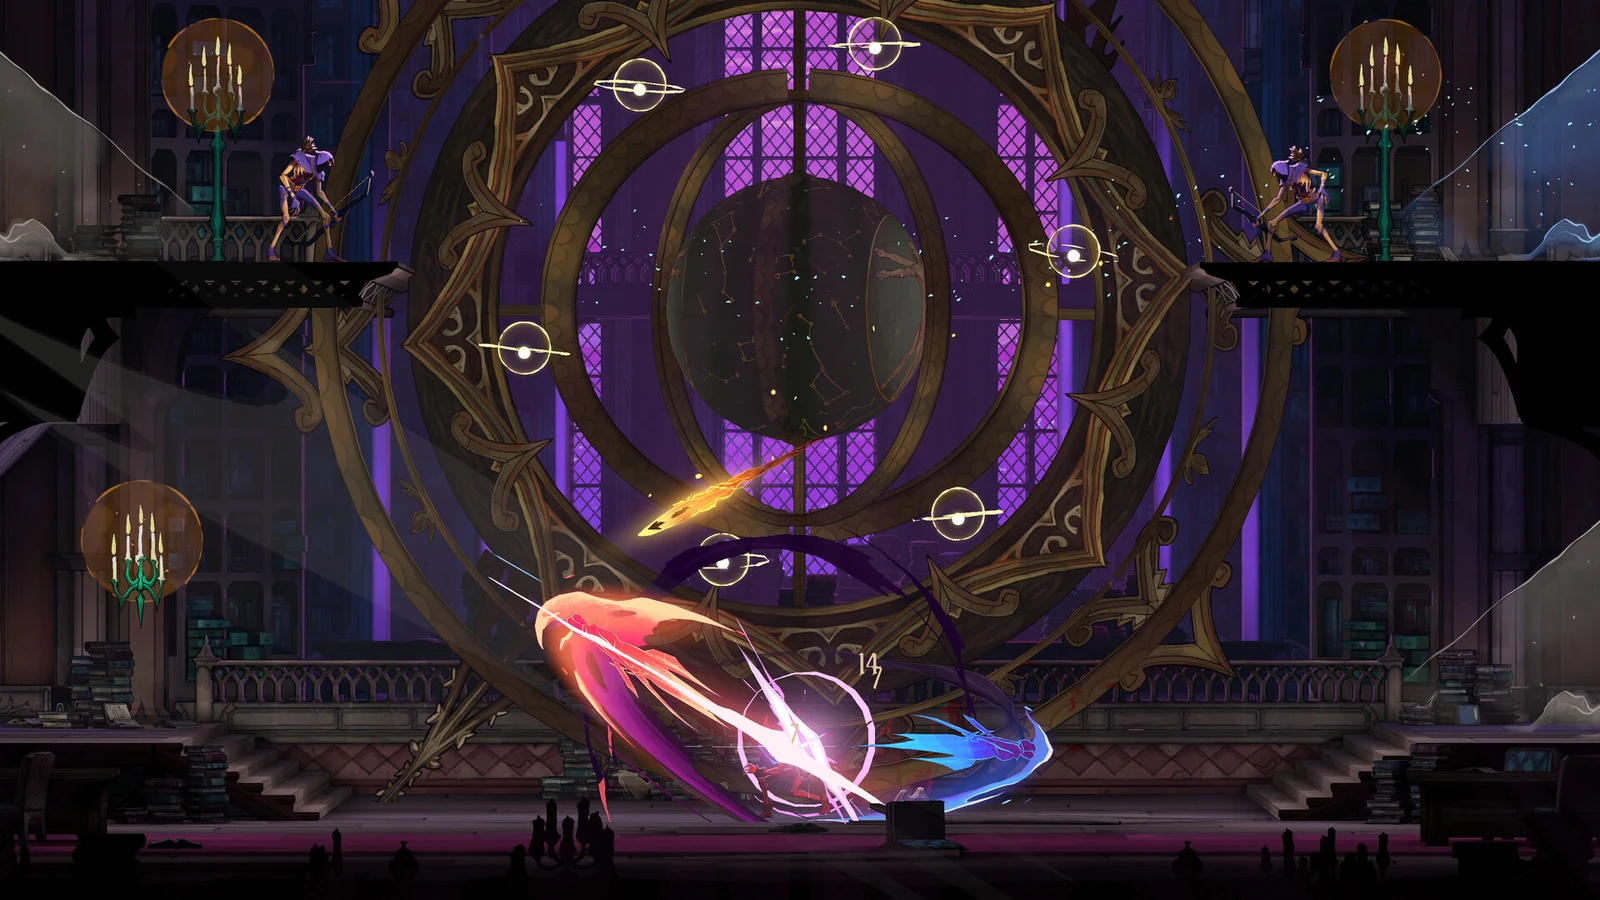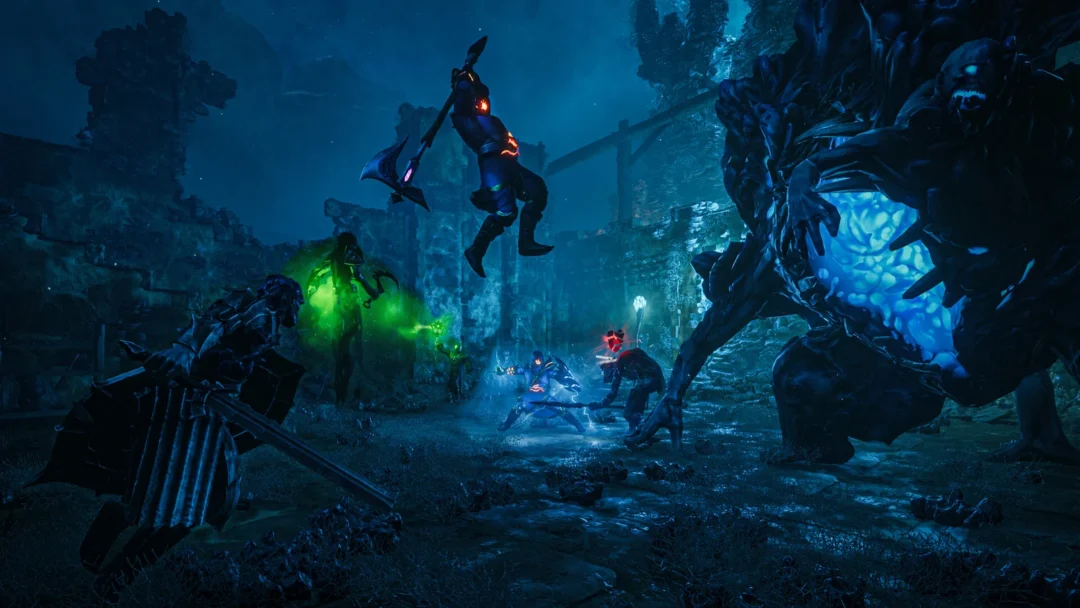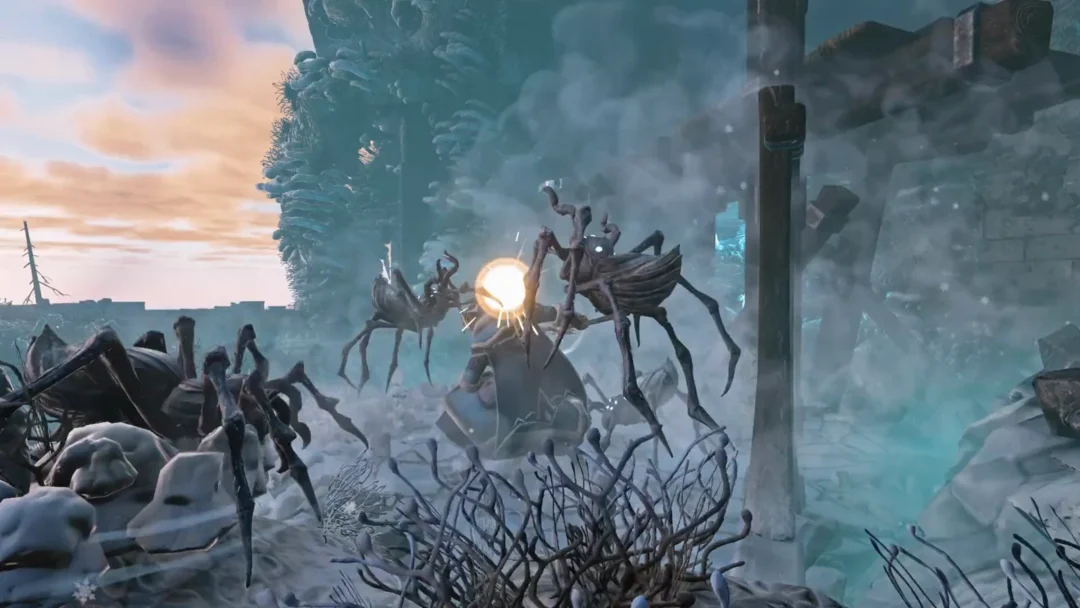
Relics are passive items in Castlevania: Belmont’s Curse that sit inside chests and at a handful of puzzle altars. Each one grants a single bonus, and a few trade that bonus for a drawback.
How Relics work and how to equip them
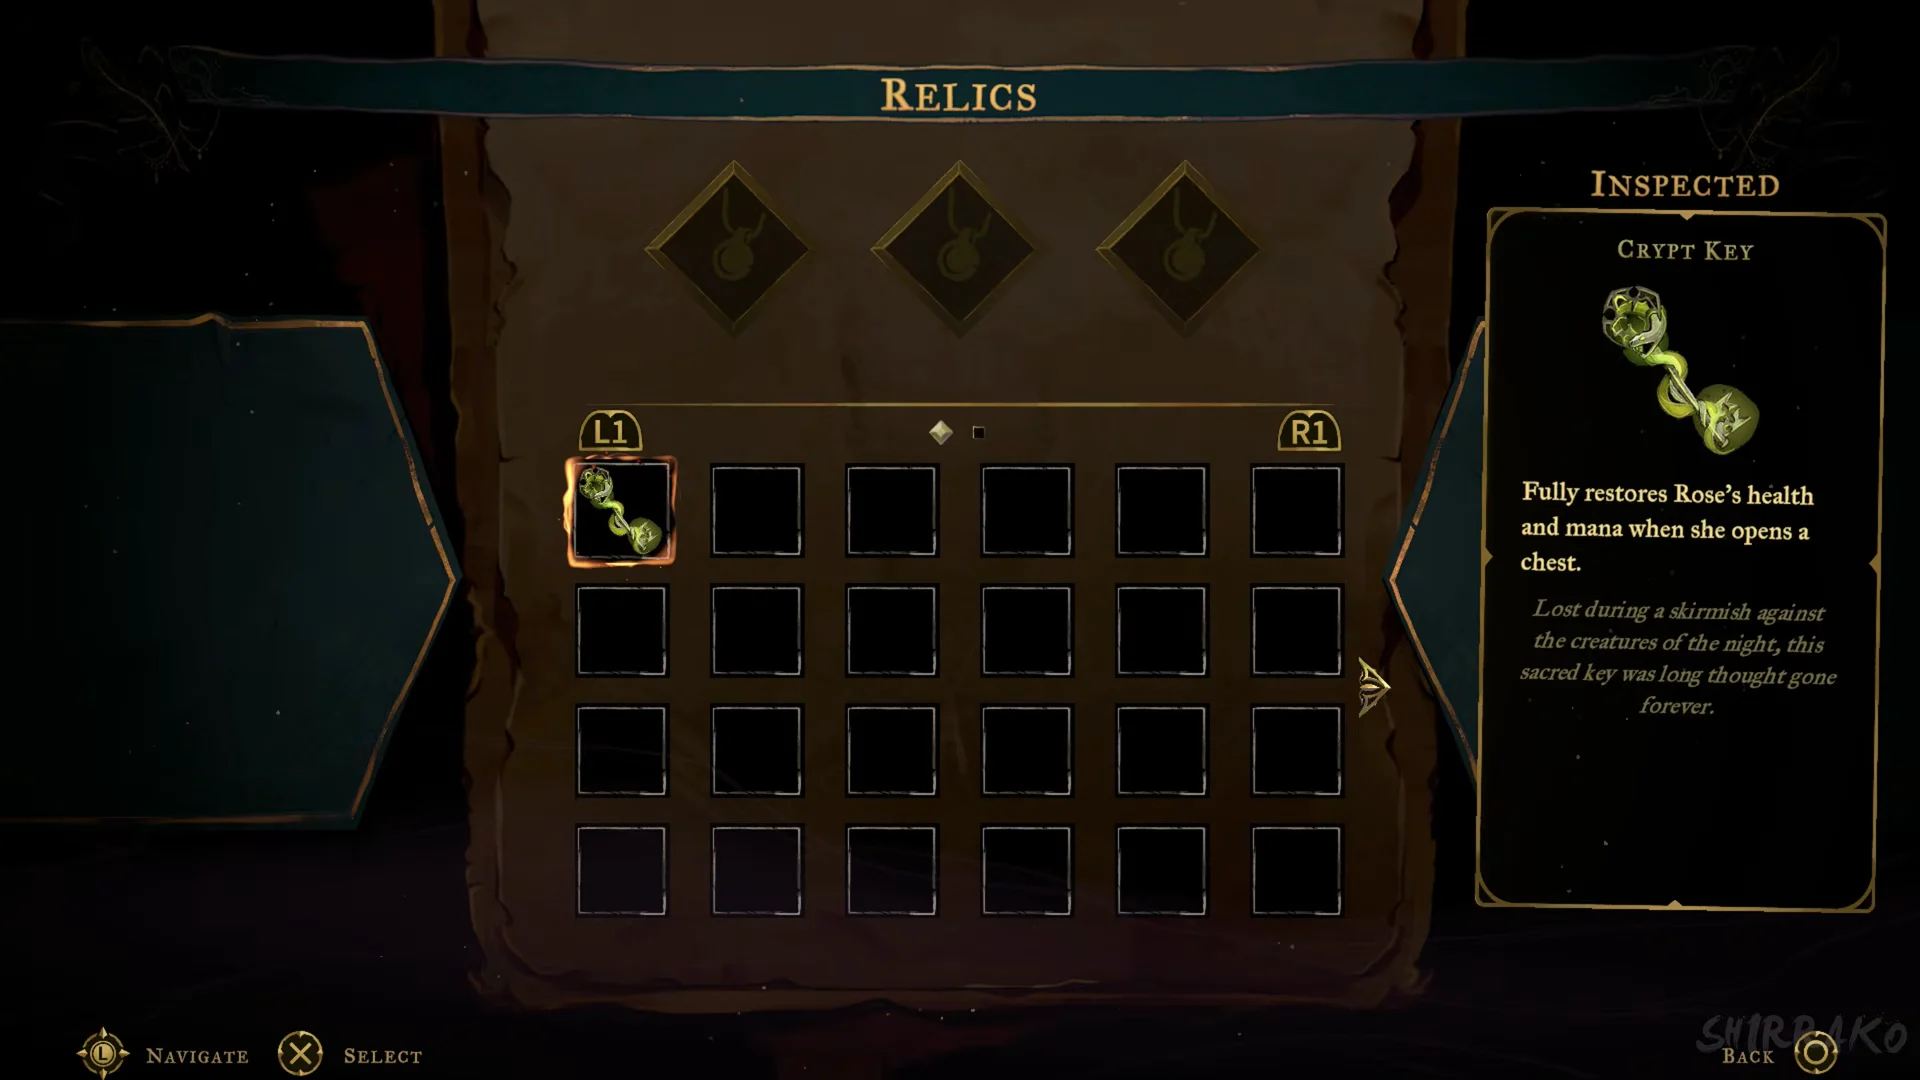
The game introduces them in a tutorial box titled RELICS, which reads “During your exploration, you can obtain RELICS.” and “Up to 3 RELICS can be equipped to obtain BONUSES in combat and exploration.” Each relic affects either combat or how Rose moves through the castle.
To put one on, open the EQUIPMENT menu, pick the RELICS tab, then select one of the three slots to equip or unequip a relic from your inventory. When you first pick a relic up, its card also offers “HOLD TO EQUIP” so you can slot it right away. The menu marks each relic as EQUIPPED or INSPECTED, which tells you whether it is currently active.
Damage Relics and where to find them
- Raven’s Feather — “Rose inflicts 25% more damage when fighting in the air.” Mass Grave, Holy Innocents’ Cemetery: chest in the room to the left once the arena fight there is cleared.
- Twilight Gem — “After using a spell, Rose deals 30% more damage for 3 seconds.” Central Sewer Drain: chest at the end of a sawblade and spike run.
- Obsidian Fang — Guard breaks briefly boost Rose’s damage. Guard Level: find the chest in a side recess beyond the spike-lined descent.
- Necro Charm — “For 3 seconds, Rose deals 25% additional damage after killing an enemy.” Jaws of Limbo, Realm of Old Night: chest at the end of a sawblade run.
- Ebony Claw — “Breaking an enemy’s guard stuns them for 50% longer.” Throat of Hell, Realm of Old Night: chest in the upper left cavern, reached by whip grapple.
- Sinister Rune — “Rose deals 40% more damage when she hits an enemy that has 100% of its health.” Clock Tower, Eastern Access Shaft: chest on a stone pillar.
- Vile Trinket — Rose’s attacks deal extra damage when they land on an enemy’s back. Daedalus’ Crossing, Clock Tower: break through the elevated wall to find the chest behind it.
- Abyssal Eye — “Rose deals 35% more damage to controlled enemies.” Cemetery Entrance, Holy Innocents’ Cemetery: chest on top of a tall tower, reached with the grapple rings.
- Forsaken Ring — “Rose deals an additional 25% damage while at 100% of her maximum health.” Antechamber of Sin, Catacombs of Paris: ornate chest.
- Cursed Coin — “Rose deals 30% more damage for 3 seconds after parrying an enemy attack.” Wine Cellar, Main Hall: chest on an upper ledge reached by grappling.
- Witch’s Brew — “Rose deals 20% more damage per empty healing potion.” Transept, Notre-Dame: chest in a secret chamber behind a breakable wall.
- Specter’s Whisper — Rose’s attacks hurt more when her life is low. Catacombs of Paris: a chest is tucked into a side room.
- Beelzebub’s Seal — “Rose deals 30% more damage, but her maximum life is reduced by 50%.” Chapel of Patience, Notre-Dame: ornate chest on the high left balcony after two shielded knights.
Defence Relics and their locations
- Shadow Veil — “Rose’s defence is increased by 33% when her hit points are below 33%.” Burned District: chest on the top level of the arena room after the enemy wave.
- Dark Sigil — “Rose’s defense is increased by 80% as long as she has 100% of her max health.” Ruined Market: chest on an upper balcony reached with grapple rings.
- Haunting Relic — “Rose’s defense increases by 60% for 4 seconds after getting hit.” Hall of Mirrors: chest in a spiked chamber below the rotating sawblade trap.
- Pale Thorn — “Rose takes 60% less damage from the front but 100% more from the back.” Hot Springs, Holy Innocents’ Cemetery: chest on the high eastern ledge at the end of a buzzsaw run.
- Midnight Tear — “Rose suffers less damage as her mana decreases (up to -50% when she has no mana).” Library: chest on a balcony reached by grappling across rings.
- Ghostly Pendant — “Traps deal 75% less damage to Rose.” Abandoned Workshop: chest in the upper room.
- Eldritch Talisman — “Rose is invulnerable for 15 seconds after resting in a save room. The duration of invulnerability after taking damage is also doubled.” East Gallery, Notre-Dame: altar at the end of a spiked gauntlet.
Pale Thorn pulls in two directions. It softens hits from the front but makes blows from behind land for 100% more, so it rewards staying faced at whatever you are fighting.
Healing and potion Relics
- Witch’s Knot — “Healing potions restore 100% of Rose’s health.” West Hall, Library: chest behind a lever-locked gate.
- Nightshade — “Using a healing potion recovers 40% of maximum mana.” Pillaged Tombs, Holy Innocents’ Cemetery: ornate chest on the right after the wave battle.
- Wraith’s Tear — Hitting an enemy that has damaged Rose restores a portion of her max health; this can happen once per enemy and becomes available again when Rose is hit. Study Room, Clock Tower: check the bottom-left corner for the chest.
- Crypt Key — “Fully restores Rose’s health and mana when she opens a chest.” Seer’s Hovel, Court of Miracles area: ornate chest on the platform above the entrance door.
Mana and spell Relics
- Lich’s Mark — “Casting a spell less than 1.5 seconds after the previous one reduces its cost by 40%.” Hidden chamber of the Library: on a table.
- Grim Token — “Parrying an attack grants Rose 5 points of mana.” Crematorium, Main Hall: chest.
- Revenant’s Shard — “Rose recovers 10% extra mana by killing enemies.” Curiosity Cabinet, Library: lower corridor chest after a fire beast.
- Banshee’s Wail — “Returns 1 point of mana per point of damage taken.” Servants’ Quarters, Hall of Mirrors: glowing chest on a lift platform.
- Infernal Medallion — “Rose’s mana cannot rise above 80% of her maximum, but the current spell cost is reduced by 10 mana points.” Reliquary, Notre-Dame: chest past moving lasers and spike pillars.
Grim Token and Cursed Coin both reward parrying, one returning 5 points of mana and the other adding 30% damage for 3 seconds, so a parry-heavy run can lean on both at once.
Movement and speed Relics
- Mourning Bead — “Killing an enemy increases Rose’s movement speed by 35% for 7 seconds.” Path of the Abyss: chest at the end of a sawblade run.
- Hollow Bone — “Rose’s movement speed is increased by 35% after using the whip on an anchor for 5 seconds.” Daedalus’ Crossing, Clock Tower: chest at the far left end of the slamming-block room.
- Dusk Amulet — “Rose moves 35% faster as long as she has 15% of her max mana or less.” Deluded Level, Hall of Mirrors: chest on an elevated ledge above the upper combat hallway.
- Sand Charm — Rose’s movement speed increases temporarily when she rests in a save room or uses the Ferryman’s services. Servants’ Refectory, Hall of Mirrors: use a whip grapple to reach the chest on the upper balcony to the right.
Experience, loot, and exploration Relics
- Moonlit Shard — “Rose gains 20% more XP by killing enemies as long as she has 100% of her maximum life.” Path of the Builder, Clock Tower: chest opens after the enemy wave.
- Crystallized Blood — “Consumables appear more often when Rose kills enemies.” Dead-End Tower: chest in the attic chamber.
- Gloomstone — “Gives a hint when Rose is close to a secret.” Sanctuary of Solitude, Throne Room Antechamber: ornate chest unlocked by pulling a gear wheel lever.
- Phantom Ring — “Mobs respawn when you leave a room rather than after a save.” Western Ascent, Clock Tower: chest in the lower-left section.
- Vampire’s Fang — “A bat pet follows Rose as she moves.” Serpents’ Lair, Holy Innocents’ Cemetery: chest on the central dais, reached by dropping down the spike chute from the fountain.
Phantom Ring changes how a room refills. With it worn, enemies come back each time you leave the room instead of waiting until you rest, which is useful if you want more fights to farm. Gloomstone works the opposite way, flagging when Rose is near a hidden spot so secret chambers are easier to find.
The three Eyes
Three relics stand apart from the rest. The Thrilling Eye, the Oozing Eye, and the Trembling Eye carry no printed gameplay bonus. Each card instead reads “follows your gaze; a black relic awaiting reunion with its kin”. Here is where each one sits.
- Thrilling Eye — Hospital: from the occult wheel device on the lower floor.
- Oozing Eye — Circle of Greed, Catacombs of Paris: from an altar mechanism on the upper platform.
- Trembling Eye — Pillaged Tombs, Holy Innocents’ Cemetery: locate it in an alcove veined with eyeballs, guarded by spikes and red soldiers.
The card switches from INSPECTED to EQUIPPED, which is your confirmation that its bonus is now live in combat and exploration.