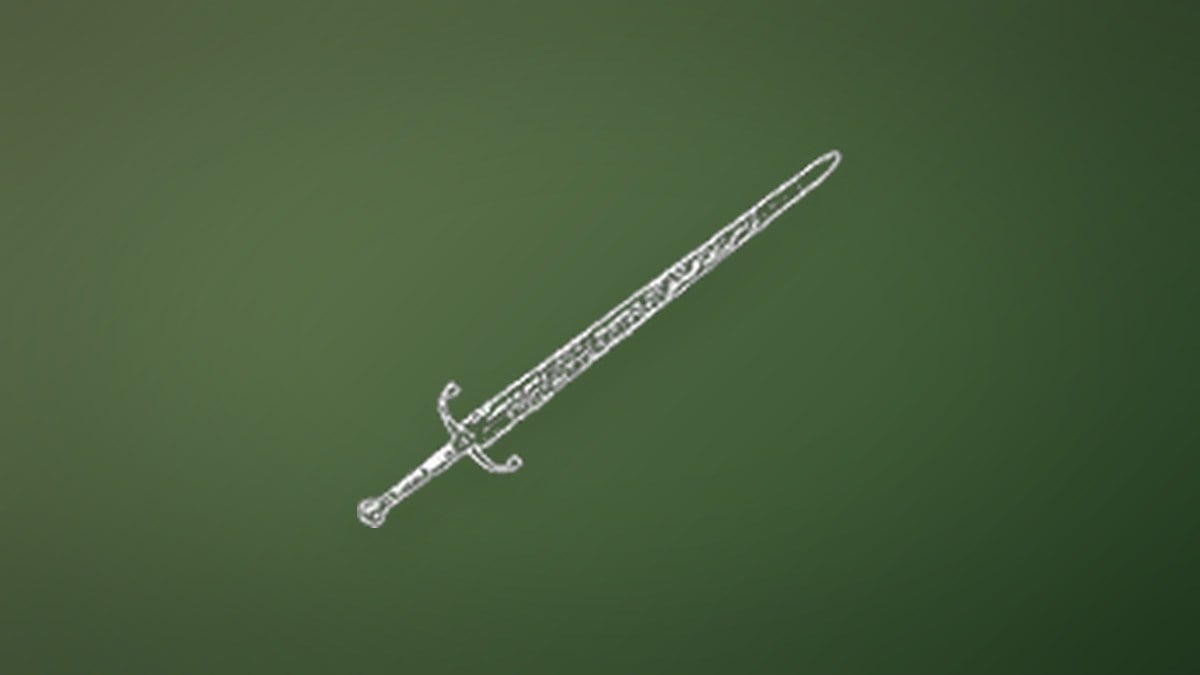
The Claymore is a heavy two-handed weapon in Valor Mortis, and it sits in one fixed spot on the main path through the Cursed Hollow. You pull it from a corpse in the middle of the church, which immediately wakes the enemies resting around you. Leaving the church through the graveyard marks the close of Chapter VI.
Quick answer: Play Chapter VI, PUNISHMENT, to the church at the end of the Cursed Hollow, walk to the body pinned by the sword in the centre of the nave, and use [E] TAKE to claim the Claymore.
See the church on the Cursed Hollow map. To compare it with the other weapons, see every weapon ranked and the weapon stats per level.
Reach the Cursed Hollow church
The church stands at the far end of the Cursed Hollow in Chapter VI. The closest rest point is the Deep Water Lantern, so stop there before pushing on to the building.
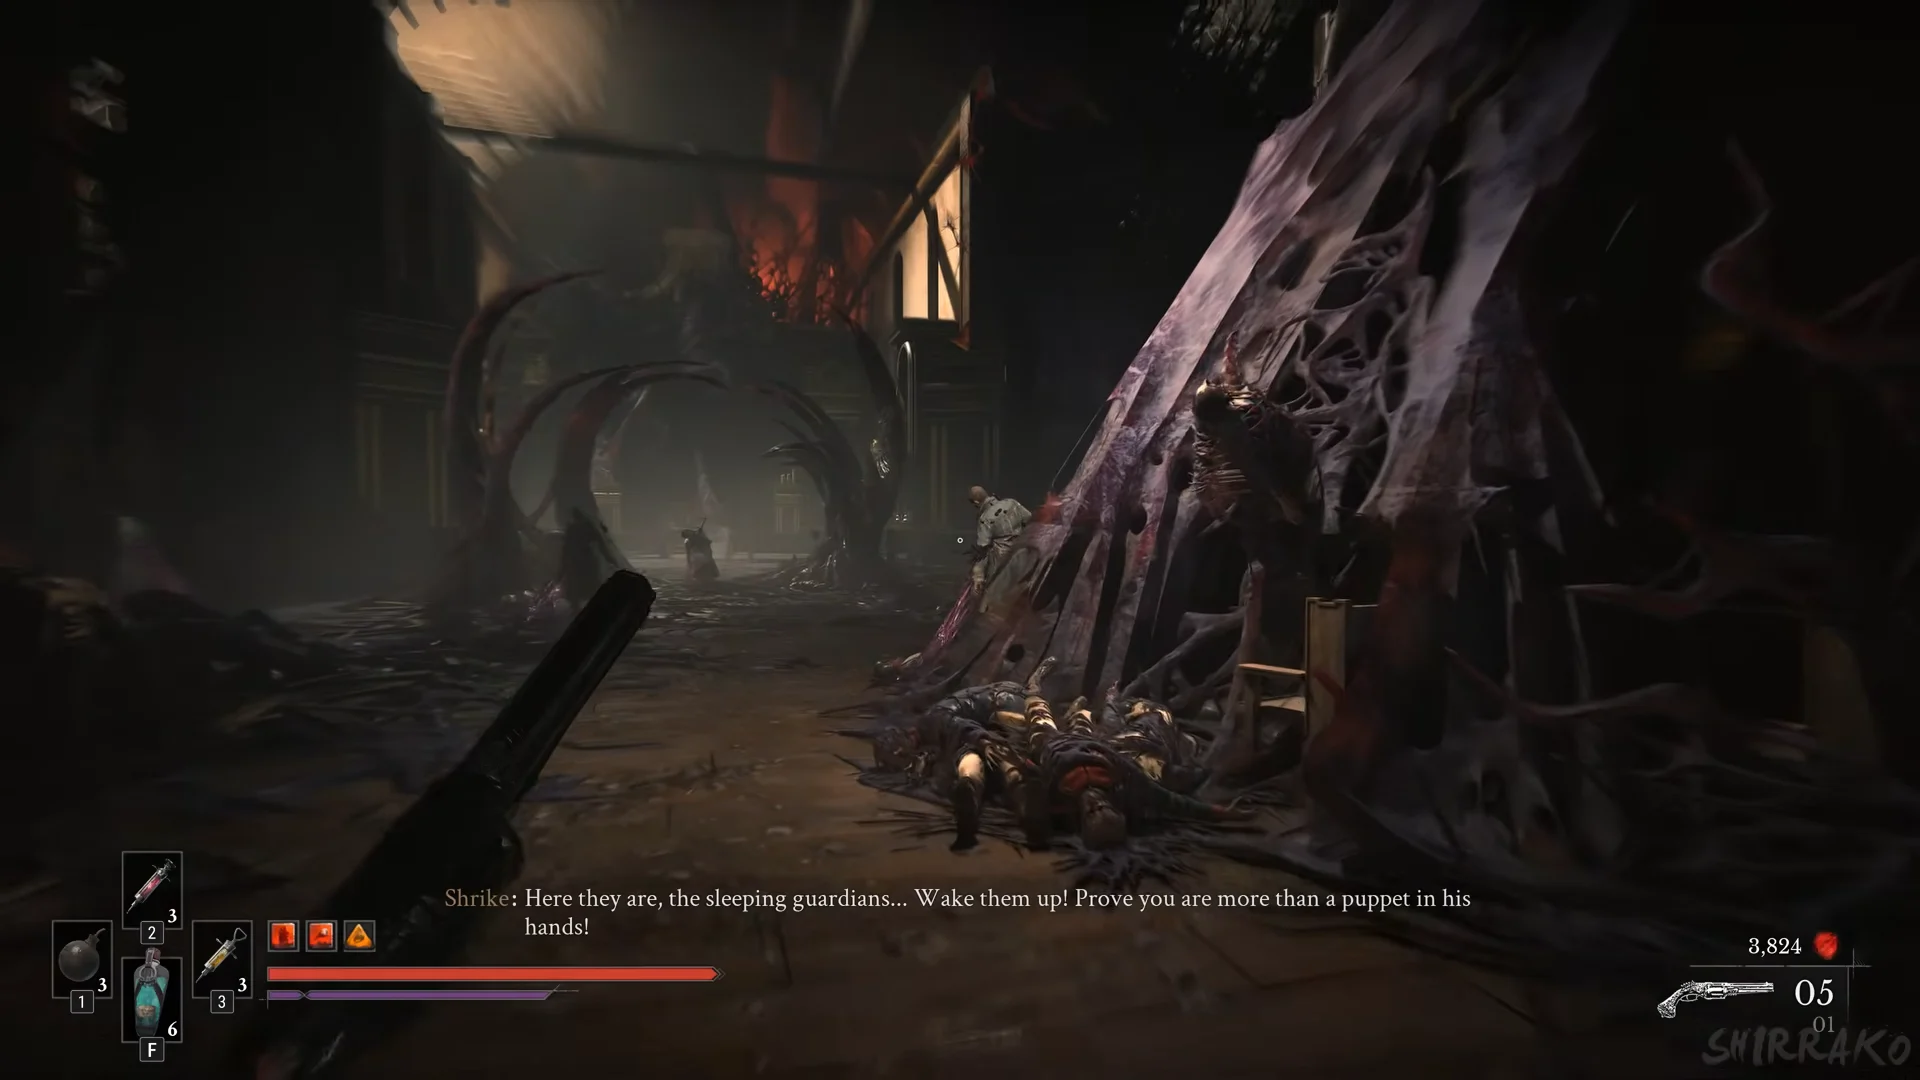
Take the Claymore from the body
At the nave’s centre, a massive sword pins a body to the floor: the Claymore.
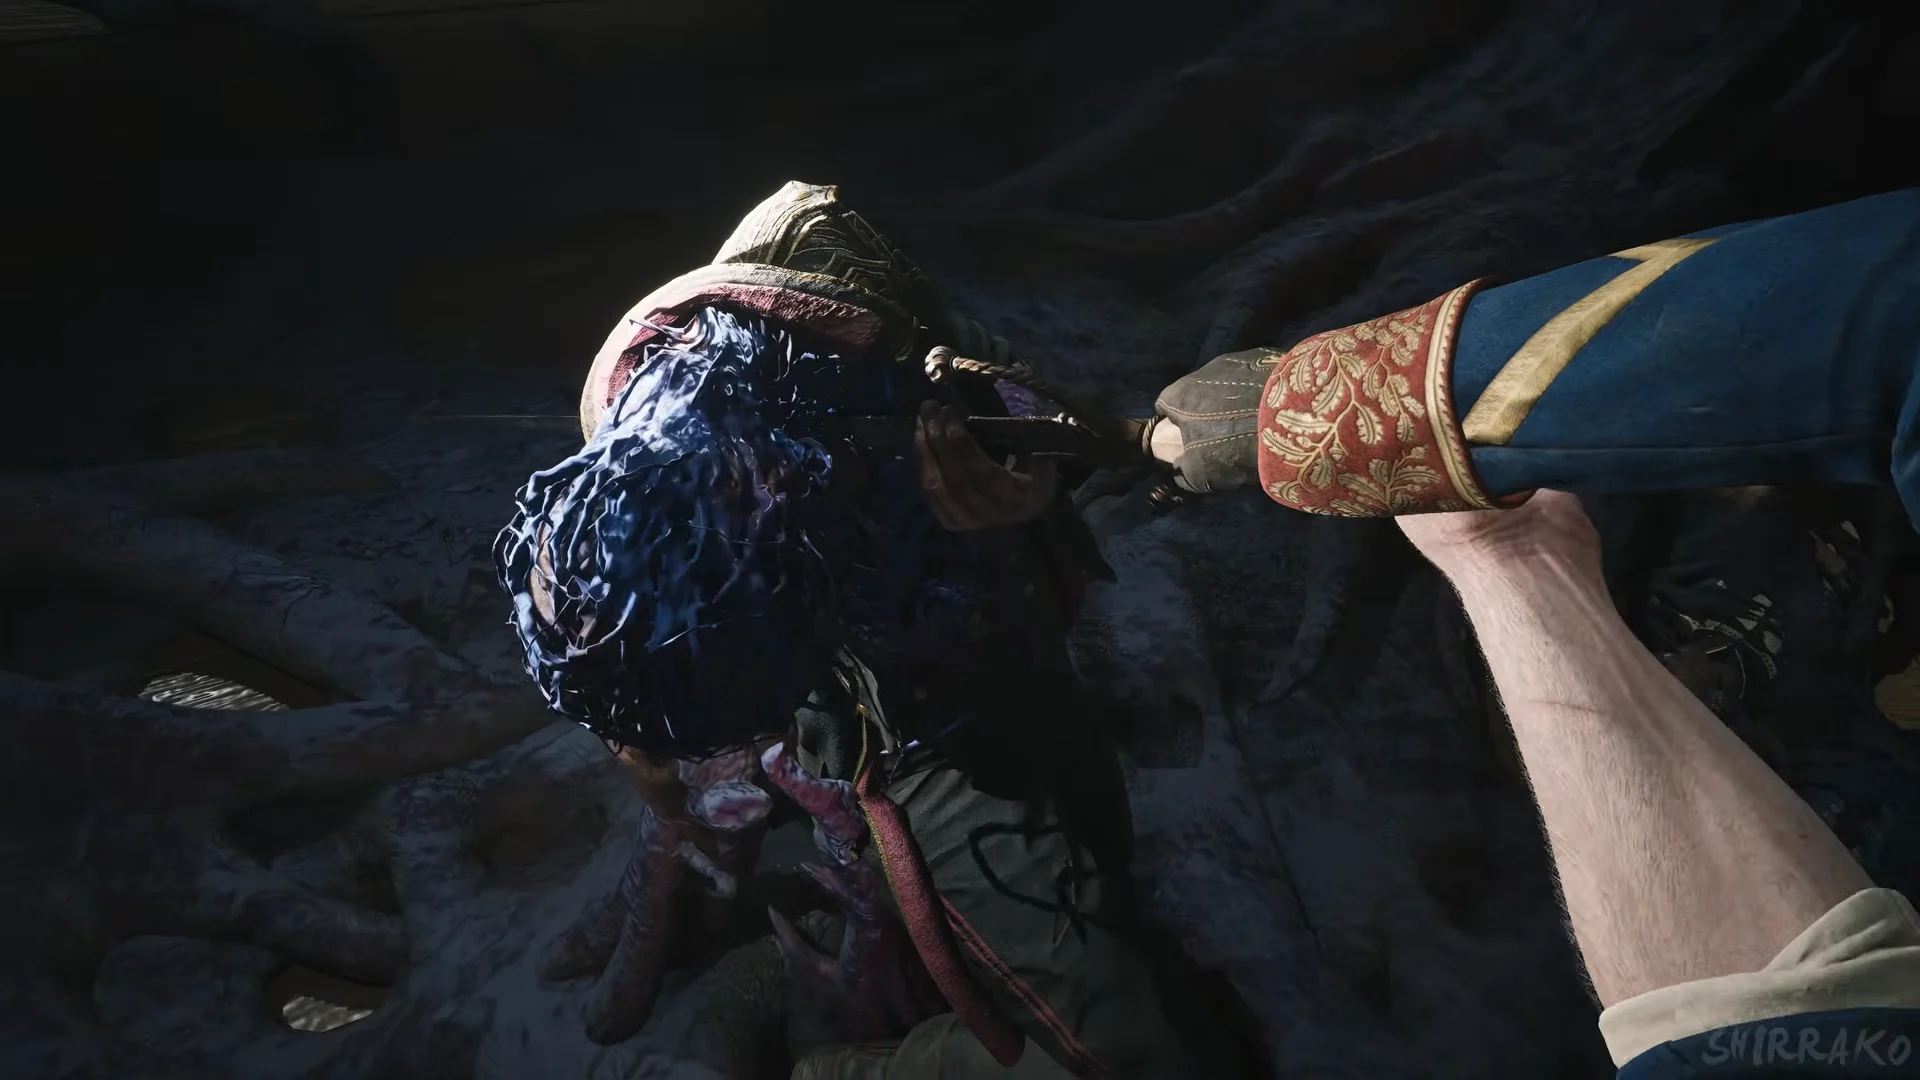
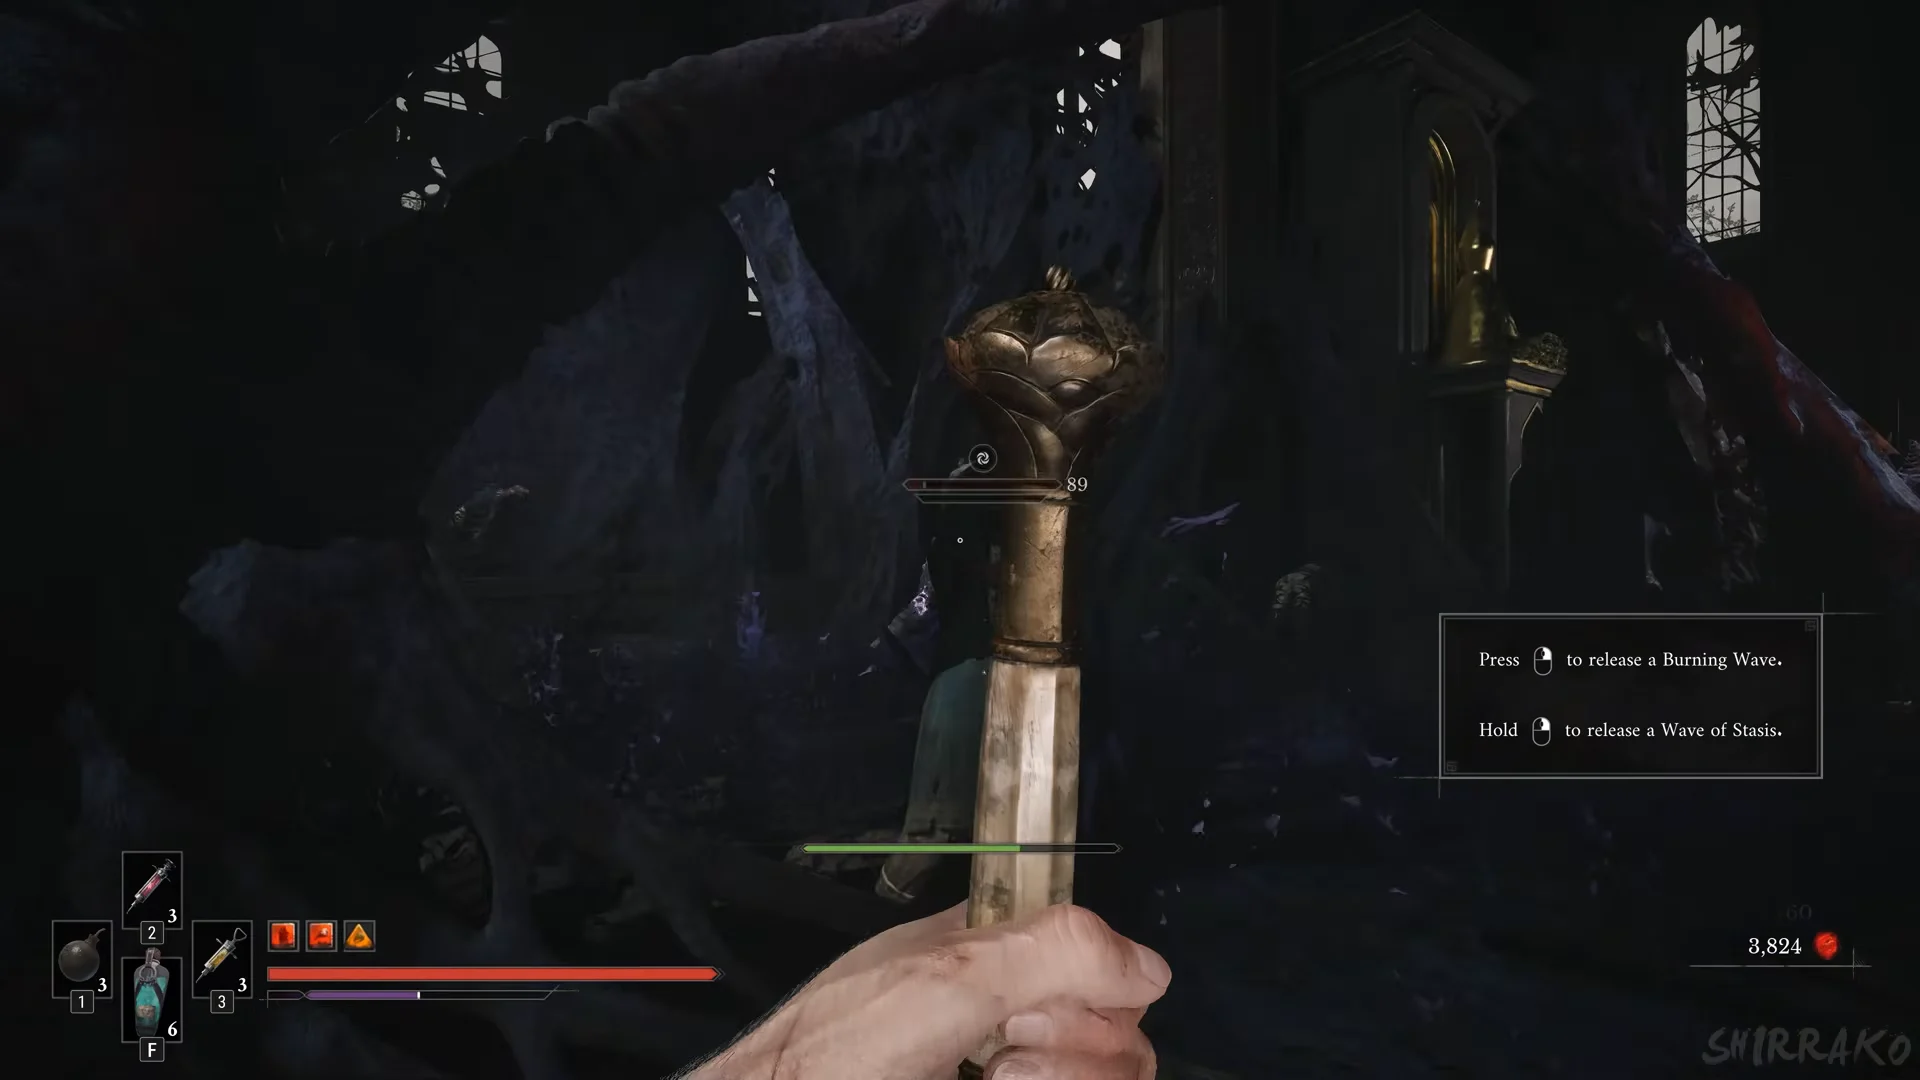
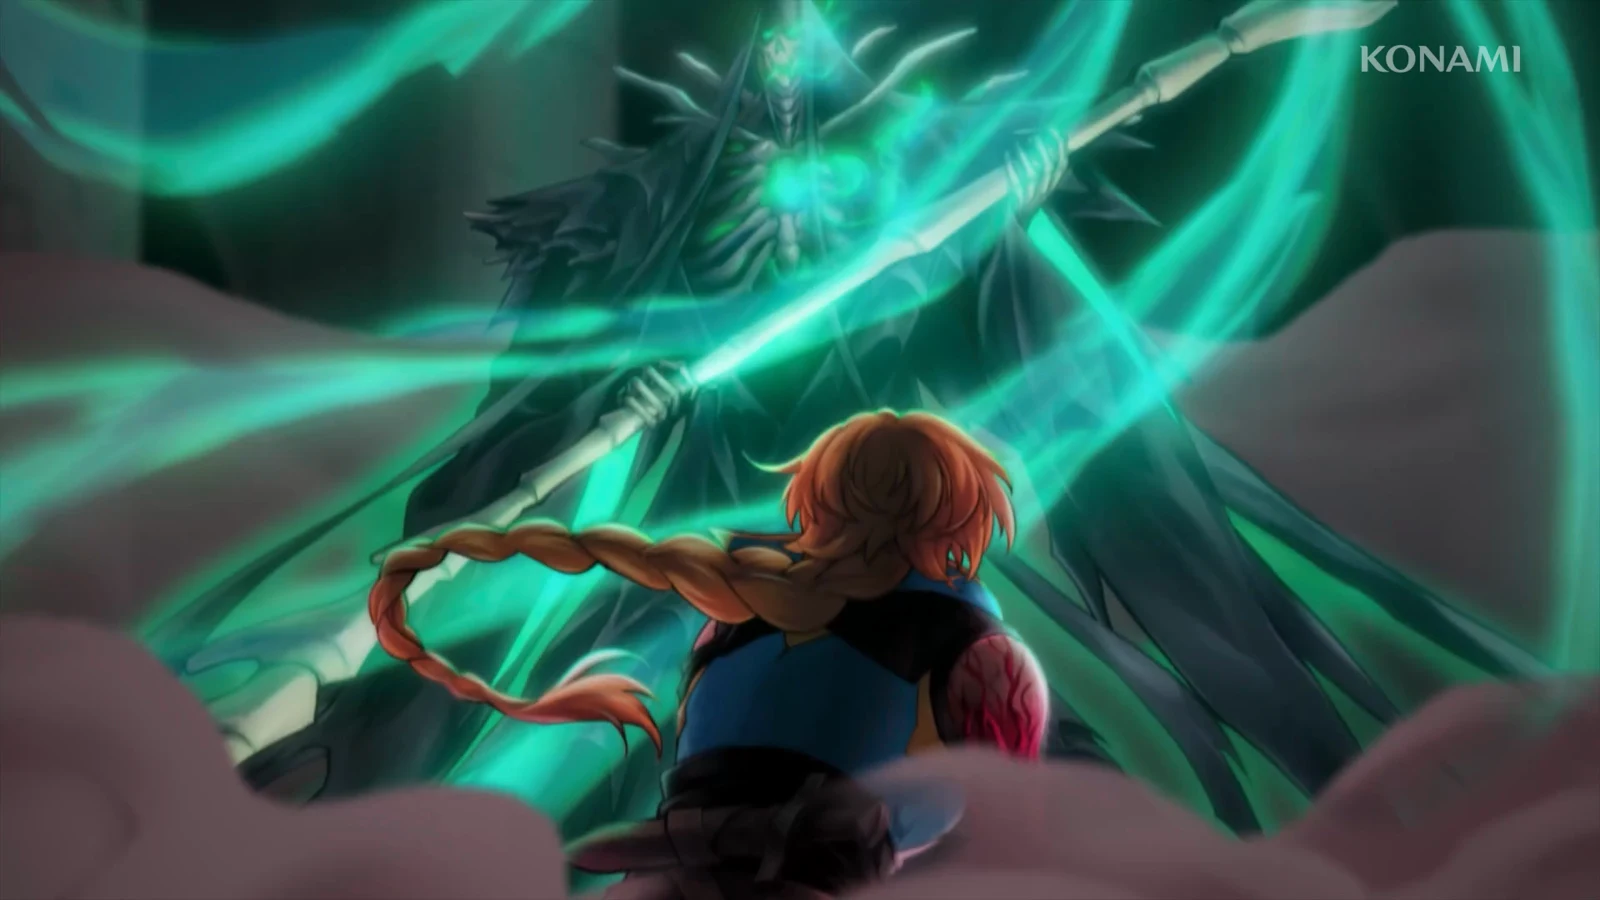
Taking the sword triggers the ambush immediately, so be ready to swing the moment you grab it.
What the Claymore does
Its Arsenal entry describes it as “A heavy, devastating weapon that seamlessly blends physical strikes with Nephtoglobin-infused attacks, at the cost of the ability to Parry.” In practice that trade means you cannot parry with it.
| Stat | Value (Level 1) |
|---|---|
| Damage | 50 |
| Posture damage | 15 |
| Ignite damage | 60 |
| Stasis damage | 40 |
At level 5 the Claymore deals 80 damage per hit.
Upgrade the Claymore at James’s Iron Bench
For upgrades, take the weapon to James’s Iron Bench, located in the Abandoned Church. Every level tier calls for its own blade material.
| Levels | Material |
|---|---|
| 2 to 4 | Crude Blade Material (1, 2, 3) |
| 5 to 7 | Pure Blade Material (1, 2, 3) |
| 8 | Distilled Blade Material |
The weapon’s board unlocks Rampage at level 2, and at level 5 you choose between Bulwark and Willpower.