Makeup Mania hands you a bare avatar head at the start of every themed round, plus a dense bank of tools arranged around the canvas. Each round runs on a timer of roughly 300 seconds before the look goes to a peer vote, so knowing what every button does saves you from hunting through menus while the clock drains.
Quick answer: Pick a tool from the left column, set its color, brush size, and strength on the right, then paint directly on the avatar’s face. Hair and lashes come from Style Studio, not a brush.
How the makeup screen is laid out
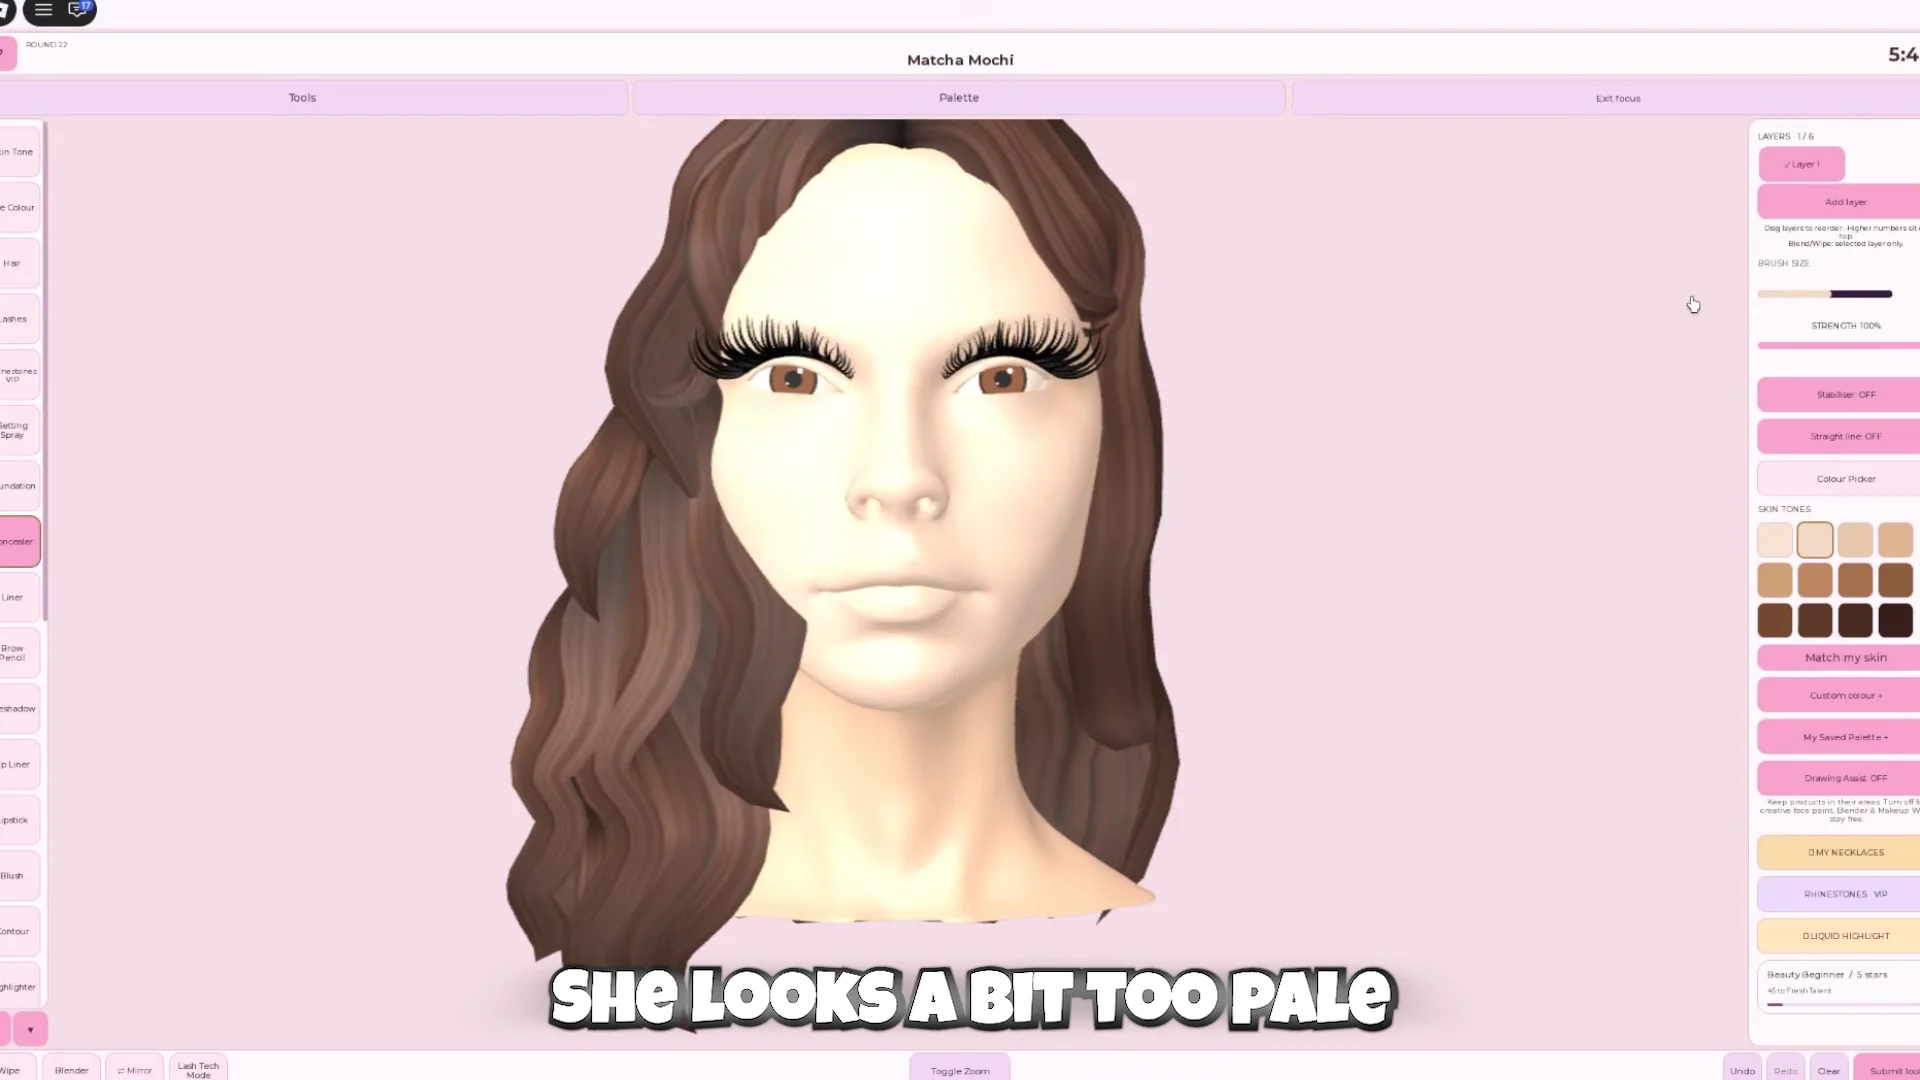
The makeup room splits into three control areas. The vertical column on the left lists every paint tool. When you select one, a configuration panel opens on the right where you set color, brush size, opacity (called strength), and layering. You then click or drag on the 3D face to apply the cosmetic to a specific zone.
A second row of buttons sits along the bottom of the screen. These are the utility controls, including Toggle Zoom, Lighting, Hair & Clothes, Wipe, Blender, Mirror, Lash Tech Mode, and Submit Look. They do not paint anything on their own; they change how you work or where you go next.
Brush size and strength control every paint tool
Before using the individual tools, set the two sliders that affect them all. Brush size determines the area covered by each face stroke, while Strength sets how intensely it applies paint, much like opacity. Setting both first is quicker than fixing a stroke with extra passes.
- Large brush, high strength for foundation and other broad areas.
- Medium brush for blush and eyeshadow.
- Small brush for brows and liner.
- Very small brush, lower strength for fine detail and corrections.
If a stroke goes wrong, use Undo straight away. Painting the opposite color over a bad arc or a blunt liner wing creates a muddy texture that costs far more time to clean up.
Every paint tool in the left column
Eighteen tools sit in the left column. Each one opens its own color and brush settings on the right. Here is what each does.
| Tool | What it does |
|---|---|
| Skin Tone | Sets the base skin shade; opens its own panel with preset swatches and a brightness slider |
| Eye Colour | Sets the iris color in one click from a separate panel |
| Brows | Draws the eyebrows with a pencil-style brush |
| Eye Primer | Preps the lid before shadow goes on |
| Eye Shadow | Adds color across the eyelids and socket |
| Eye Liner | Draws the lash line and the wing |
| Mascara | Deepens and defines the lashes |
| Foundation | Covers the full face as a base coat |
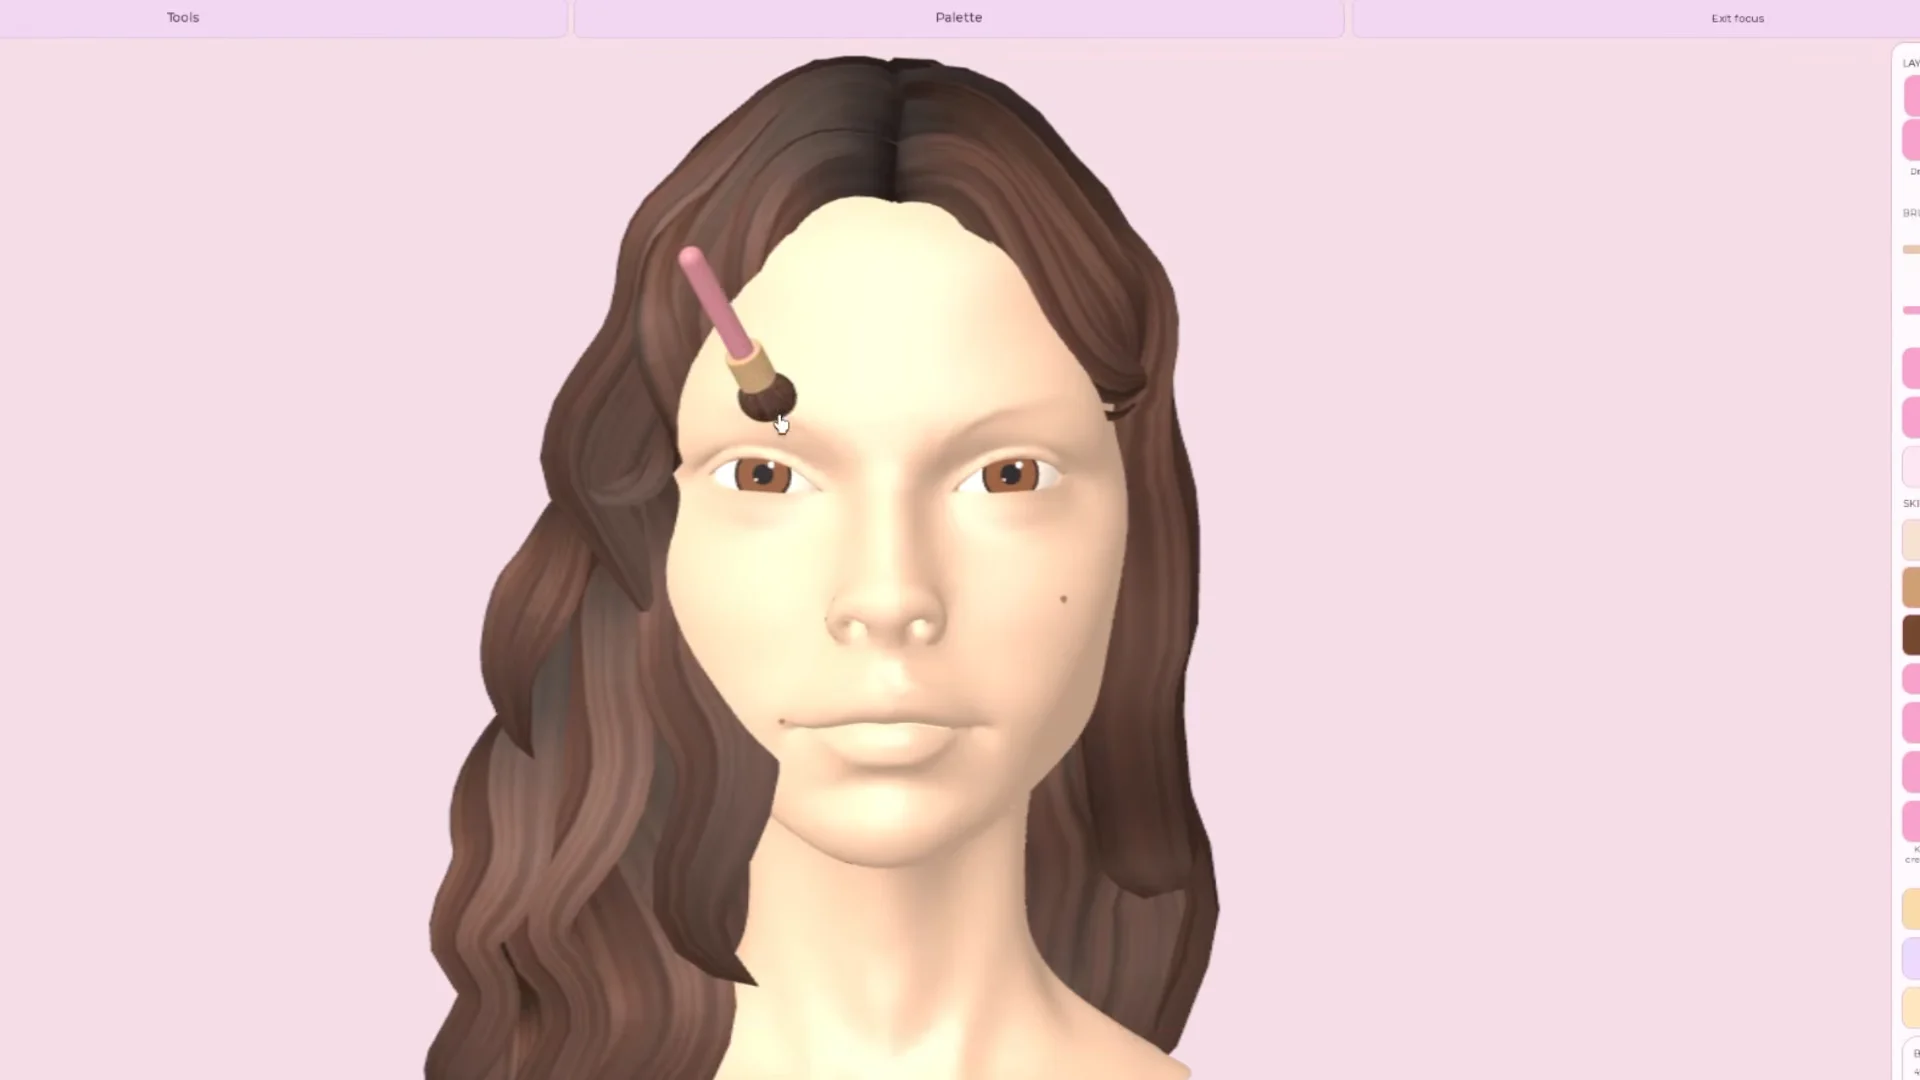
| Concealer | Brightens the under-eye, nose bridge, and chin |
| Contour | Shades the cheek hollows, jawline, and nose |
| Blush | Adds color to the cheekbones |
| Powder | Mattifies shine from the base layers |
| Illumination | Adds highlight to the high points of the face |
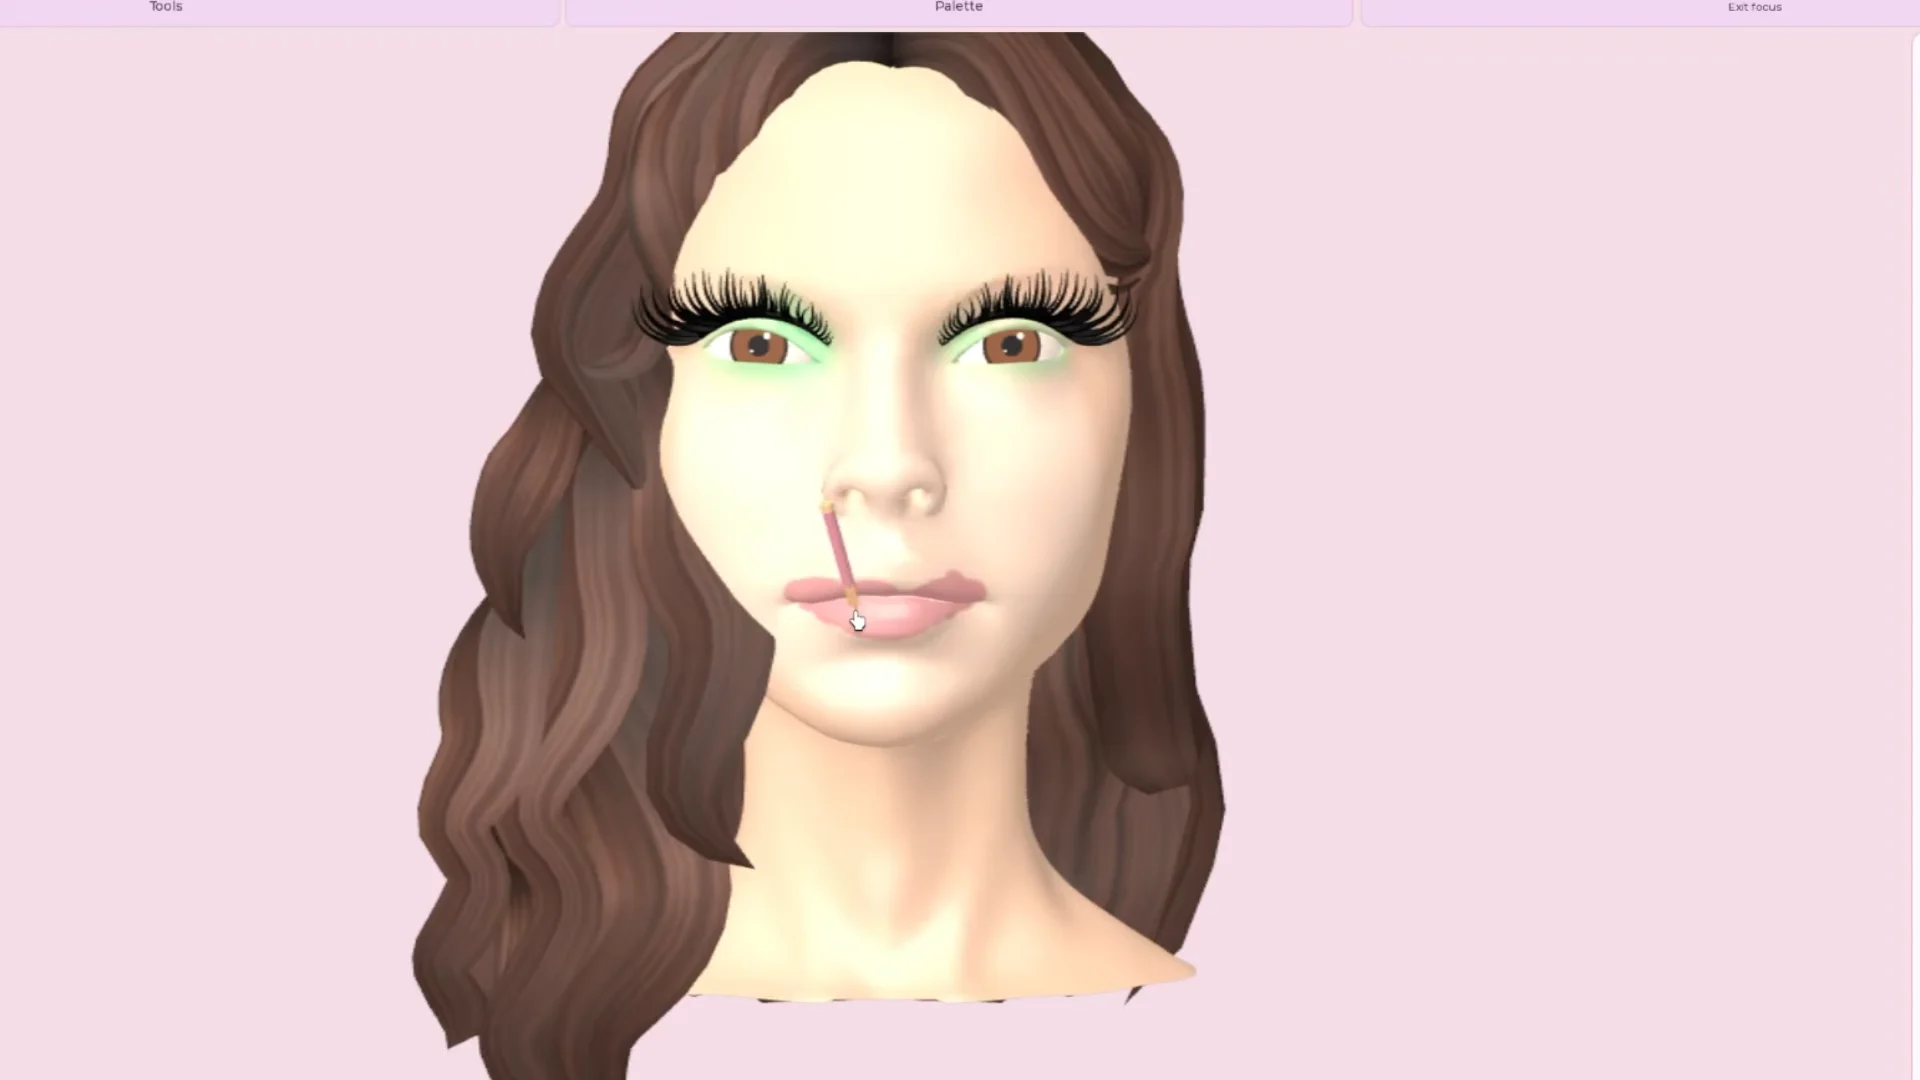
| Lip Liner | Outlines the lip shape |
| Lipstick | Fills the lips with color |
| Lip Gloss | Adds shine over the lipstick |
| Freckles | Adds freckles to the skin |
| Rhinestones | Adds gems to the face (VIP required) |
Clicking Rhinestones on a non-VIP account shows the prompt “Rhinestones are VIP required. Open Shop to unlock.” Every other tool in the column is free to use.
The order to apply the paint tools
The tools work best in a set sequence because later layers paint over earlier ones. Read the theme banner first, then work from the base outward.
Hair and lashes live in Style Studio, not the brush tray
Hair, accessories, and 3D lashes are not brush tools. You try them on or buy them in Style Studio, which opens from the Hair & Clothes button on the bottom bar. Drawing extra lines with the liner tool only adds more paint to the skin; it does not create lashes.
Once the face is painted, open Style Studio and choose a category. You can try on every item for free; any item you don’t own has a Robux price shown in its row.
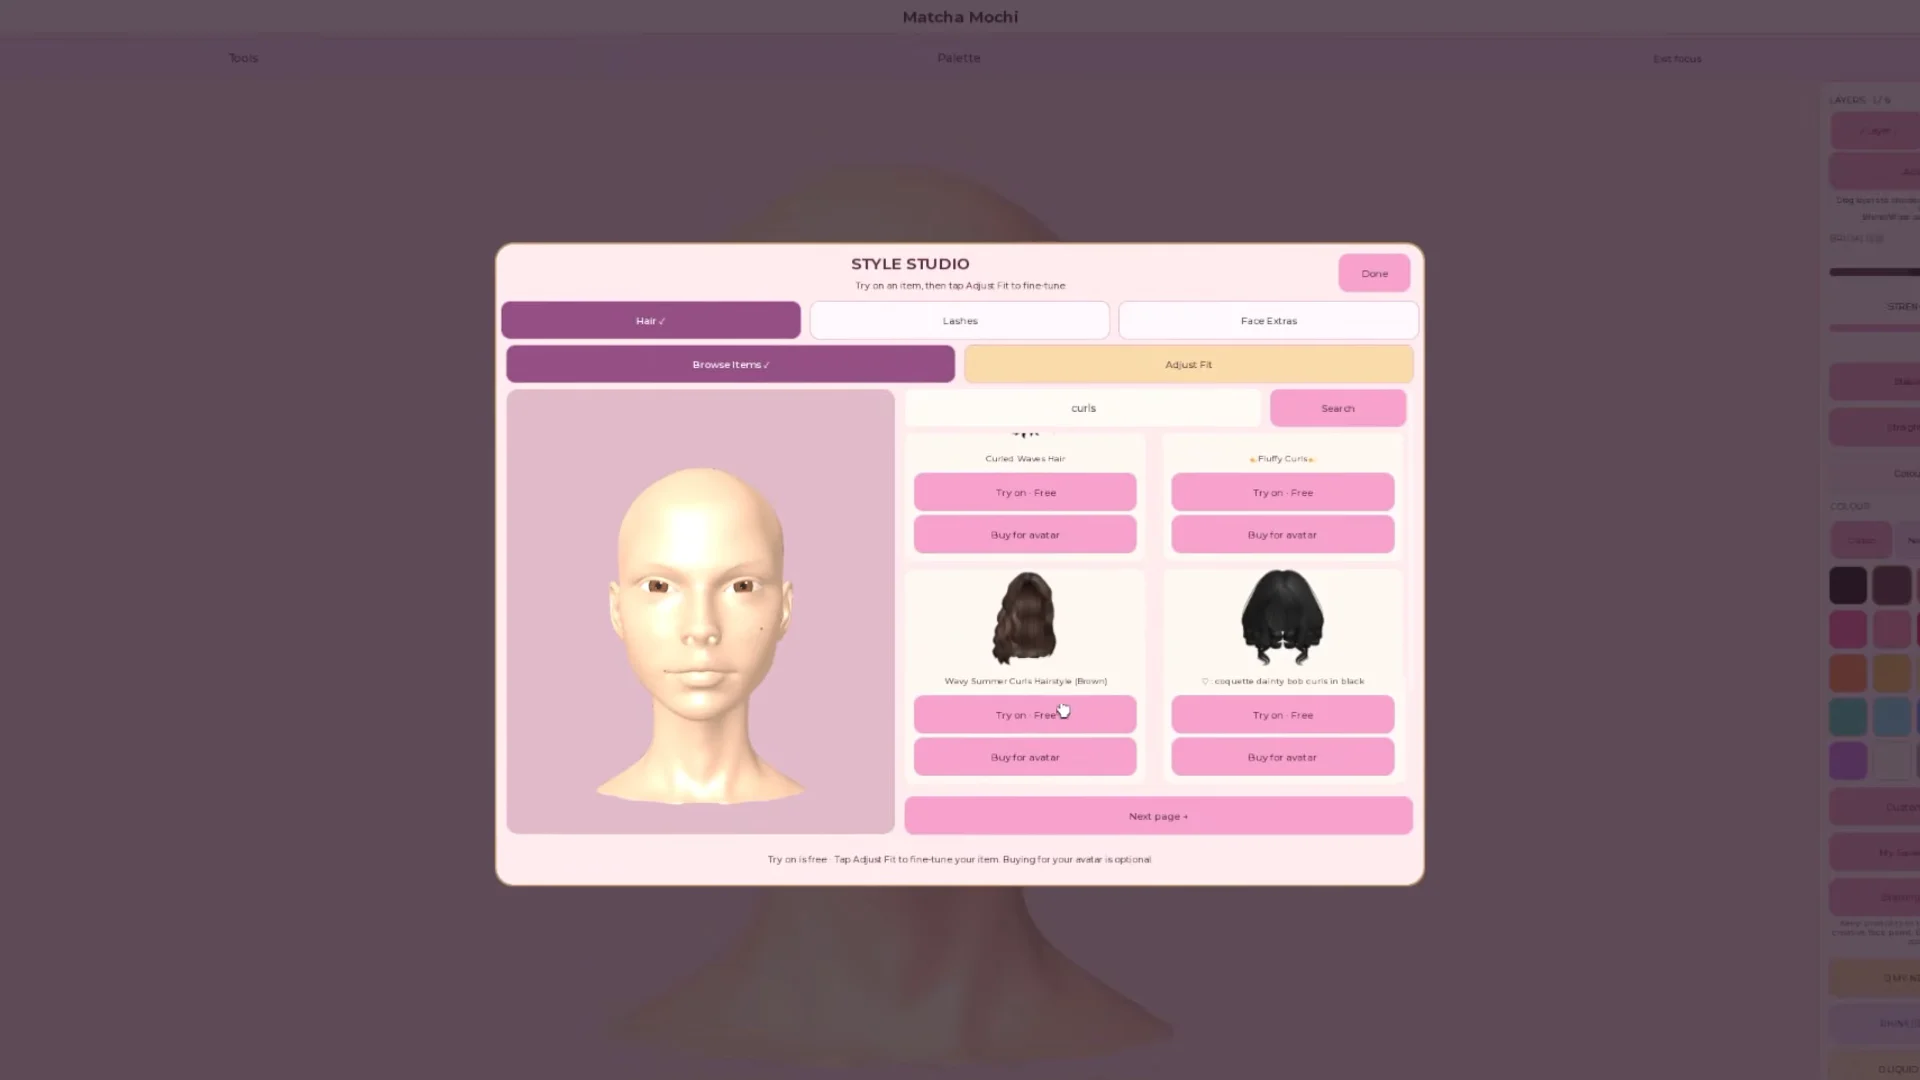
Choose a preset pair of lashes, such as Natural Lashes, and place the band on the lid. Use Adjust Fit to tune the size, left and right position, height, and in-and-out depth, keeping the band outside the face instead of letting it sink in. Change one setting at a time and check the result before moving on.
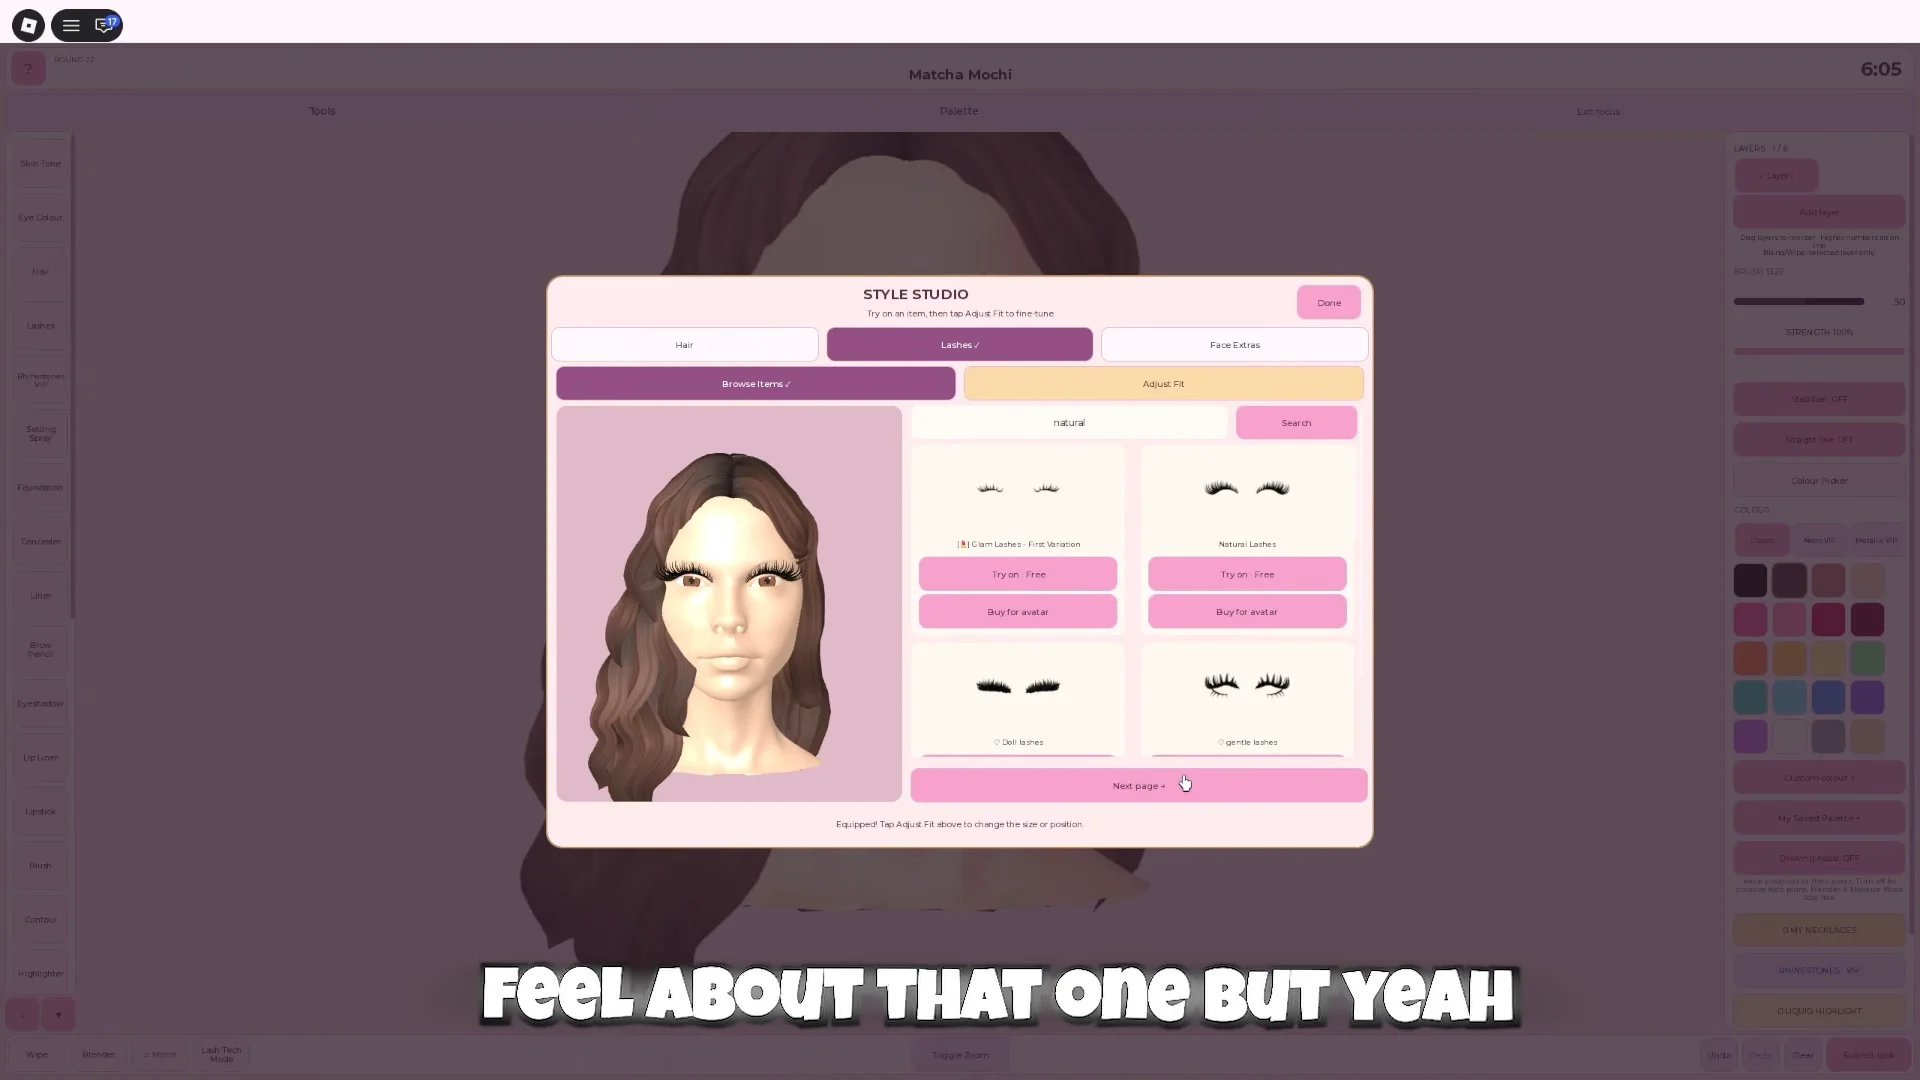
Brows and lashes use a shared accessory slot: equipping brows removes the lashes, and equipping lashes removes the brows. For a theme that calls for both, wear the lashes as an accessory and paint the brows with the Brows tool.
Utility buttons on the bottom bar
The bottom row changes how you work rather than adding cosmetics. Learn where each one sits before the timer starts.
| Button | Function |
|---|---|
| Toggle Zoom | Zooms the camera in for precise work around the eyes and brows |
| Lighting | Switches between Basic, Soft, and Bright presets with a reflections slider |
| Hair & Clothes | Opens Style Studio for hair, accessories, and lashes |
| Wipe | Erases paint where you drag it |
| Blender | Smooths and softens hard color edges, such as contour and blush |
| Mirror | Copies each stroke onto the opposite side of the face in real time |
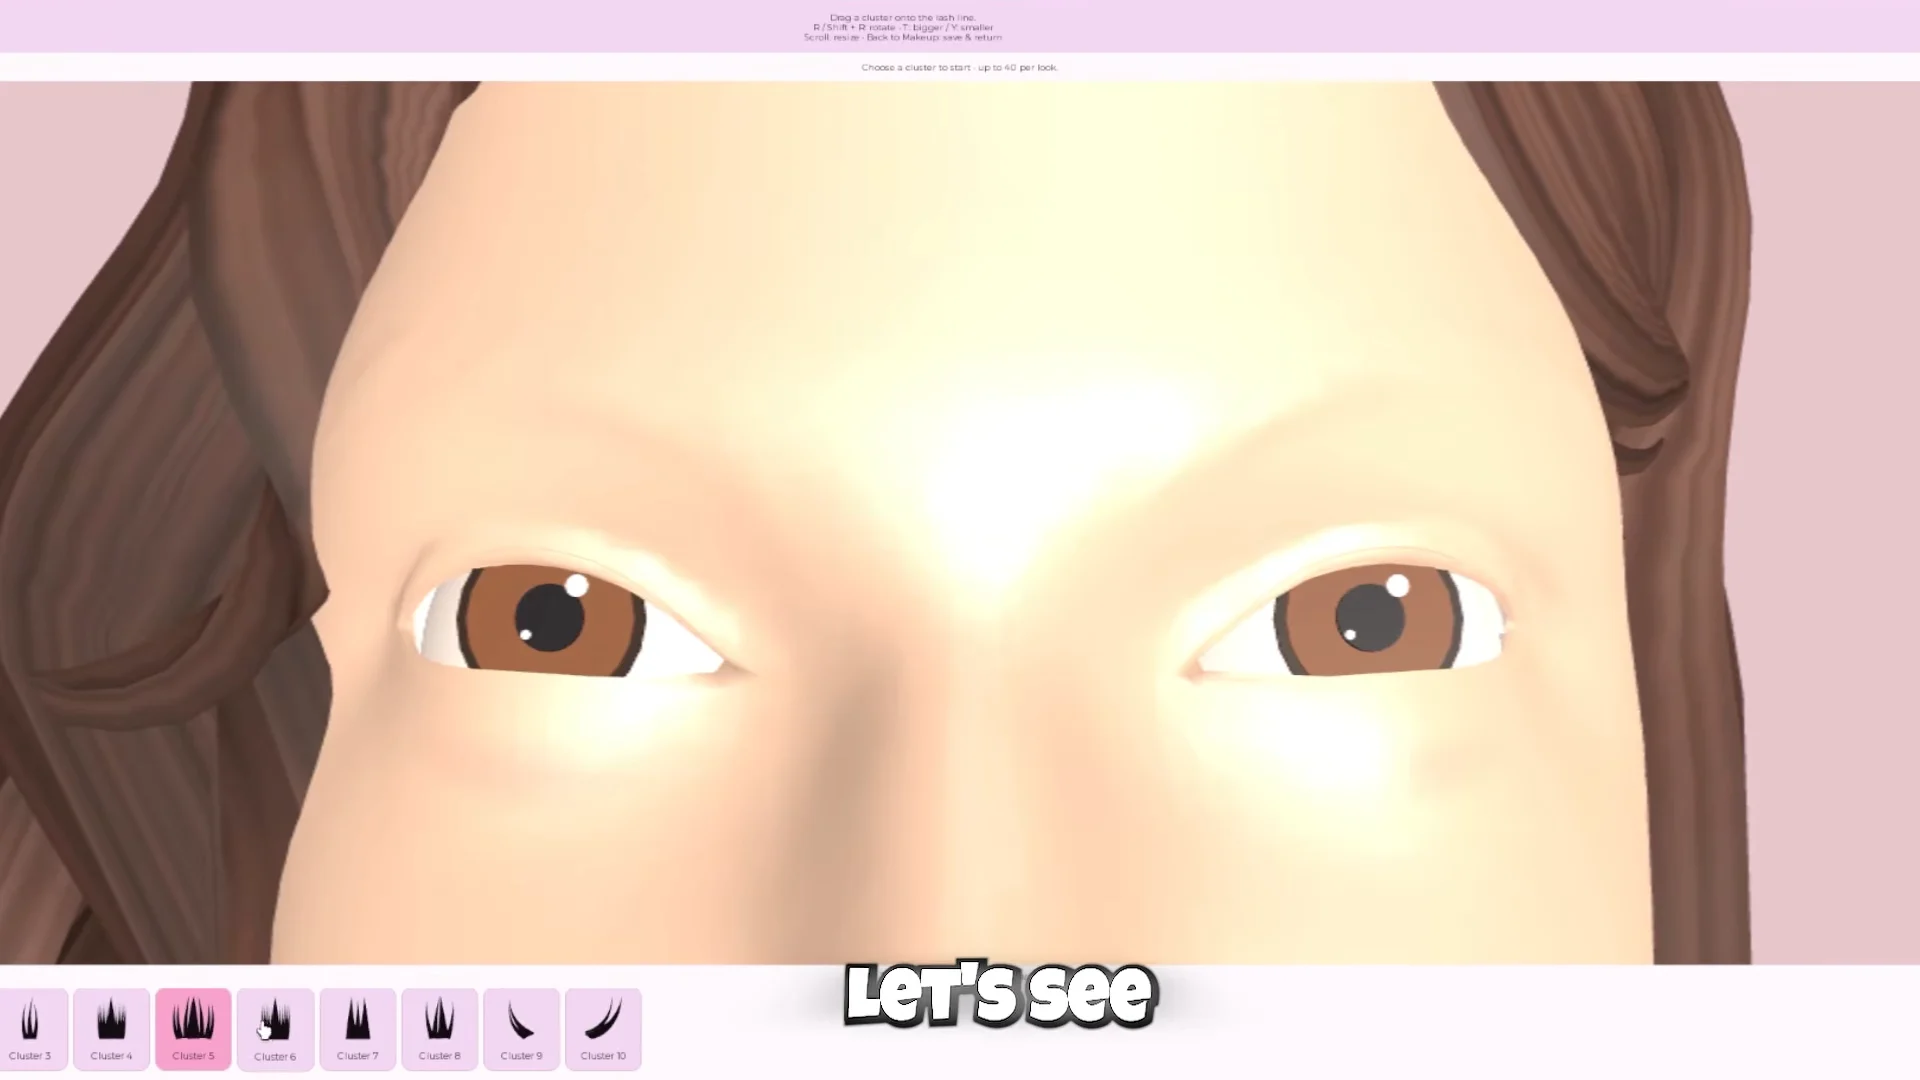
| Lash Tech Mode | Places custom individual lashes for precise placement |
| Submit Look | Locks in the look and sends it to the vote |
Lash Tech Mode opens a sub-menu for seating individual lash clusters one at a time, which gives finer control than the preset pairs in Style Studio.
Submit the look and read the vote
When your look is ready, click Submit Look in the bottom right before the countdown hits zero. You’ll return to the lobby, then the round proceeds to the runway, where the other players in the room rate every look from one to five stars.
You know a tool was applied correctly when its color or item shows on the 3D bust under the vote lighting. Rotate the model through the Lighting presets before you submit so nothing looks washed out, and use the last seconds to touch up with Powder or Undo if anything reads off.
Fixing common tool problems
A few issues come up often, and each one traces back to a specific tool.
- The two wings do not match: turn Mirror on before the next stroke instead of redrawing the other side by hand.
- The lash band floats off the eye or vanishes when you zoom out: reopen Adjust Fit and move the band one step closer with the in-and-out control so it sits outside the face.
- Hair hides the makeup: swap the style on the Hair tab, or take it off with Remove hair while you finish the face.
- A worn brow removed the lashes: that slot is shared, so keep the one the theme needs and paint the other.
With the left column for paint, the bottom bar for utilities, and Style Studio for hair and lashes, every tool in the room falls into one of those three groups. Set your brush size and strength before each tool, keep Mirror on for anything symmetrical, and lean on Undo rather than painting over mistakes.