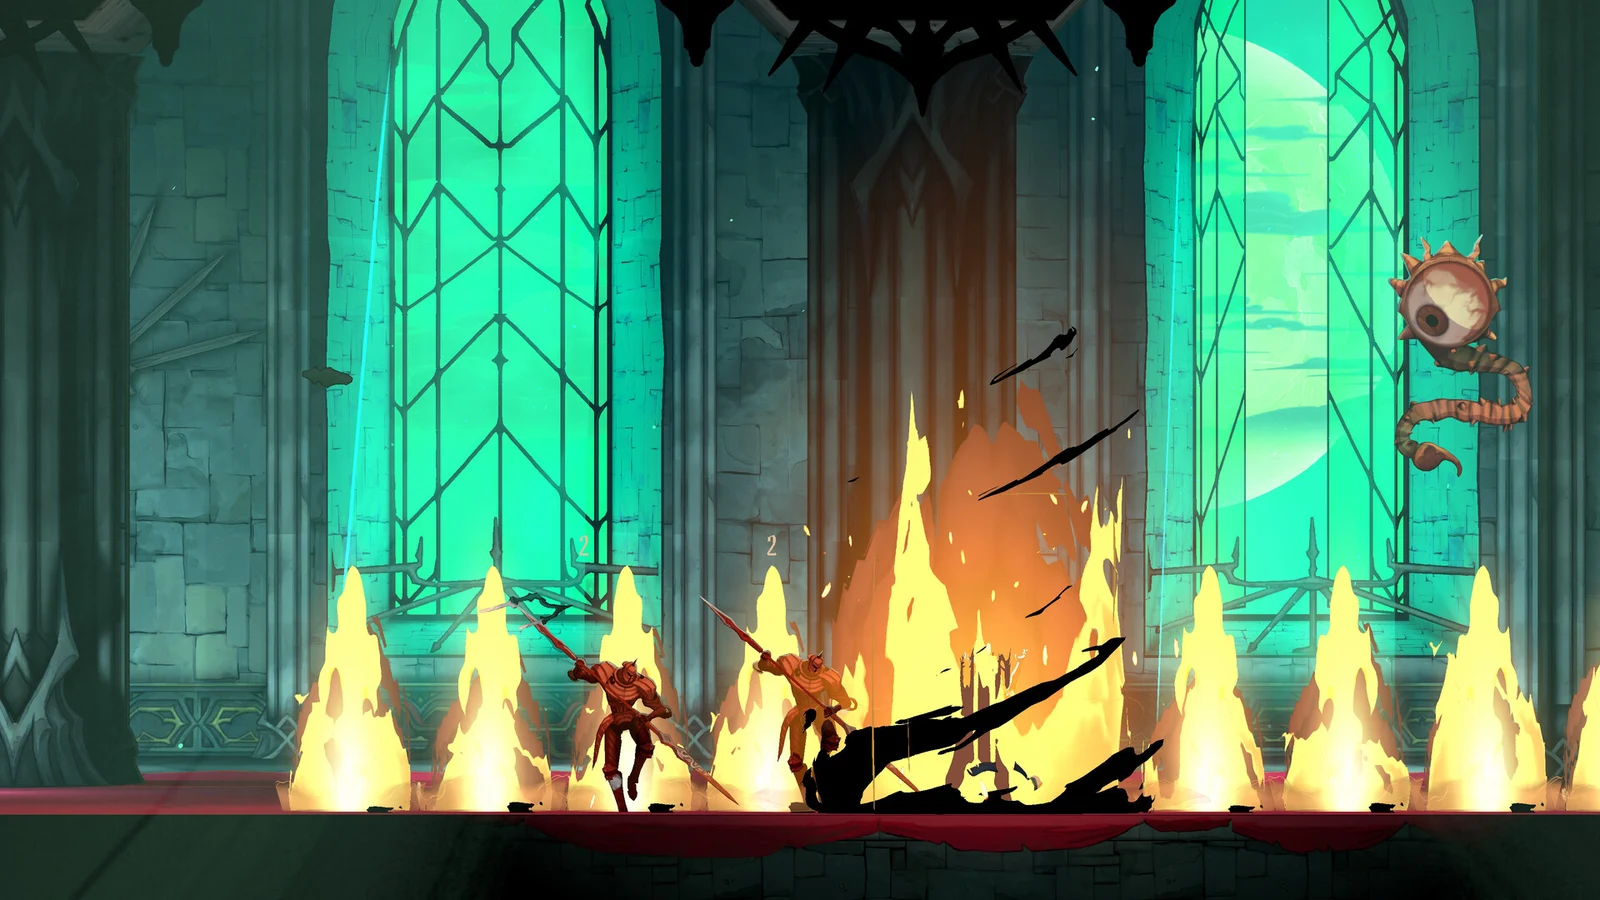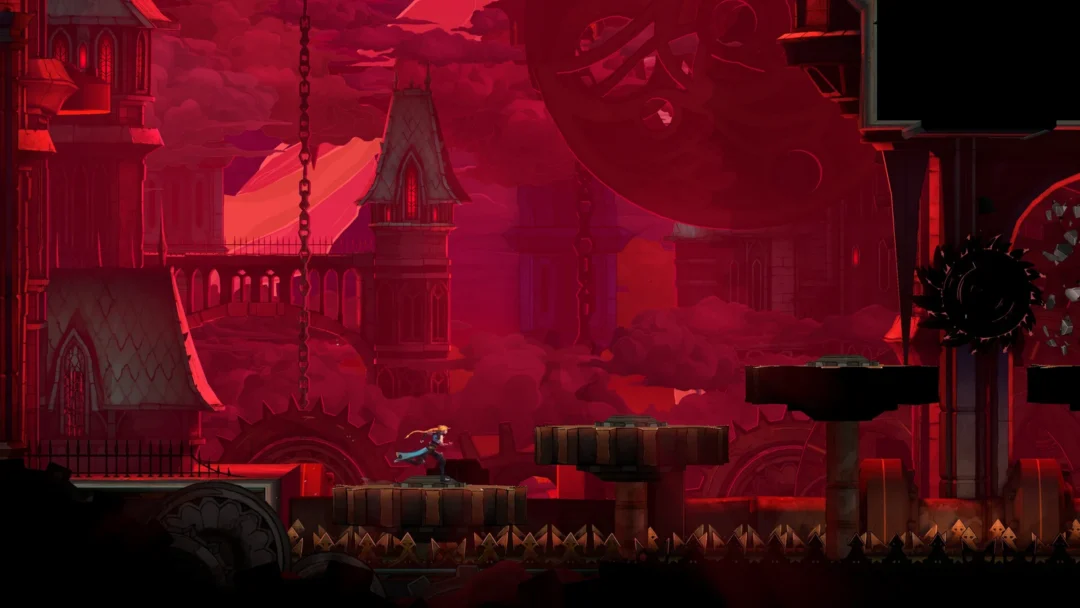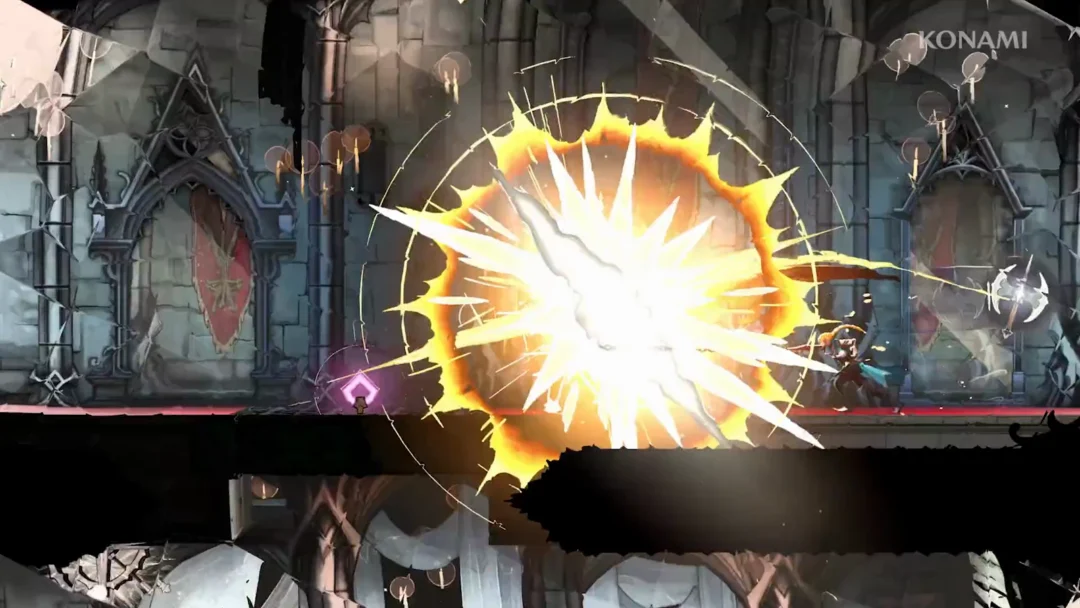
The map objective holds steady at “Find Dracula and defeat him” for this whole stretch. Getting there means a detour for a hidden relic, a crossing into the Library for a boss, and a trip down to the Catacombs of Paris, where a locked door of flesh and eyes stands between you and Mammon. This traces the path from the Builder’s Secret Elevator in the Clock Tower to Mammon. It is not a room-by-room inventory of the stage’s secrets.
Quick answer: Pick up the Thrilling Eye in the Hospital, cross to the Library and beat Carmilla for The Occultist, then equip three eye relics to open the Circle of Greed door onto Mammon.
From the Builder’s Secret Elevator to the Thrilling Eye
The Thrilling Eye is one of three relics the Circle of Greed door will ask for later. Its card reads “a black relic awaiting reunion with its kin”.
Cross to the Library and beat Carmilla
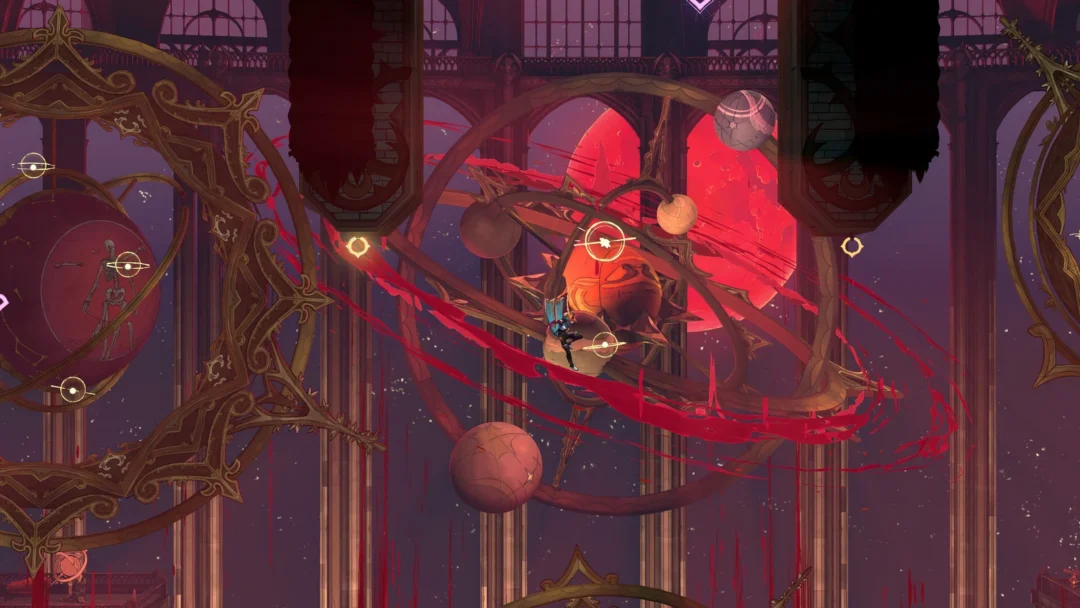
With the Thrilling Eye in hand, sail back toward the Clock Tower and work your way up through the Library to the Observation Tower, where Carmilla waits.
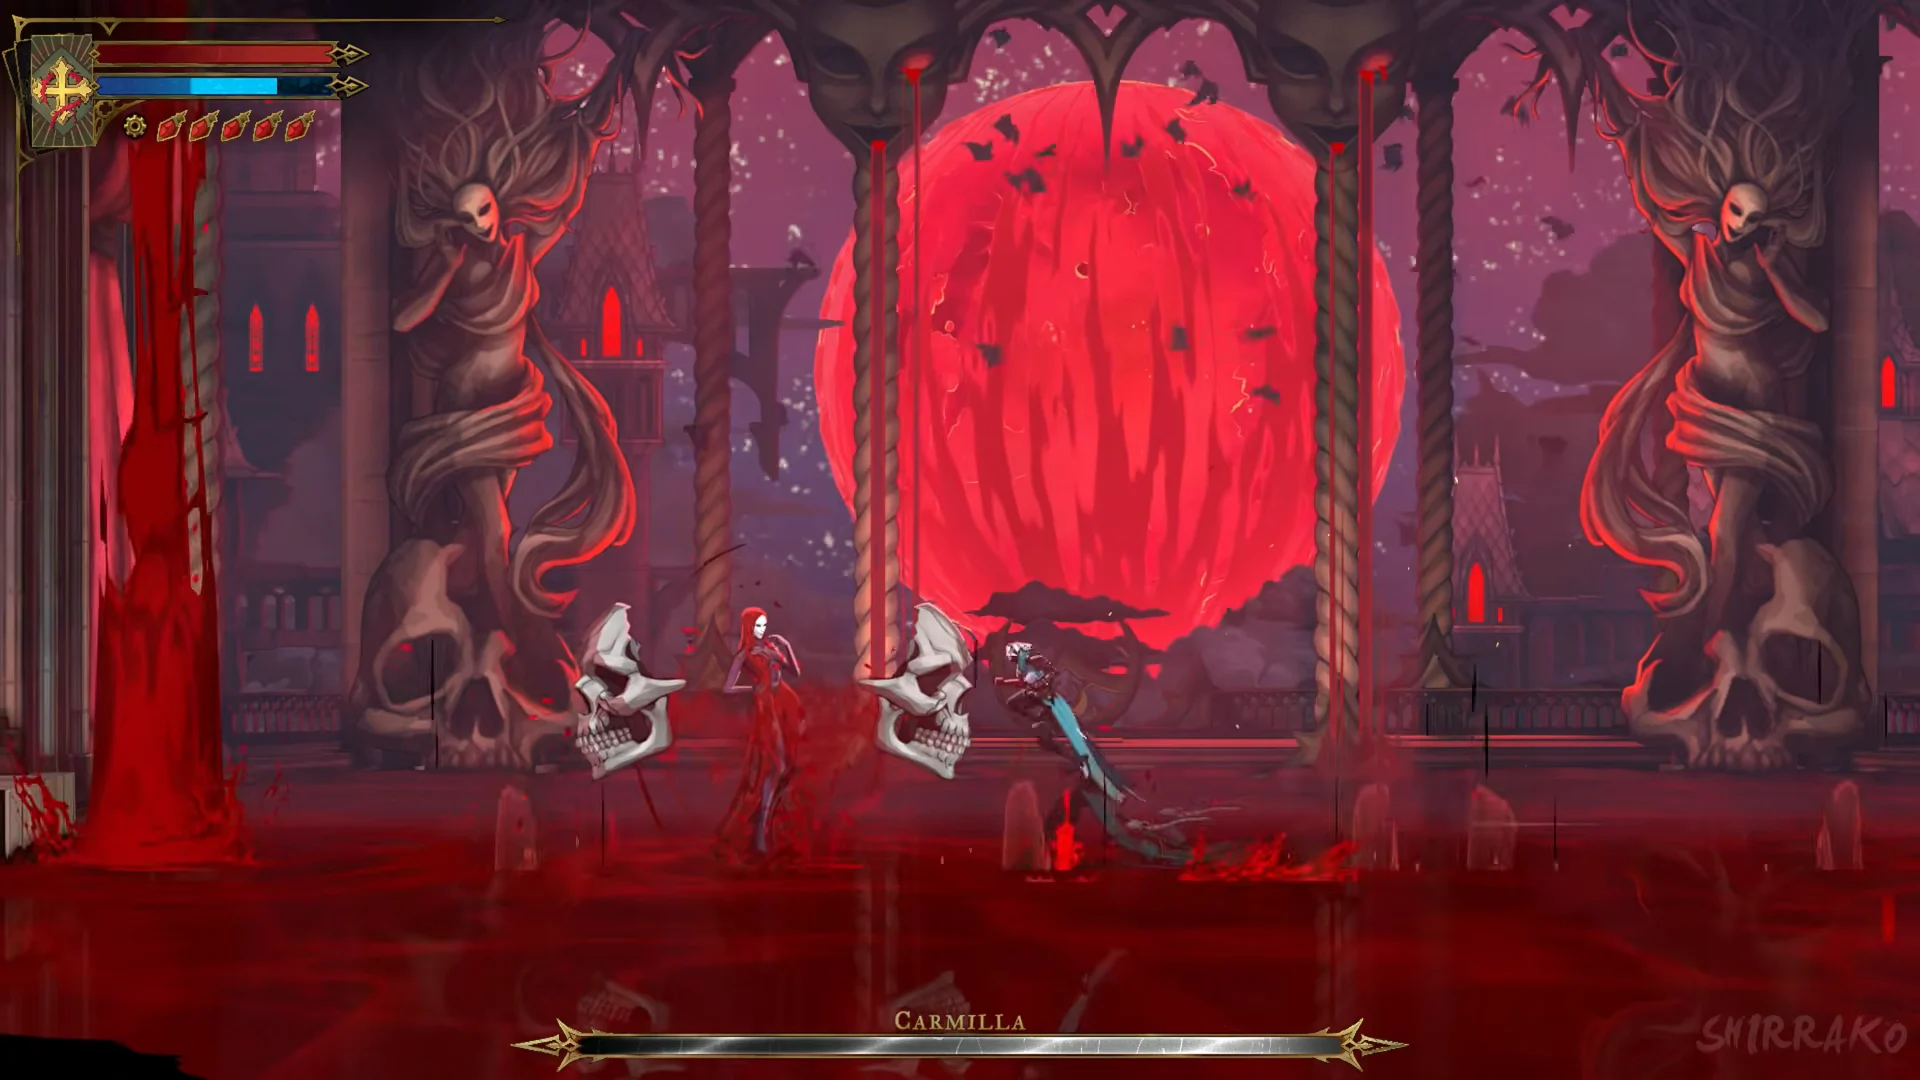
She drops the trophy “Blood for Blood” and the Arcana card The Occultist, spell Blood Spikes, when defeated. A paintbrush can be found on a desk nearby in the Observatory.
Aerial Rush and the Library weapons
In a Library hallway after the boss, the prompt reads “PRESS [left stick]+[Circle] TO PROPEL YOURSELF SIDEWAYS WHEN ROSE IS IN THE AIR”. This is Aerial Rush, an air dash that carries you across gaps and spike pits from here on. With it unlocked, sweep the Library’s side rooms.
| Weapon | Rarity | ATK | Location |
|---|---|---|---|
| Durandal | Masterpiece | 75 | Lisa’s Laboratory |
| Fleuret and Tower Shield | Refined | 50 | Condemned Shelves |
Durandal sits in an ornate gold chest and is described as “A heavy and powerful blade.” It brings the move Blade Dive. The Fleuret and Tower Shield hides in an alcove high above the astrological dial; its shield blocks attacks from the front.
In the Fine Arts Shelves, an ornate chest on an upper-left balcony, reached with grapple rings, holds the Thorn Whip. In the Curiosity Cabinet, past a fire beast, a chest in the lower corridor holds the relic Revenant’s Shard: “Rose recovers 10% extra mana by killing enemies.” The room after the Condemned Shelves carries the banner “DRAWING ROOM”.
The Artist in Brauner’s Atelier
Ride the Ferryman to Main Hall, then ascend through the Grand Hall to Brauner’s Atelier. In the hall’s center is an enormous stone block held by chains. Grapple to a point above it and smash down onto it (Smash) to break it. Brauner descends; after a scene, he gives you the Arcana card The Artist, spell Masterpiece.
Catacombs of Paris and the three eye relics
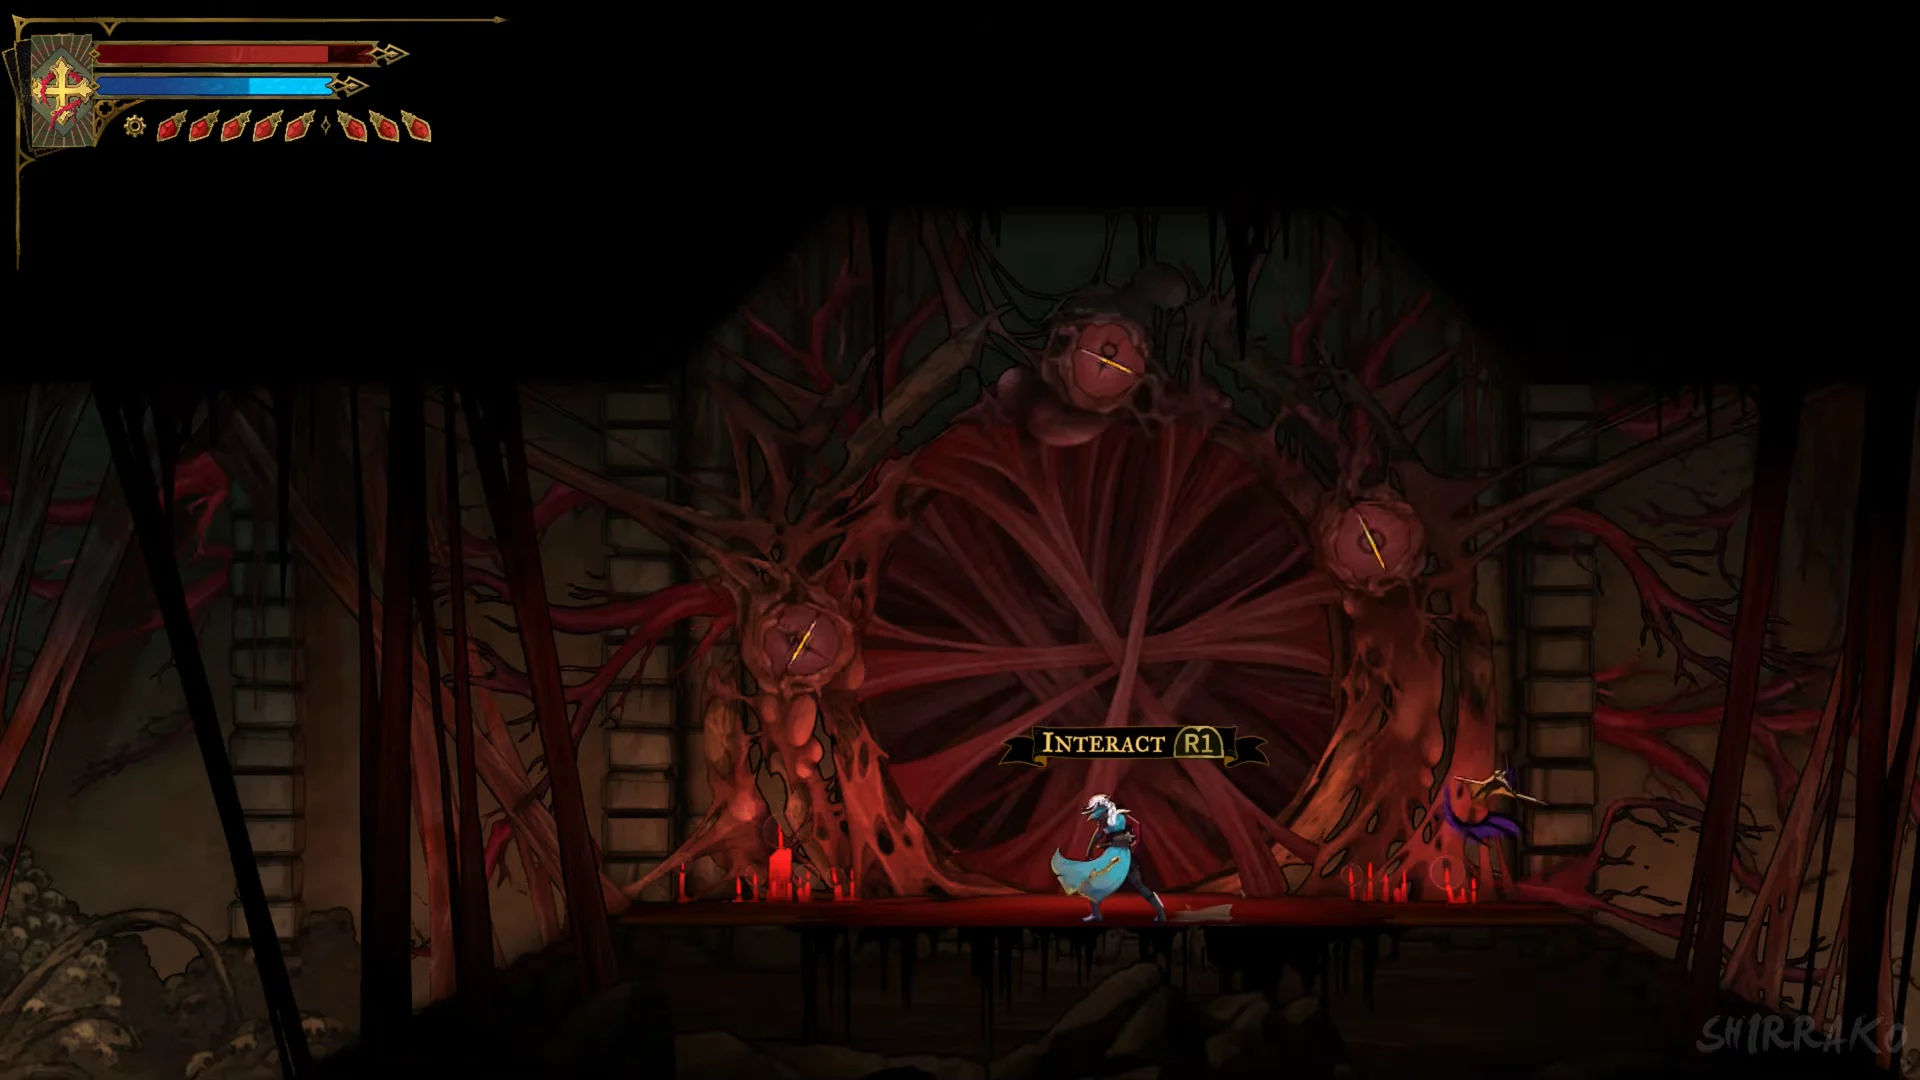
From the Ferryman, choose Catacombs of Paris. Move through the Collapsed Path of Orpheus, the Realm of Old Night (a hooded-statue mirror shrine), the Antechamber of Sin and into the Circle of Greed. At the sealed door, the clue reads “A DOOR MADE OF FLESH AND EYES” with “NEW CLUE ABOUT THE MISER”. It needs three relics equipped.
| Relic | Where to find it |
|---|---|
| Thrilling Eye | Hospital, reached from the Street of the Tomb Masons |
| Oozing Eye | Circle of Greed, raised platform |
| Trembling Eye | Holy Innocents’ Cemetery, Pillaged Tombs |
For the Oozing Eye, climb to the raised platform in the Circle of Greed and interact with the red device (“R1”). For the Trembling Eye, sail to Holy Innocents’ Cemetery and reach the Pillaged Tombs. From the Fountain of the Innocents, take the doorway at the base of the ruins, clear the sealed fight, run the saw-blade and laser corridor, and break open the flesh growth in the alcove (“R1”).
Pick up two chests along the route. In Pillaged Tombs, a chest contains Nightshade, whose effect is “Using a healing potion recovers 40% of maximum mana.” In Realm of Old Night, look higher up: between two statues sits an ornate chest with Gungnir, Masterpiece, ATK 75.
Open the Circle of Greed door and reach Mammon
Back at the flesh-and-eyes door, open the menu, go to Equipment, then the Relics tab, and slot the Thrilling Eye, Oozing Eye and Trembling Eye into the three slots. Close the menu and press INTERACT (“R1”). The door opens and you step through.
Mammon waits in a gold-piled lair behind a single bar labelled “Mammon”. Dodge between the beams, use the ceiling rings against his floor charges, and hit him when he hovers. The door setup and the full fight are covered in the Circle of Greed and Mammon guide. The trophy “All that glitters is not gold.” appears on the kill, and you take The Miser, spell Wheel of Chaos.
Walkthrough series: Previous: Part 5: Library and Clock Tower to Talos | Next: Part 7: Notre-Dame and Death