Uninvited Guests drops Malum Caedo into a set of Chaos-held halls built around two Purge arenas, a lift shaft, and a wall-run section. Seven collectibles hide across the level: six Secrets and a single Purity Seal. Almost all of them sit off the main objective route, and several need an unusual move to reach, such as shooting a skull disguised as a statue, hitting switches inside a descending lift, or dropping off a ledge before a jump pad carries you away.
Quick answer: Collect all six Secrets and the one Purity Seal in the order they appear — first Purge room, lift shaft, wall-run courtyard, then the final Purge arena. The level map will read 6/6 Secrets and 1/1 Seal when you have them all.
All seven collectibles and their rewards
Here is the full set so you can plan a single clean run or check what you still need.
| Collectible | Reward | Location |
|---|---|---|
| Secret 1/6 | Machine Spirit | Right of the skull-disguised statue in the first Purge room |
| Secret 2/6 | Grenade Boost | Lift shaft, behind two side switches |
| Secret 3/6 | Boltgun magazine | Side room off the lift shaft |
| Secret 4/6 | Machine Spirit upgrade | Courtyard after the wall-run |
| Purity Seal 1/1 | Purity Seal, +50 Boltgun ammo | Below the jump pad in the same courtyard |
| Secret 5/6 | Boltgun magazine | Right corridor off the final Purge arena |
| Secret 6/6 | Munitions Boost: Lock and Load! | Left corridor off the final Purge arena |
Both Machine Spirit pickups upgrade whichever weapon you are holding when you grab them. Switch to the weapon you want improved before you shoot the statue.
Secret 1: First Purge room
The first collectible sits in the spacious chamber where the first Purge occurs, and it is easy to miss. Before continuing down the corridor, inspect the statues around the room. A skull attached to one statue is actually a concealed trigger. Aim upward and shoot it. The Machine Spirit drops onto the floor to the statue’s right.
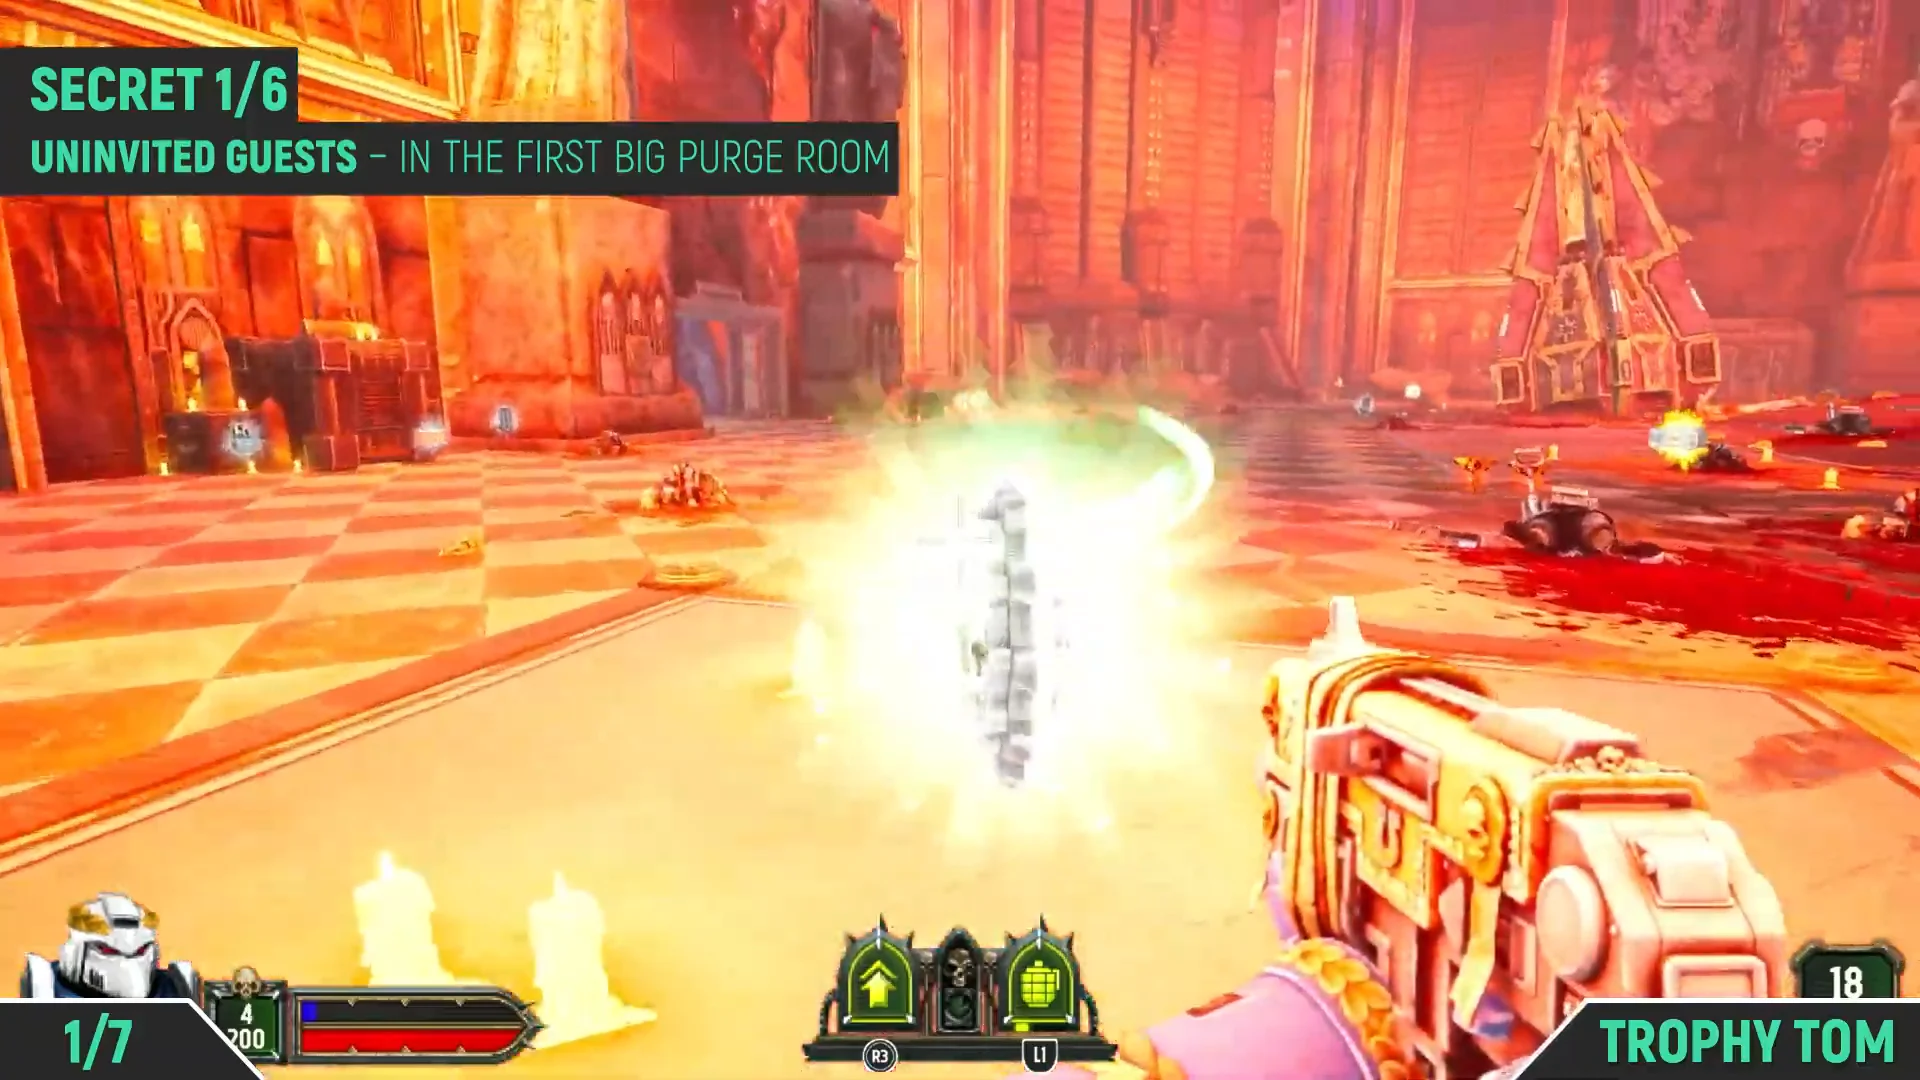
Collecting it shows the “Machine Spirit: Praise the Omnissiah!” prompt and moves the Secrets counter to 1/6.
Secrets 2 and 3: The lift shaft
These two are linked, and you have to work fast as the lift descends. After clearing the first Purge you ride a lift down the shaft. Watch both walls as you drop.
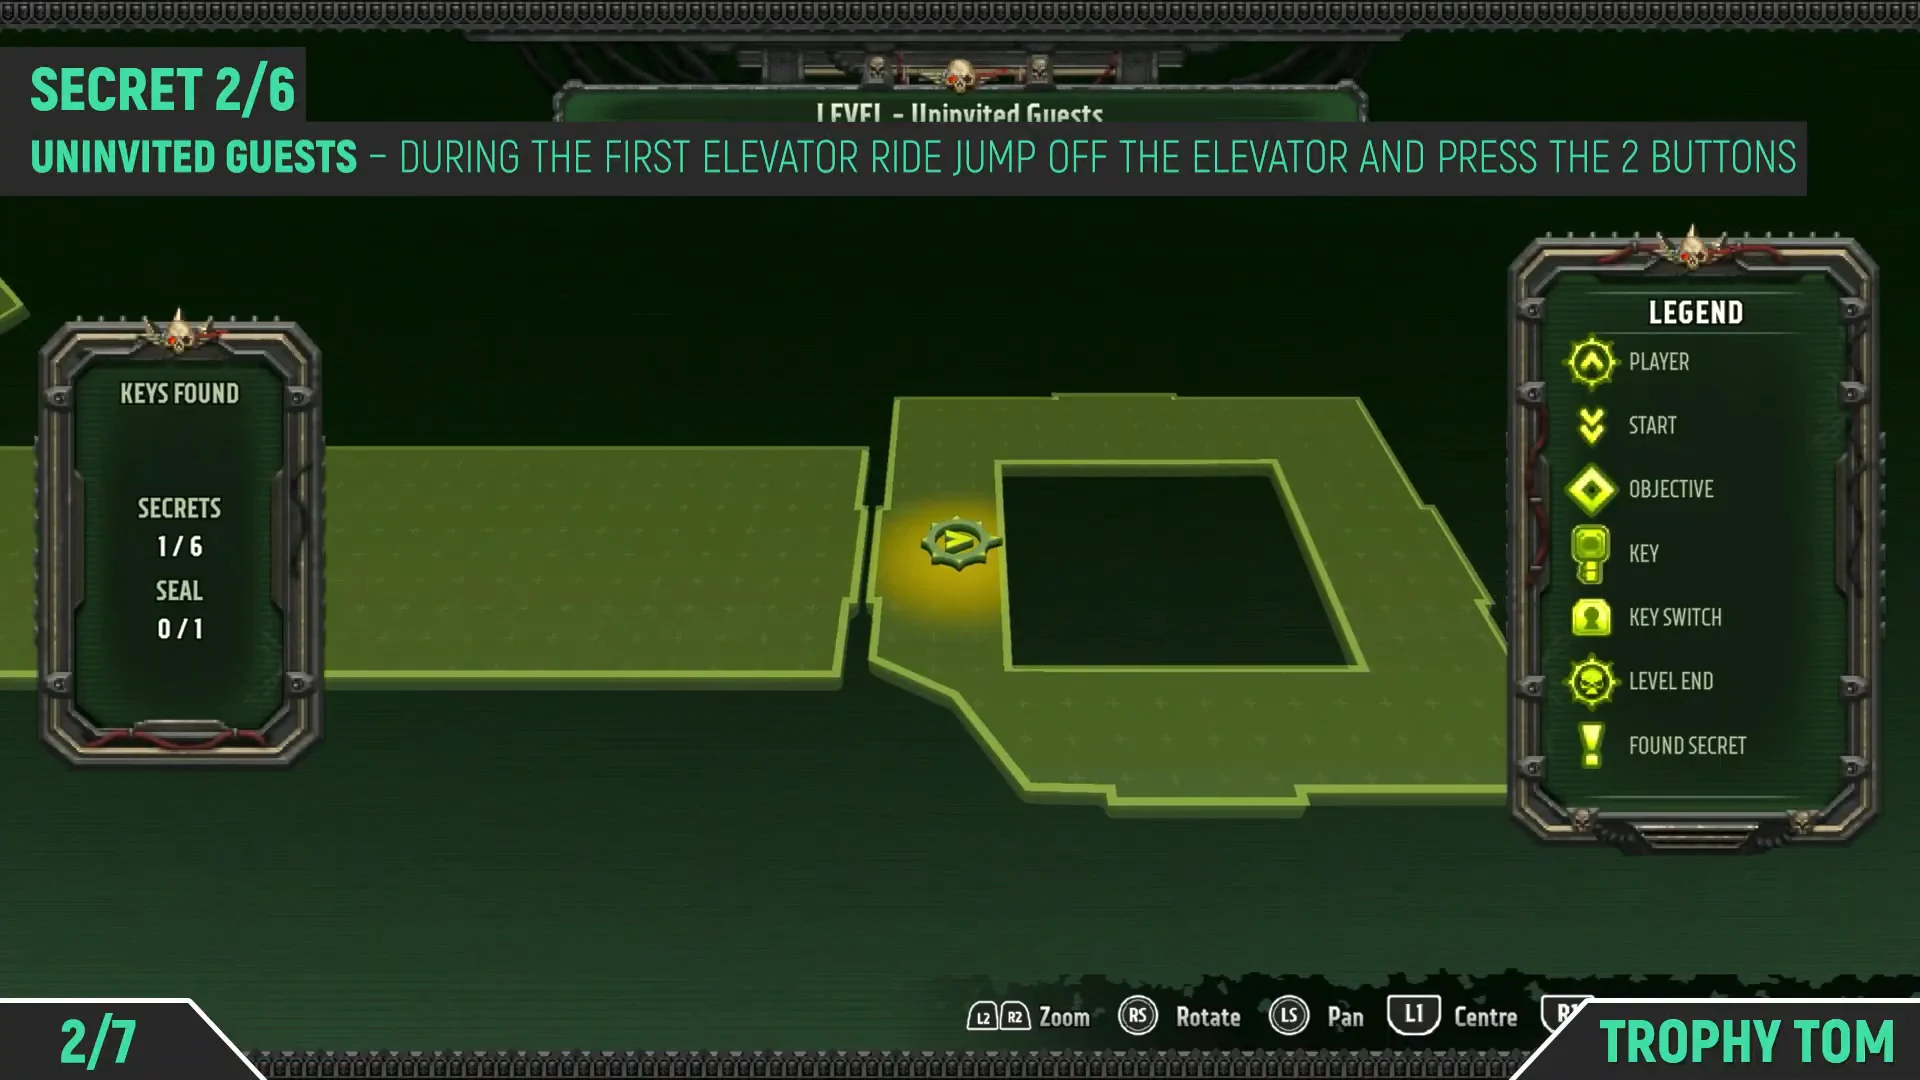
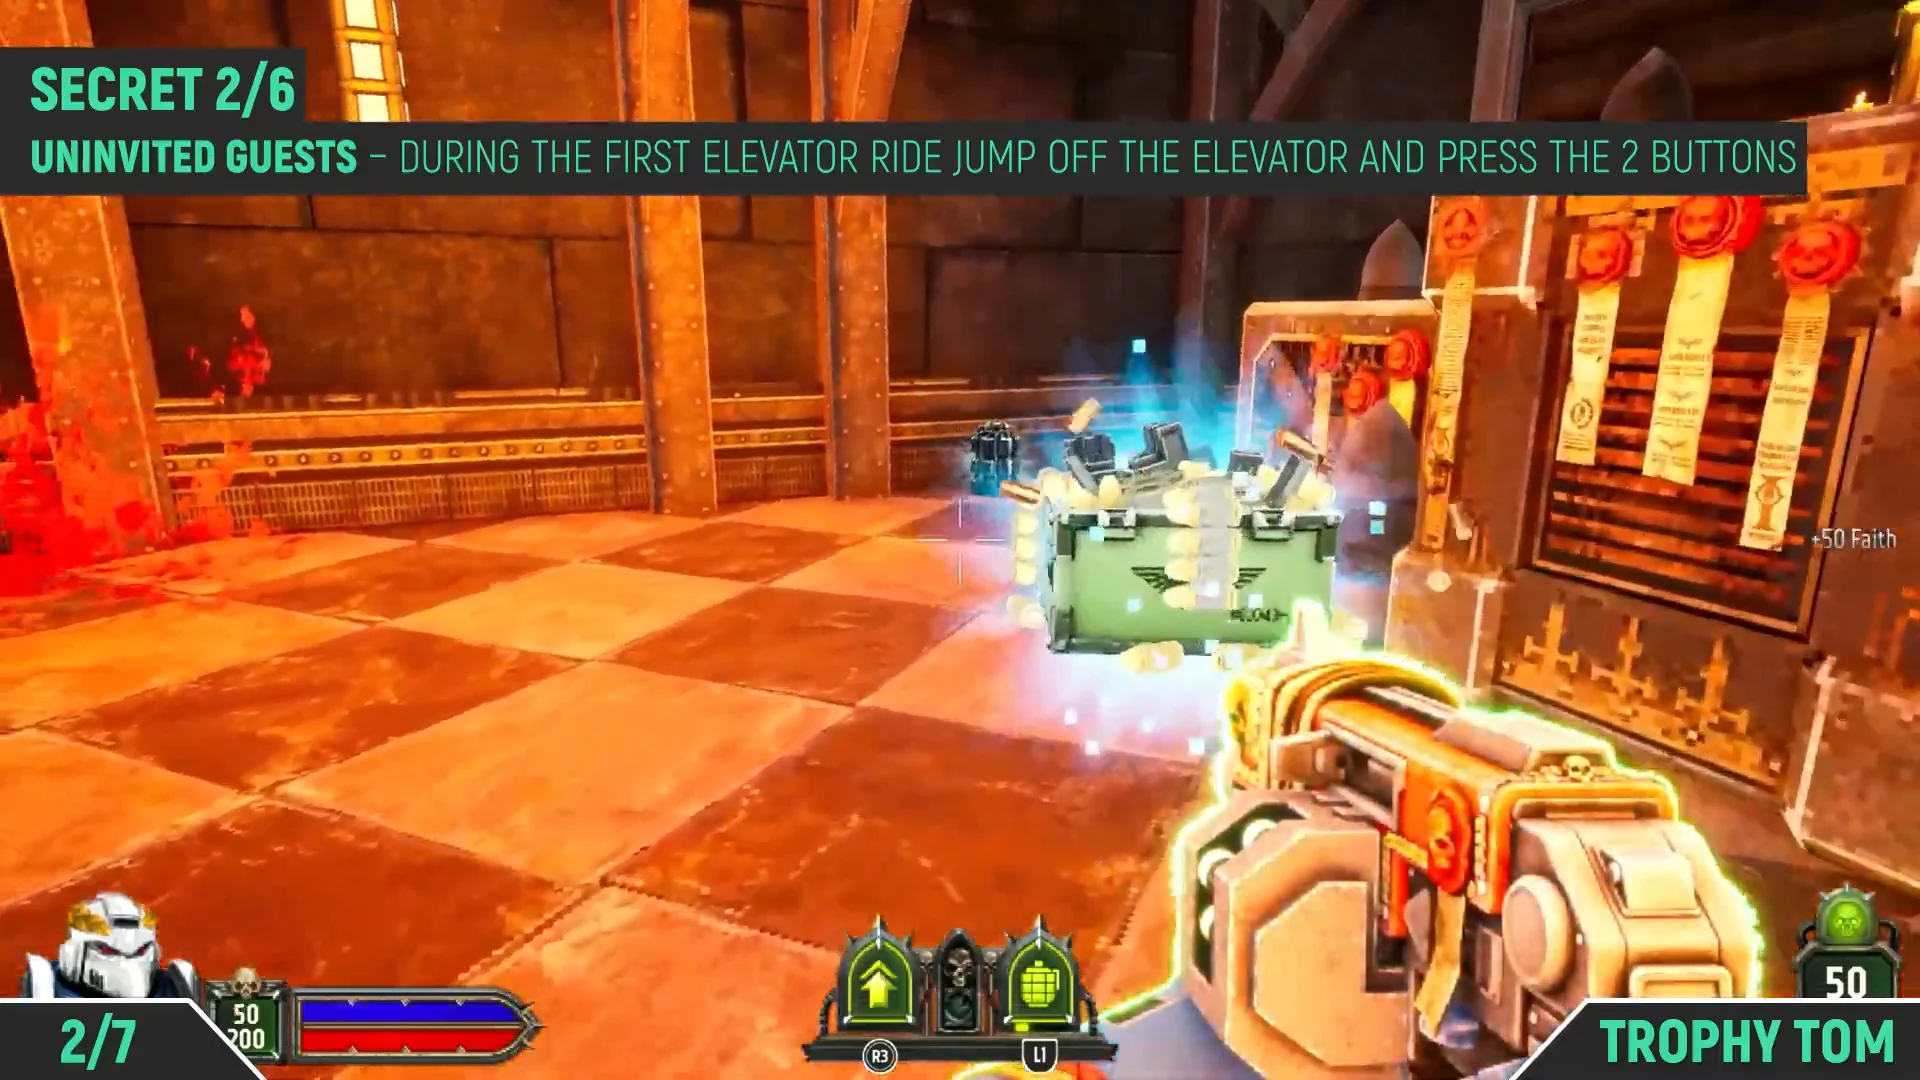
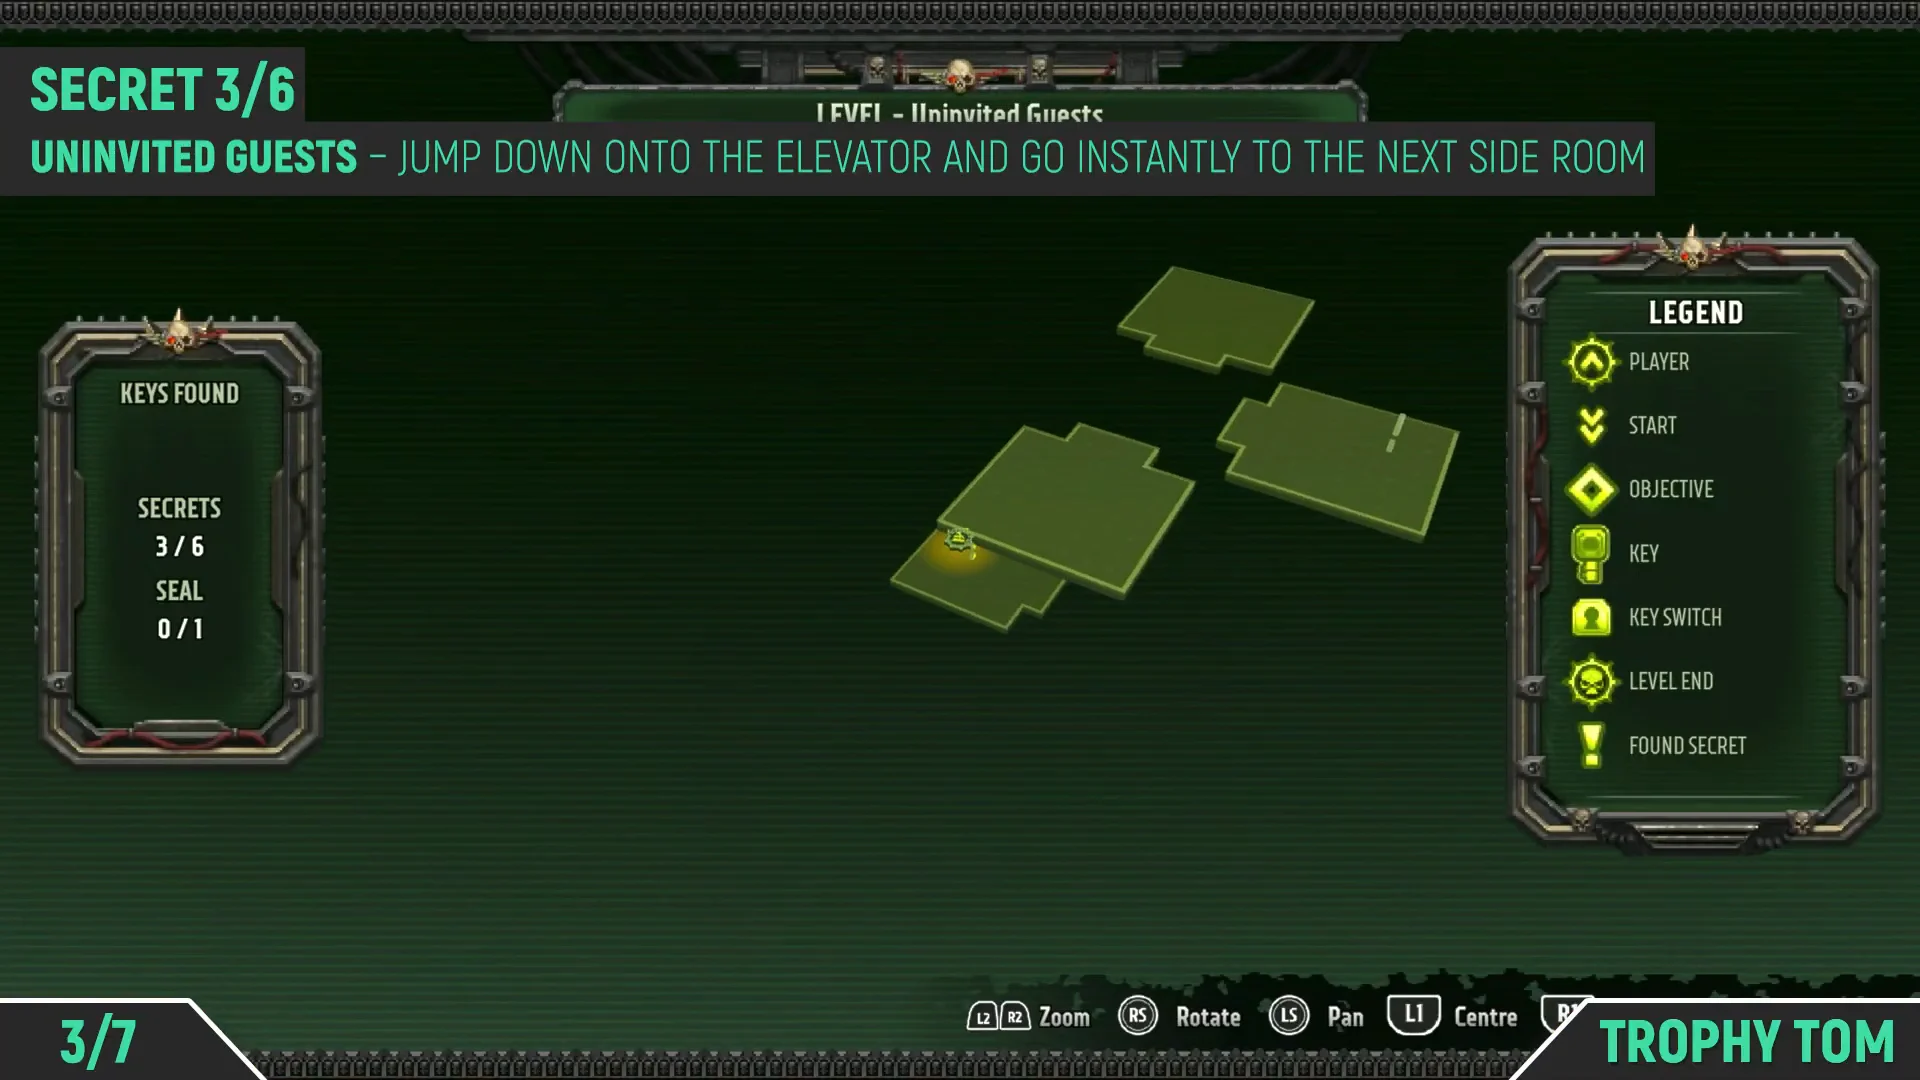
Both of these sit off the main descent, so do not rush the lift. Scan each side of the shaft as it drops.
Secret 4 and the Purity Seal: Wall-run courtyard
You can collect the fourth Secret and the level’s only Purity Seal in the same area, one after the other.
After the vertical stretch, wall-run across the gap using the platforms that extend from the wall, then enter the enemy-filled courtyard. Activate the green skull wall terminal, cross the platforms, and go into the open room. Turn around to locate the statue and shoot the skull forming its head. The Machine Spirit upgrade emerges from the floor. Collecting it displays “SECRET DISCOVERED” and brings the counter to 4/6.
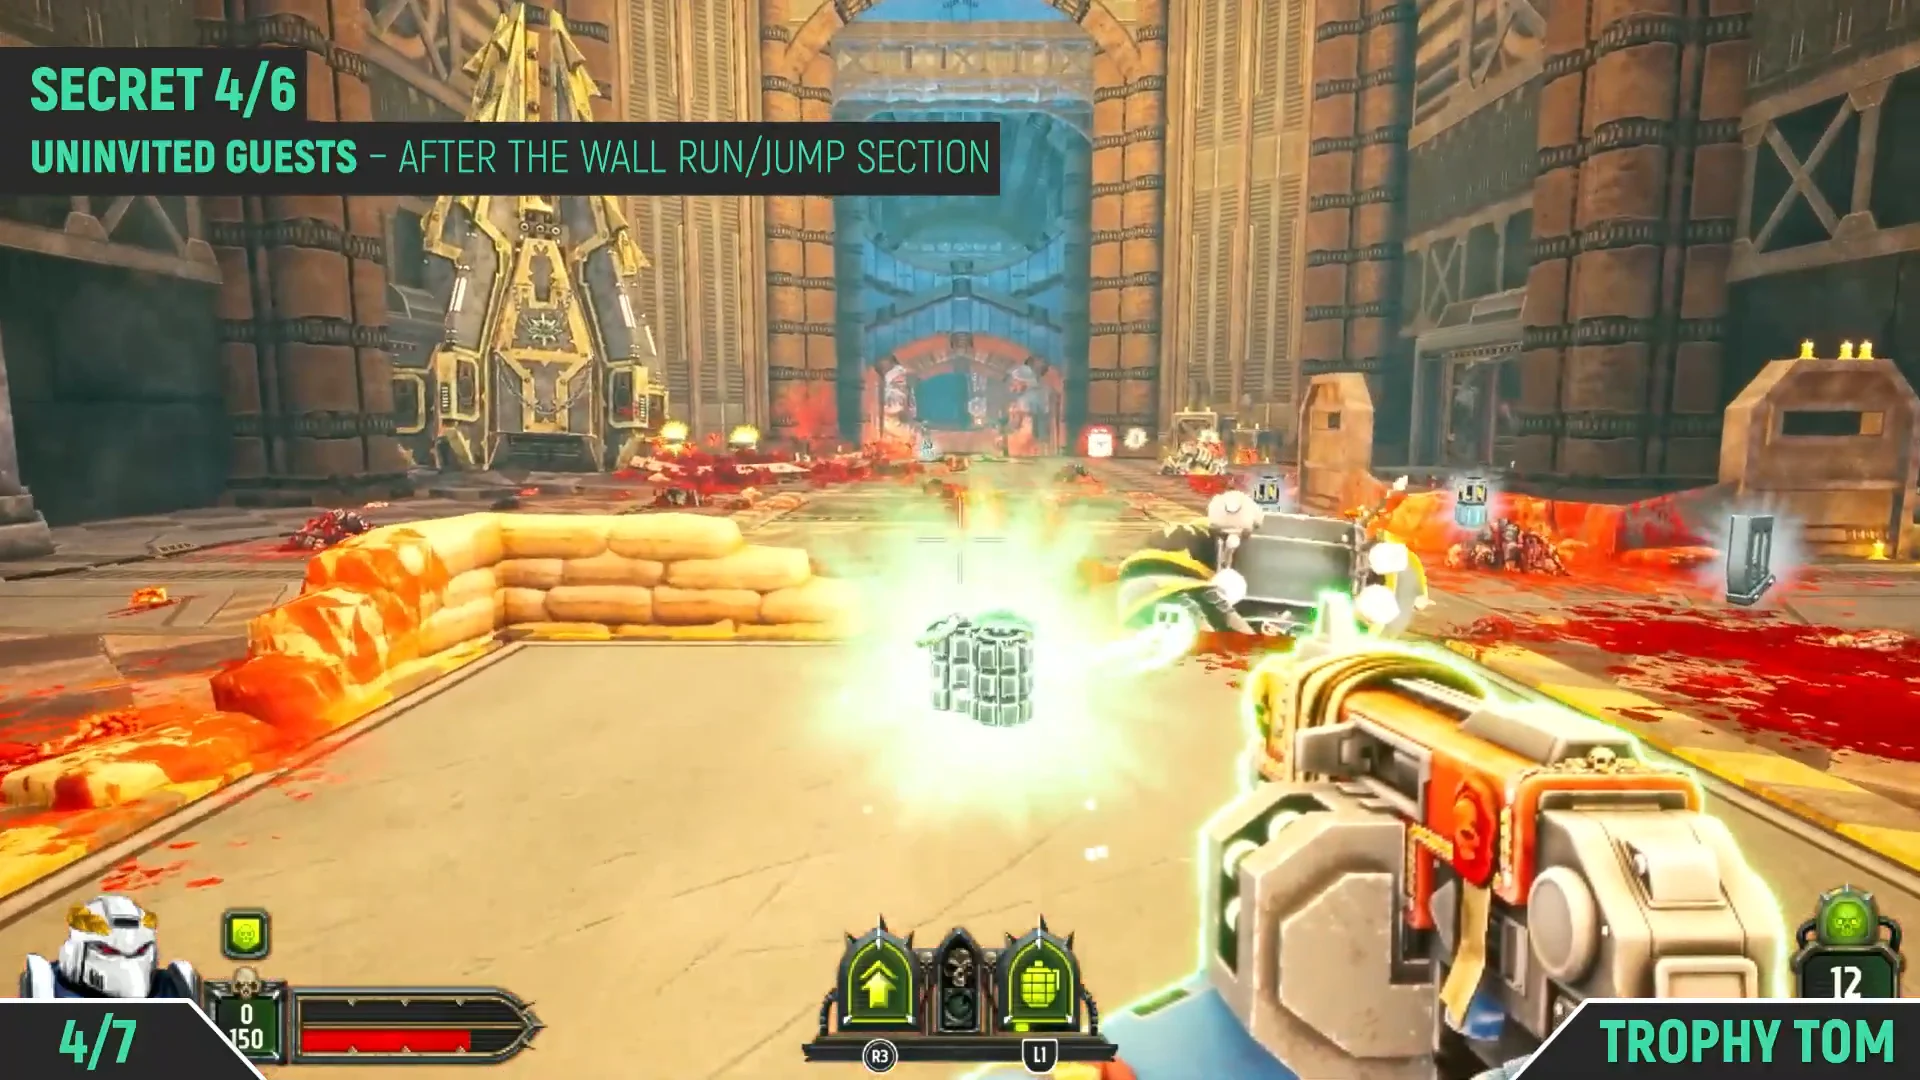
The game directs you to a jump pad to proceed, but wait before stepping on it. Trigger the skull switch beside the doorway, head toward the pad, then drop from the ledge immediately below it instead. An underground hallway leads to the Purity Seal at its far end. Collecting it displays “YOU DISCOVERED A PURITY SEAL!” and grants +50 Boltgun ammo.
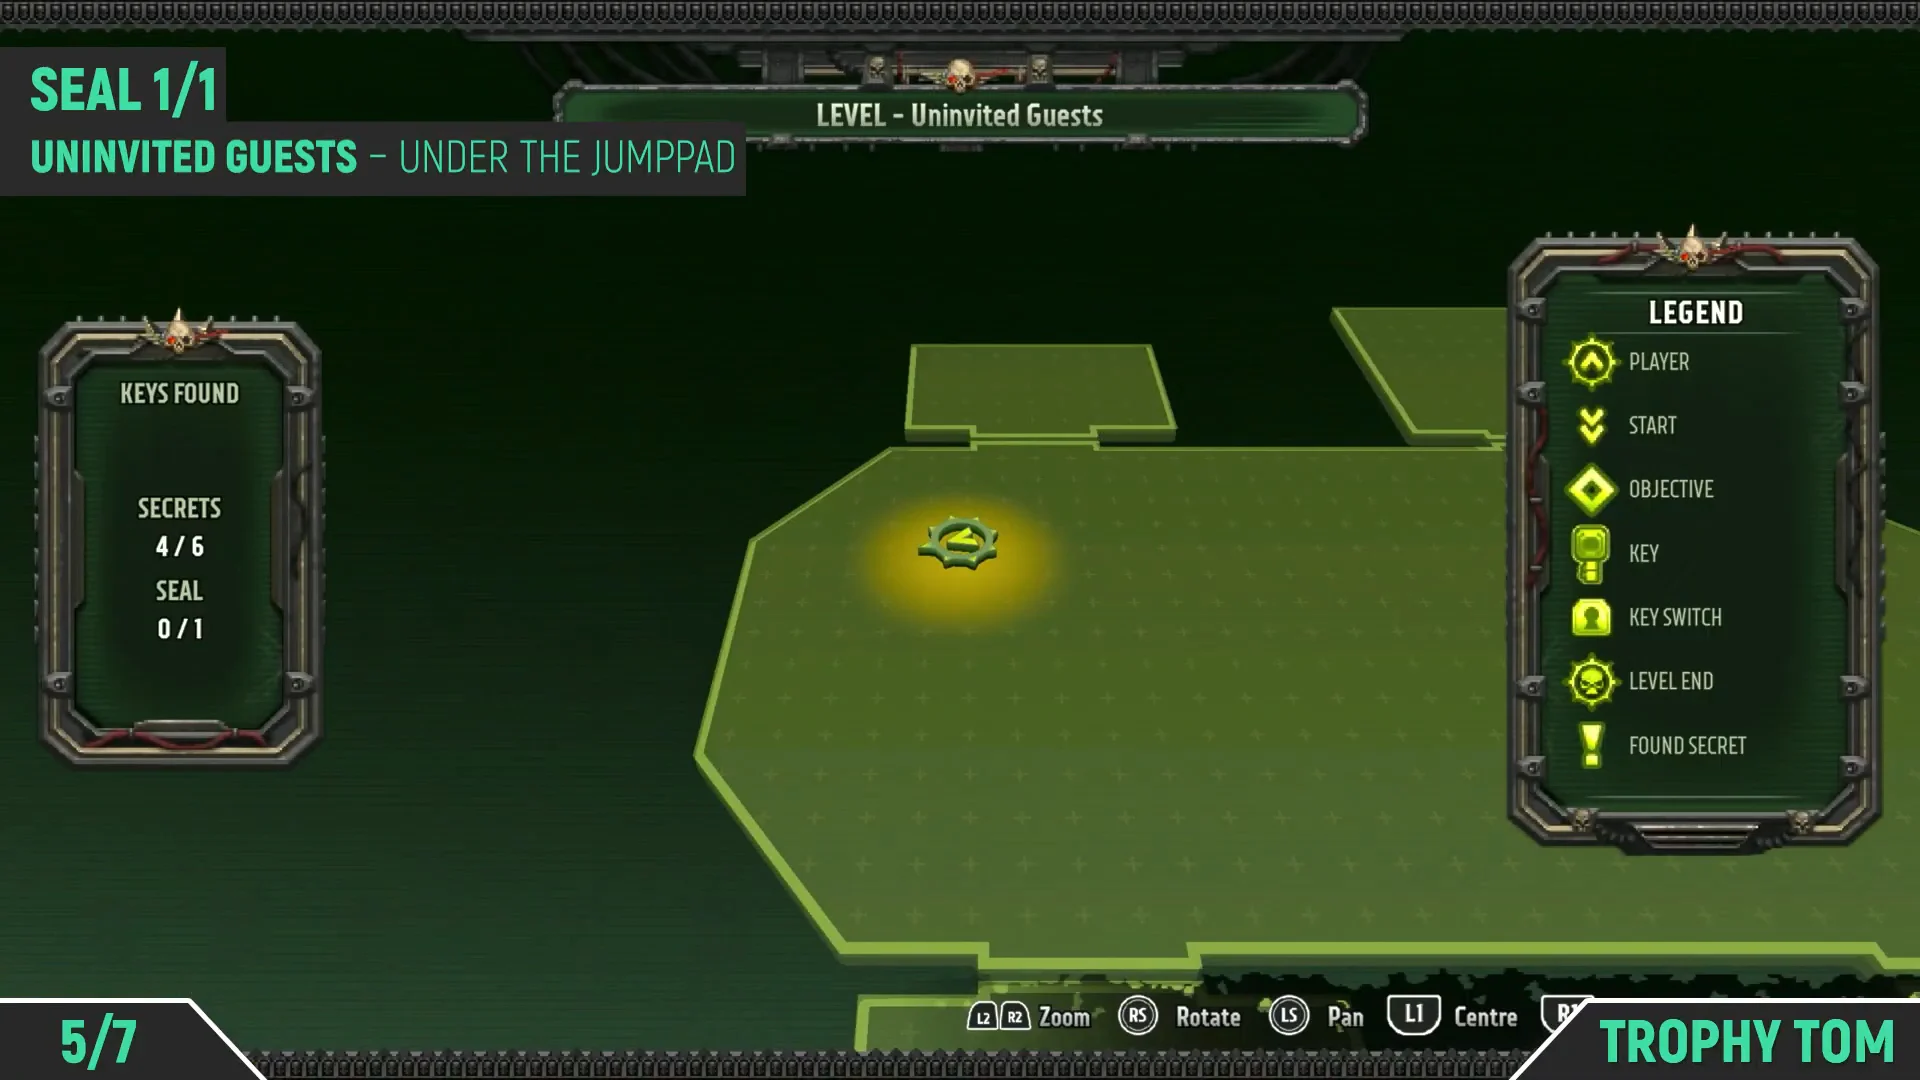
This is the only Purity Seal in the level. Grab it before you touch the jump pad, or you will have to backtrack for it.
Secrets 5 and 6: Final Purge arena
The last two Secrets are in the large arena where the second Purge takes place near the end of the level, both tucked into side corridors. After the command bridge you drop into the arena.
Head into the corridor on the right side to find a Boltgun magazine sitting on the floor at the back. Collecting it triggers “SECRET DISCOVERED” and sets the counter to 5/6. Then cross to the matching corridor on the left side for the final collectible, Munitions Boost: Lock and Load!, which brings the counter to 6/6.
It is easy to overlook these rooms while fighting. If one does not appear where expected, sweep the right and left edges of the arena again before you leave.
Confirming a full clear
Open the automap at any point to check progress. A complete run reads 6/6 Secrets and 1/1 Seal on the map screen at the end of the level. Every Secret counts toward the Pathfinder achievement for finding all Secrets in the game, and the Purity Seal counts toward Purification Complete for finding every Seal. Both achievements are tied to the full campaign, not this level alone, and all levels can be replayed through Level Select if you miss anything.
Choosing a path after the level
Finishing Uninvited Guests splits the campaign into two routes, and your pick decides which levels you play in that run.
- Path A — Frozen Terror: Breaking the Ice, Flash Freeze, Bitter Bloodshed.
- Path B — Blood in the Water: Inundated by Chaos, Infested Depths, Rigged to Blow.
After choosing a route, you cannot access the other one unless you begin a new campaign and select its branch instead. Collect all seven items here before making that choice, and Uninvited Guests will have nothing left to miss on either route.