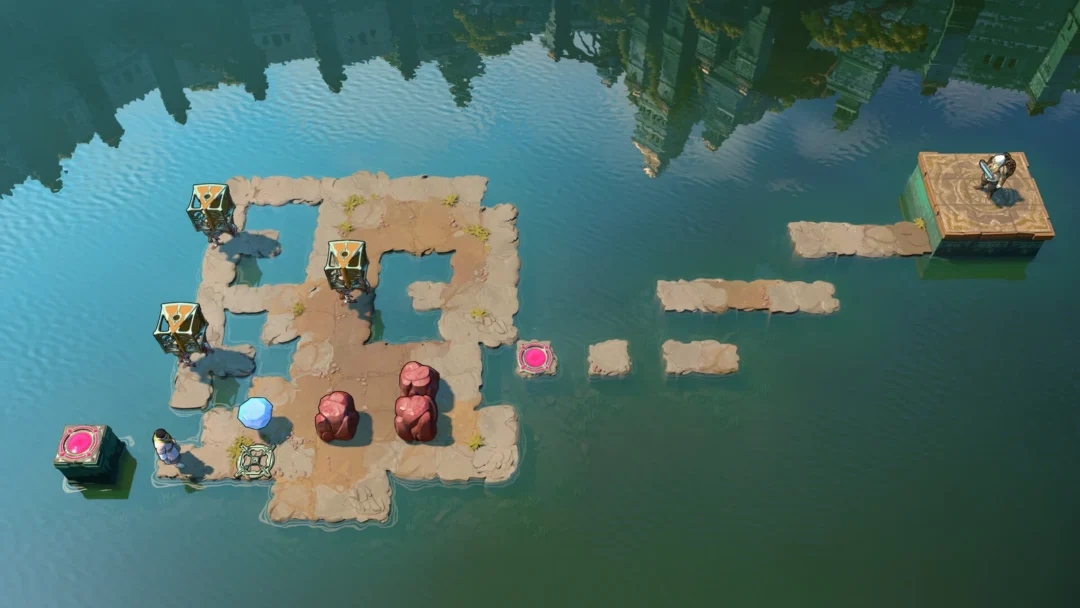
The Unmoored World holds a class of weapons that keep growing after they leave the smithy. You pick one up with the Ephemeral Key inside the Seafloor Sepulcher, and from there it can take normal smithing upgrades, a Wyrmfire pass at The Dragonforged, and a one-off power boost each time it absorbs the magicks of a slain Evil Eye. That absorption changes both its stats and its special skill, pushing it past a Level 5 relic weapon.
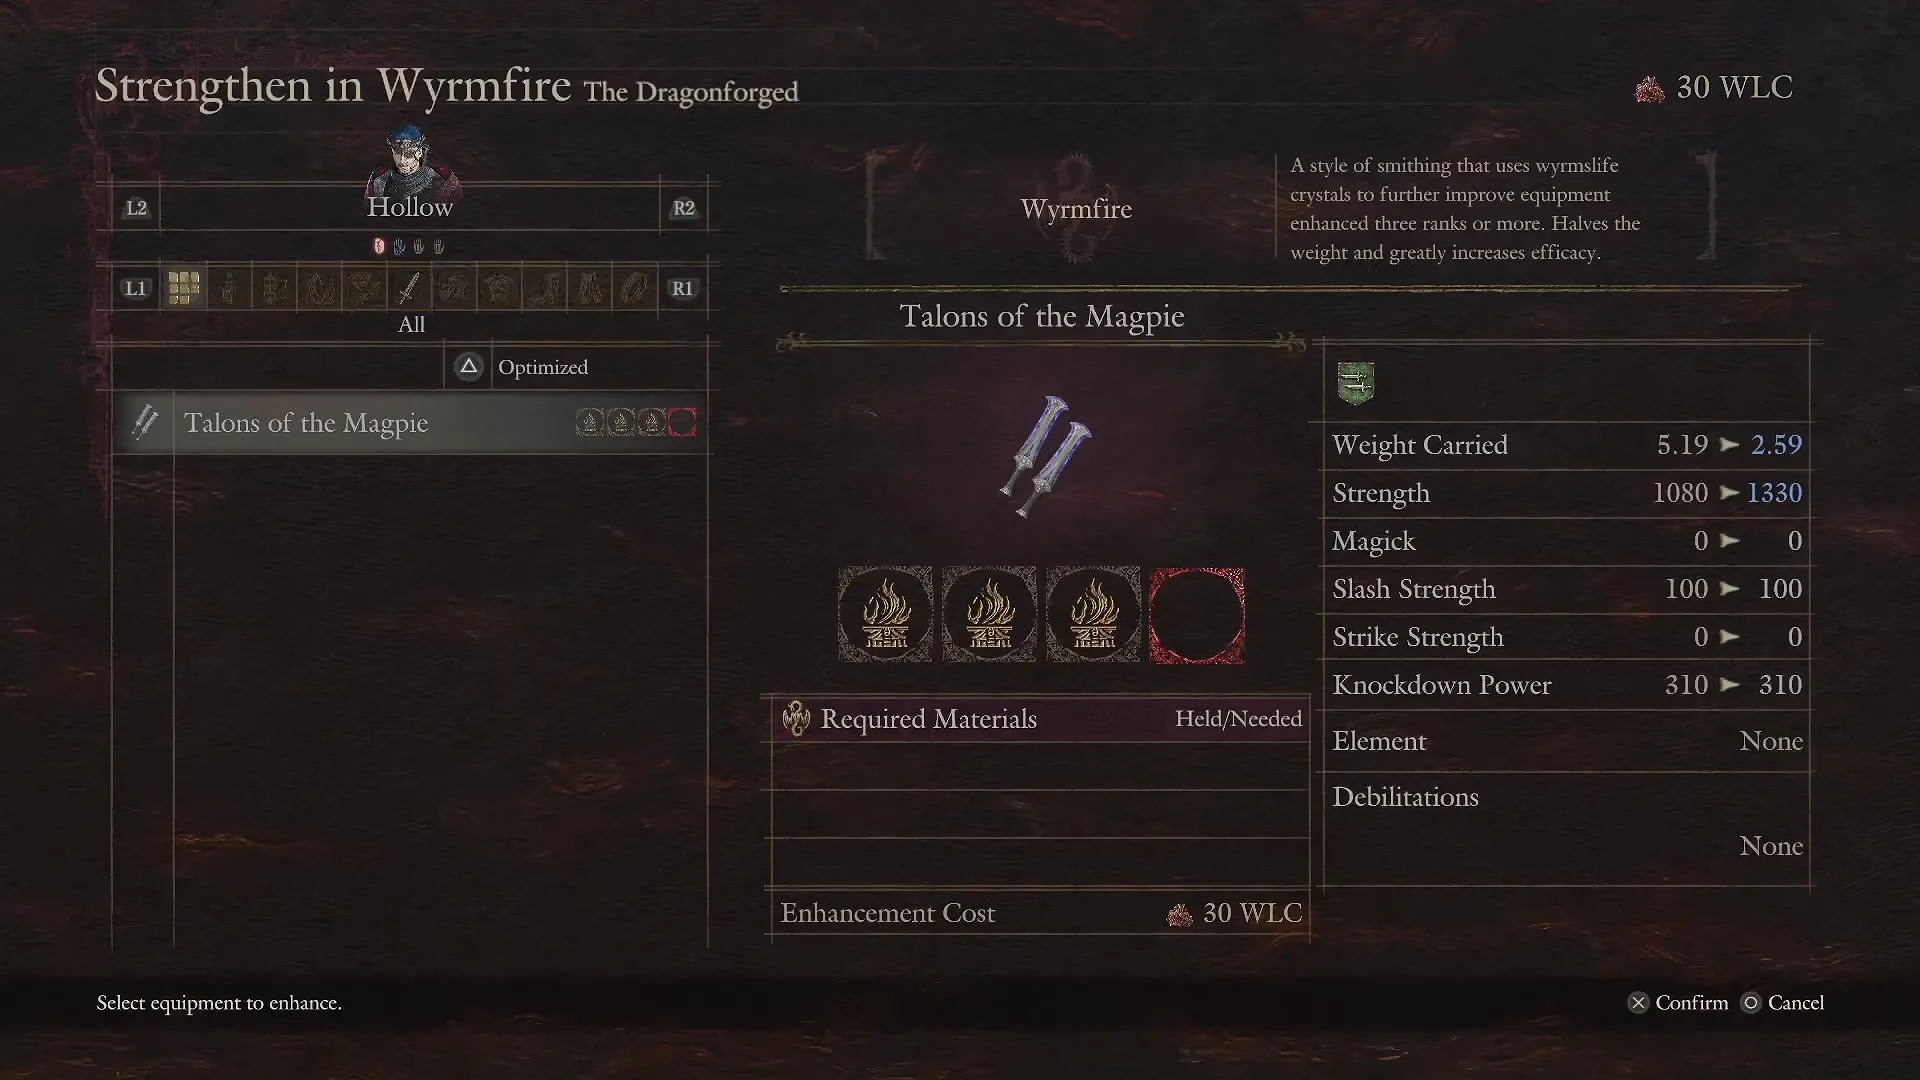
Quick answer: Clear the Seafloor Sepulcher, use the Ephemeral Key to open a vocation-specific weapon chest, enhance that weapon three times at a blacksmith, then Wyrmfire it at The Dragonforged for 30 Wyrmslife Crystals. Finish each slain Evil Eye by holding the interact button on its eye to boost your weapon.
What the Ephemeral Key weapons are
These weapons only exist in the Unmoored World, the state the map enters after you turn the Empowered Godsbane Blade on yourself instead of fighting the Dragon. Each one is tied to a single vocation, and you choose which to take from the vault at the end of the Seafloor Sepulcher. The Talons of the Magpie are the Thief daggers; the Beckoning Delight is the Trickster censer. Both are described as drawing power from evil eyes, altering their form and skill with every absorption.
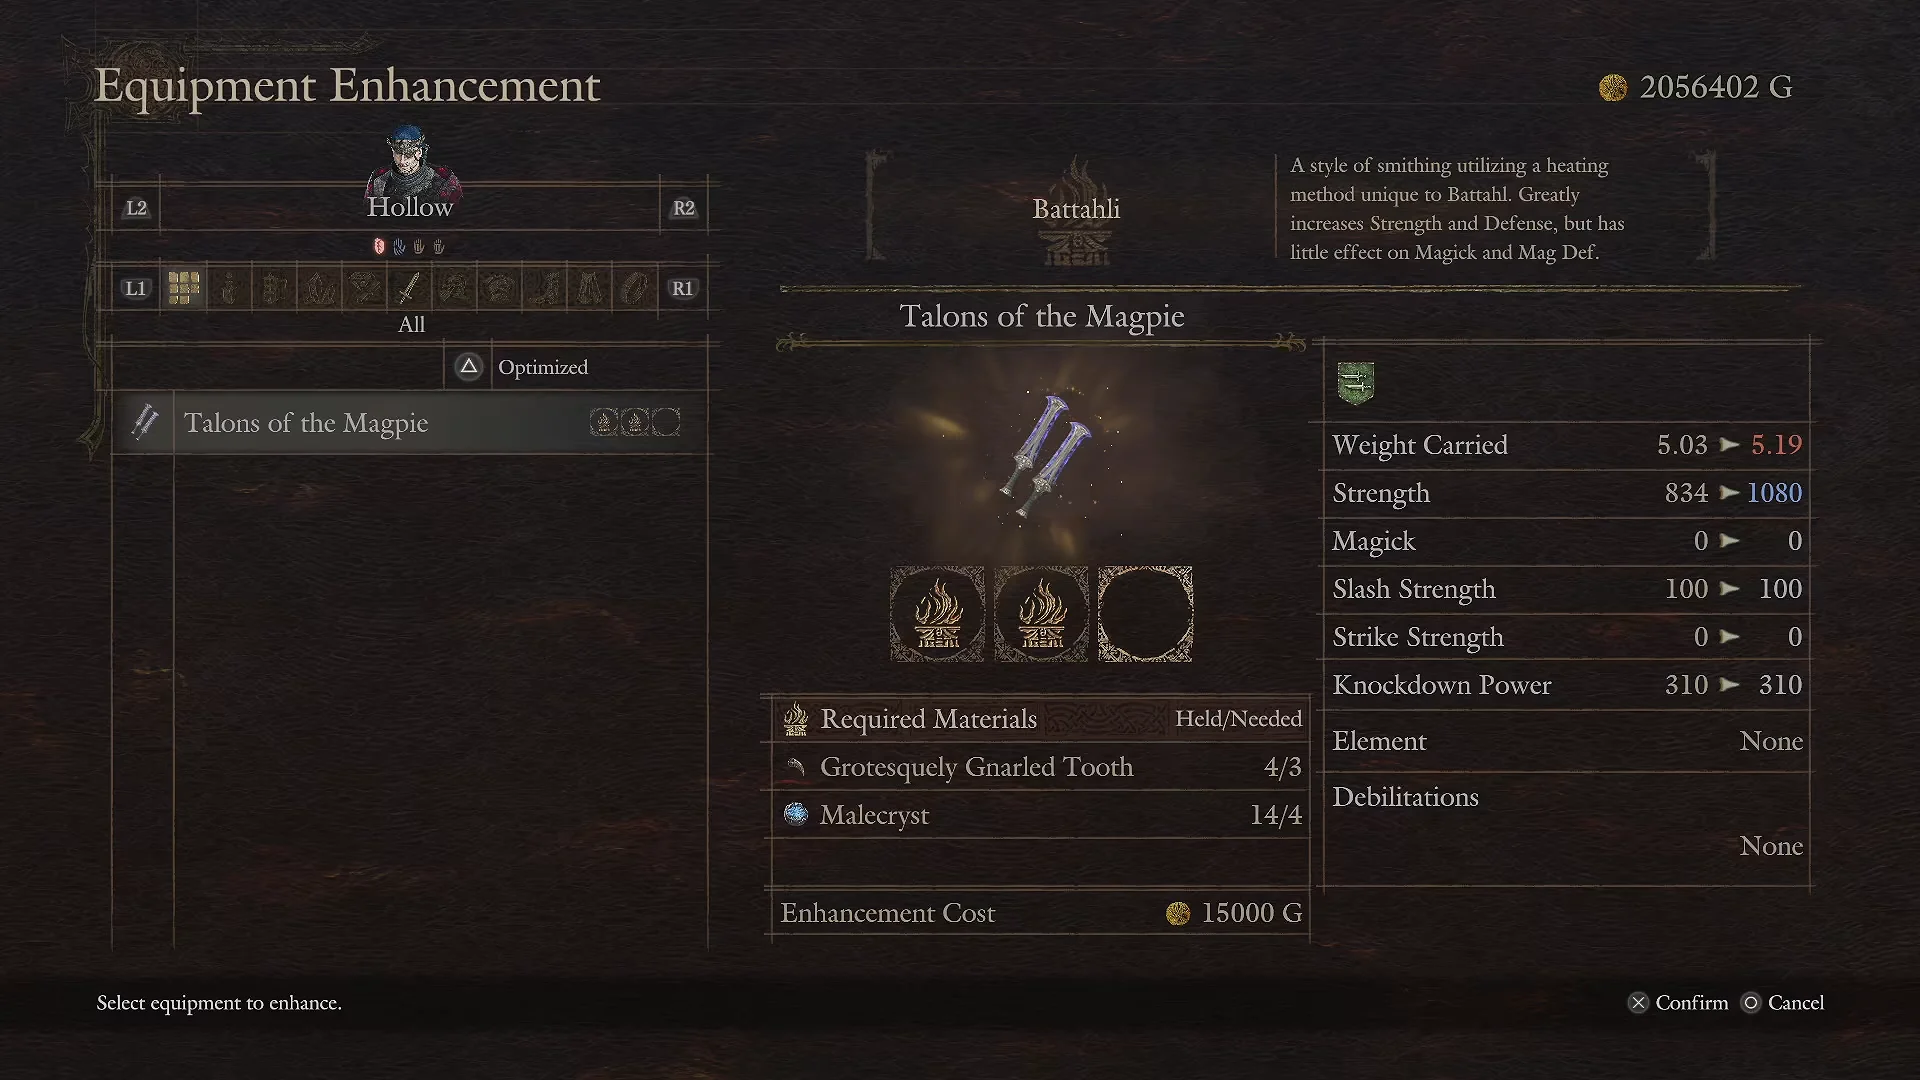
Each carries four special skill slots and a spoils level of 4. Base figures and the peak you reach after a full enhancement line plus Wyrmfire are below.
| Weapon | Vocation | Base stats | Battahli Wyrmfire peak |
|---|---|---|---|
 Talons of the Magpie Talons of the Magpie | Thief (Daggers) | Strength 620, Knockdown 310 | Strength 1,330, Knockdown 310 |
 Beckoning Delight Beckoning Delight | Trickster (Censers) | Strength 260, Magick 650 | Strength 518, Magick 1,300 |
Both weapons sell for 40,000 G and list a buy price of 120,000 G. The absorption bonuses sit on top of these smithed figures, so the numbers in the table are the floor for a fully upgraded piece, not the ceiling.
Get the Ephemeral Key in the Seafloor Sepulcher
The Seafloor Sepulcher sits northeast of the central shrine in the Unmoored World. Work down through the undead and skeletal lords, collecting Makeshift Gaol Keys from chests to unlock the gates that block your path while tentacles keep spawning in.

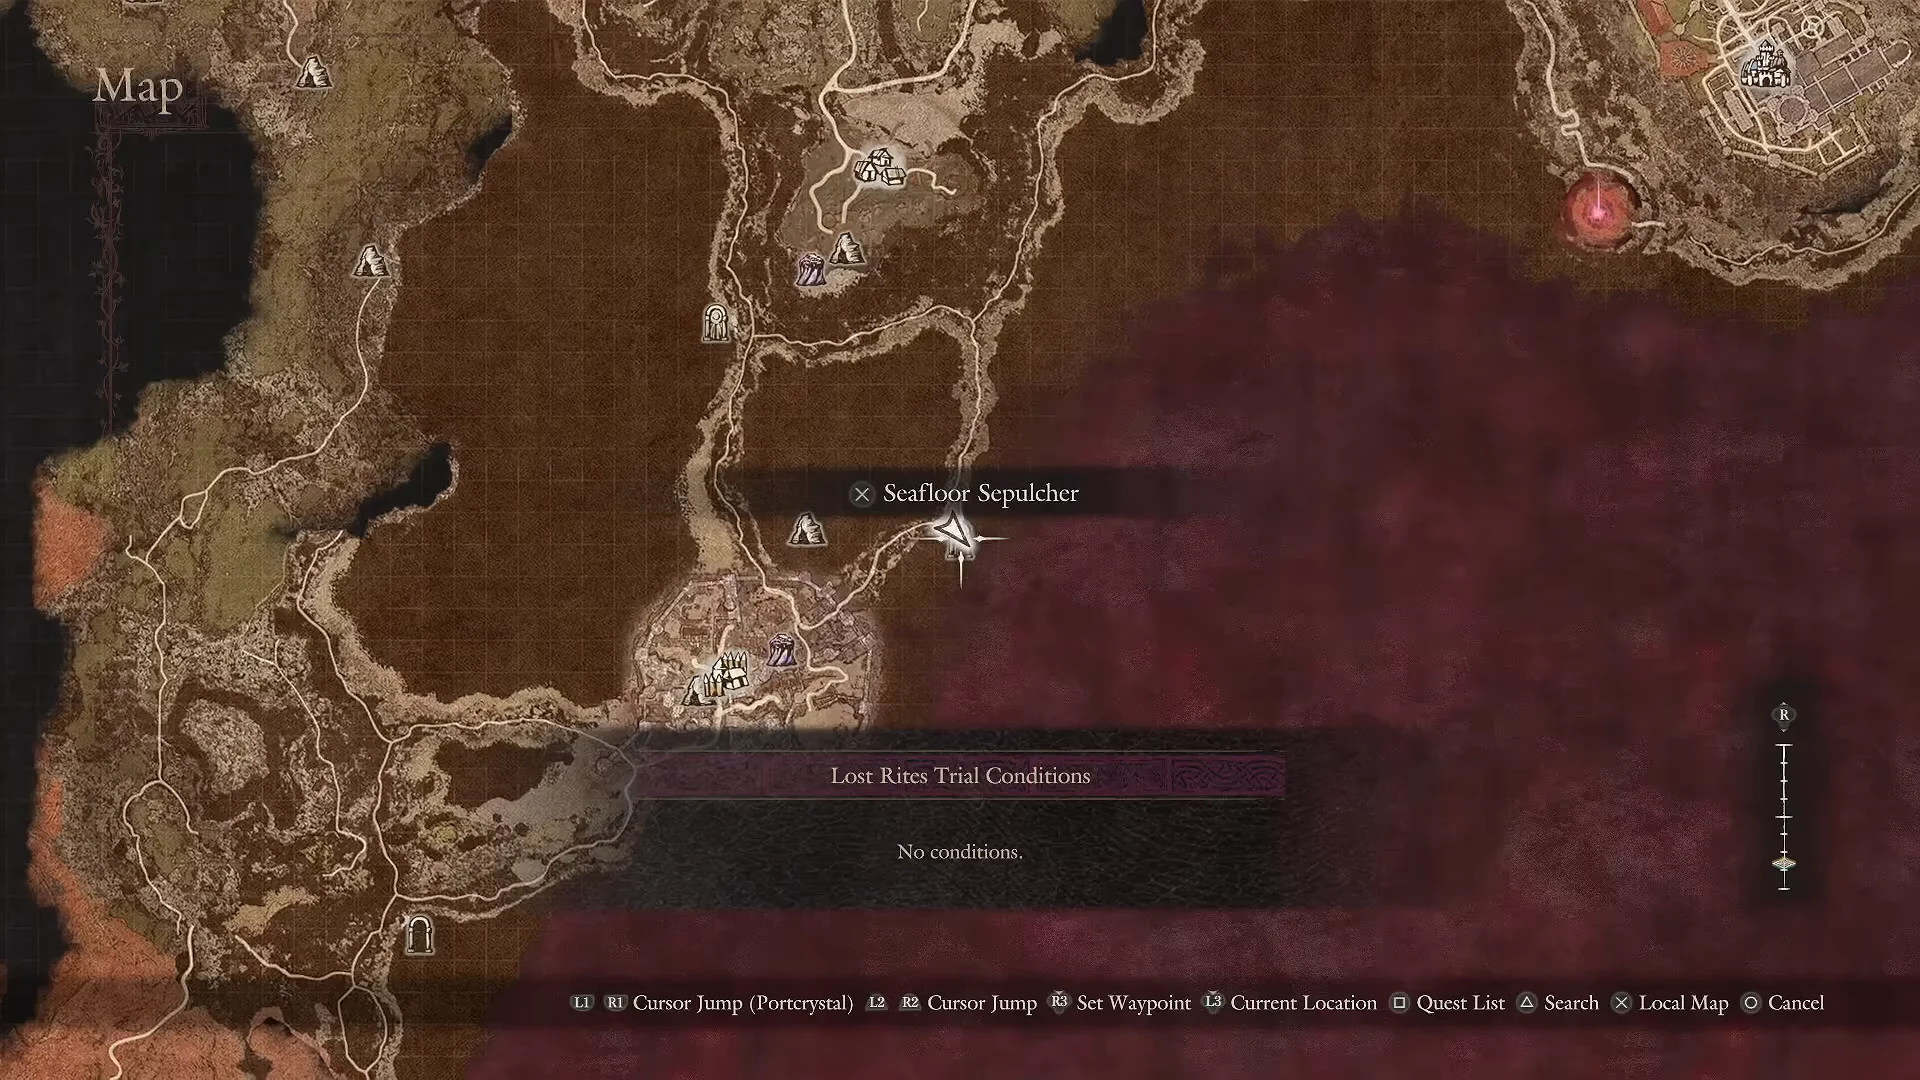
The Ring of Insulation is in a side chamber beside the lightning mage in the circular stairwell room. In another side cavern, a Gore Minotaur guards the Art of Metamorphosis. Before the boss, jump from pillar to pillar to reach chests with the Wyrmbone Helm, followed by the Crystalline Shawl, then the Tenebrous Stole.
The boss room holds an Evil Eye that drops Pyrolytic Cloth and the Circumventor’s Burthen. Clearing it opens the vault, where the Ephemeral Key sits alongside the weapon chests. The key unlocks exactly one chest, so pick the weapon that matches your vocation before you commit.
Smith and Wyrmfire the weapon
Absorb Evil Eye magicks to alter the weapon
After a weapon is fully smithed, defeating an Evil Eye lets it drink in the creature’s power. Hold the interact button at the slain eye to boost and alter the weapon equipped by the Arisen. Holding at the body does the same for the weapon your main pawn is carrying. Each source can be used once.
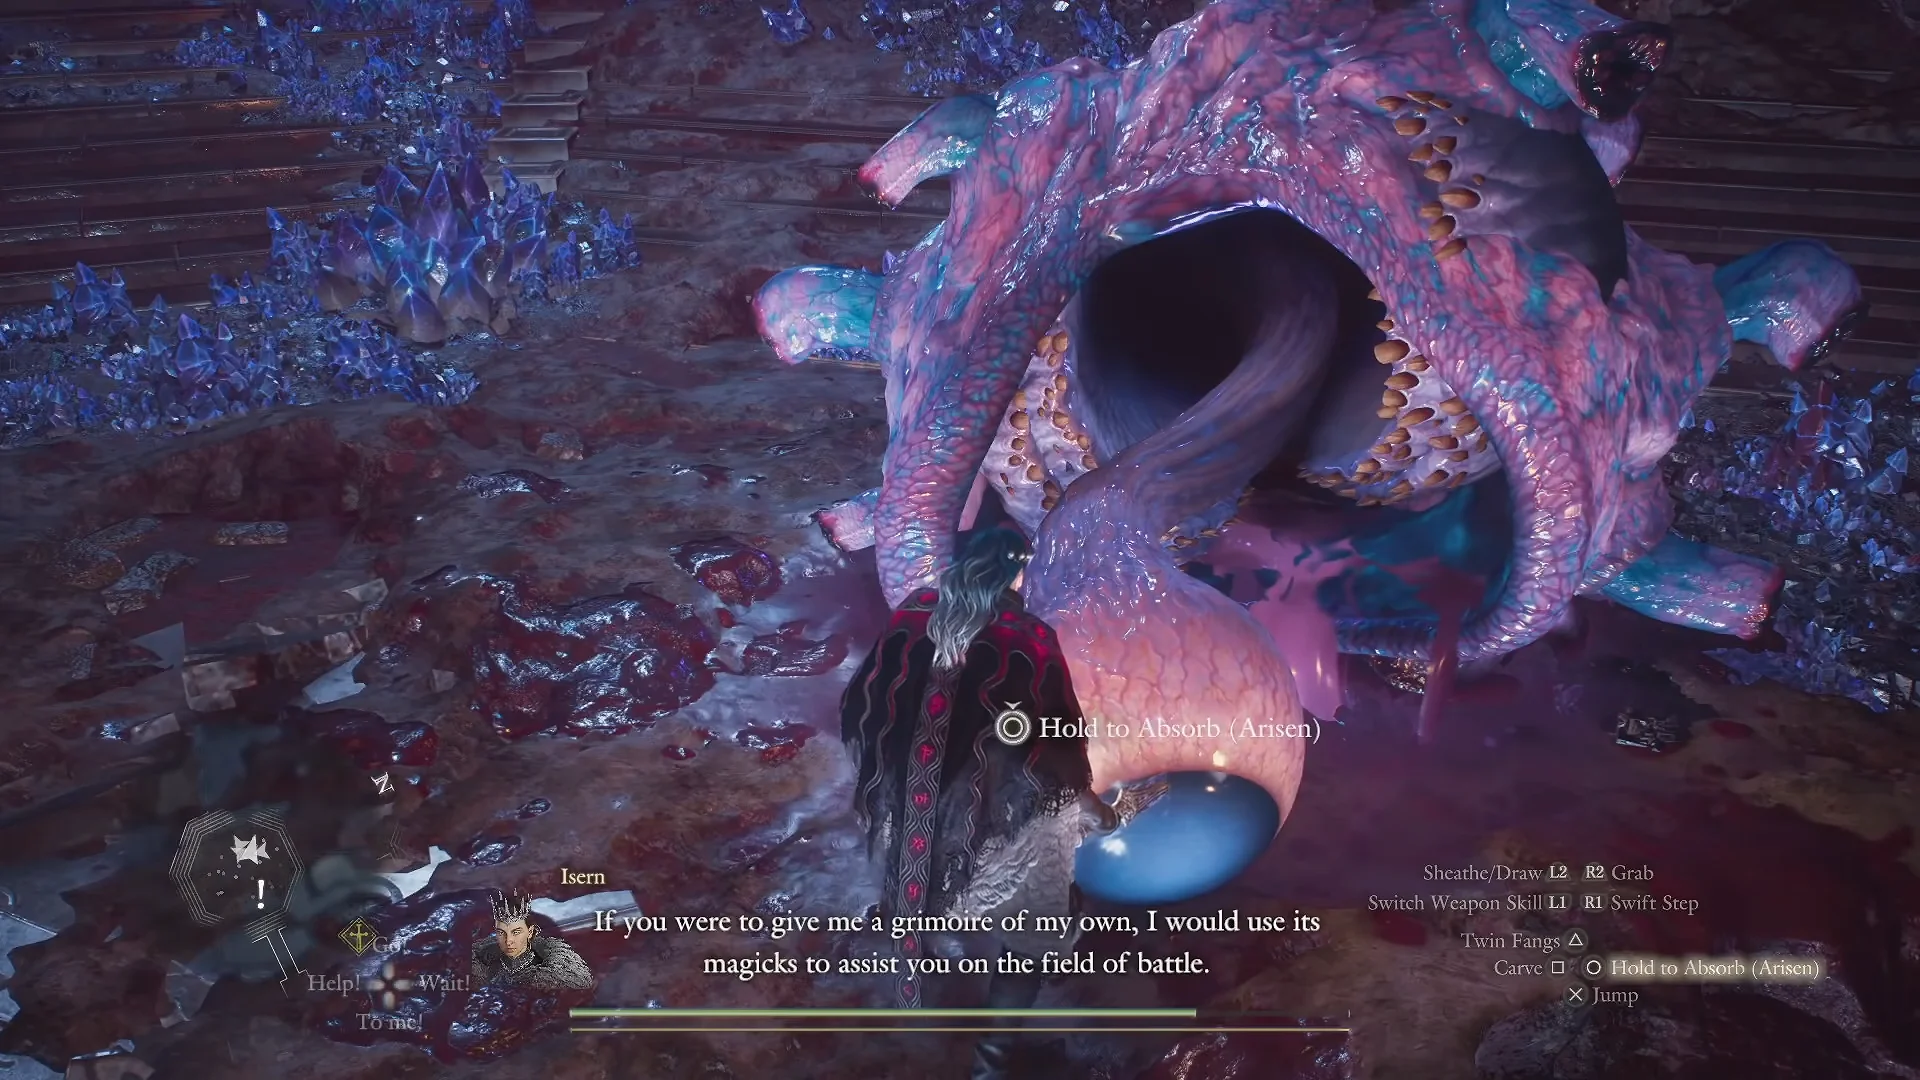
The weapon does not need to land the killing blow. You can finish the Evil Eye with anything, then swap to the Ephemeral Key weapon before you absorb. An altered Talons of the Magpie trades its generic skills for specialized variants such as Powder Barrage, Fanged Rupture, and Nimble Tread, with boosted base attributes to match.
Carry both the Arisen and pawn weapons you want to power up into the fight, since each Evil Eye corpse only gives one absorption per source.
How to beat an Evil Eye boss
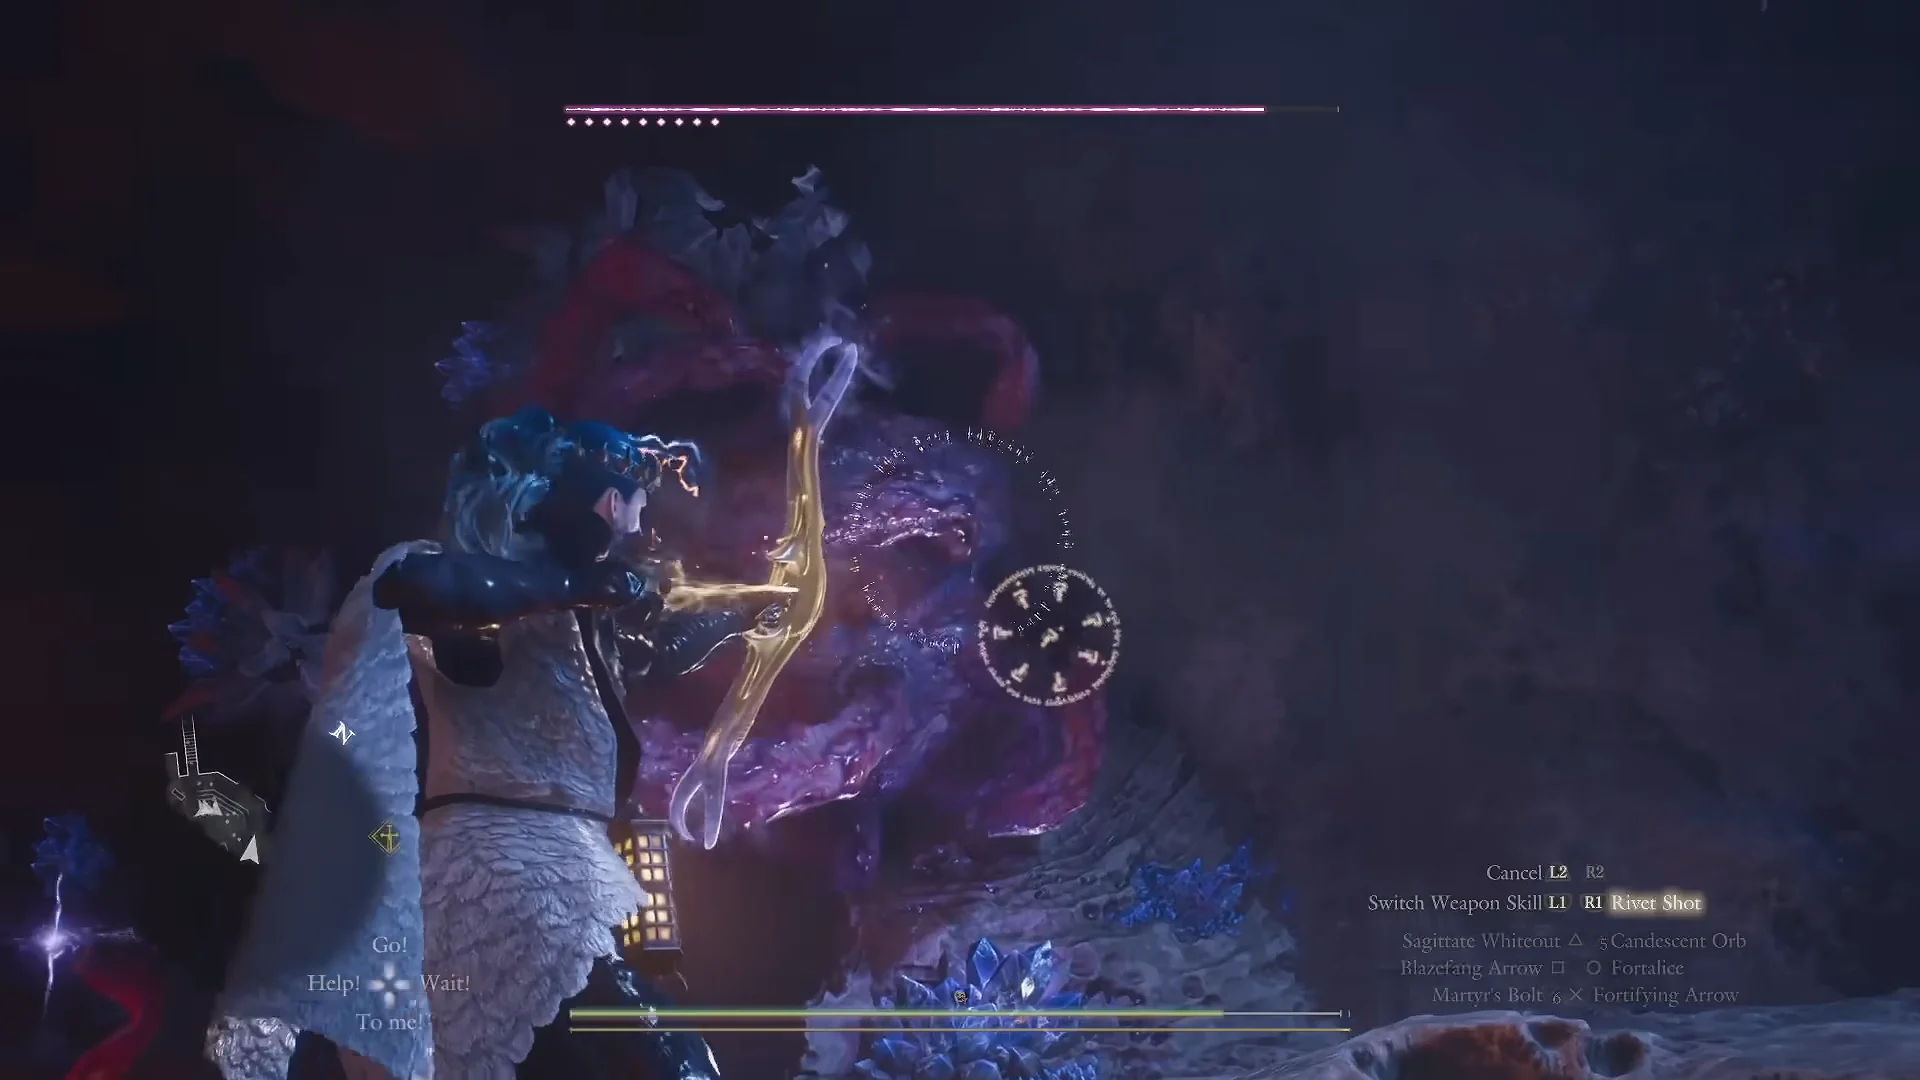
Every Unmoored World trial that matters here funnels toward an Evil Eye, and they all fight the same way. The central eye hides behind an active magical barrier, so your damage means nothing until the shield drops.
- It is weak to Holy and Fire; Ice slows its movement rather than breaking it.
- Keep striking the tentacles around the boss until they’re destroyed, or pick up the smaller eye minions and hurl them at the boss to lower its barrier.
- The shield also falls while it channels a major spell, such as a silence or gaze cast.
- A Magick Archer’s Candescent Orb applies burn that ticks through the shield and strikes several hitboxes at once.
- While it’s stunned or knocked down and its eye is exposed, hit the eye with heavy physical attacks and land a finisher before it recovers.
The three Unmoored World trials
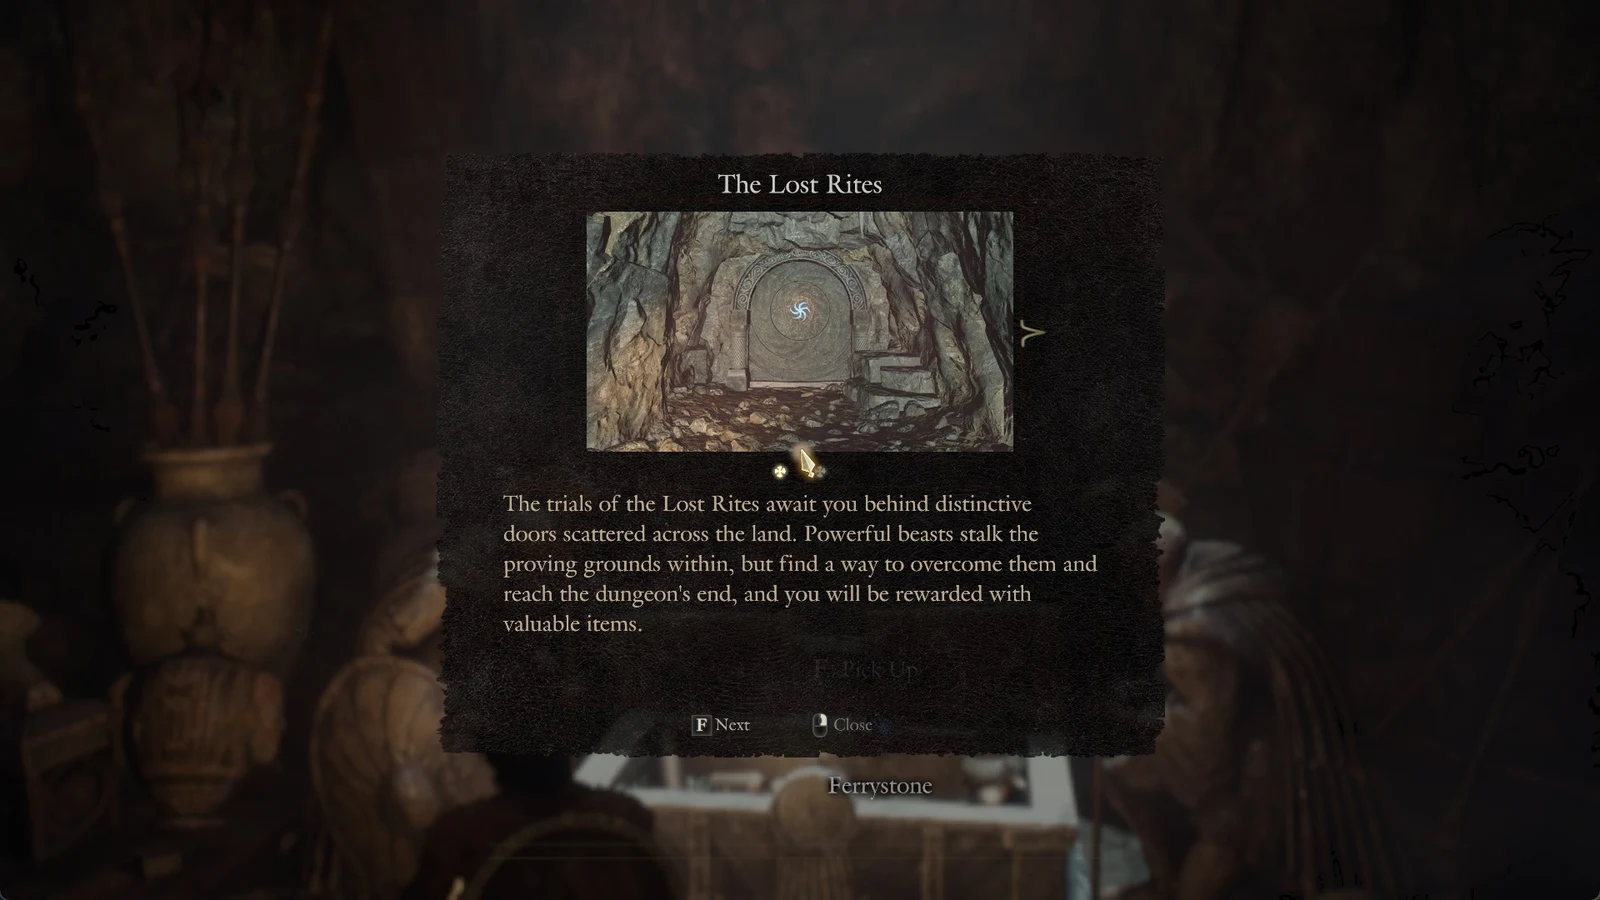
Three Lost Rites live in the Unmoored World. The Molten Gauntlet and the Seafloor Sepulcher stand on their own, and both must be cleared before the Final Proving Ground will let you in.
Molten Gauntlet
Found in the southern magma region, this trial throws fire slimes and lightning lizards at you between swinging lava-rock pendulums. Deactivate the pendulums with the green wall levers, which you can shoot from a distance with a ranged attack. Use the pawn Wait command near the lava so your pawns stop taking damage while you cross.
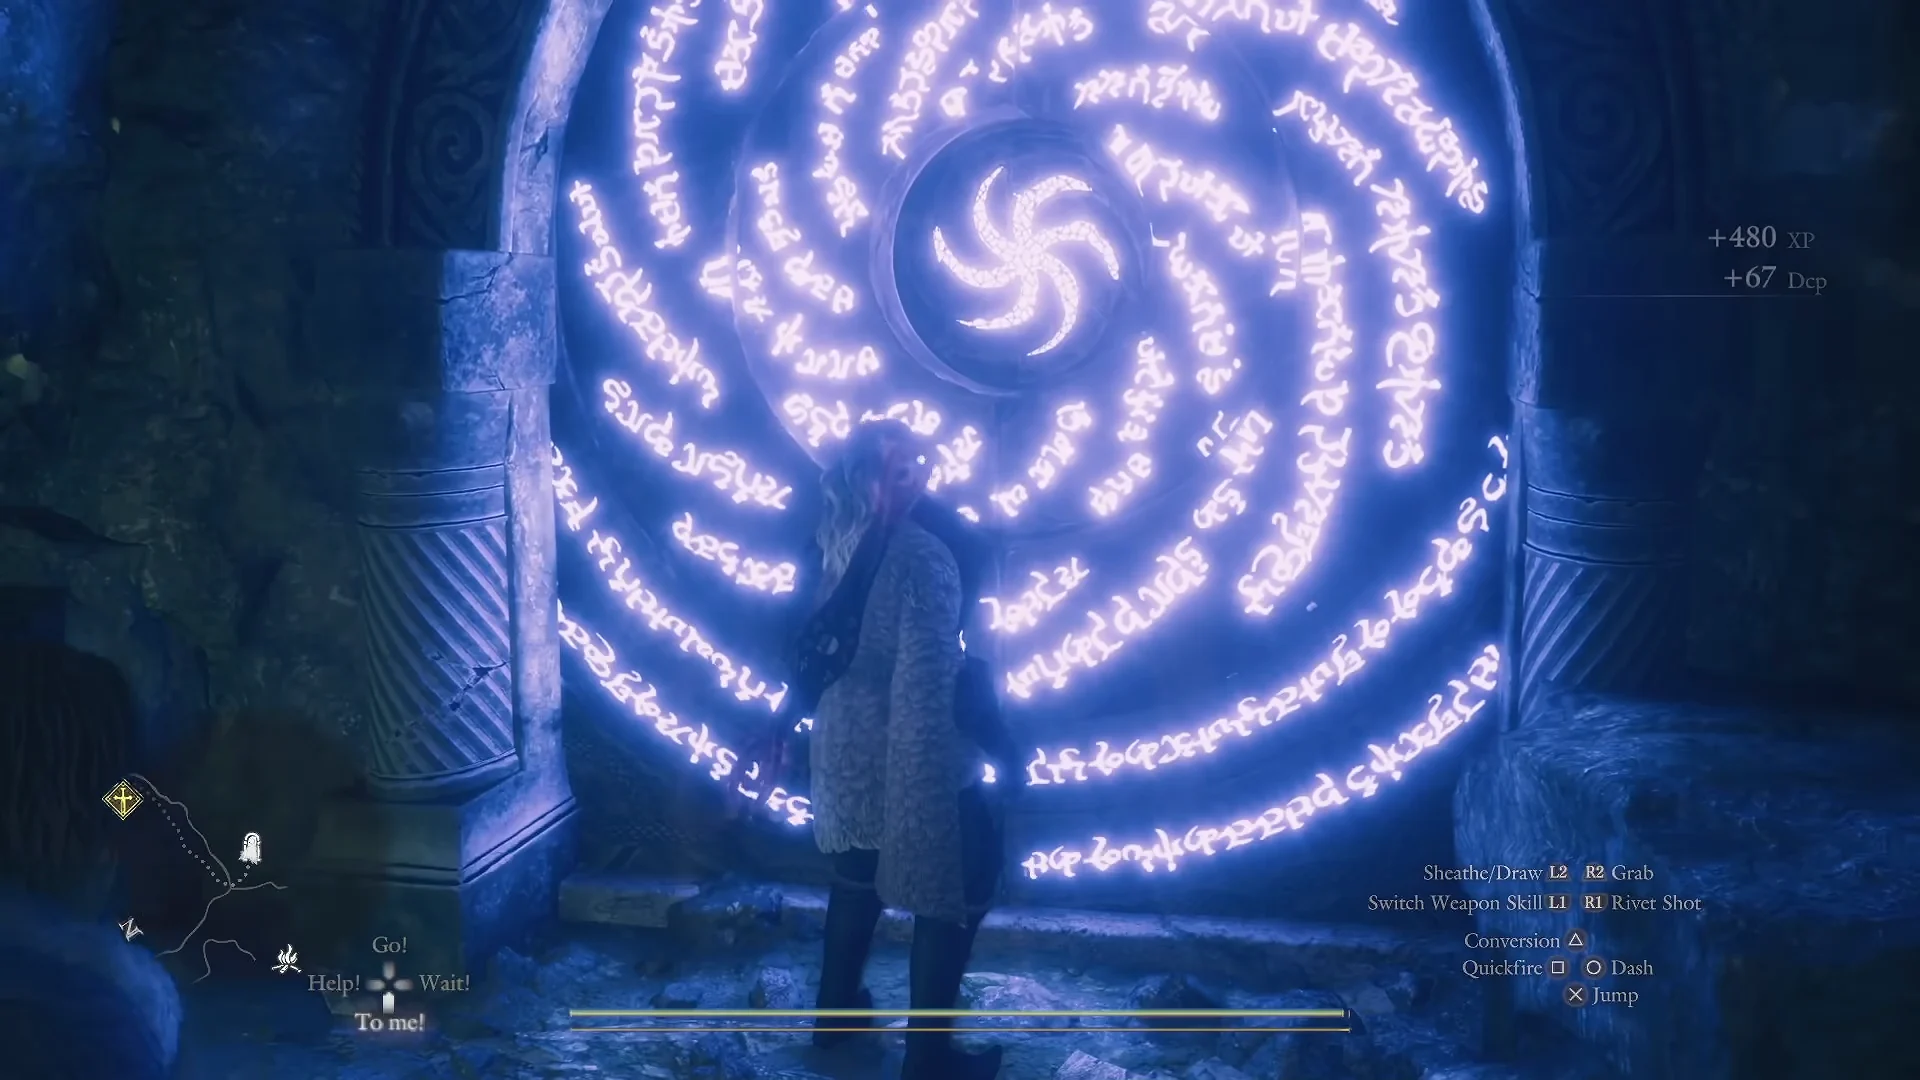
The loot run includes the Thorns of Agony and Horns of Moloch helms, the Grieves of the Mad Sovran, the Mantle of the Sovereign’s Guard, the Ring of Alleviation, the Triumpher’s Guerdon and Reaper’s Tread armor, and the Treatise on Generosity, which makes the Arisen’s curatives also heal nearby party members.
Seafloor Sepulcher
This is the trial that hands you the Ephemeral Key and the weapon vault, covered above. Treat it as the mandatory stop before anything else, since the weapon and its upgrade path depend on it.
Final Proving Ground
Sitting in the north, the Final Proving Ground is a straight run of ten boss rooms, and once you begin, every trial must be conquered before you can leave. Entry requires that you have already conquered both the Molten Gauntlet and the Seafloor Sepulcher.
| Room | Enemy | Reward |
|---|---|---|
| 1 | Drake (ballistas available) | — |
| 2 | Two Ogres | Aged Beast Steak x3 or Wakestone |
| 3 | Three Wargs, then Undead Lord | Ring of Insomnolence x2 |
| 4 | Griffin and Harpies | Two caged pawns (needs gaol keys) |
| 5 | Pustule Dragon, Undead Mage | Allheal Elixir x2 |
| 6 | Dullahan | Rift Crystal and curatives |
| 7 | Two Minotaurs (explosive barrels) | Wakestone x2 or Makeshift Gaol Key x4 |
| 8 | Chimera (goat head active) | Allheal, Stability Extract x4 |
| 9 | Evil Eye | Wakestones, Dragonslayer’s Mantle, Malleating Elixirs |
| 10 | Medusa and Sphinx |  Eternal Wakestone Eternal Wakestone |
Room 9 is your last chance during the trial to absorb an Evil Eye, and it supplies the Malleating Elixirs required for the final room. In Room 10, kill Medusa before the Sphinx, then take the Withered Medusa Head from her body. Hold it up like a lantern and turn its gaze on the Sphinx to petrify it for an instant kill.
Final Proving Ground reward chest
Conquering the Final Proving Ground opens a chest packed with curatives and two rings. The full contents are fixed:
- Fine Fruit Roborant x10 and Harspud Roborant x10
- Stoutness Extract x5, Stability Extract x4, Malleating Elixir x2
- Allheal Elixir x4
- Makeshift Gaol Key x2
- Ring of Awareness x2, Ring of Predominance x1
- Dragonslayer’s Mantle x2
- Wakestone x1
Confirming the clear
You will know the weapon is fully built when its special skills have shifted to the altered variants and the base stats match the Wyrmfire figures above. Reaching the end of the Final Proving Ground awards the Dogma Demolisher badge. If you make it through without recovering your loss gauge, you also unlock the Dogma Defied achievement, which only 0.1 percent of players hold.