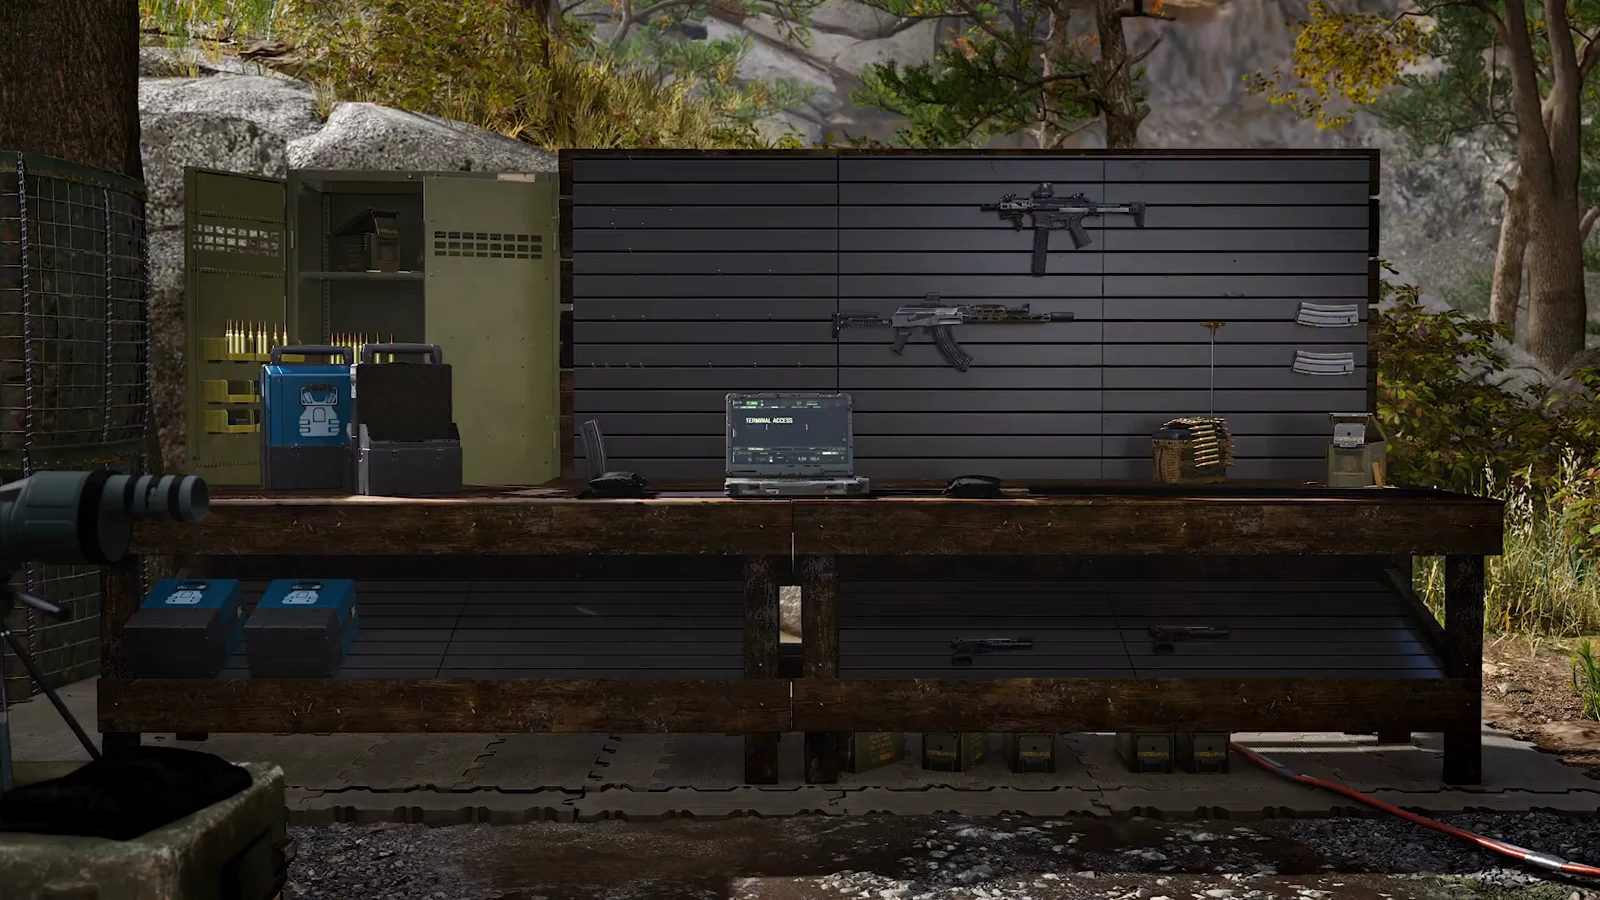
In Call of Duty: Modern Warfare 4, Stranded is the campaign’s 10th mission, and Private Park is the character you play. Base Camp is an underground safehouse, with damaged weapons laid out on its workbenches. Sgt. Jae runs the bench and repairs the guns that Dunn brings in, and each repair costs Supplies.
Quick answer: Look at a broken weapon on a Base Camp workbench and press the repair prompt (E on PC) once your Supplies total covers the cost shown. The four repairs listed below cost between 5 and 30 Supplies each.
Stranded weapon repair costs at Base Camp
The four repairs below appear on the safehouse benches. Each prompt shows its price in Supplies.
| Repair prompt | Cost | Unlocks |
|---|---|---|
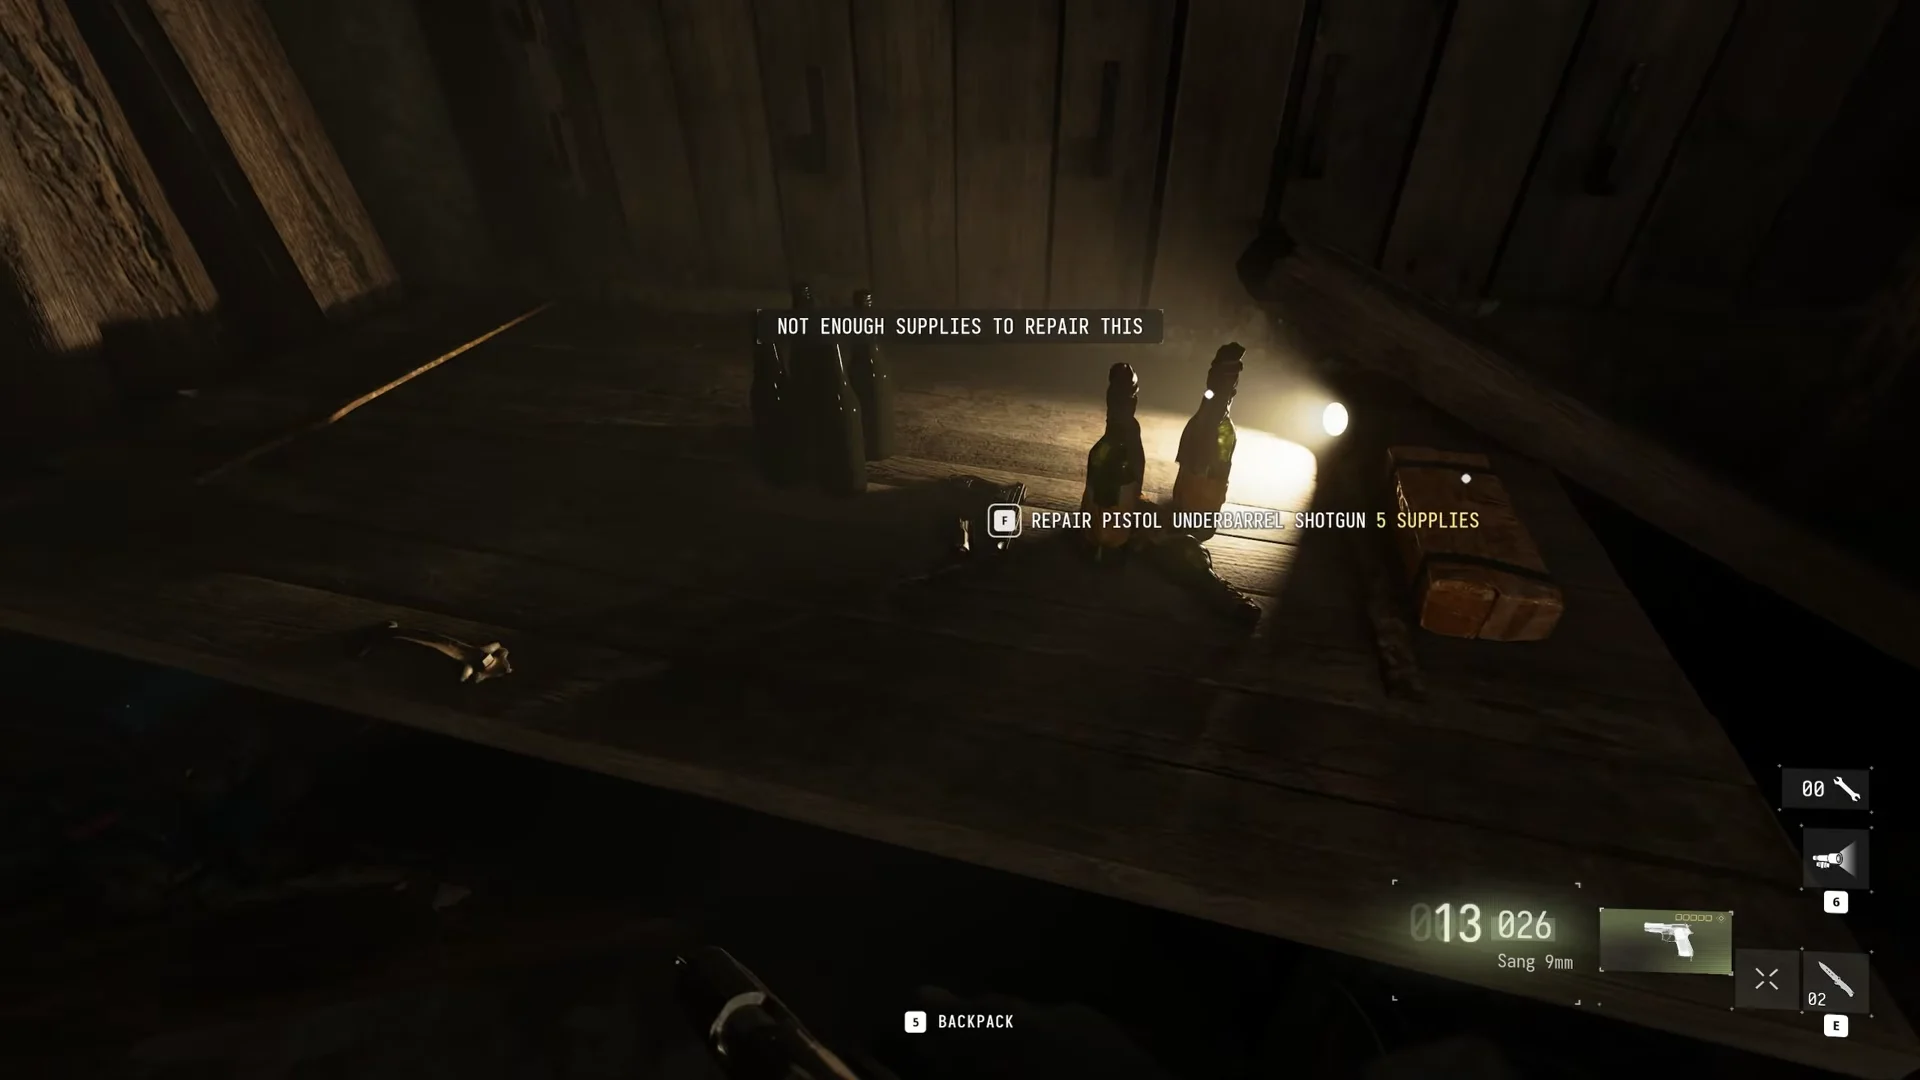
| REPAIR PISTOL UNDERBARREL SHOTGUN | 5 Supplies | — |
| REPAIR SILENCED THERMAL SNIPER | 20 Supplies | Astaroth .57 sniper rifle |
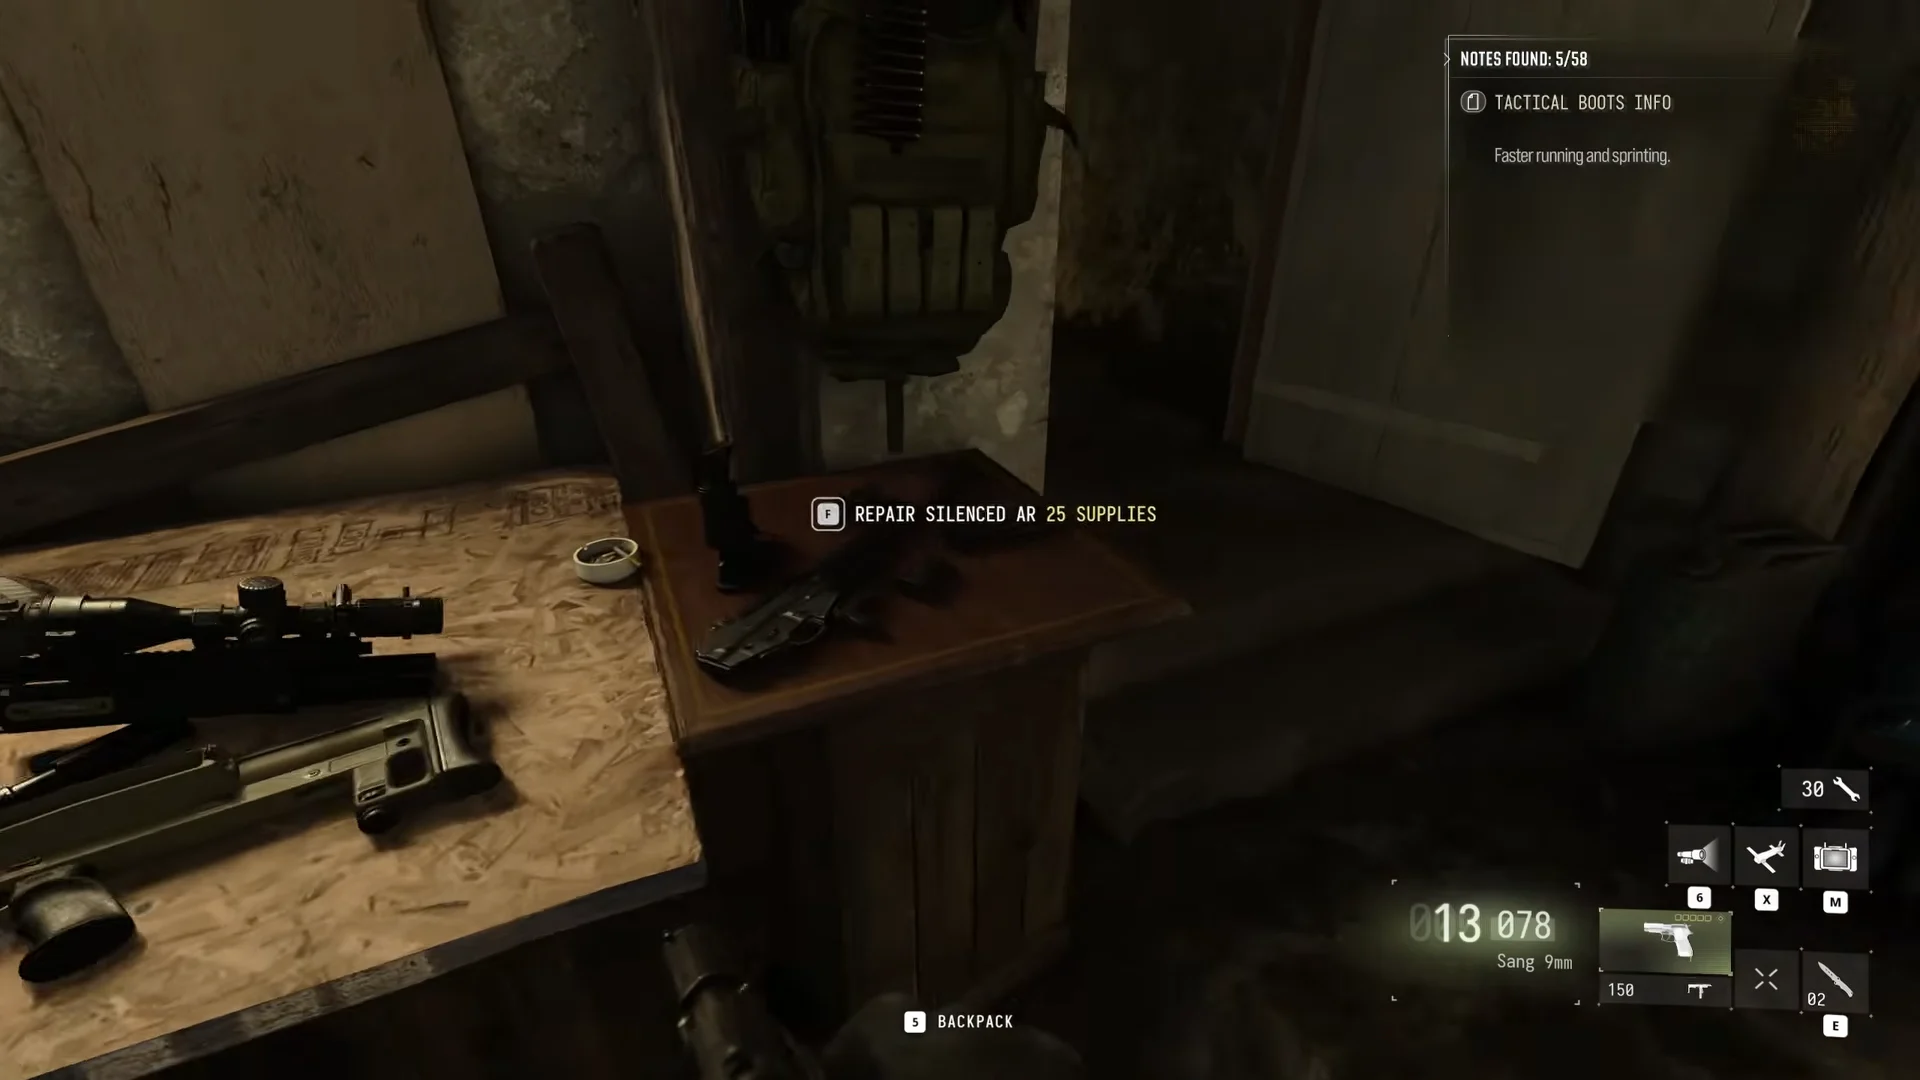
| REPAIR SILENCED AR | 25 Supplies | Han 86 assault rifle |
| REPAIR SCOPED LMG | 30 Supplies | — |
The pistol underbarrel shotgun, the silenced AR and the silenced thermal sniper share the first bench. The scoped LMG sits on a second bench elsewhere in the safehouse.
The Astaroth .57 deserves an early spot in your spending. The Silenced Repair Note next to it on the bench reads:
“Anti-Material Sniper is equipped with a silencer and thermal optics. Is effective against armored vehicles and armored soldiers.”
That makes it a strong pick to fix before the SAM Site defence and the other fights against armour.
How to repair a weapon on the Base Camp workbench
Your Supplies count appears beside the wrench in the HUD’s upper-right corner. Stranded starts you with 0, so your first stop at the bench is just for browsing. Any prompt you inspect displays “NOT ENOUGH SUPPLIES TO REPAIR THIS” until you have enough to pay its cost.
A successful repair shows “New Weapon Unlocked on Gun Wall” along with the weapon’s name, such as the Han 86 or the Astaroth .57. The repaired gun is now yours.
How to get Supplies in Stranded
Supplies serve as currency and can be collected throughout the open map, so your choice of route away from Base Camp matters.
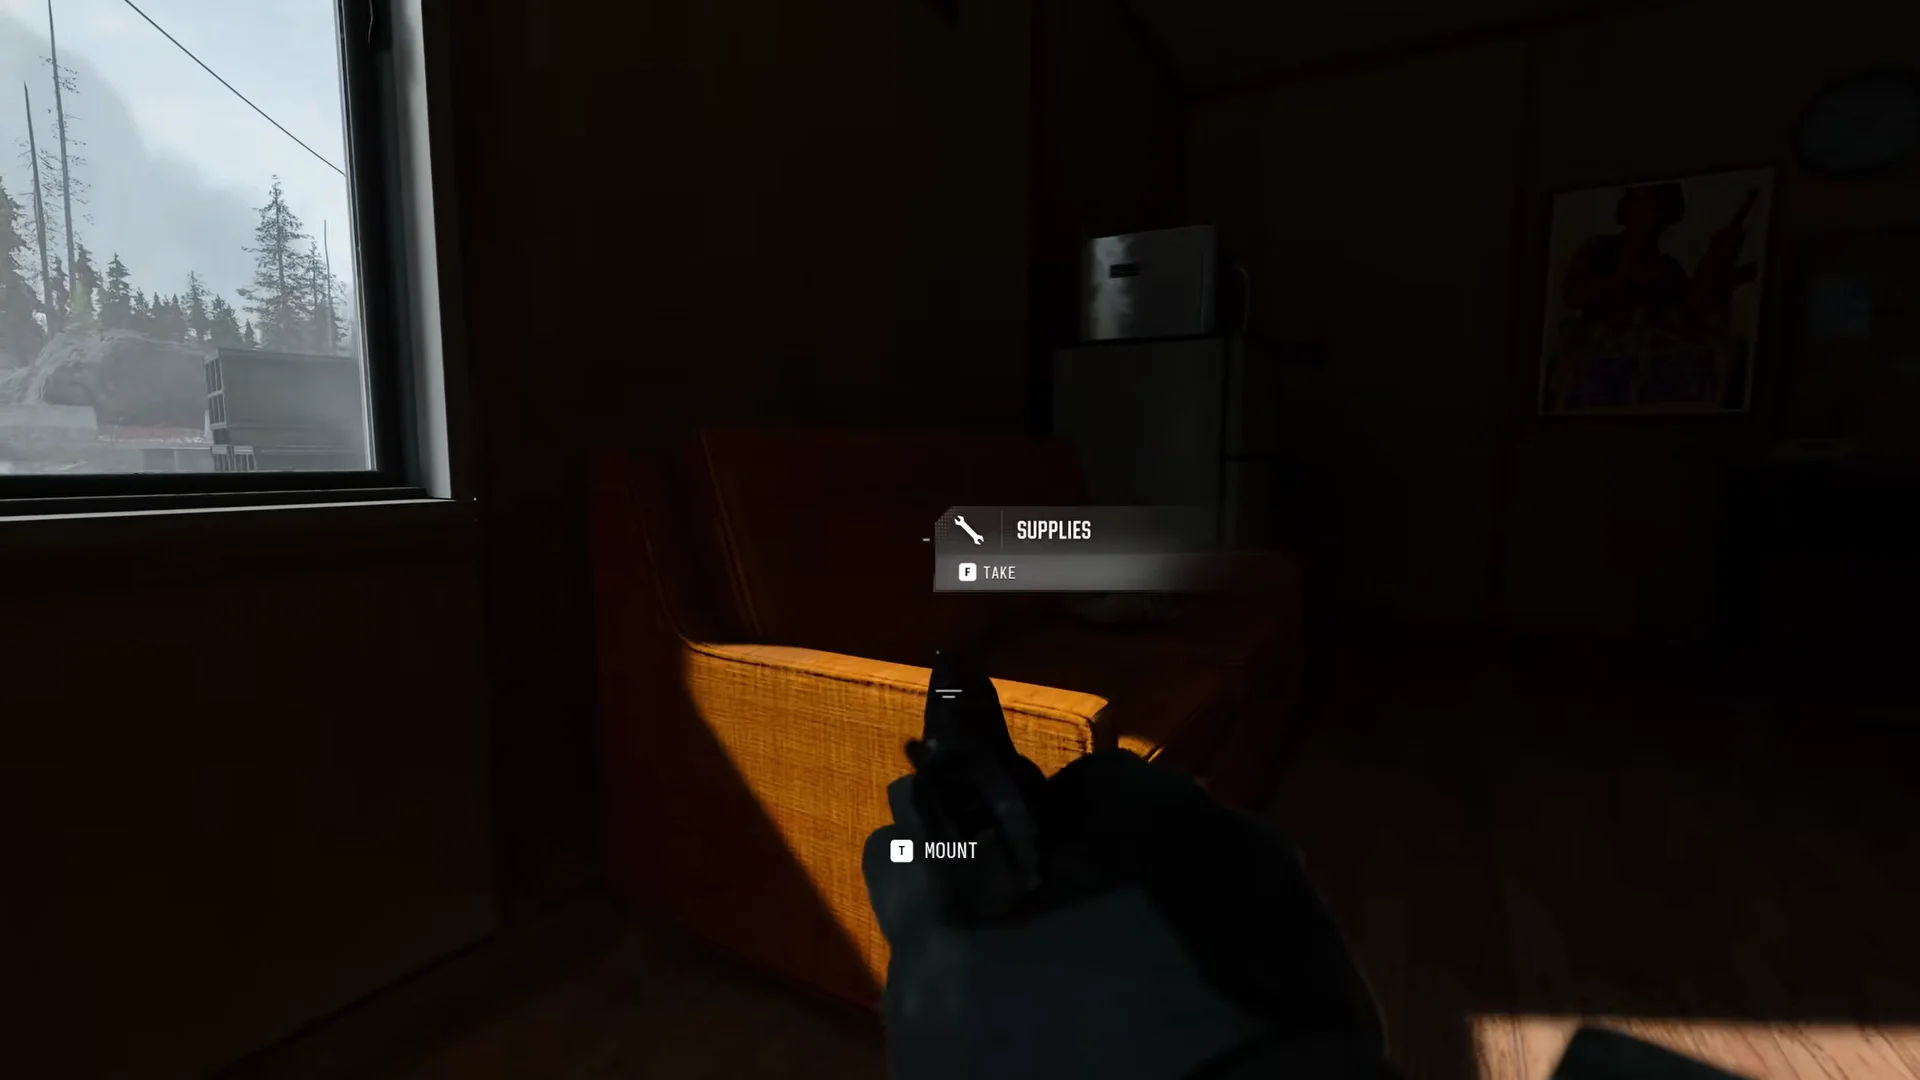
These spots hold Supplies:
- The small outpost building, on the cabinet next to the sofa
- The damaged hangar near the Jamming Station, on the upper shelf
- Offices in the outbuildings, on the desks
You don’t need to clear the map to afford the cheaper repairs. Checking the outposts on your way to each objective is enough.
Free gear on the Base Camp table
Some items in the safehouse are upgrades rather than repairs. They cost no Supplies and appear on the table as the mission goes on:
- Parachute: Take one beside Sgt. Jae at the start using the “TAKE PARACHUTE” prompt. When the Jamming Station tower comes down, select “DEPLOY PARACHUTE” to use it.
- Backpack Upgrade: appears after the first objective and adds space for an extra weapon.
- 2-Plate Armor Vest: appears before the Bunker objective.
- Night Vision Goggles: appear before the Bunker objective, which recommends them on its tac-map card.
The bench also holds info notes on other gear, including “TACTICAL BOOTS INFO: Faster running and sprinting.” and a “SNOW GHILLIE SUIT INFO” note.