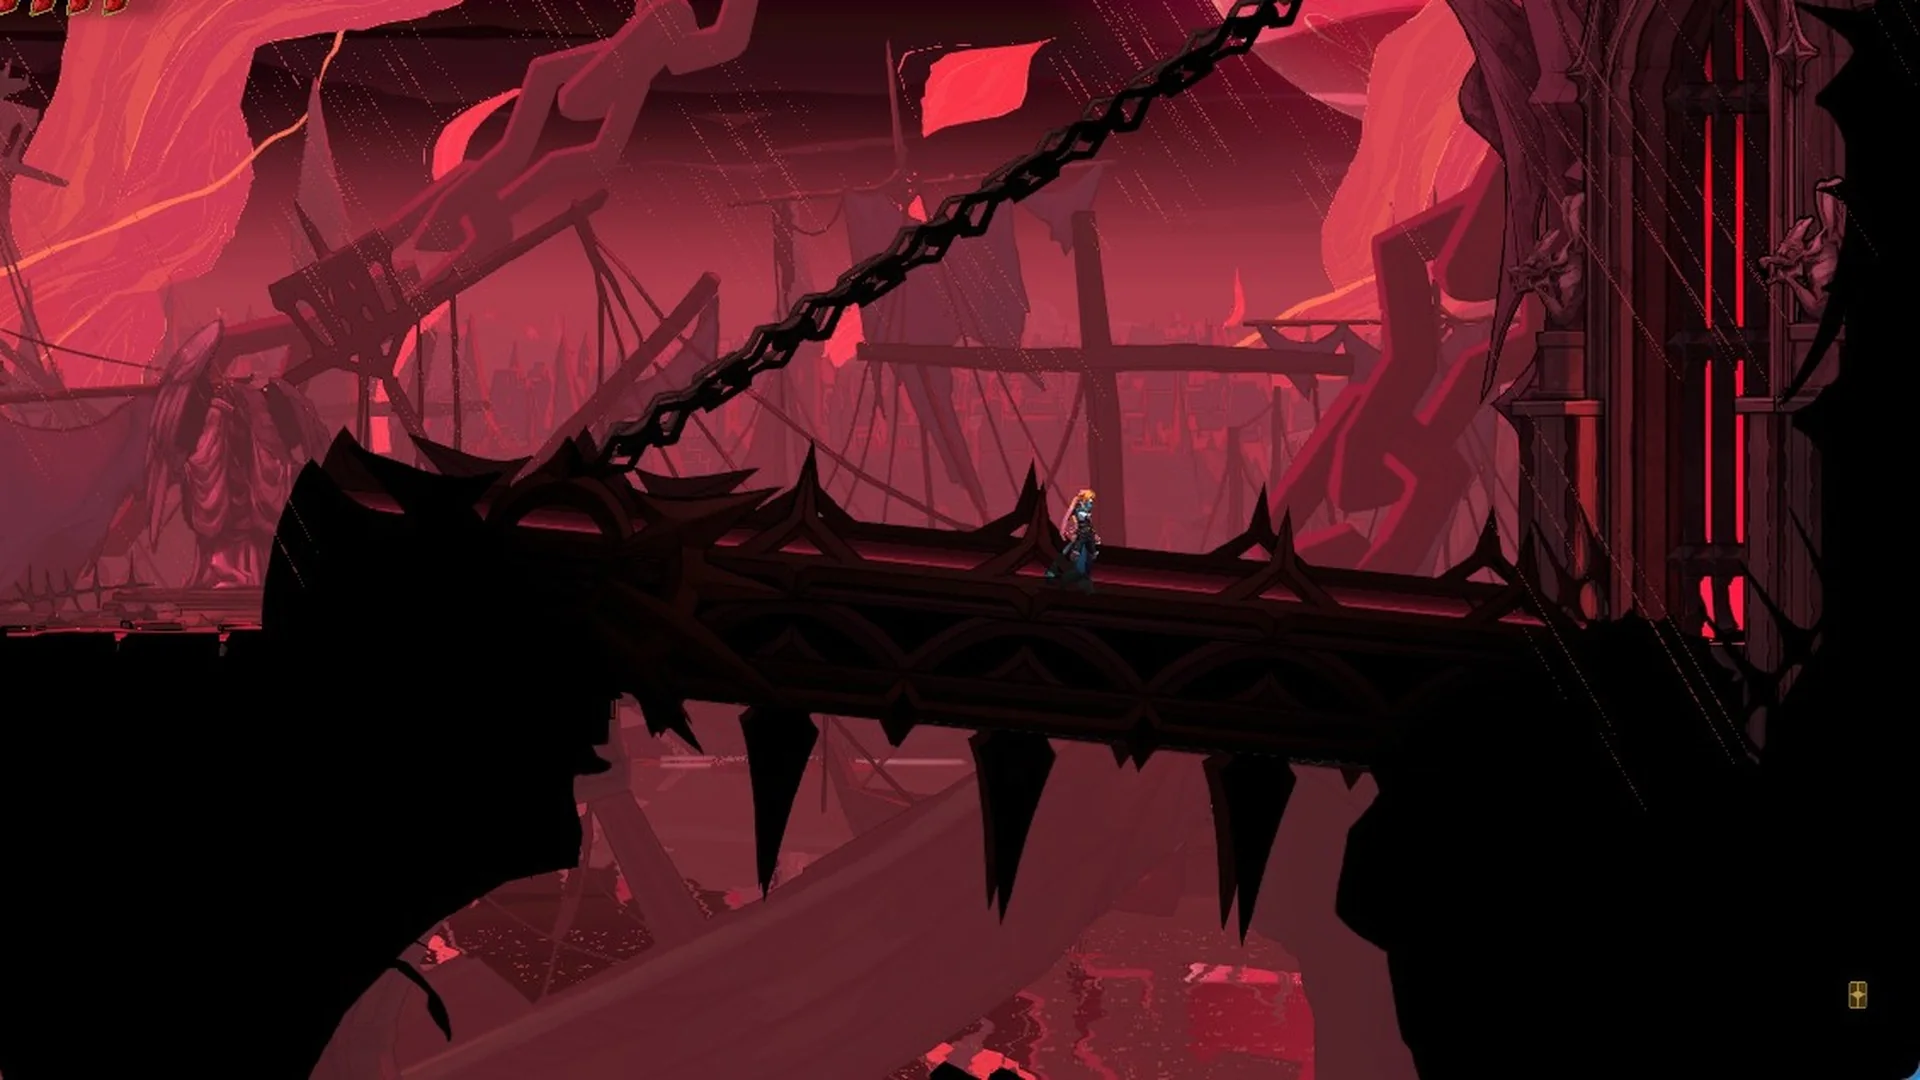
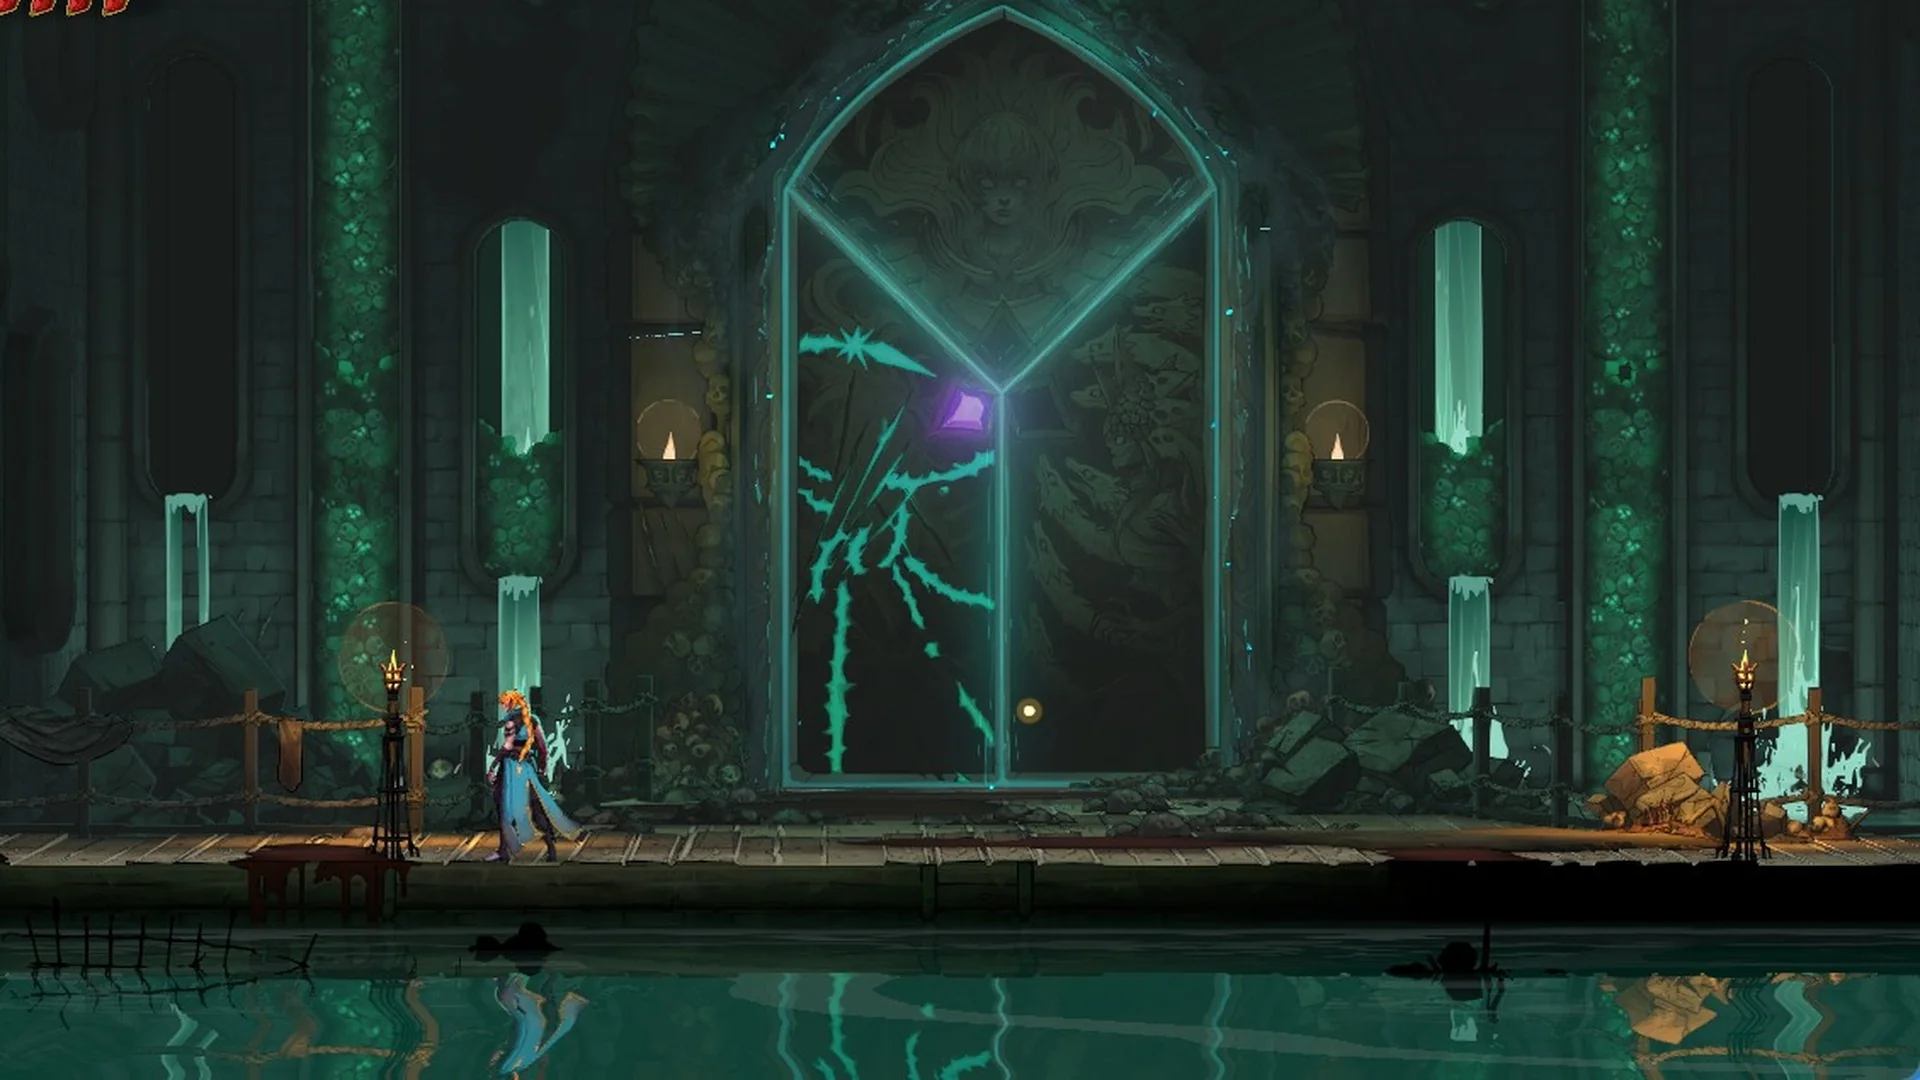
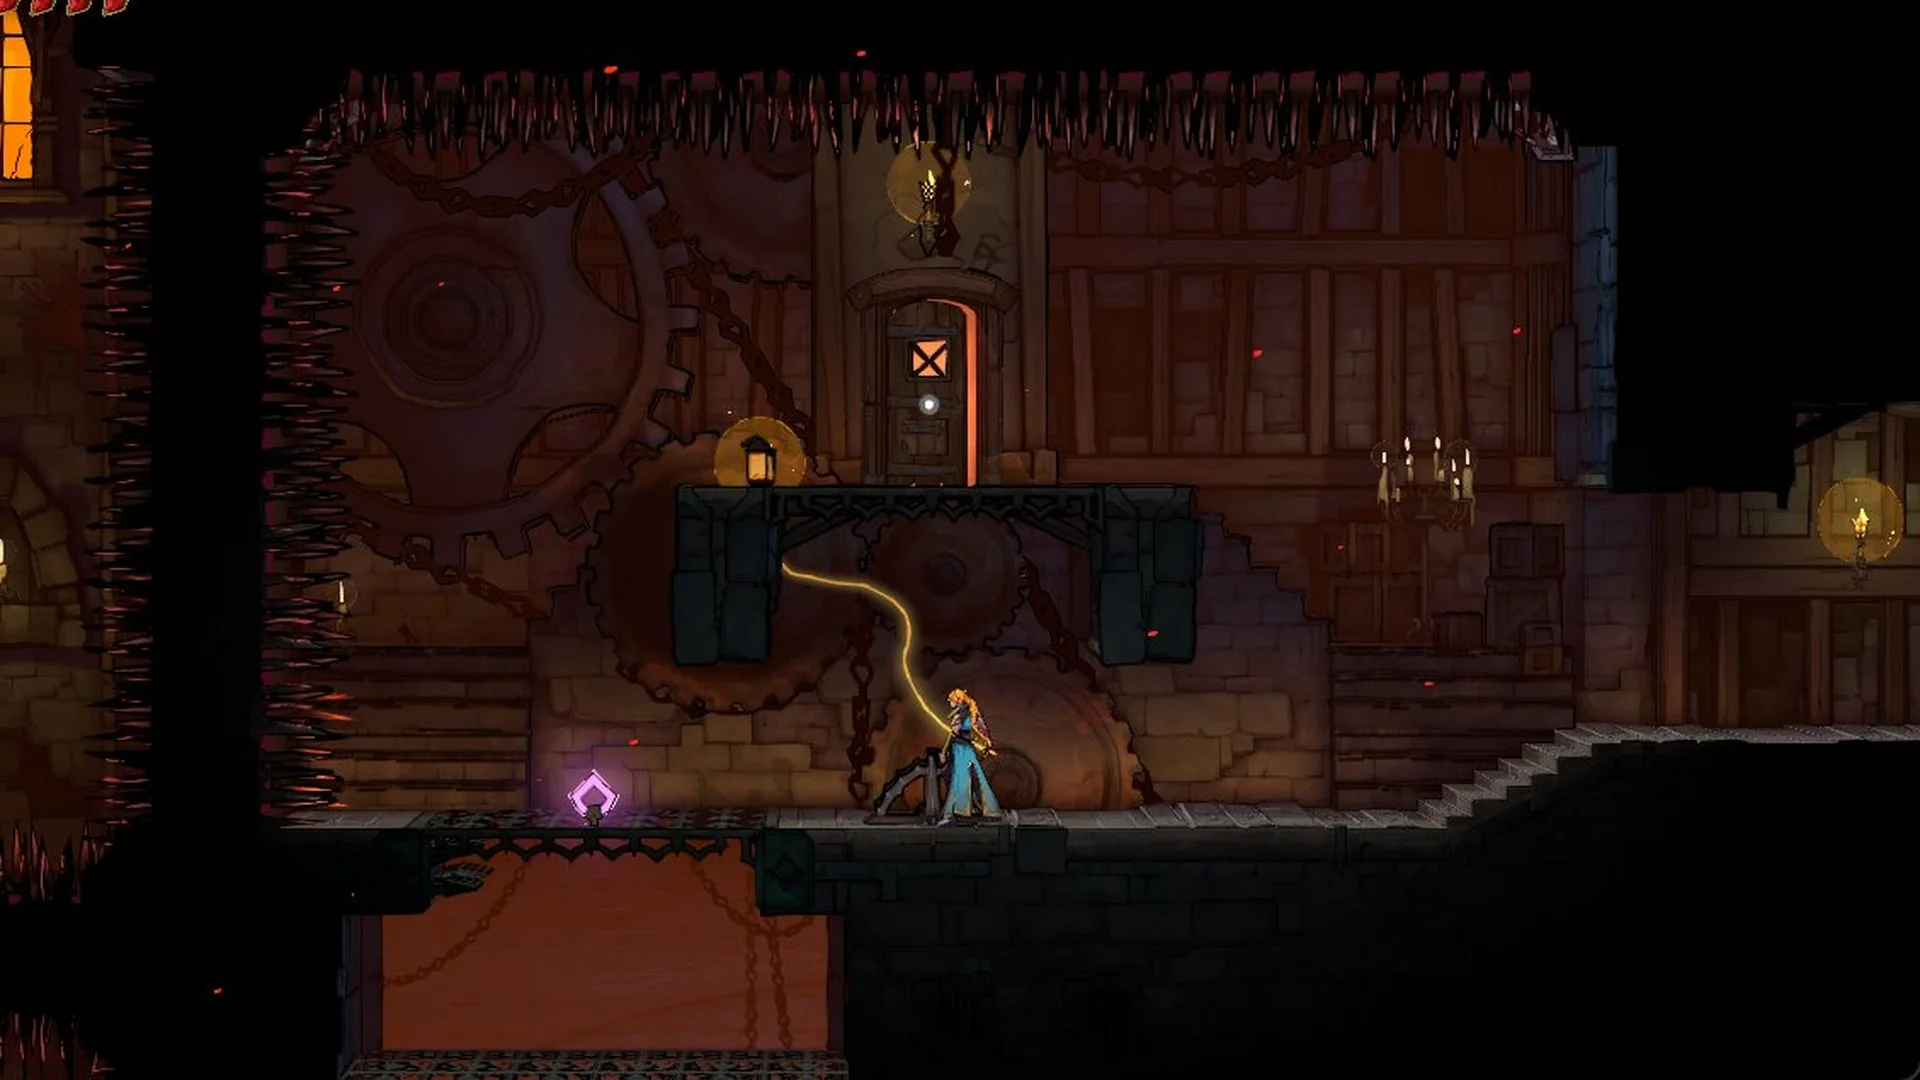
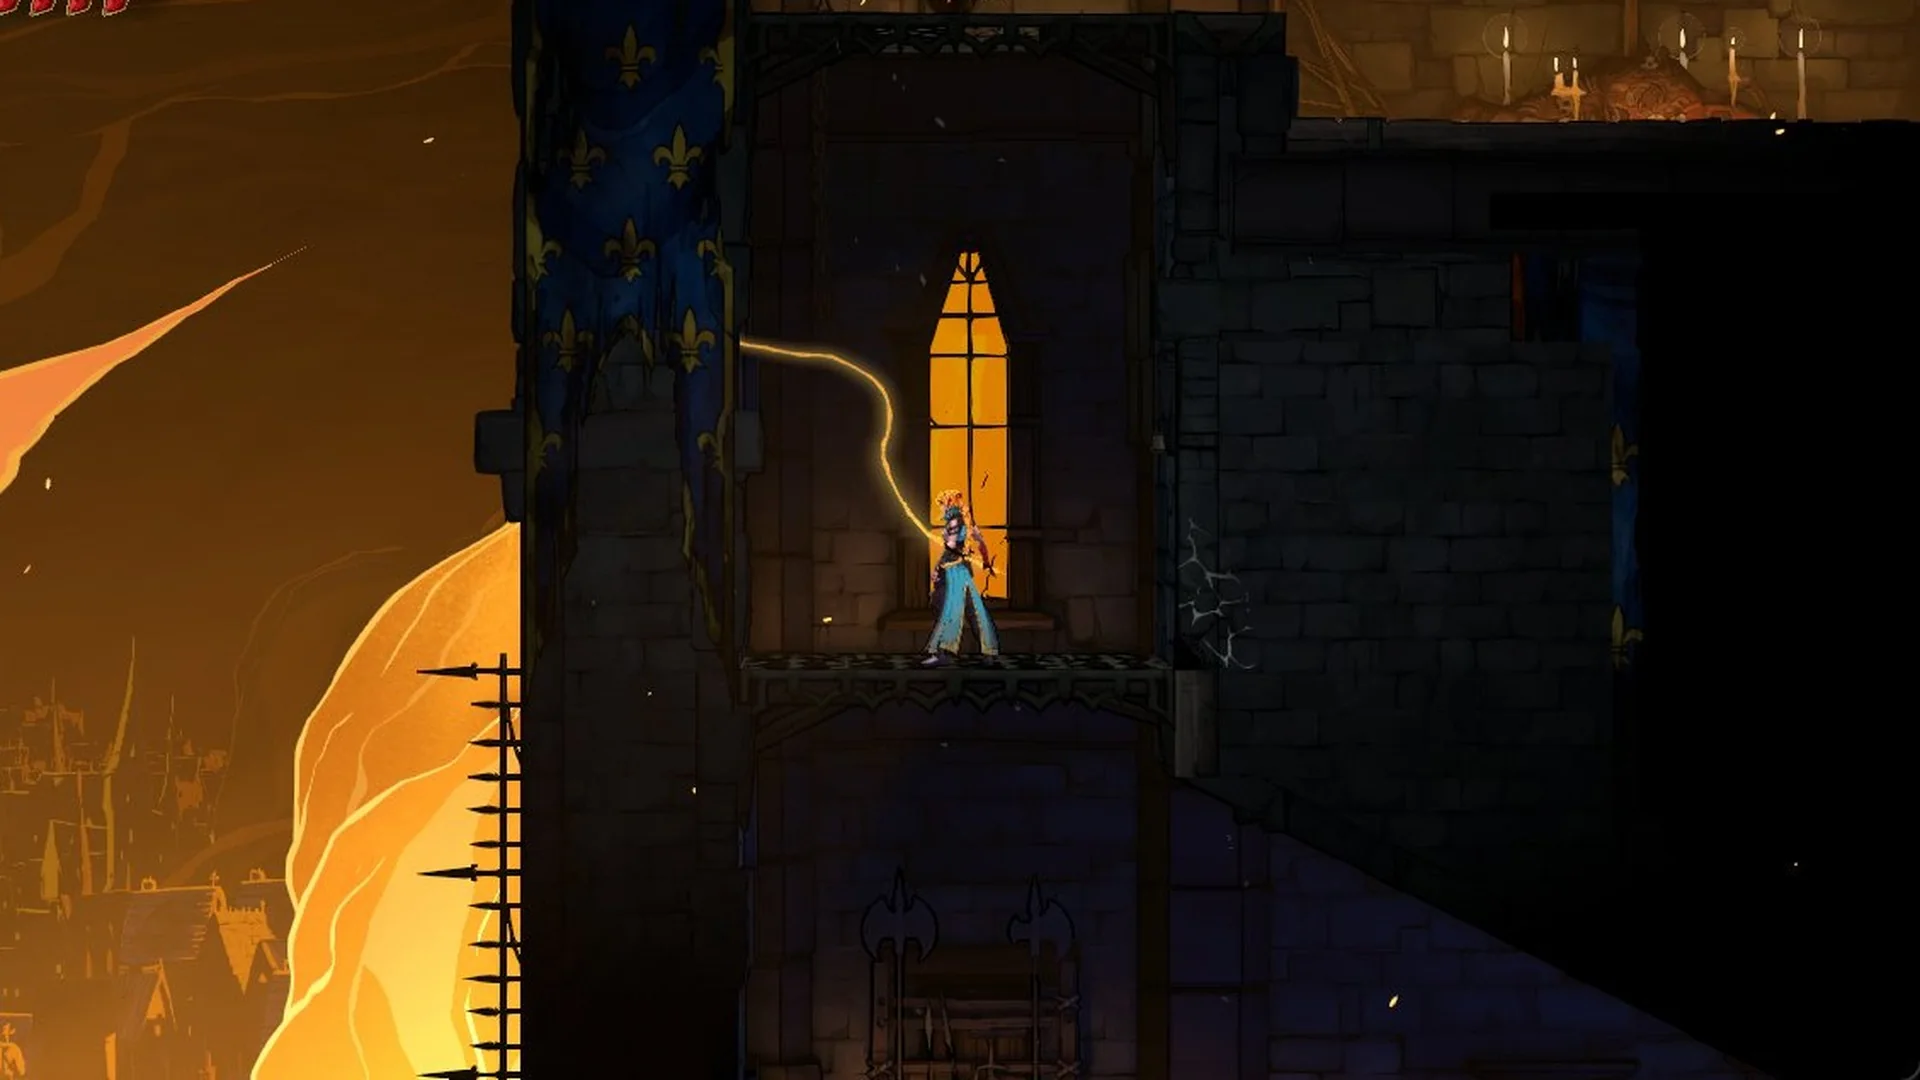
Chapter 4 of Valor Mortis, Dark Descent, takes William underground into the Caverns. It hides more healing upgrades and Ambers than any chapter before it. Valor Mortis has no in-game map, so every route below starts from a named Lantern and uses landmarks you can see from that checkpoint. Several pickups also require Stasis, the Transmutation William unlocks partway through the chapter.
Quick answer: Chapter 4 has 13 upgrades. That is seven Ambers, four Ferrofluid Flask Power Upgrades and two Empty Ferrofluid Flasks. Two come from Louis, one comes from the Quarry and the rest are in the Caverns.
Chapter 4 Amber and Flask upgrade checklist
Use the table to check what you still need. Each entry lists the Lantern to start from. None of these items is permanently missable, so you can fast travel back later for anything you skip.
| Upgrade | Start Lantern | How you get it |
|---|---|---|
 Empty Ferrofluid Flask | Abandoned Church | Buy from Louis |
 Ferrofluid Flask Power Upgrade | Abandoned Church | Buy from Louis |
| Ferrofluid Flask Power Upgrade | Valley of Ashes → Quarry | Chest at the top |
 Dominatus | Caverns → Last Sunlight | Miniboss drop |
 Lucky Shot | Caverns → Last Sunlight | Chest by boats |
 Bottomless Well | Caverns → Last Sunlight | Homesick reward |
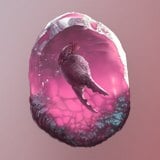 Lunatic’s Grasp | Caverns → Weeping Ledge | Chest by golden vines |
 Perfectionism | Caverns → Old Mine | Chest behind Eternal Guardian |
| Empty Ferrofluid Flask | Caverns → Old Mine | Chest past rotating platform |
 Surplus | Caverns → Old Mine | Chest in crate puzzle |
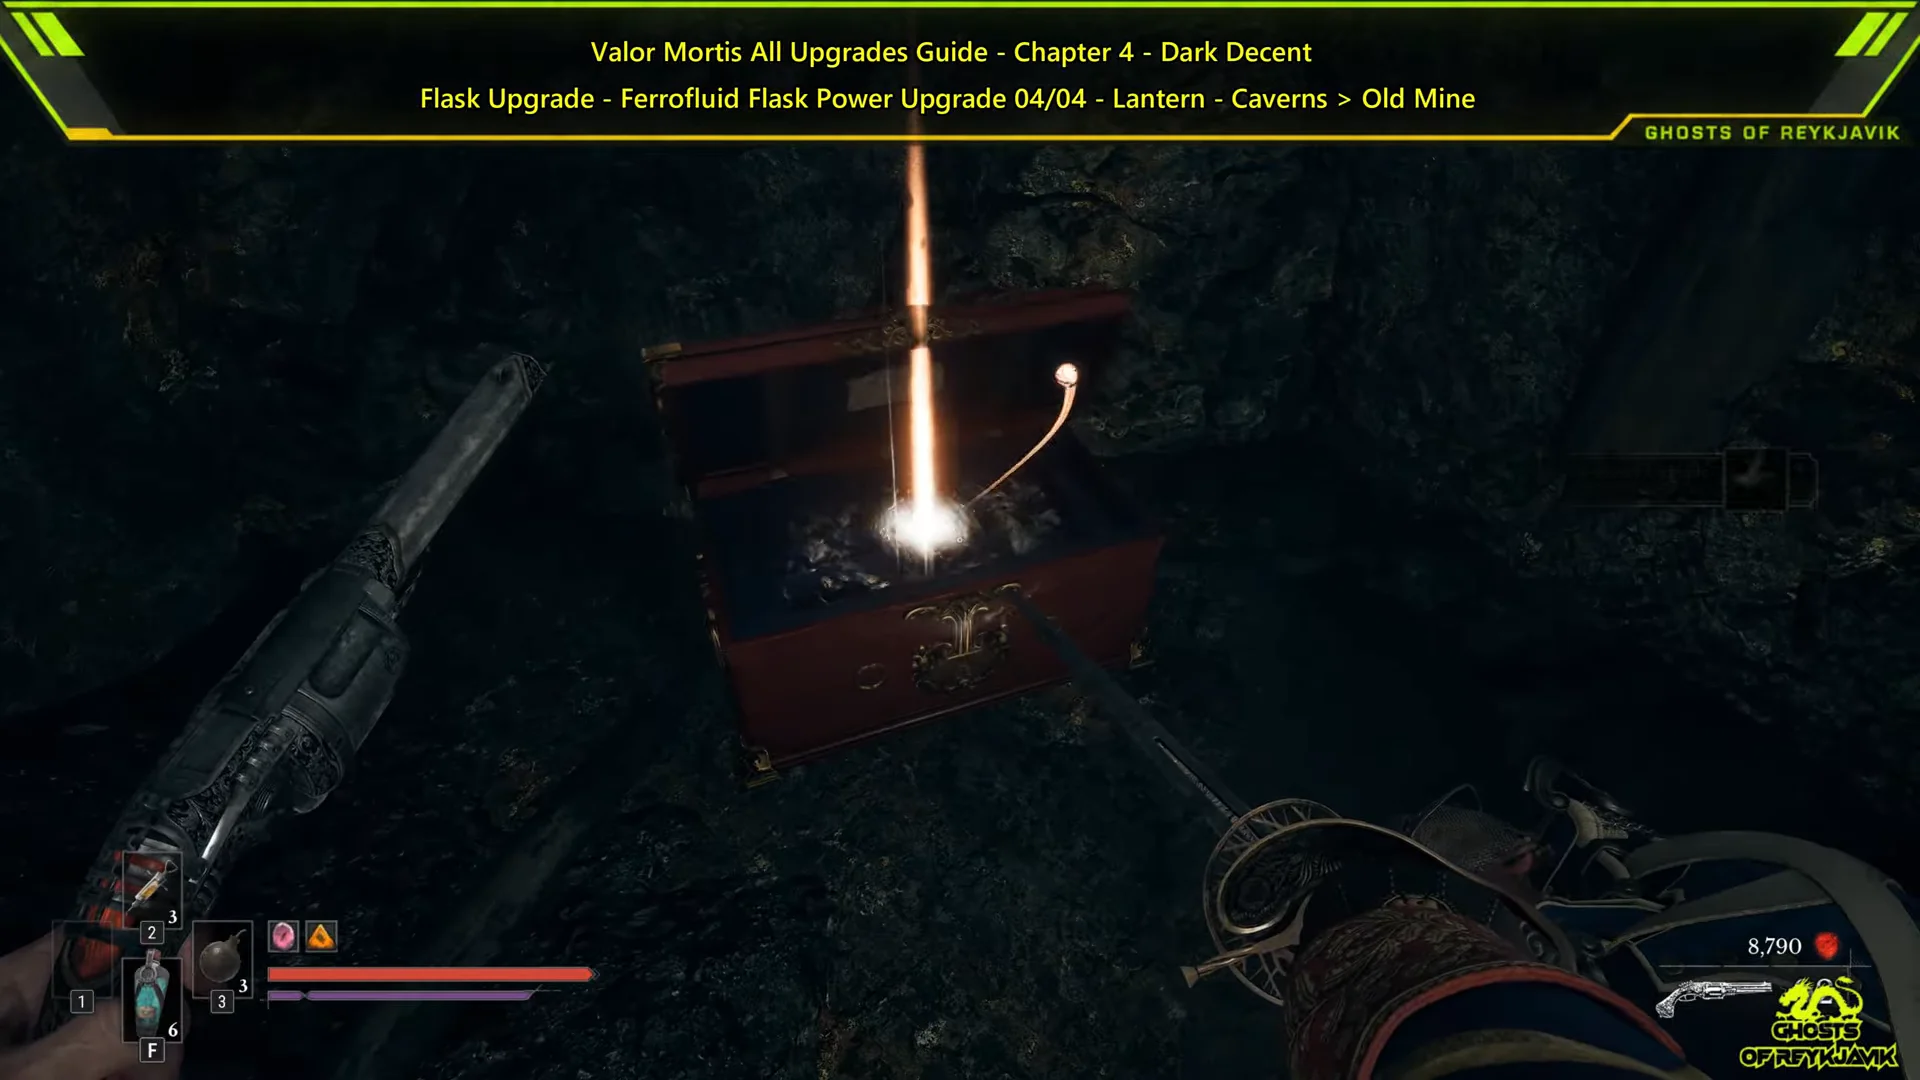
| Ferrofluid Flask Power Upgrade | Caverns → Old Mine | Chest in crate puzzle |
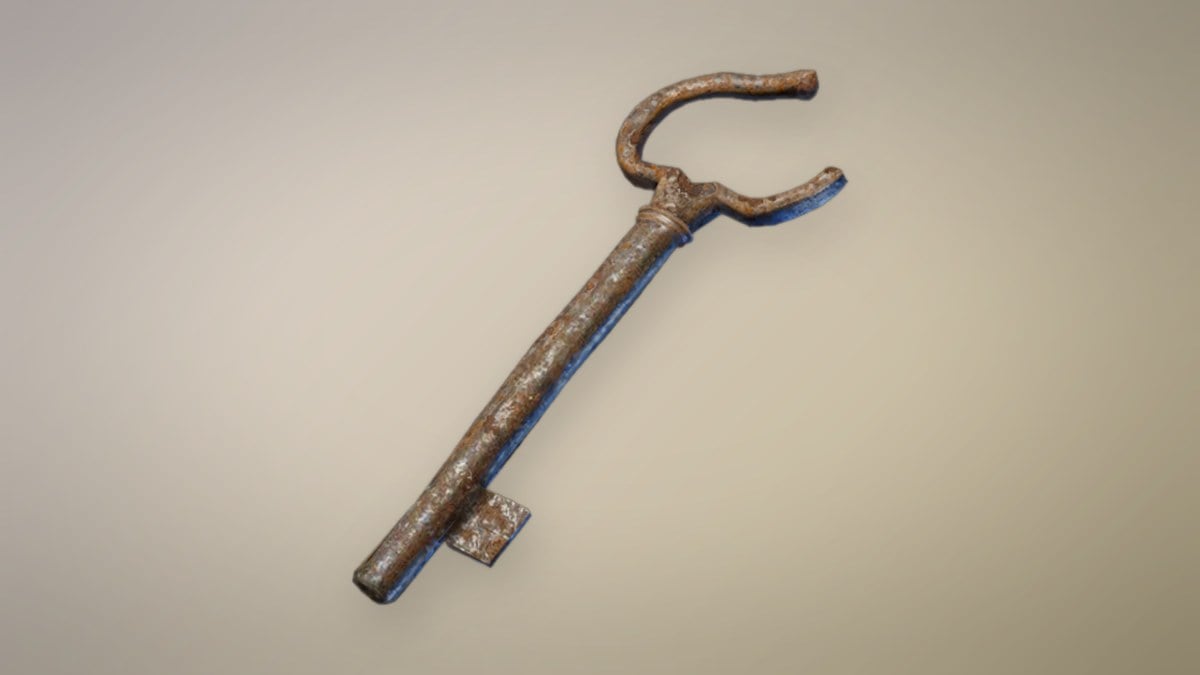
| Ferrofluid Flask Power Upgrade | Caverns → Old Mine | Behind Mining Shaft Key door |
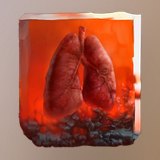 Limit Break | Caverns → Old Mine | Chest past broken walkway |
Flask upgrades to grab before entering the Caverns
Louis’s Laboratoire at the Abandoned Church
After you rescue Louis at the end of Chapter 3, his stall at the Abandoned Church Lantern sells two Flask items. These are menu purchases, so there is no chest to find. The Empty Ferrofluid Flask costs 5,000 Catalysts and adds one more Flask charge. The Ferrofluid Flask Power Upgrade costs 3,000 Catalysts and raises how much each Flask heals. If you are short on Catalysts, come back once you have more. Louis keeps one of each in stock.

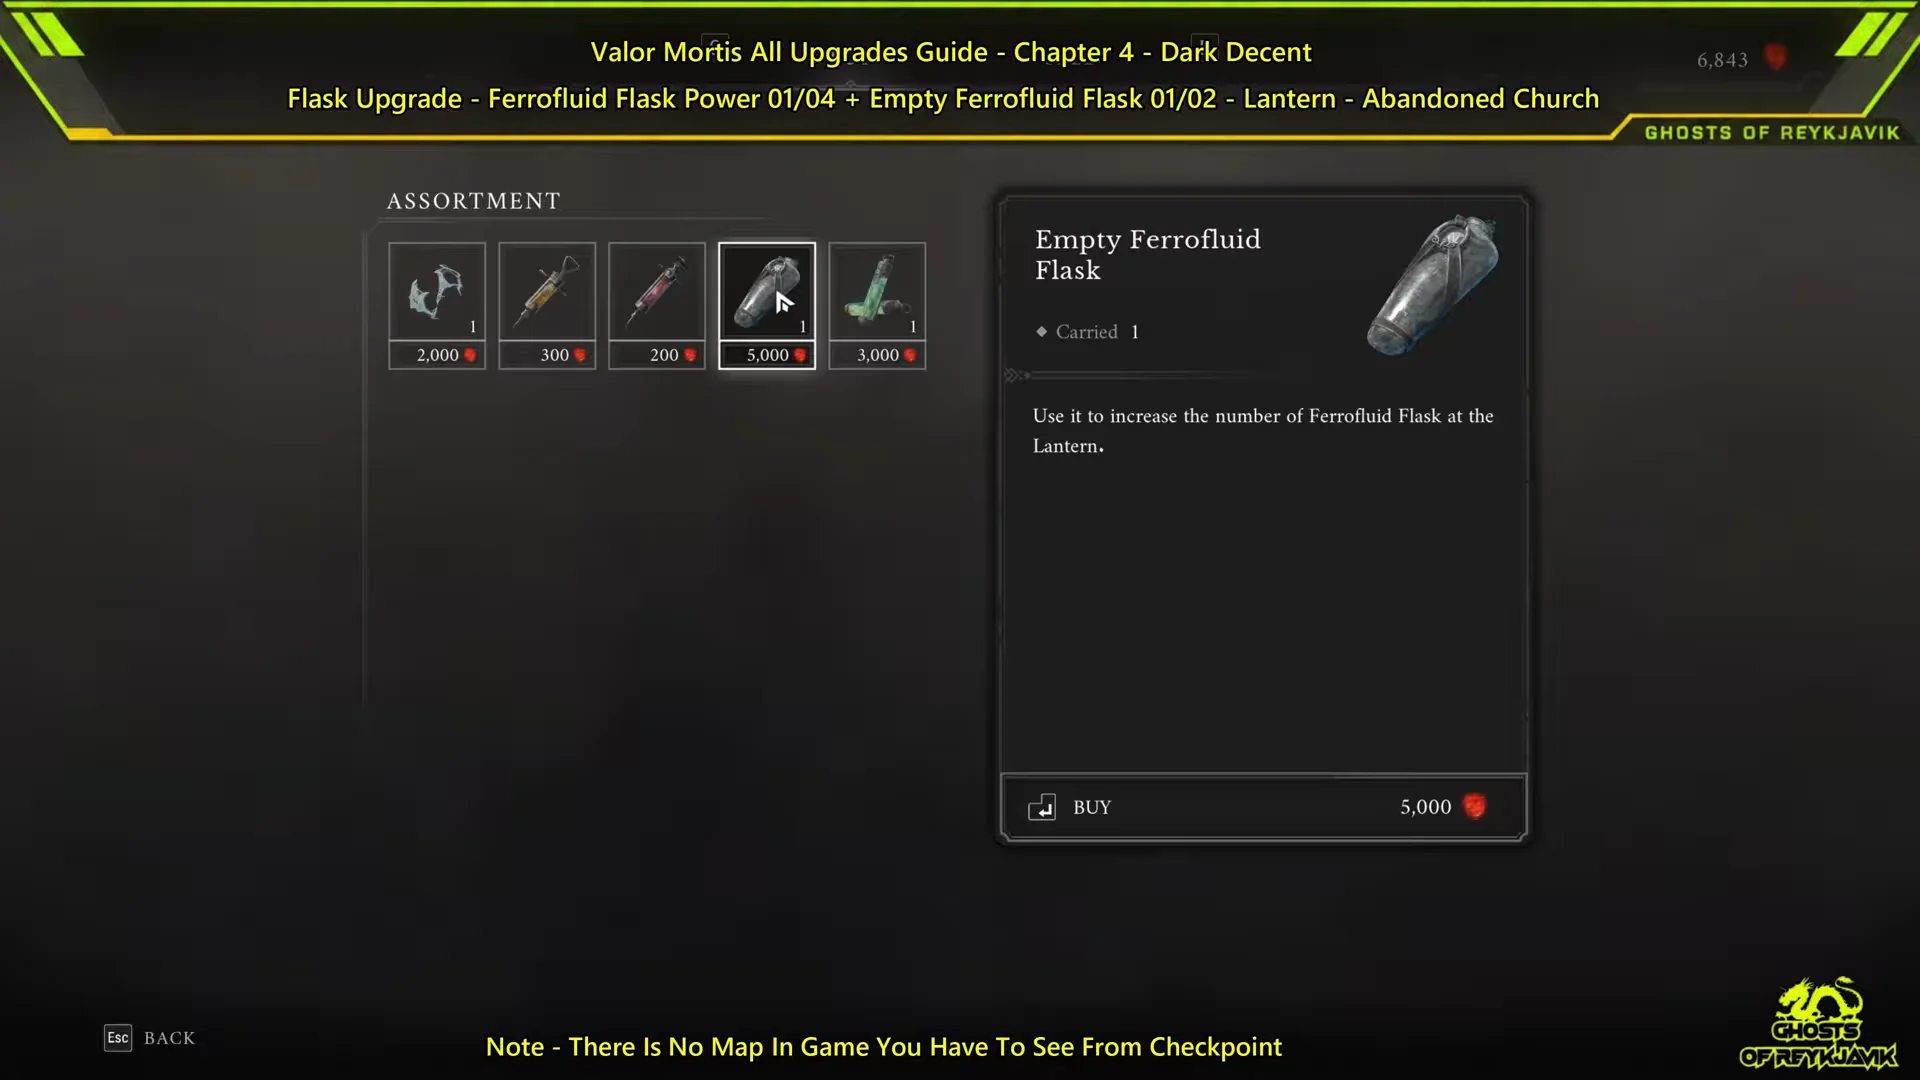
While you are at the church, speak with James to get the Cave Grotto Key. It opens the door past the grapple gap that leads into the Caverns.
Quarry Power Upgrade in the Valley of Ashes
Use fast travel to reach the Quarry Lantern, then take the elevator ahead up one level. Once you reach the top, pivot and grapple to the opposite side, an area you couldn’t access earlier. Lower the crate and ride it upward to reach additional grapple points. Fight through to the topmost platform; a Volunteer remains out of sight until you approach. Before using the zipline back down, open the chest beside it to collect the Ferrofluid Flask Power Upgrade.

Last Sunlight Ambers: Dominatus, Lucky Shot and Bottomless Well
All three Ambers here are reached from the Last Sunlight Lantern, the first checkpoint in the Caverns. The large cavern past the small camp contains two of them. The third comes from the Homesick side quest, and its route runs through that same cavern.
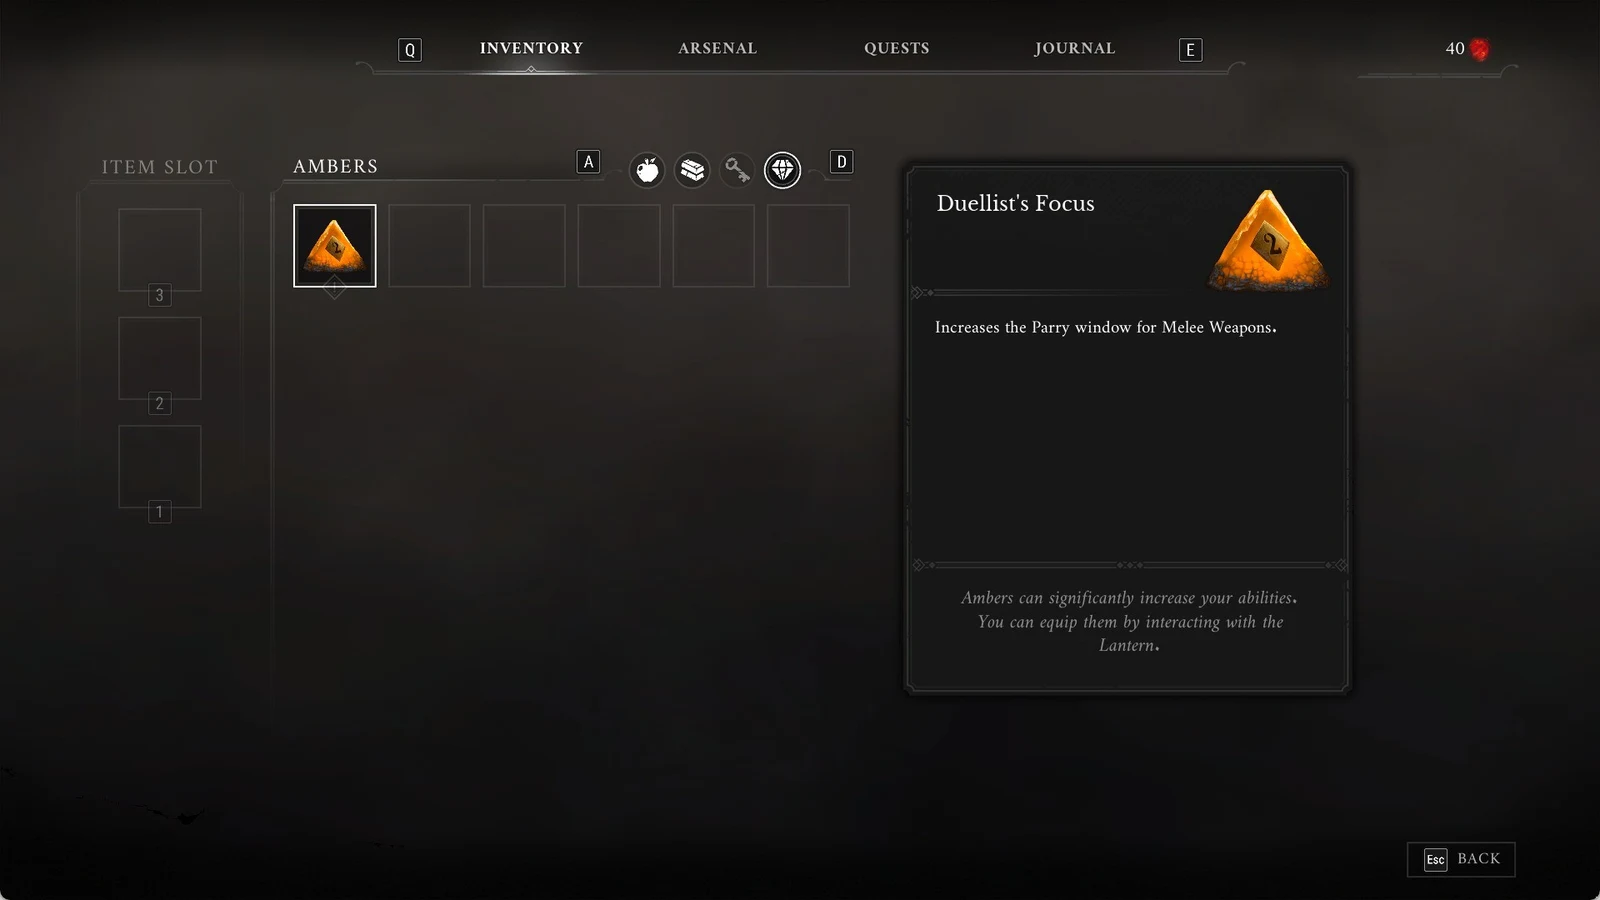
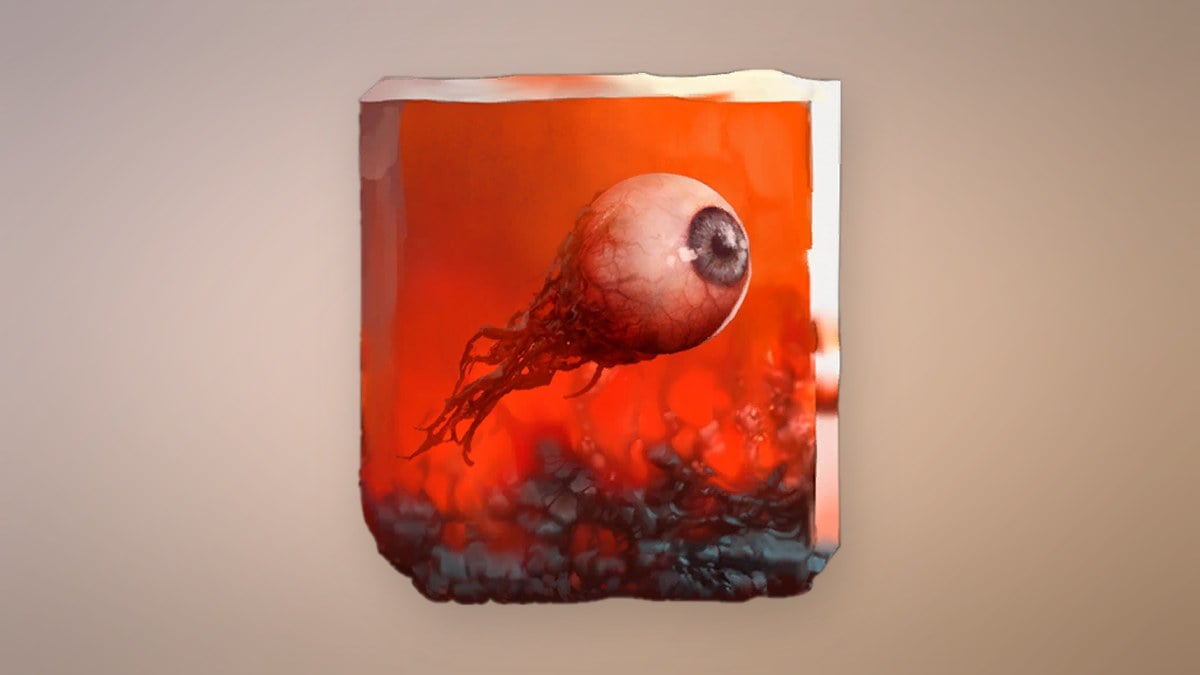
Dominatus
In the big enemy-filled cavern, keep to the left side until you reach a campfire. A red-eyed Shambling Civilian miniboss waits there with regular enemies. Spewers on the ceiling above the area spit at you, so kill them first. Then pull the smaller enemies away so they cannot surround you. When the miniboss dies, it drops Dominatus along with Pure Blade Material. If you picked up Dominatus in the Military Camp in Chapter 2, this copy raises it to rank 2 out of 3.
Lucky Shot
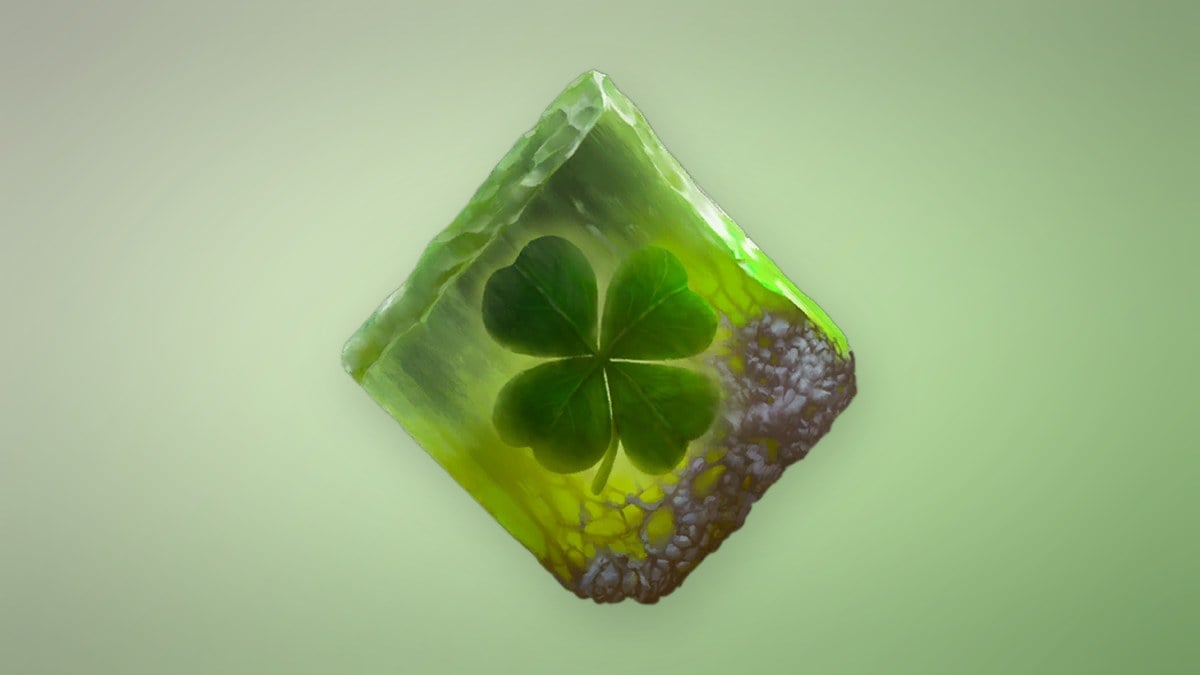
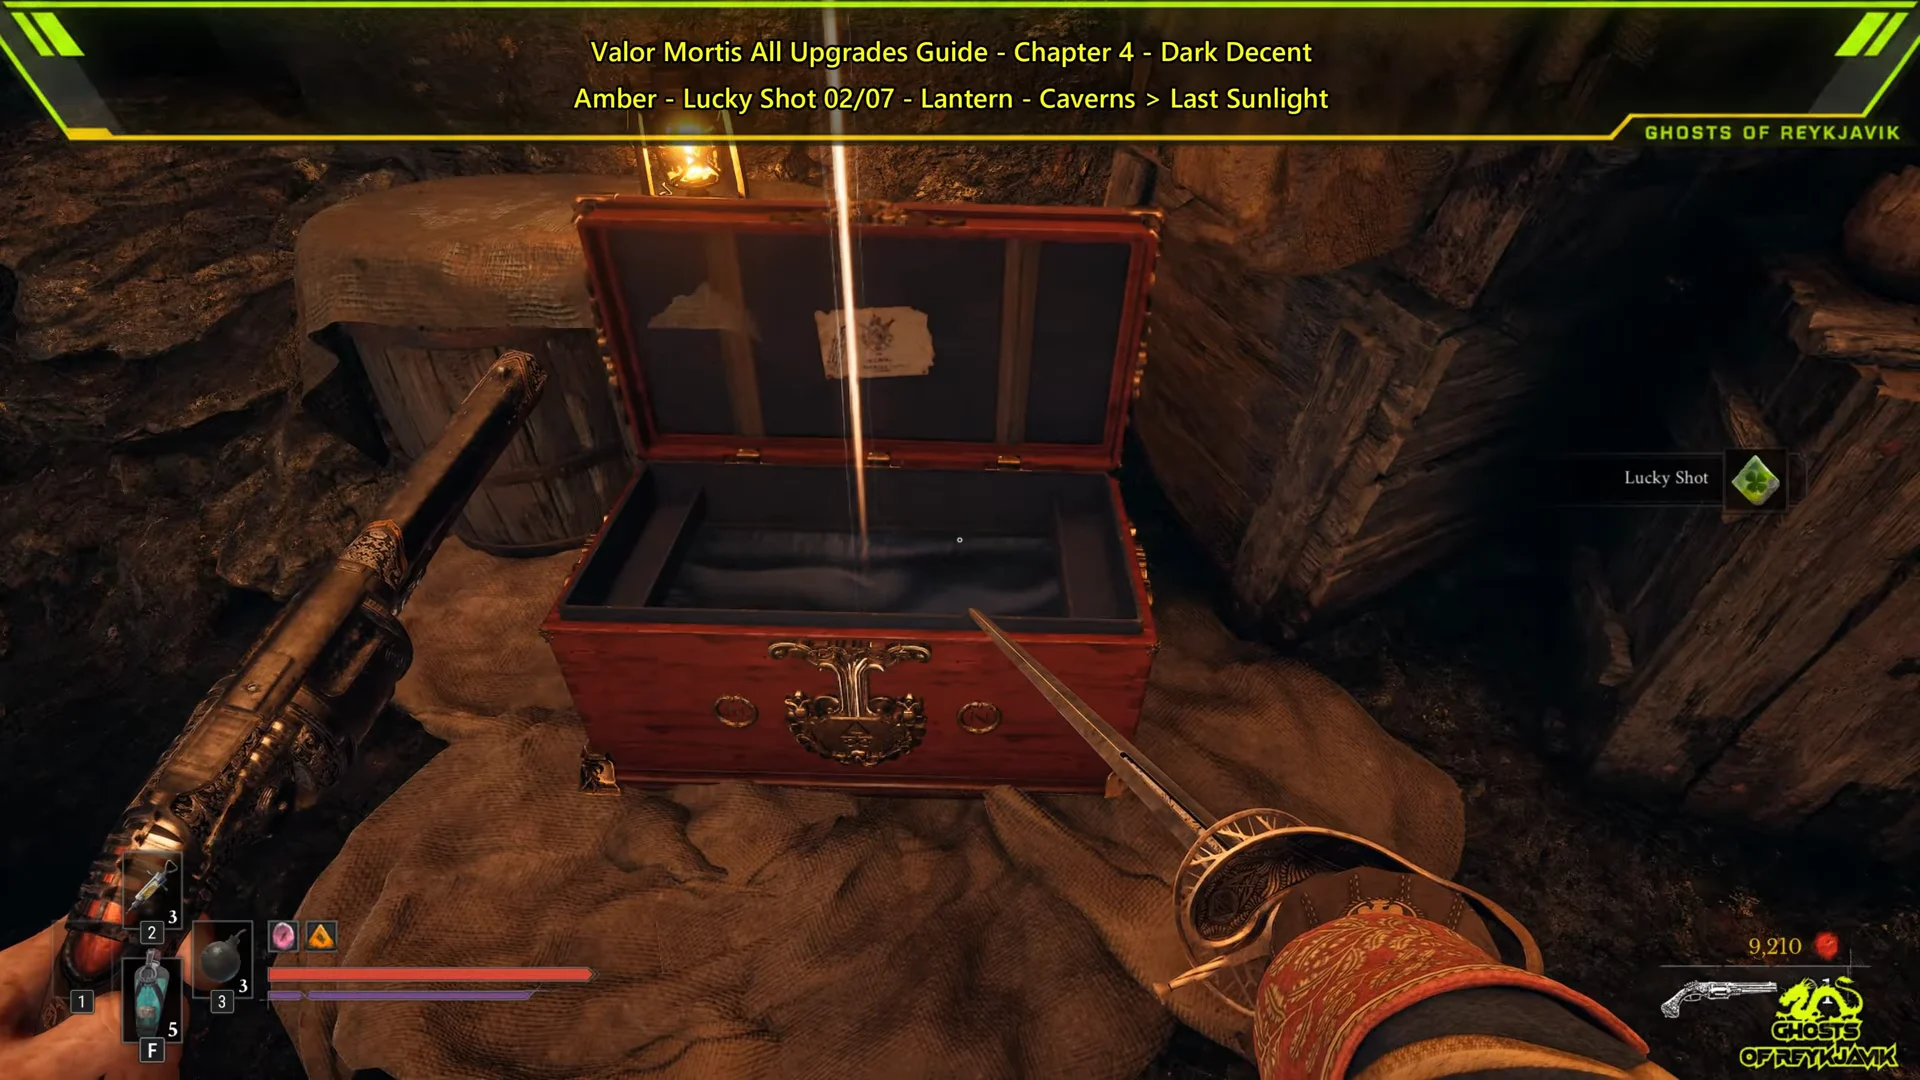
In that cavern, locate the floor opening that reveals a tunnel below and drop into it. You’ll land in a flooded zone dotted with rowboats. Jump from boat to boat toward the chest guarded by a Grenadier. Shoot the Nephtoglobin node over him to send a rock crashing down on his head, then grapple to the ledge and claim Lucky Shot from the chest. Completing Homesick isn’t required to get it.
Bottomless Well via the Homesick side quest
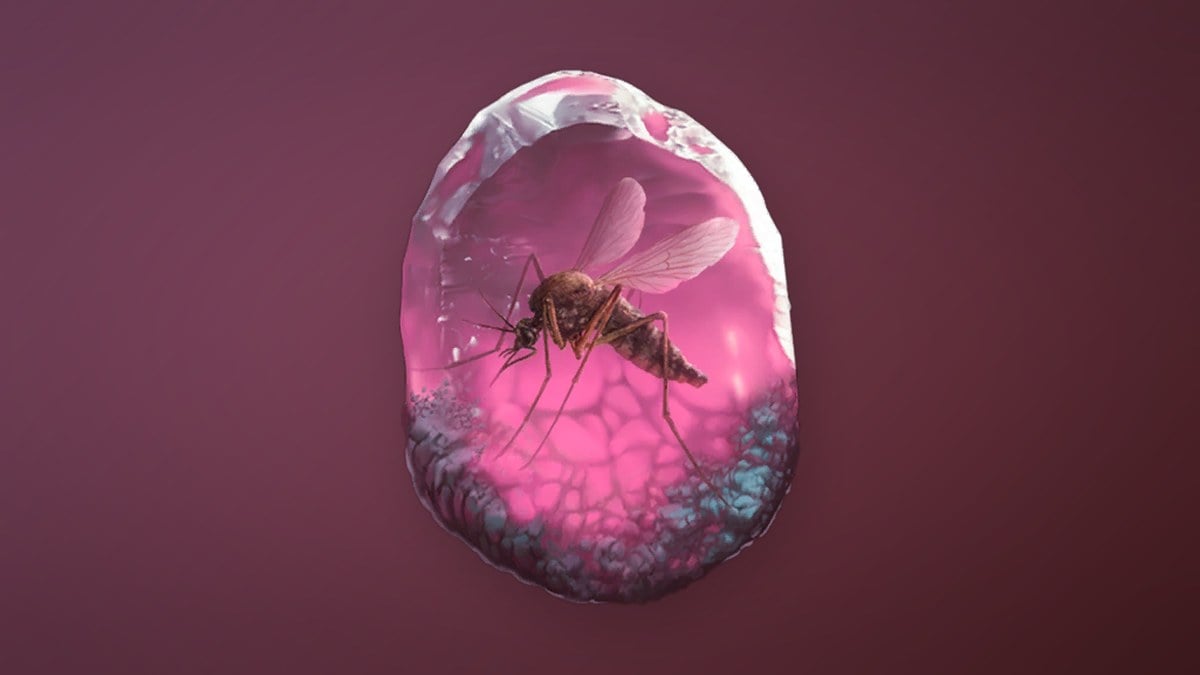
A “QUEST COMPLETE” banner for Homesick confirms the reward. You get Bottomless Well and +2,000 Catalysts. If you found Bottomless Well in Chapter 1, this copy takes it to rank 2.
Weeping Ledge: Lunatic’s Grasp and the Stasis unlock
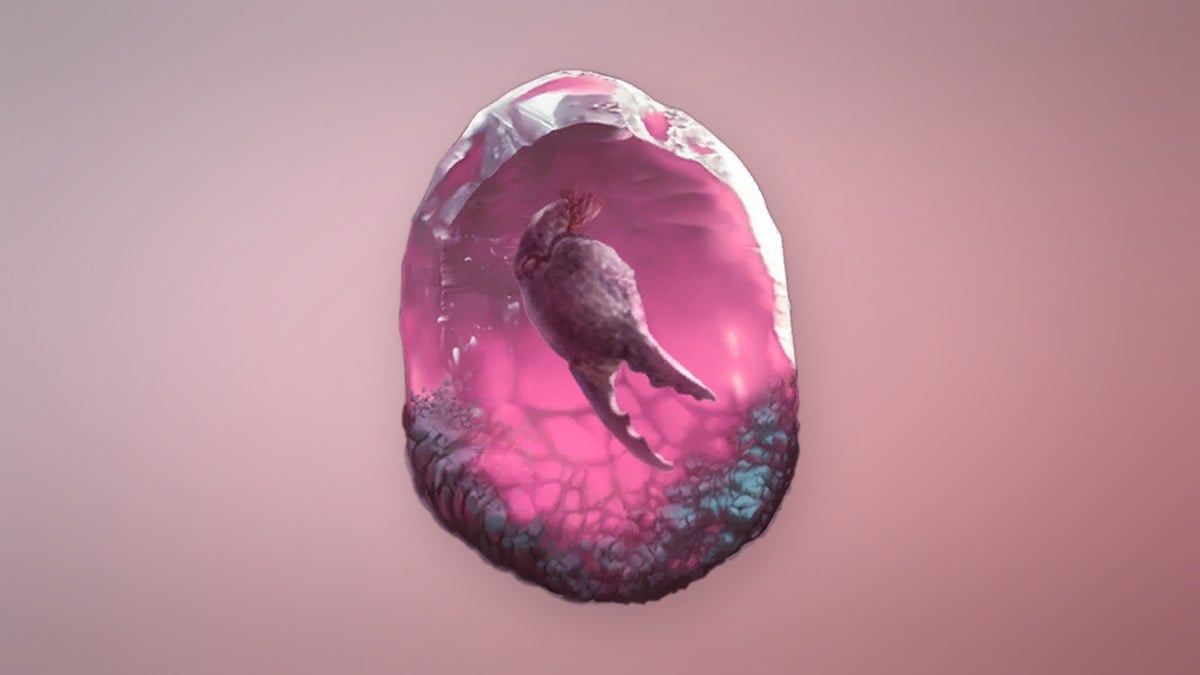
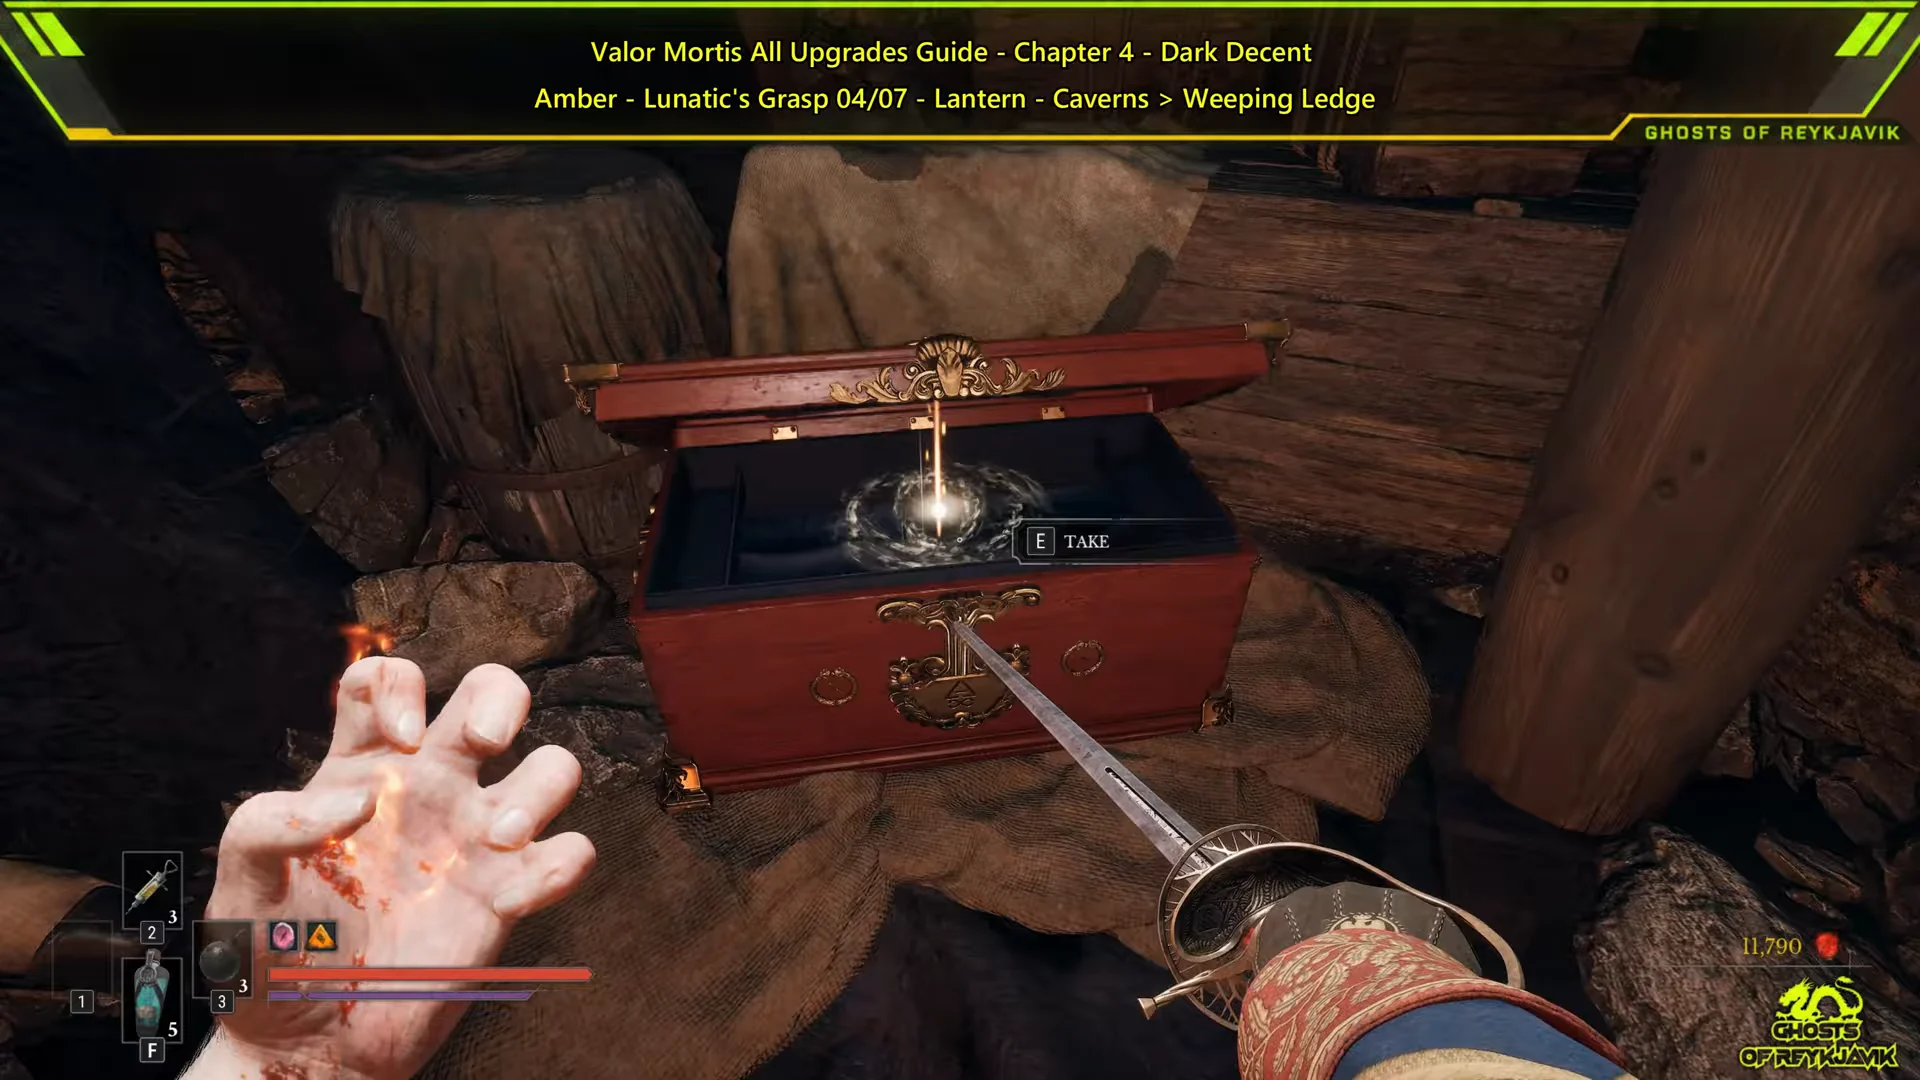
From the Weeping Ledge Lantern, take the left path and burn through the vines. Keep to the main route through the red, fleshy tunnels until you drop into a chamber full of Carrion. Golden vines block the exit and need Fire Transmutation to clear. Before you burn them, look to their left. The chest against the cave wall holds Lunatic’s Grasp. Clear out the Carrion so you can open it without interruption.
Further along the main path, you reach a crank that rotates a walkway. Turning it starts the story scene that gives William Stasis. You cannot miss it, and you need it in the Old Mine. Stasis freezes moving platforms, crates and gears in place, and three of the Old Mine pickups depend on it.
Old Mine: four Flask upgrades, three Ambers and the Mining Shaft Key
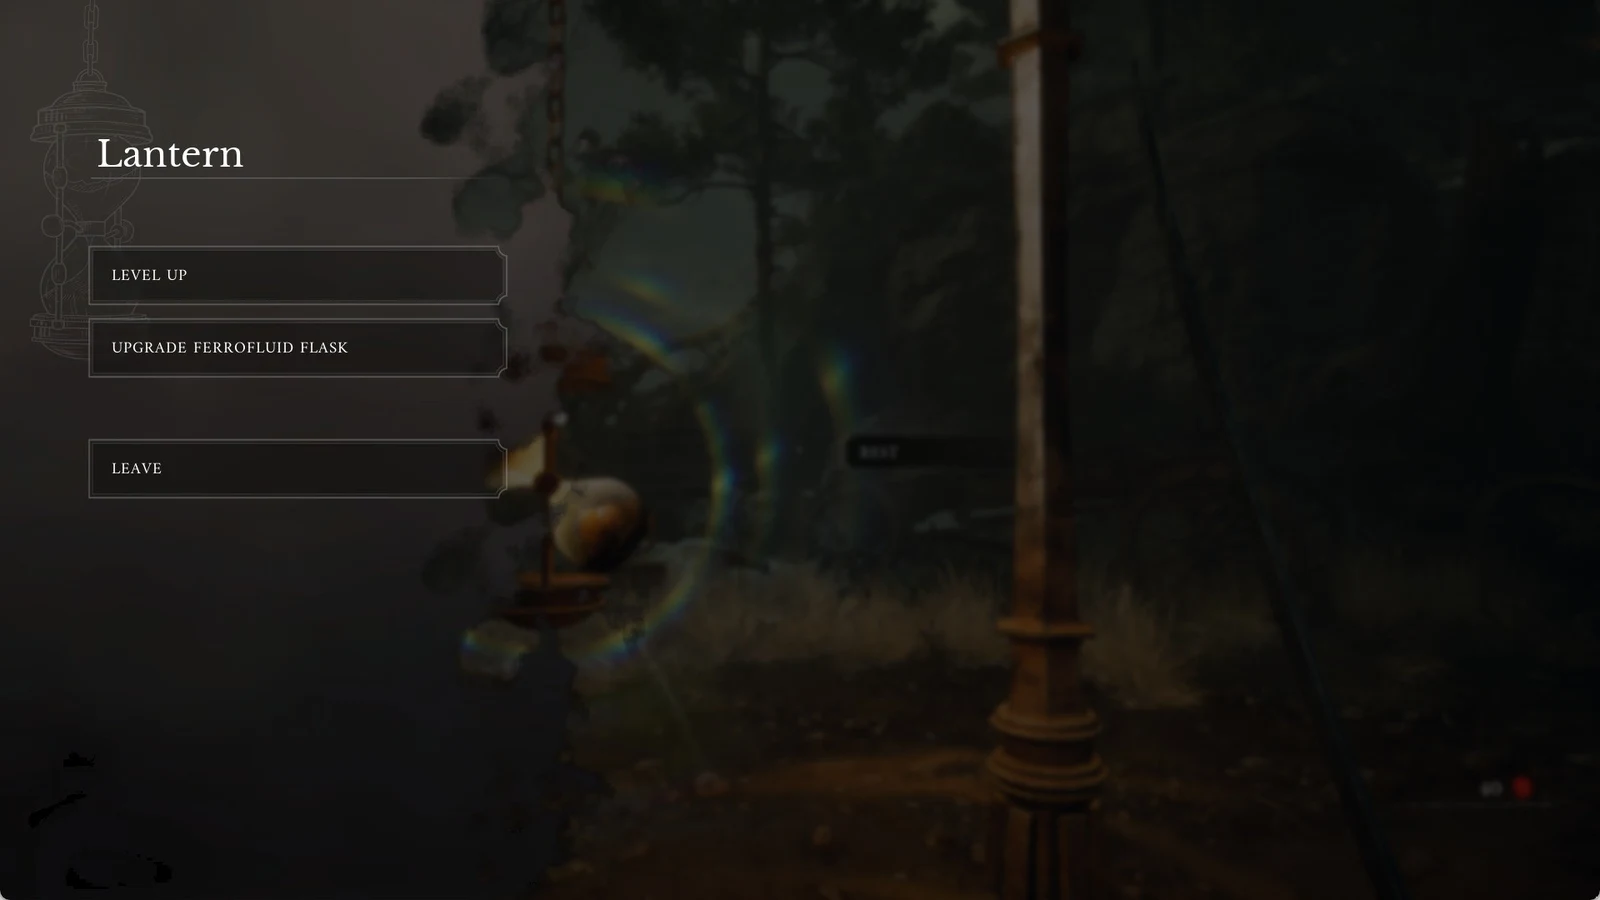
The Old Mine Lantern is the starting point for most of the chapter’s remaining pickups. Expect cranes, suspended crates and minecart tunnels. When a route has a moving platform, freeze it with Stasis at the height you need.
Perfectionism
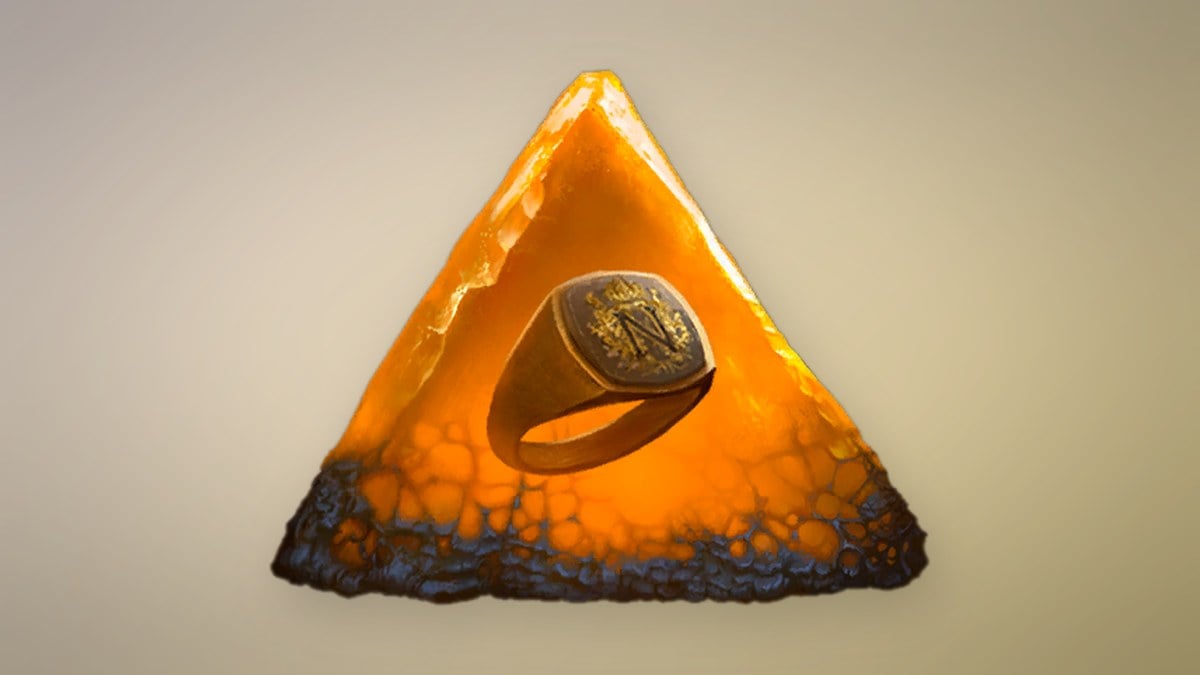
Find the crane carrying a suspended crate and ride the crate across the gap. Climb the ladder on the far side, then use the crate again to reach the upper platform. The path ends in a cave guarded by an Eternal Guardian. Killing it gives you a Mysterious Stone Pyramid and Jean-Pierre Polnaire’s Emblem for The Oathbound. The chest behind where the Guardian stood holds Perfectionism. If you took the Demolished Path copy in Chapter 2, this one brings it to rank 2.
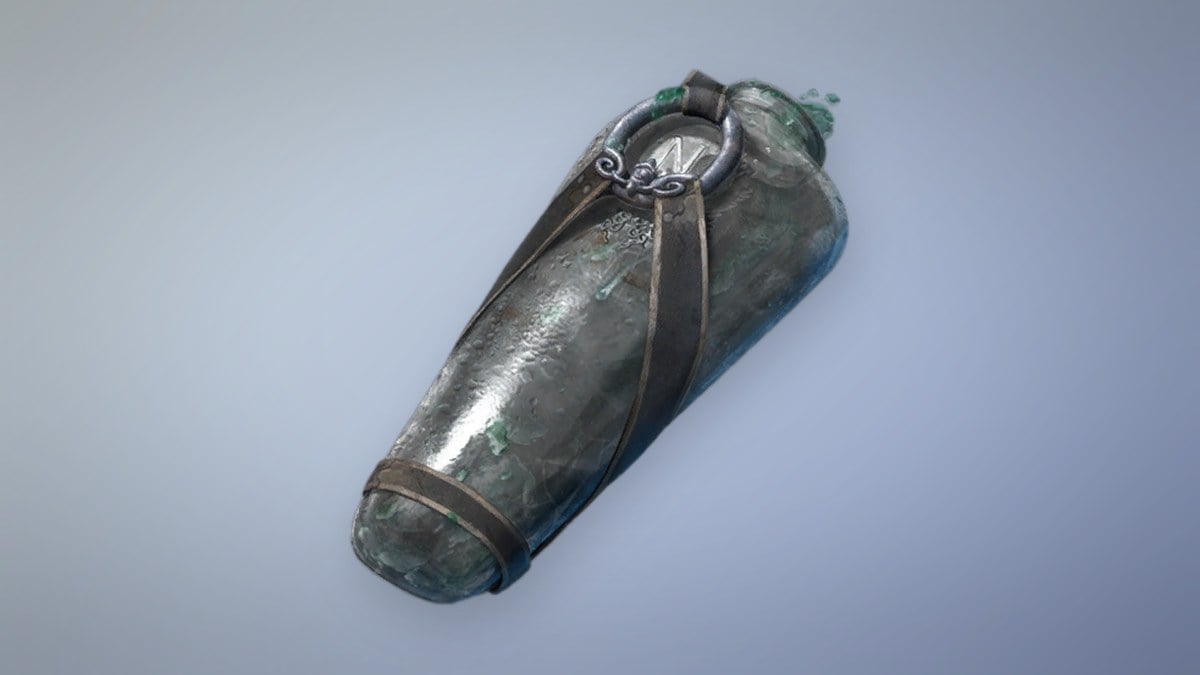
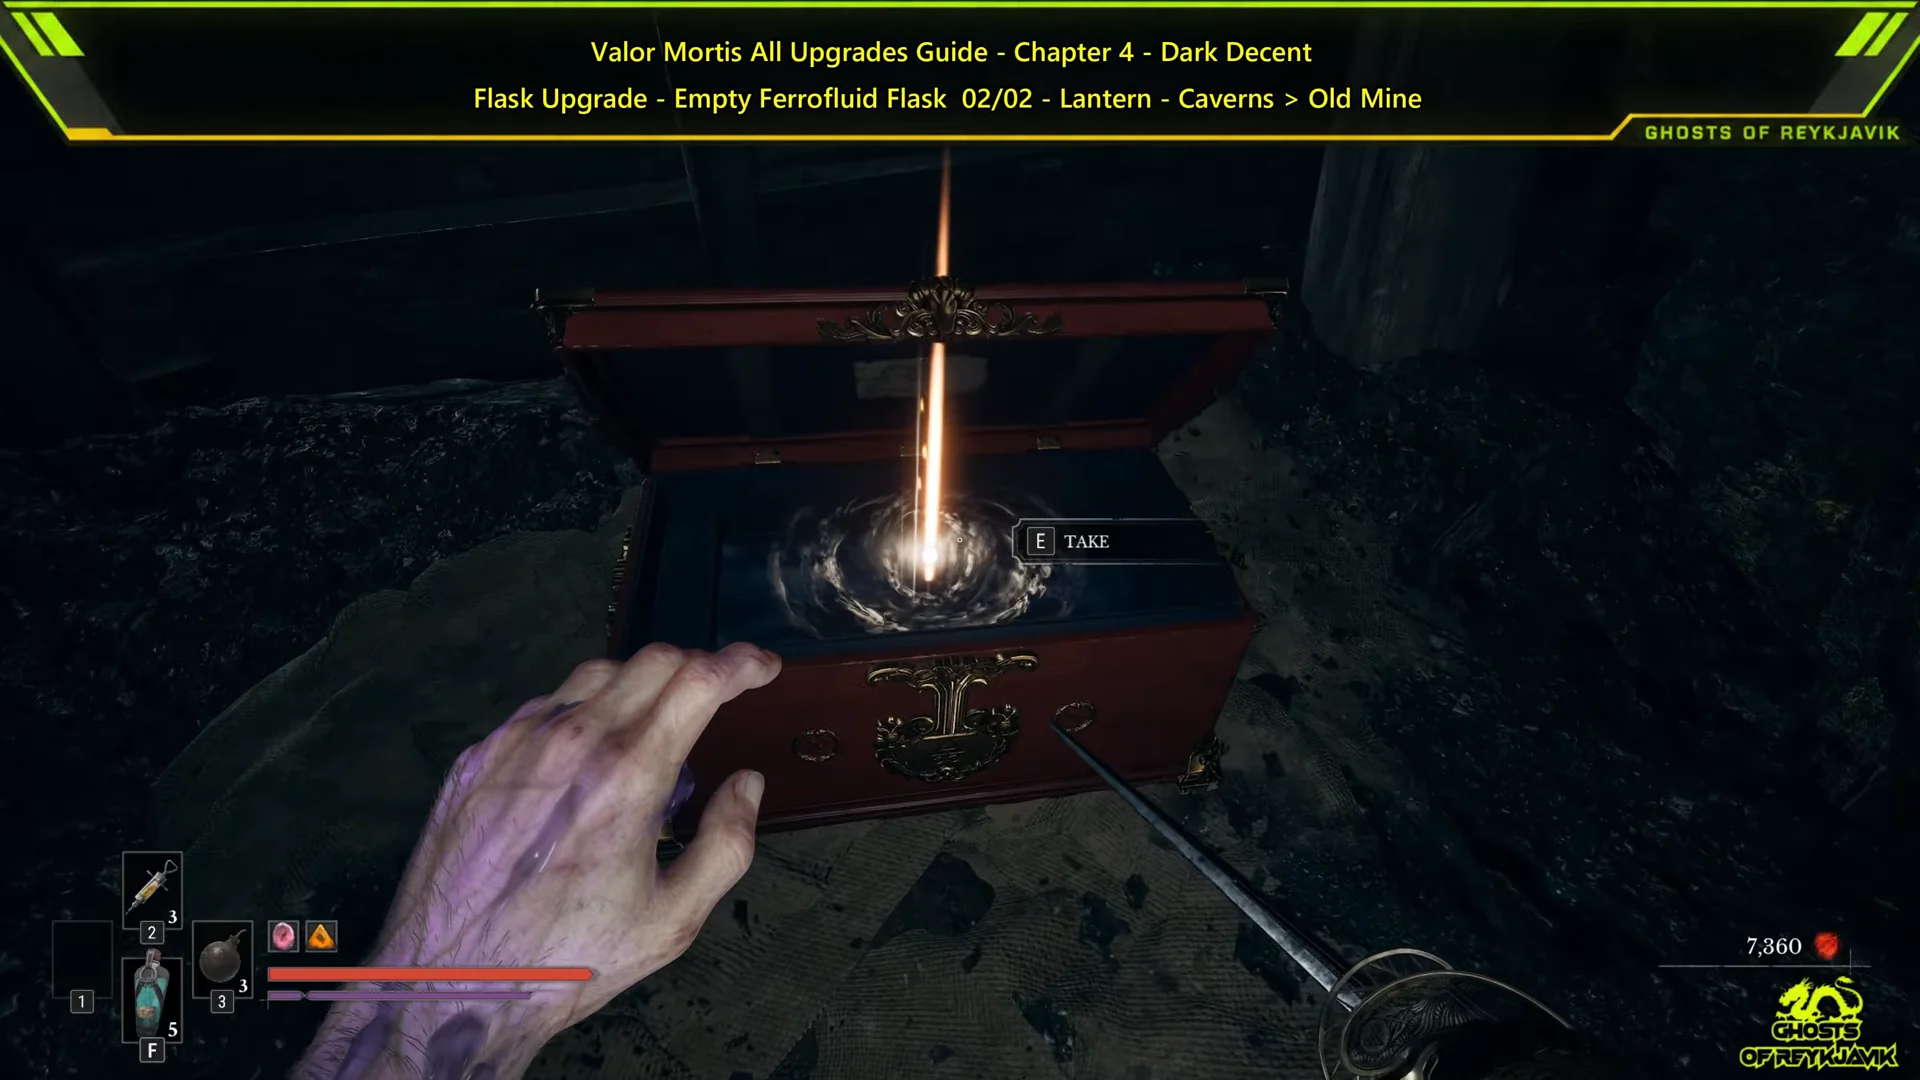
Empty Ferrofluid Flask
Return to the lower area and cross over once more on the crane crate. Go into the tunnel to the left and take its first left branch to reach a platform that rotates. Use Stasis to freeze it when it is aligned, then cross over to the other side. The chest there contains the chapter’s second Empty Ferrofluid Flask.
Surplus and a Power Upgrade in the crate puzzle
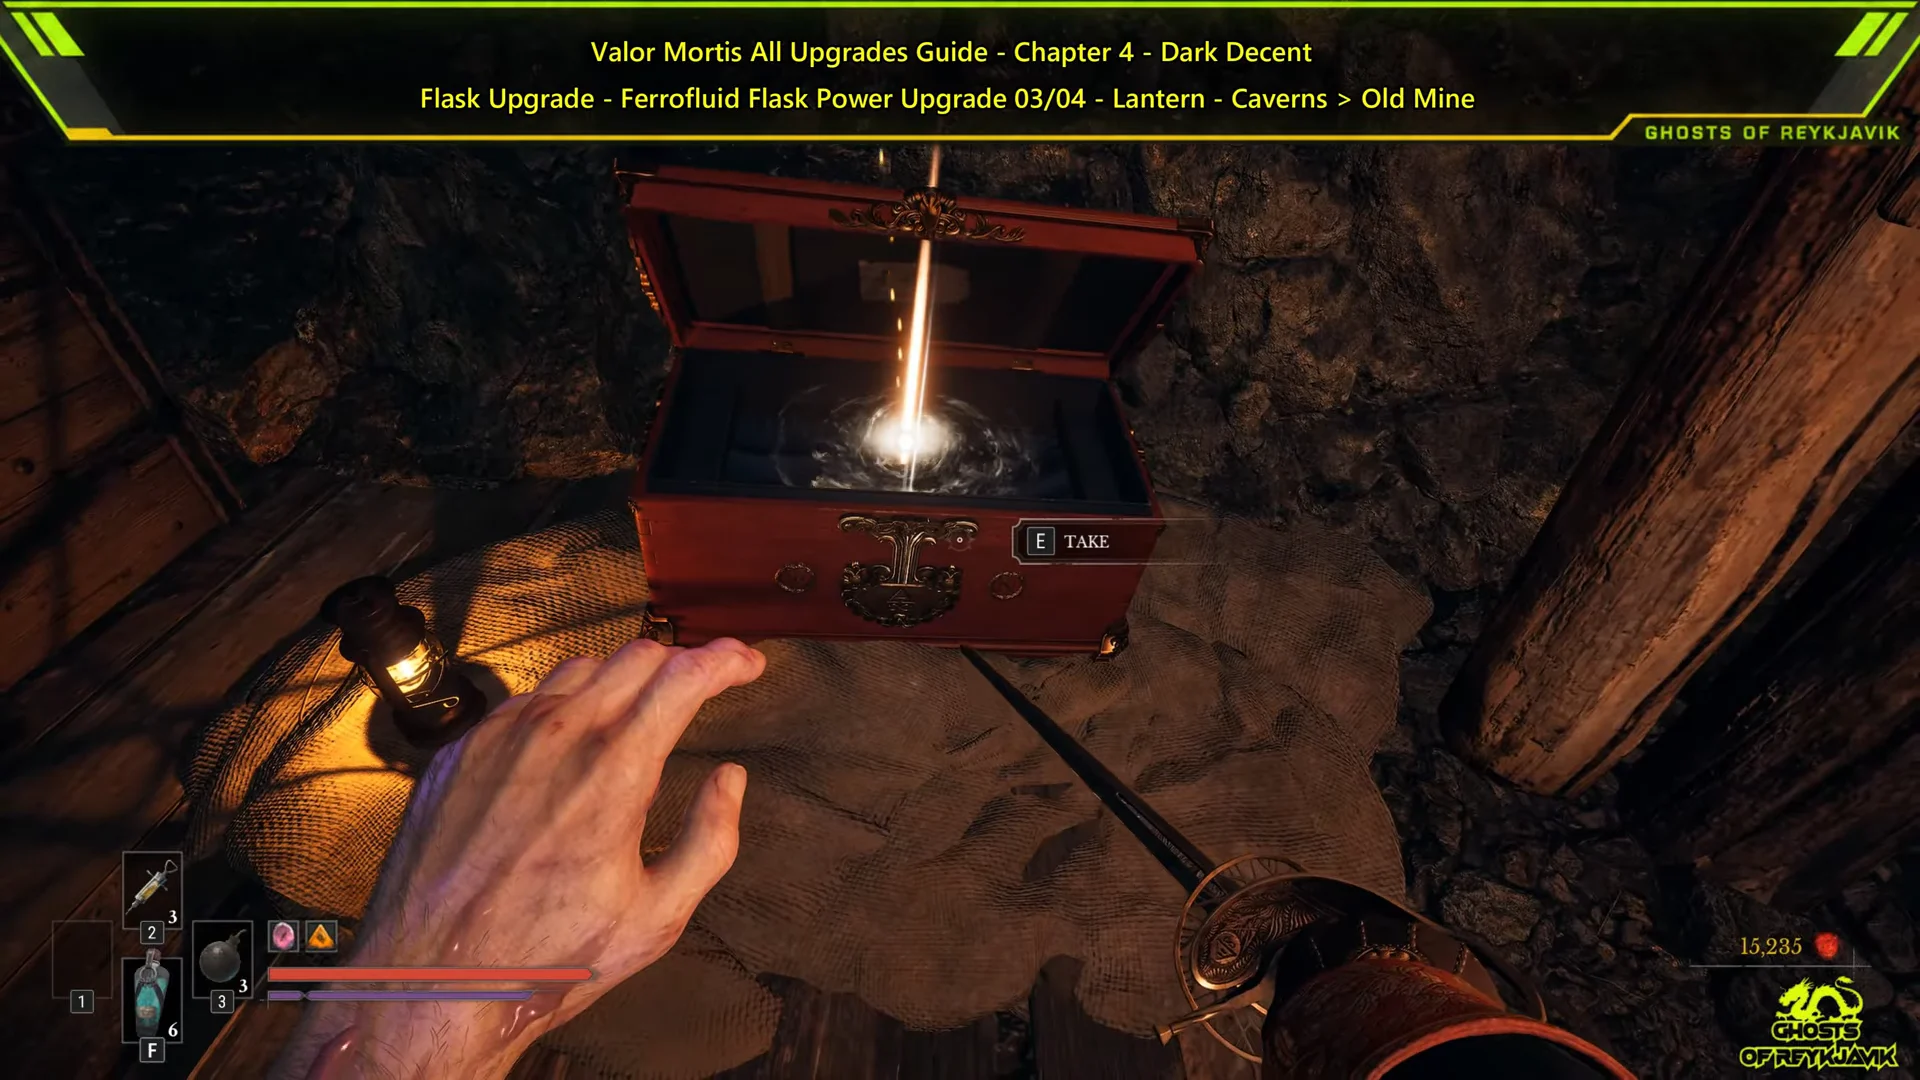
These two chests share one puzzle, so open both before you leave.
Mining Shaft Key and the last Power Upgrade
Limit Break
In the tall cavern, wooden walkways span several levels, and a long rope suspension bridge points toward the next Lantern. Look for the Amber beside a broken section of walkway. Grapple over the gap, taking the wall-run section next to the grapple point, then circle the rock pillars to reach a side nook. Take out the infected crawler inside. At the walkway’s end, open the red chest for Limit Break, the chapter’s seventh and final Amber.
Chapter 4 Amber effects and values by rank
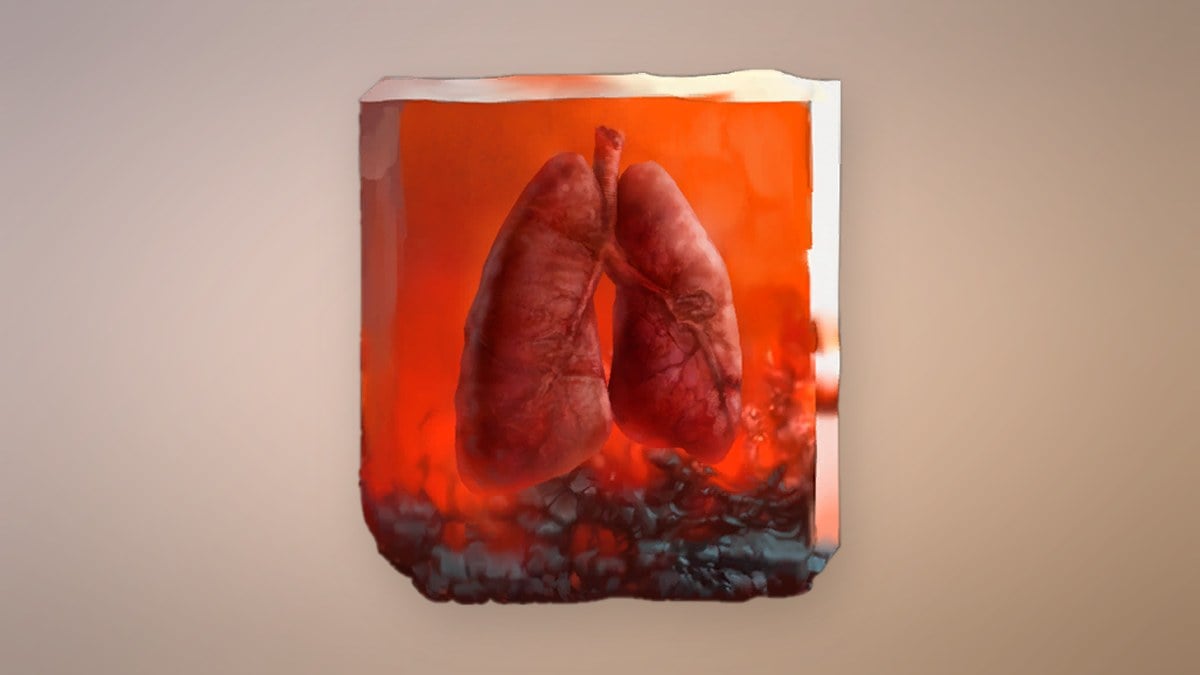
Every Amber in this chapter has a maximum rank of 3. Each duplicate copy you find raises that Amber by one rank. Lucky Shot also comes with a 10, 15 and 20 percent chance by rank.
| Amber | Effect | Rank 1 / 2 / 3 | Copies in game |
|---|---|---|---|
| Dominatus | Health on Critical Attack | 50% / 75% / 100% | 4 |
| Lucky Shot | Chance to keep the round | 10% / 15% / 20% | 4 |
| Perfectionism | Melee damage at full Health | 10% / 15% / 20% | 3 |
| Surplus | Extra Catalysts from kills | 10% / 12.5% / 15% | 3 |
| Bottomless Well | Slow Nephtoglobin regeneration | — | 3 |
| Lunatic’s Grasp | Faster Ignite and Stasis buildup | — | 3 |
Lunatic’s Grasp has a trade-off. It speeds up the Ignite and Stasis buildup you inflict, but it lowers your own resistance to those same effects. Bottomless Well slowly refills Nephtoglobin, which is what pays for the Nephtoglobin Infusions on your firearms.
Ferrofluid Flask healing per Power Upgrade
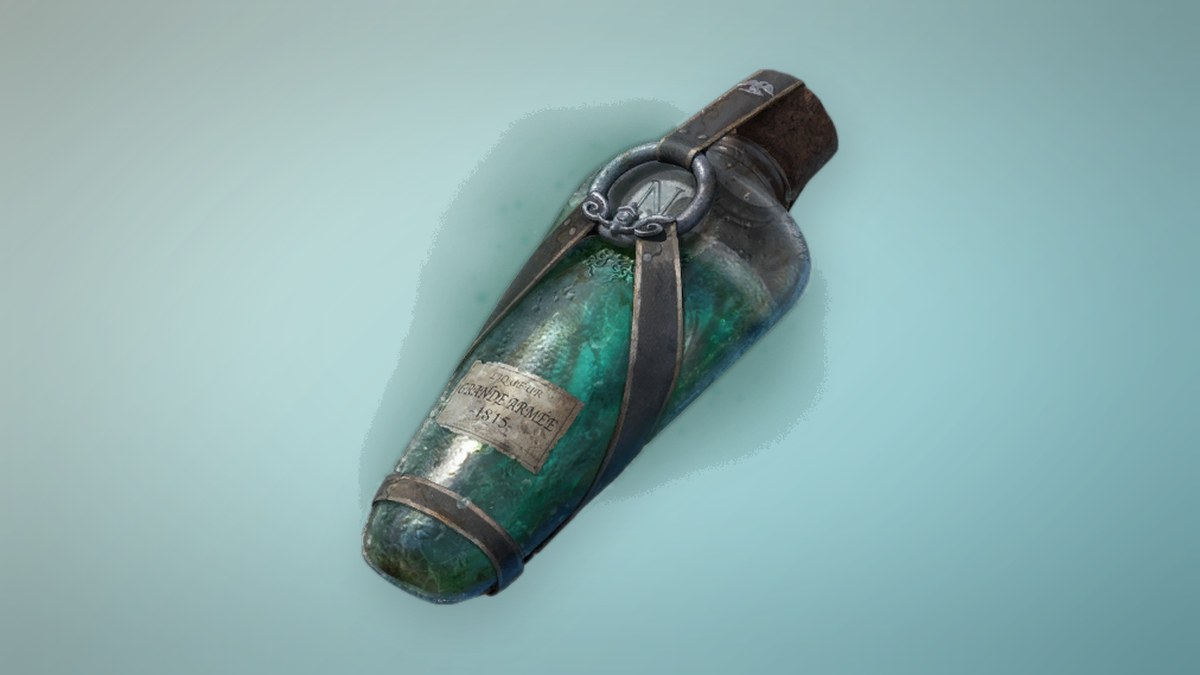
Power Upgrades are spent at a Lantern, and each potency tier costs more of them than the last. A base Ferrofluid Flask heals 50. Each Empty Ferrofluid Flask, also used at a Lantern, adds one charge, up to a maximum of 5 Flasks carried.
| Potency upgrade | Healing per Flask | Power Upgrades needed |
|---|---|---|
| Base | 50 | — |
| 1 | 60 | 1 |
| 2 | 70 | 2 |
| 3 | 80 | 2 |
| 4 | 90 | 2 |
| 5 | 100 | 3 |
| 6 | 110 | 3 |
| 7 | 120 | 3 |
| 8 | 130 | 4 |
| 9 | 140 | 4 |
Taking a Flask from 50 to 140 healing costs 24 Power Upgrades in total. The four you collect in Chapter 4 are enough for at least one more tier, depending on how many you are carrying from earlier chapters.
To confirm you have everything, open your inventory before the Sphinx fight that ends Dark Descent. You should have two new Flask charges, four new Power Upgrades, Lucky Shot, Lunatic’s Grasp, Surplus and Limit Break, plus a higher rank on Dominatus, Bottomless Well and Perfectionism if you carried earlier copies. Spend the Flask materials at a Lantern before the boss.