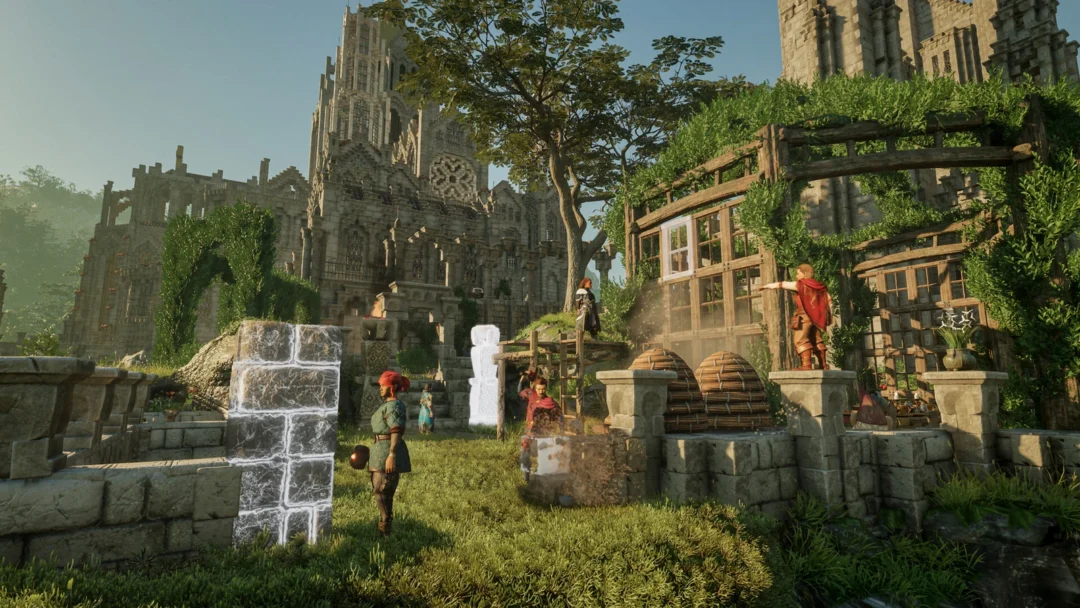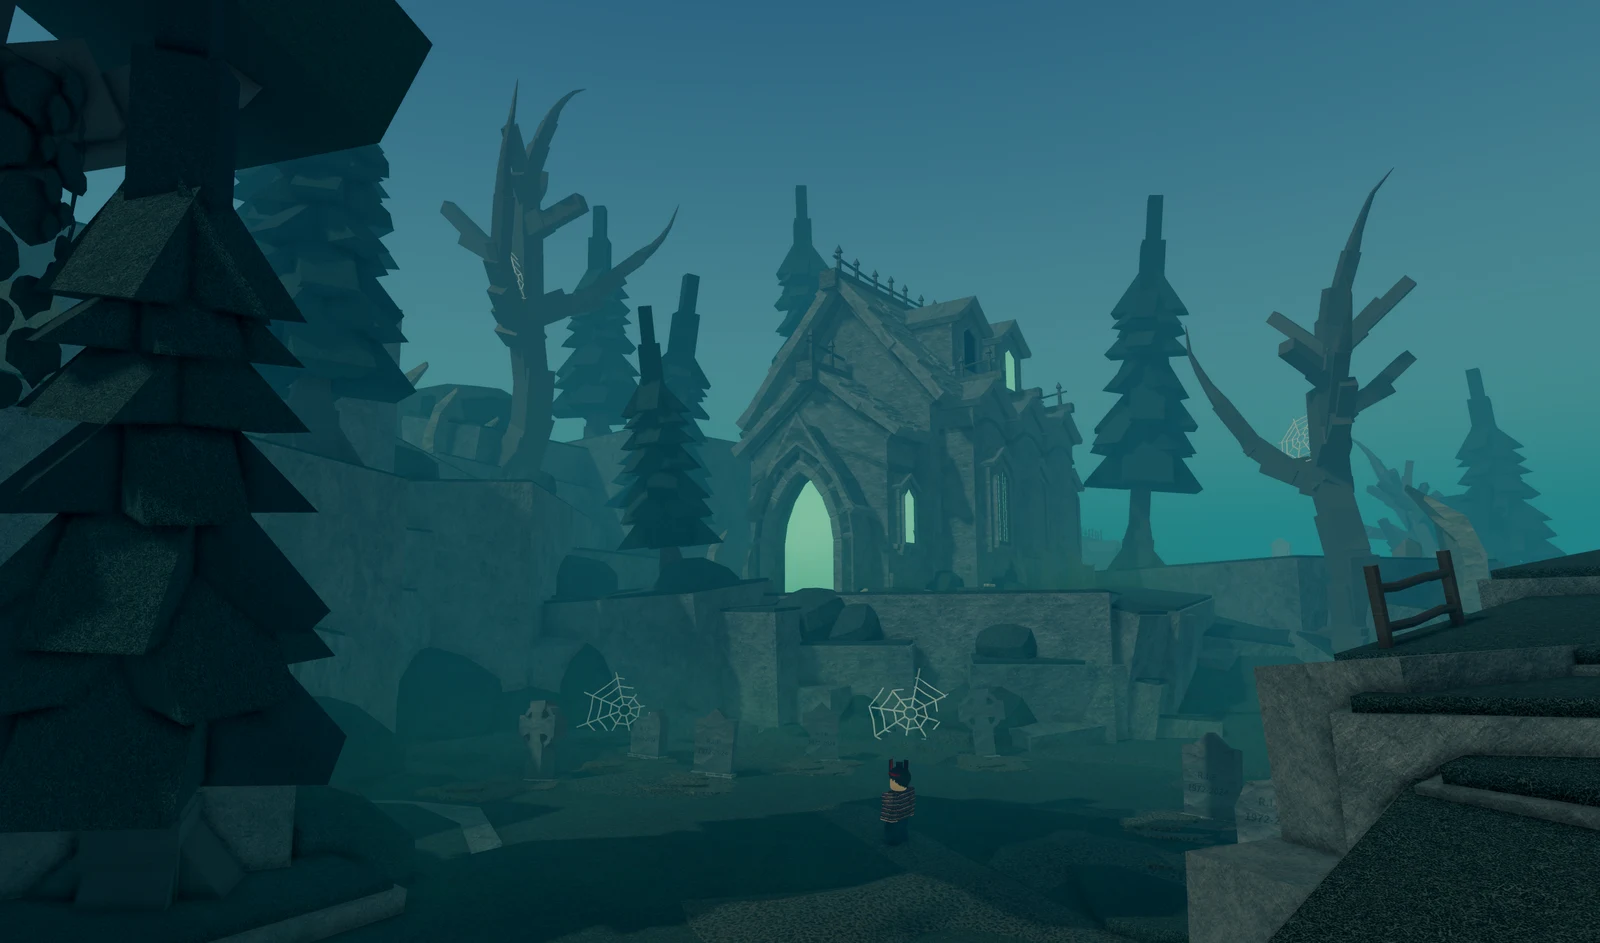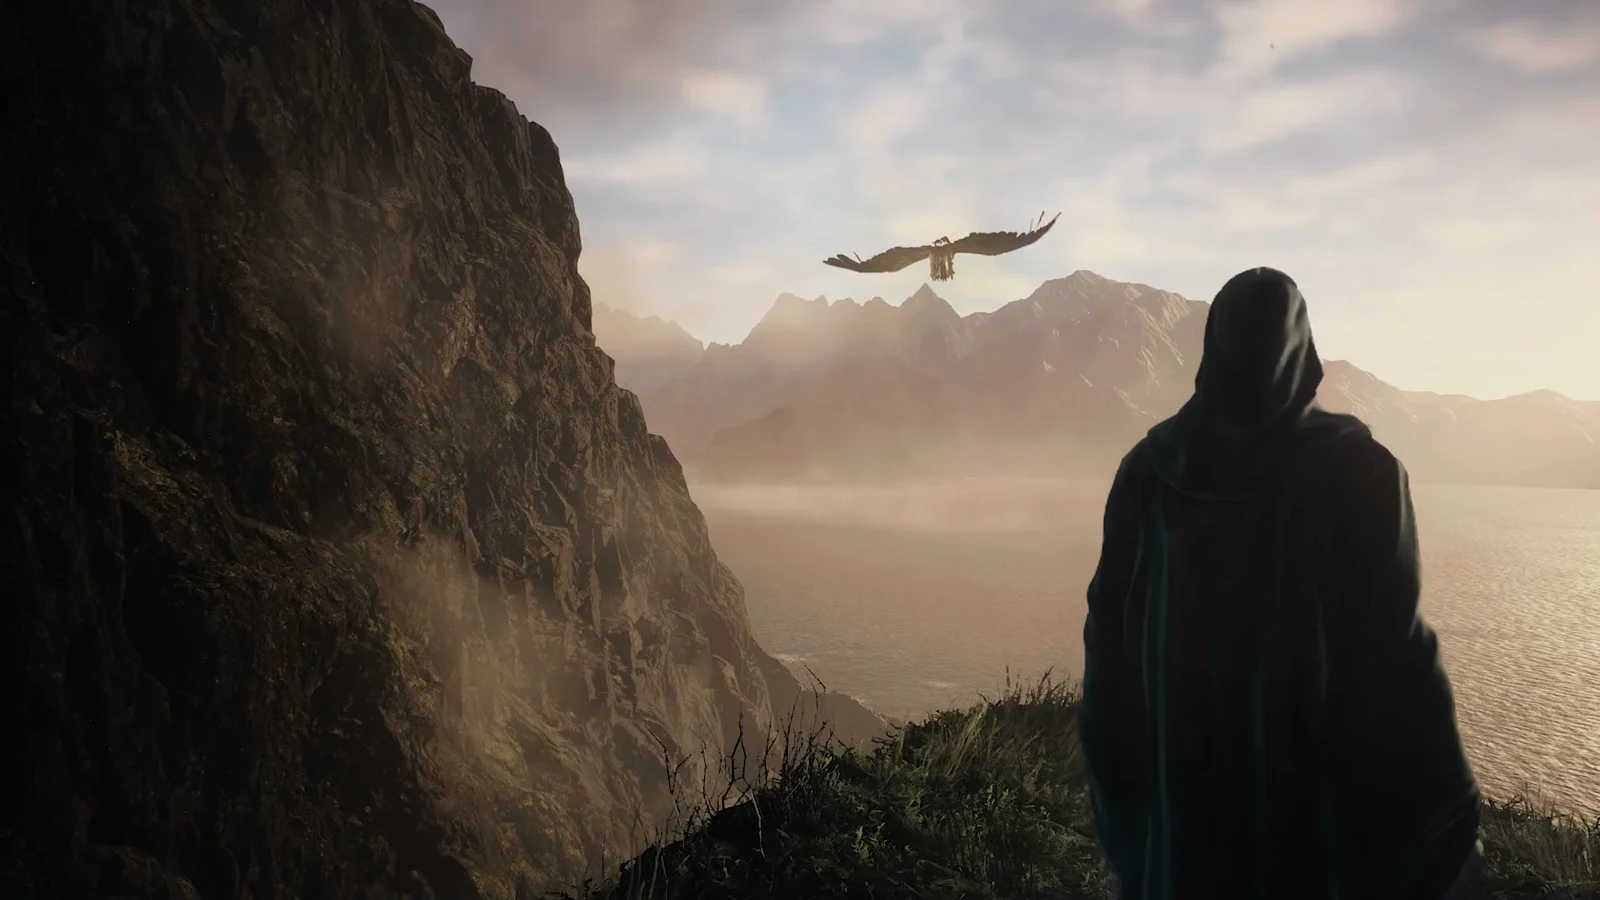
Norgan, the frozen region added in Dragon’s Dogma 2: Dark Arisen, hides nine Obelisks of Benediction. Each one belongs to a single vocation and sells upgrades for Discipline (Dcp). None of them appear on your map until you find them. A long session of obelisk hunting shows how that search plays out. A Beastren thief named Quickpaw climbs cliffs, clears Beorcan camps, and loses fights to Norgan Giants, then finally finds the Archer obelisk by spotting its glow from a high tower at night.
Quick answer: There are nine Obelisks of Benediction in Norgan, covering every vocation but Warfarer. Each requires an Offering Flame and sells a skill, its advanced version, a stat enhancement, and a spoils boost.
What an Obelisk of Benediction sells
An obelisk works like a small vocation shop. You spend an Offering Flame to wake it up, then pay Dcp for what you want. Offering Flames come from the final chests of the Lost Rites dungeons, so they are a limited resource. Each obelisk offers four kinds of boon:
- A new weapon skill for that obelisk’s vocation.
- The advanced form of that skill.
- A permanent Stat Enhancement, which you can buy only once.
- A temporary Spoils Spawn Rate Boost that raises the chance of rare loot across Norgan.
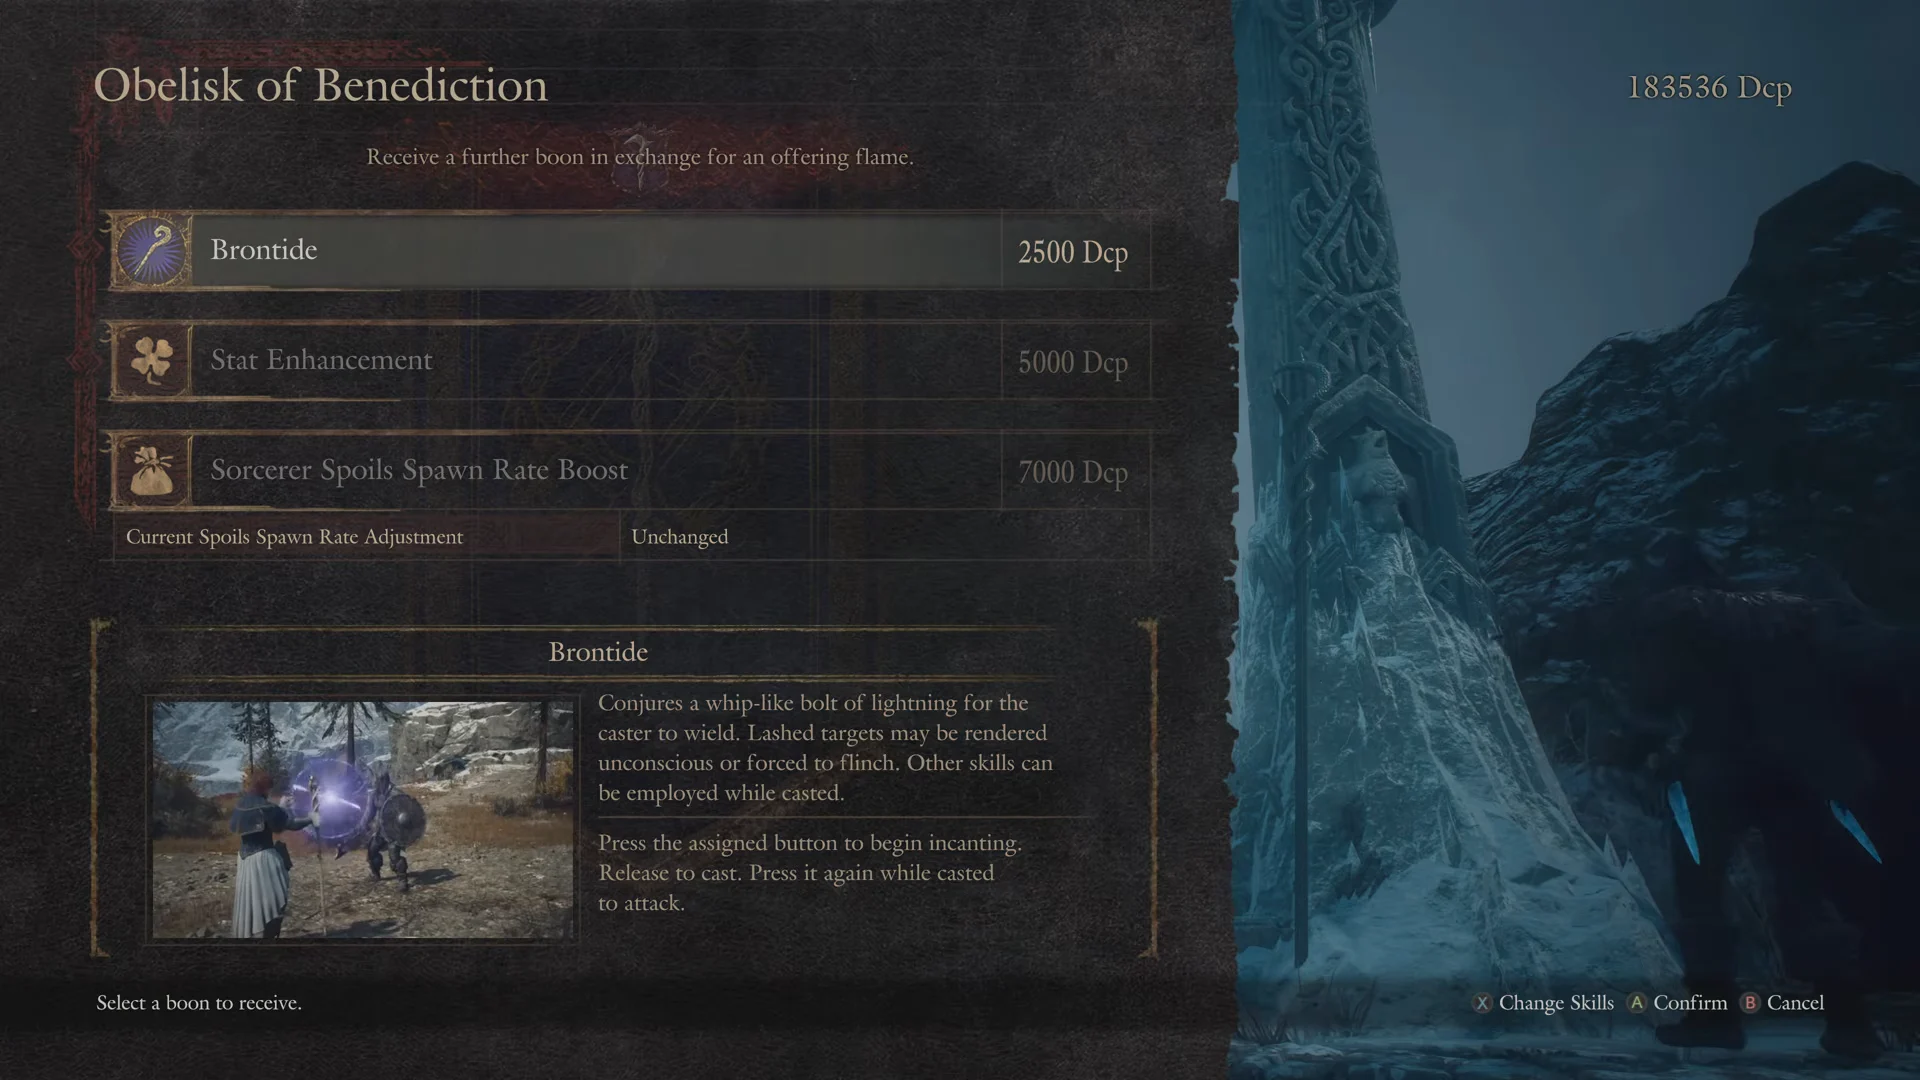
Your main pawn gets the same permanent benefits as the Arisen. The first obelisk in the session is a frozen one near Ettam Forest, guarded by Beorcan sentinels. It belongs to the Sorcerer. Its menu prices Brontide, a whip of lightning the caster swings by hand, at 2,500 Dcp. The Stat Enhancement costs 5,000 Dcp and the Sorcerer Spoils Spawn Rate Boost costs 7,000 Dcp.
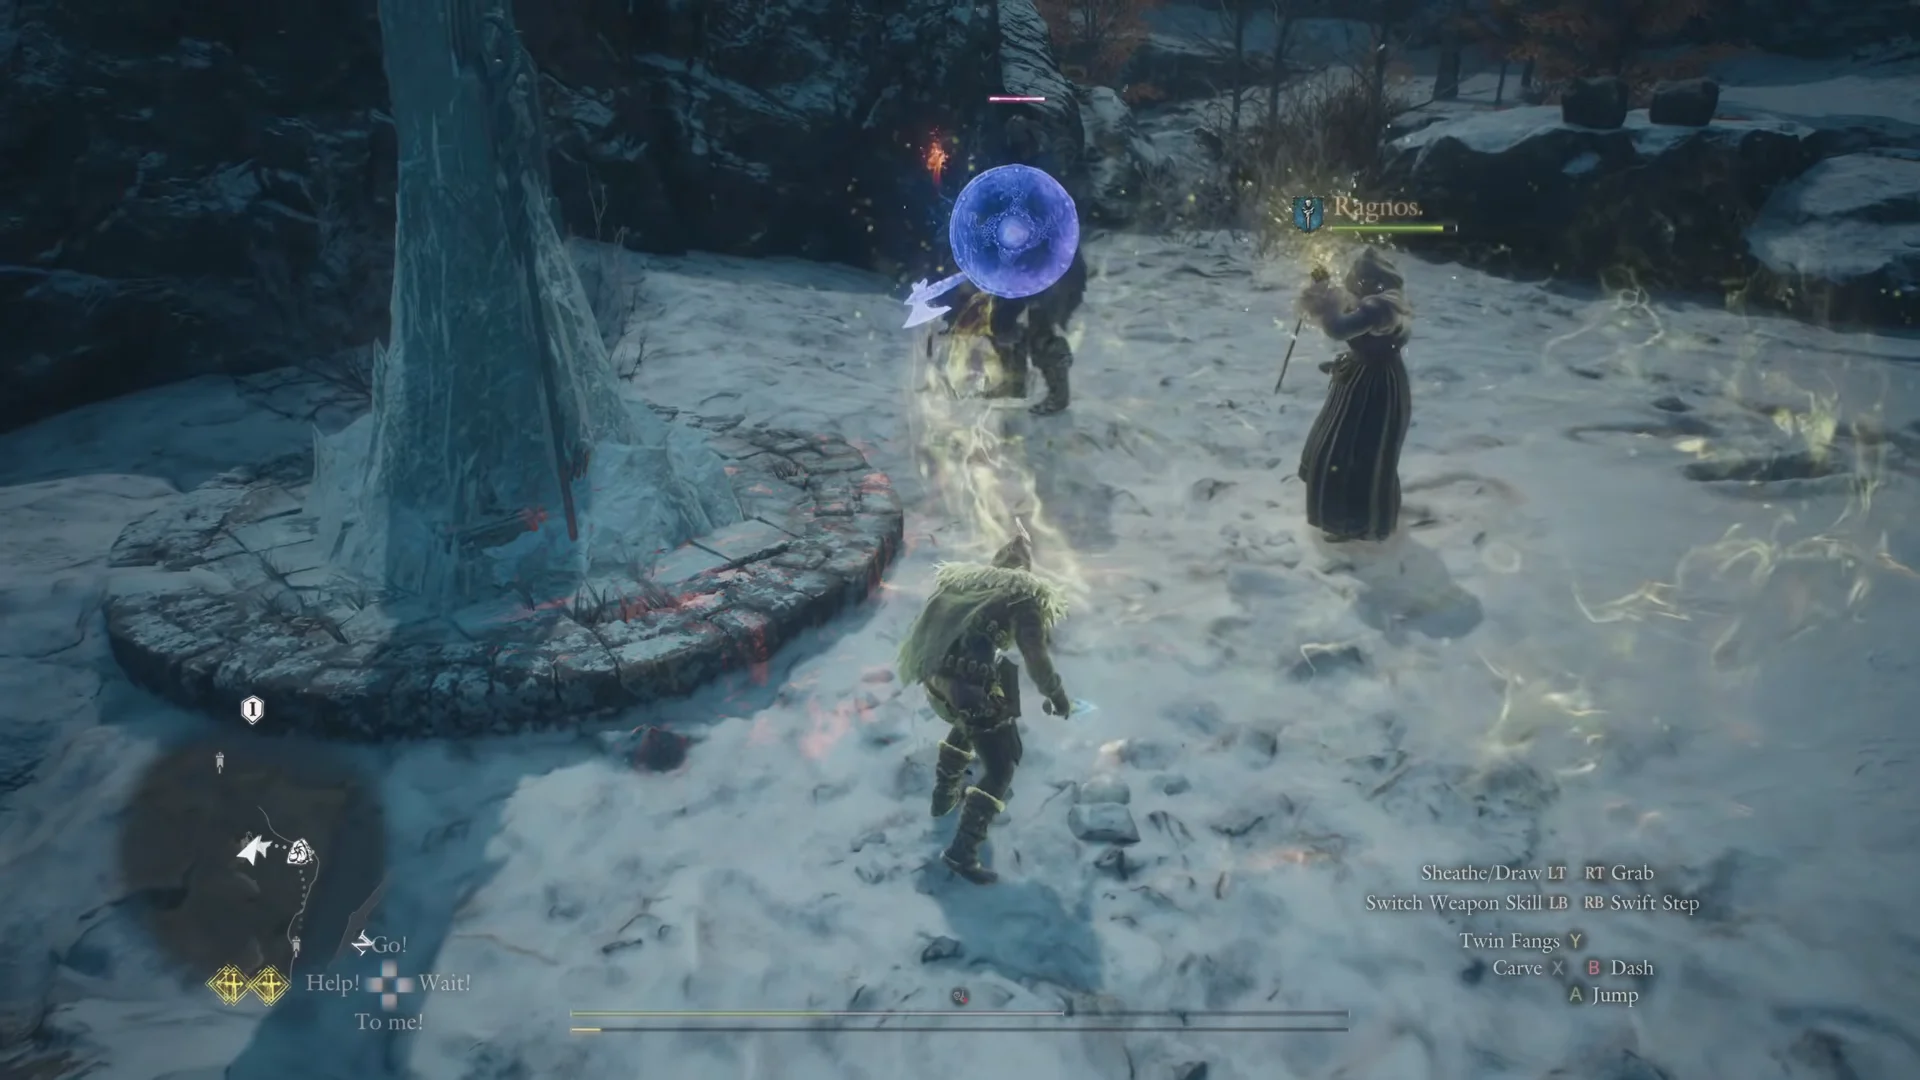
Archer obelisk boons: Falcon Arrow, Kite Arrow, and Eagle Arrow
The Archer obelisk is where the session ends up. It sits on a clifftop east of Beorcan Stronghold, near Underhill Passage, and you can only reach it from the north. Guards and wolves hold the summit. Here are its boons and the skill chain they start:
| Boon | Form | Cost | How it’s obtained |
|---|---|---|---|
| Falcon Arrow | Basic | 2,500 Dcp | Obelisk, with Offering Flame |
| Kite Arrow | Advanced | 5,000 Dcp | Obelisk, with Offering Flame |
| Eagle Arrow | Most advanced | No Dcp price | Equipment special skill |
| Stat Enhancement | +100 Stamina | 5,000 Dcp | Obelisk, once only |
| Archer Spoils Spawn Rate Boost | Temporary | 7,000 Dcp | Obelisk |
Falcon Arrow has the archer push off an enemy, recoil backward, and loose an arrow in one sequence. Against a prone or staggered target, the archer leaps overhead and fires a much stronger shot. Kite Arrow uses the same attack, but deals more damage. Eagle Arrow sends out a larger volley than Kite Arrow. The obelisk doesn’t offer it for sale; Eagle Arrow is an equipment special skill that works only when Kite Arrow is equipped.
You can tell the purchase worked when the skill shows up in the Archer’s skill list, ready to equip at a Vocation Guild. In Norgan, that’s Dwayne at the Norgandian Inn.
Obelisks glow at night
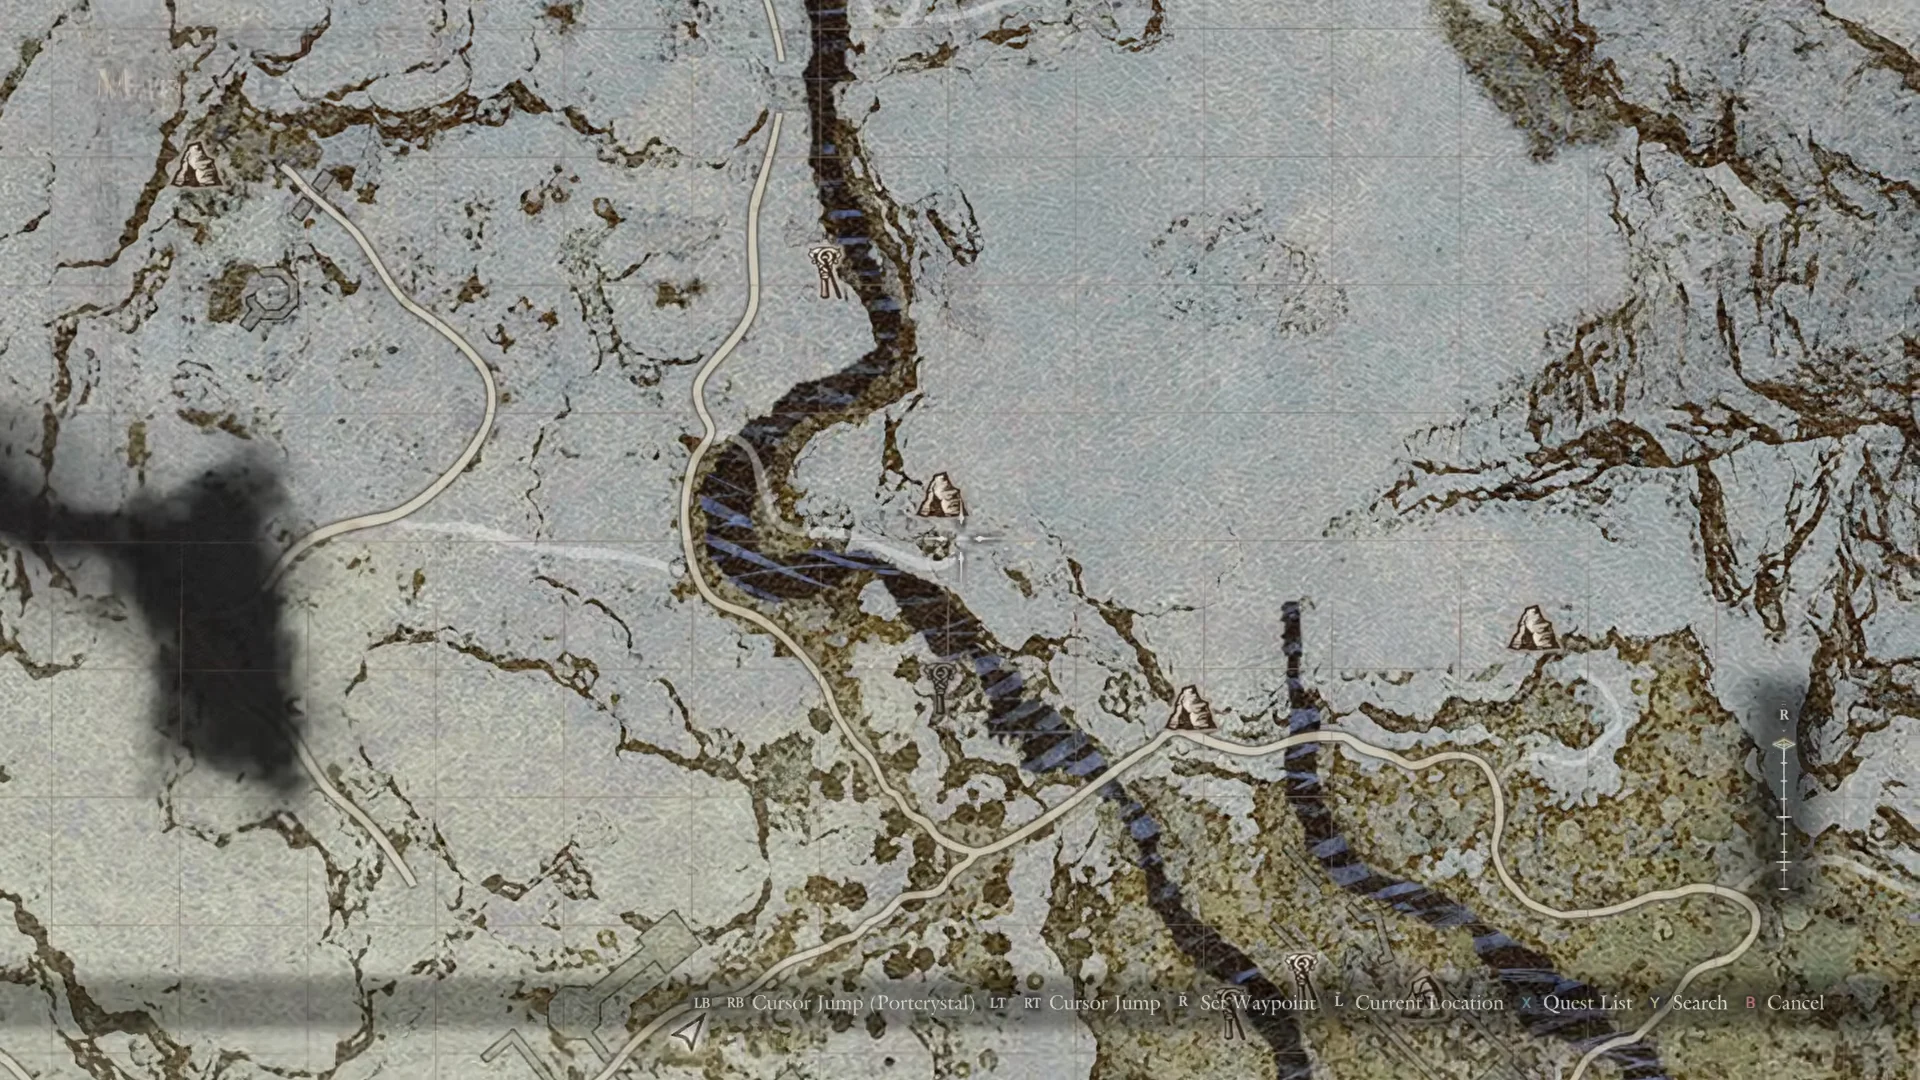
Obelisks stay off the map until you discover them, and Norgan’s cliffs block most of the obvious routes. The most useful thing in the session is that obelisks give off a colored light you can see from very far away after dark. In the footage, the glows show up as faint orange and blue points against the black horizon. That turns the hunt into a scouting job. The player rests on a bench until night falls, then teleports between Portcrystals that sit on high ground and scans the landscape from each one.
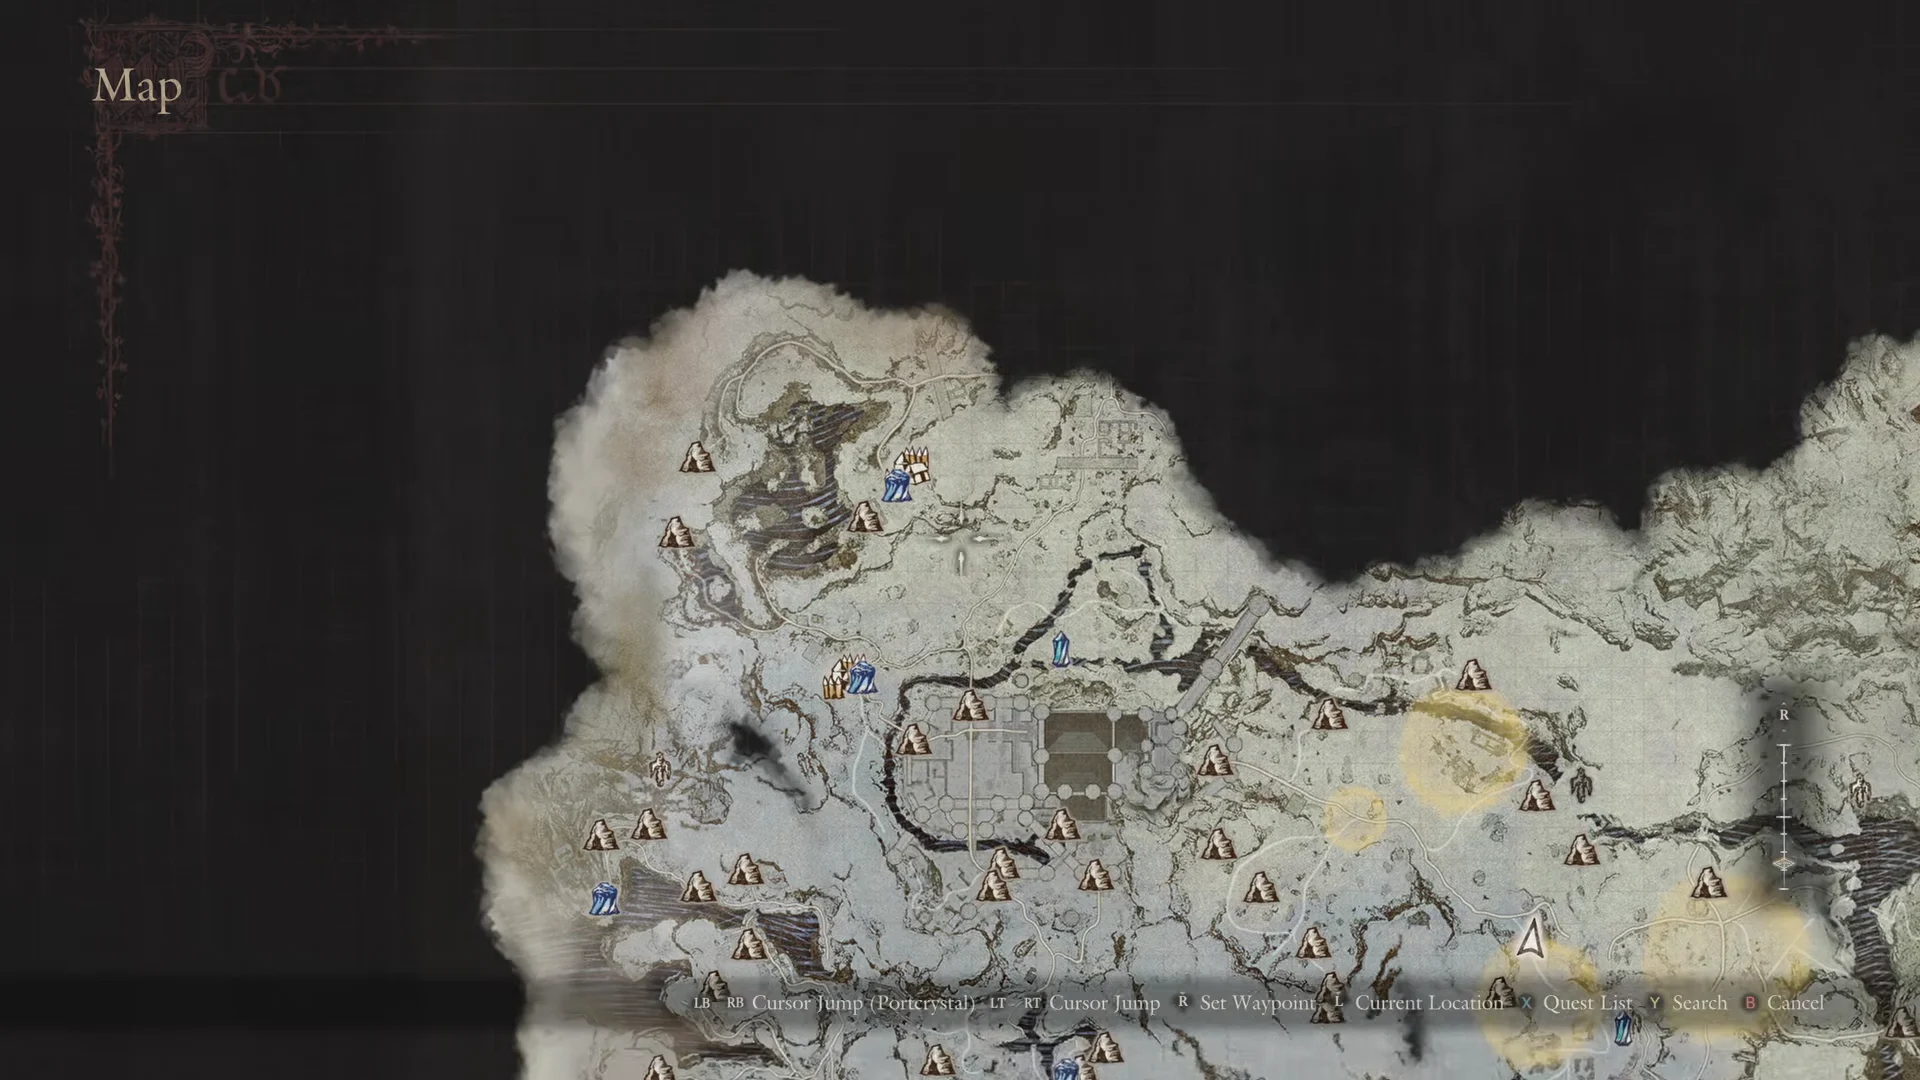
The Shrine of Wisdom cliffs only look out over dark water. The ruined village tower in the Norgandian Settlement works better. From the top of its ladders, the player spots a light across Valgr Ravine. A marker placed on the map in line with that light leads along the ravine’s cliff paths and over wooden scaffolding to the Archer obelisk.
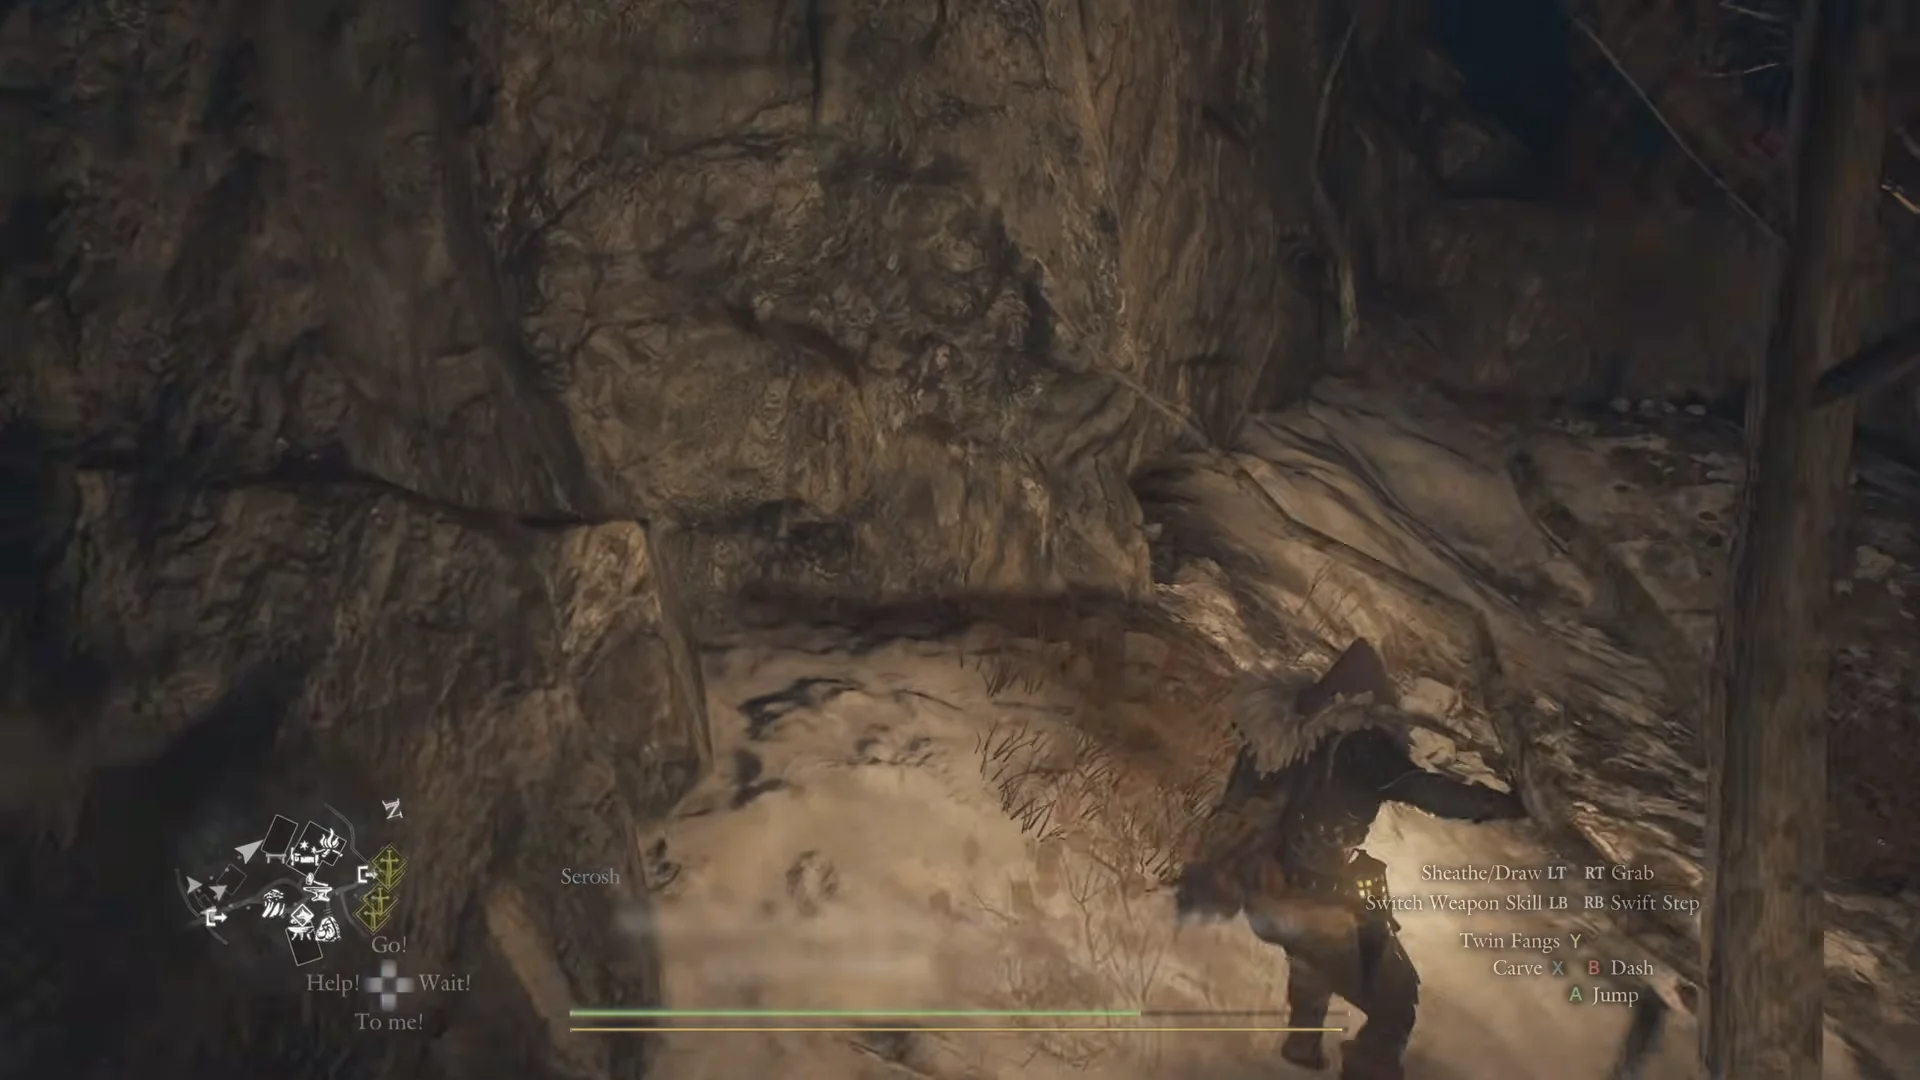
You can also place a Norgan Portcrystal next to a remote obelisk site. In the session, one placed near Ettam Forest made it possible to return there quickly after a trip back to town.
All nine Obelisk of Benediction locations in Norgan
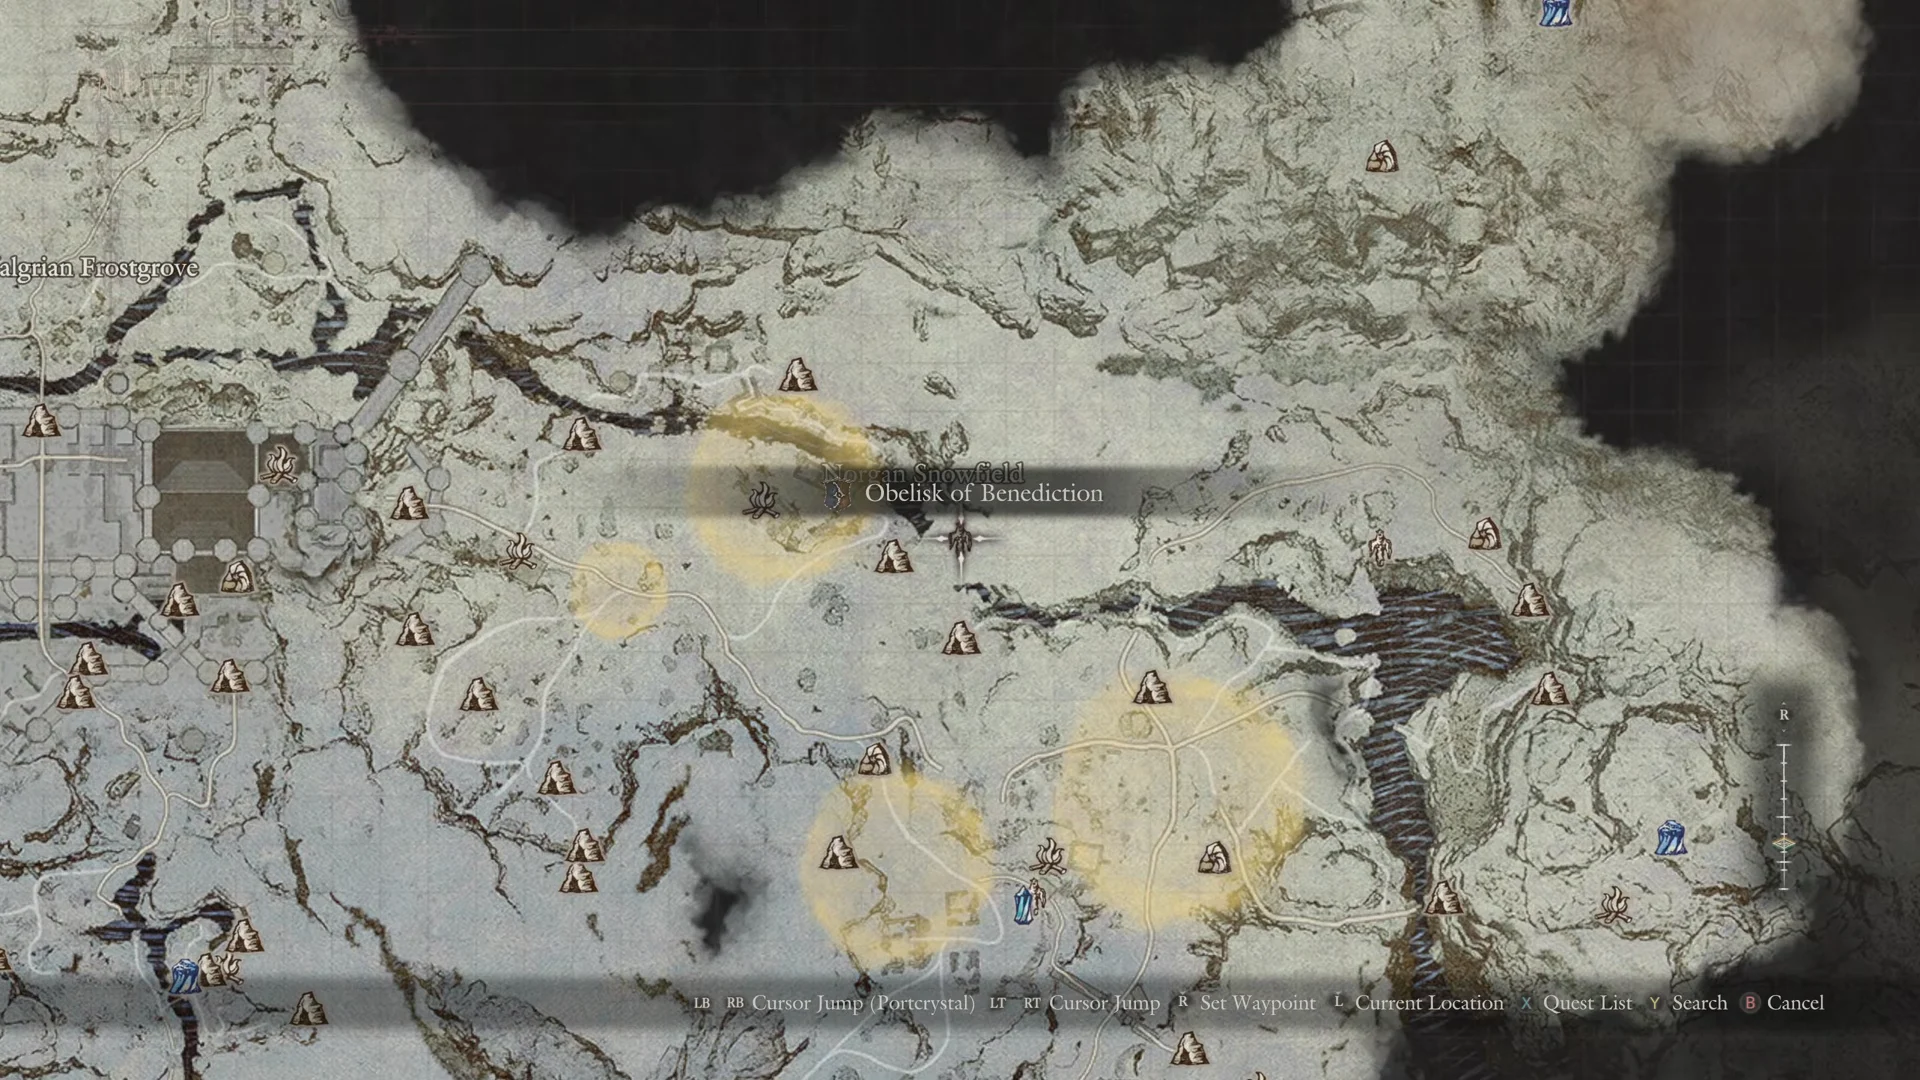
Four obelisks are reachable as soon as you enter Norgan. Two open after the main quest Rumbles in the North, which unlocks the western side of Lake Norgan and Pilgrim’s Path. The last three need Sage’s Wisdom, which opens the Norgan Snowfield through Nival Gorge.
| Vocation | Location | Stat enhancement |
|---|---|---|
| Mage | East of Norgandian Settlement, needs Climbing Hook | Magick Defense |
| Fighter | Hill above a Valgr Ravine river crossing | Defense |
| Archer | Clifftop east of Beorcan Stronghold, near Underhill Passage | Stamina |
| Thief | Near Rivercave Campground and Mountain Stronghold | Strength |
| Sorcerer | Cliff on Lake Norgan’s western shore | Magick |
| Warrior | Mad-Lord’s Chapel, near Shrine of Wisdom | Health |
| Mystic Spearhand | Ruined fort beyond Nival Gorge Collapse | Strength and Defense |
| Magick Archer | Norgan Snowfield, near Snowslide Pass | Magick and Magick Defense |
| Trickster | Past Gagana’s Grotto, northeastern Snowfield | Health and Stamina |
Several sites come with a fight attached. A full Beorcan party guards the Fighter obelisk. Direwolves roam around the Sorcerer obelisk. A Mad Lord miniboss stands in front of the Warrior obelisk. Ghouls gather at the Magick Archer obelisk, and a Fimbl patrols near the Trickster one.
Enemies between you and the obelisks
Most of the session’s deaths and near-wipes happen on the way to obelisks, not at them. Beorcan war bands and direwolves block the trails. A griffin attacks at the Deserted Lakeside Estate. Norgan Giants show up in the middle of whiteouts. Here are the two enemies that come up most often:
| Enemy | Type | Health | Experience |
|---|---|---|---|
| Beorcan | Humanoid | — | 3,800 (strongest variant 7,800) |
| Norgan Giant | Large beast | 240,000 | 55,000 (stronger variant 78,000) |
The Norgan Giant has five health bar segments, 450 Defense, and 4,500 Strength in its standard form. The stronger variant raises Defense to 650 and Strength to 5,000. It resists ice and takes only a quarter of normal ice damage. Fire is its weakness. Its head takes 1.2x fire damage and normal slash and strike damage, compared with 0.4x on most of its body. The session shows the same thing in practice. The first giant flattens the player, but the rematch goes well once Quickpaw climbs up to the face and the pawns rain down fire and meteor spells. Giants drop Ponderous Bone, Scrag of Beast, Boreal Tuber, and Frigid Fungus.
Ice resistance is common in Norgan, and it decides the session’s other fight. Quickpaw carries the Shards of Nilas, ice daggers that do almost nothing to the Fimbl ice wyrm. The player has to teleport away to avoid losing the whole party.
| Shards of Nilas | Value |
|---|---|
| Weapon type | Daggers (Thief) |
| Strength | 950 |
| Knockdown power | 350 |
| Weight | 1.5 kg |
| Source | Rare appraisal of Ice Talons, Spoils Lv 3 Ancient Light Weaponry |
| Buy / sell | 14,000 / 2,760 G |
The blades get sharper with every cut, which makes them strong against most enemies. That doesn’t help when the target shrugs off ice. Pairing them with the Thief’s Blades of the Pyre, which sets the daggers on fire and burns the user too, is the workaround the session tries early on.
The hunt ends with the Archer boons unlocked and the player reaching Level 145, but the Thief obelisk, the one Quickpaw’s own vocation needs, is still missing. It sits a short way north of the Archer site, near Rivercave Campground and the Mountain Stronghold, on a raised ledge that Beorcan patrols tend to guard.